TT bike fit: What makes a good position?
Getting aero on a time trial bike is an extremely involved process
The latest race content, interviews, features, reviews and expert buying guides, direct to your inbox!
You are now subscribed
Your newsletter sign-up was successful
There is a bit of misconception that buying a TT bike will immediately make you more aero, and therefore faster. We wish this were the case, but unfortunately, being fast on even the best time trial bikes can be a massive can of worms, and once you start the process of tinkering with a TT position, it never stops.
On its own, a time trial frame will undoubtedly be faster in the wind tunnel than a standard road bike (and it's important to understand the TT bike vs road bike differences). Unfortunately, it's not the bike that is creating the vast majority of drag when you ride in the first place. It's your body, and we'd bet there are more than a few people who are actually slower in their TT position than they are on a standard road bike.
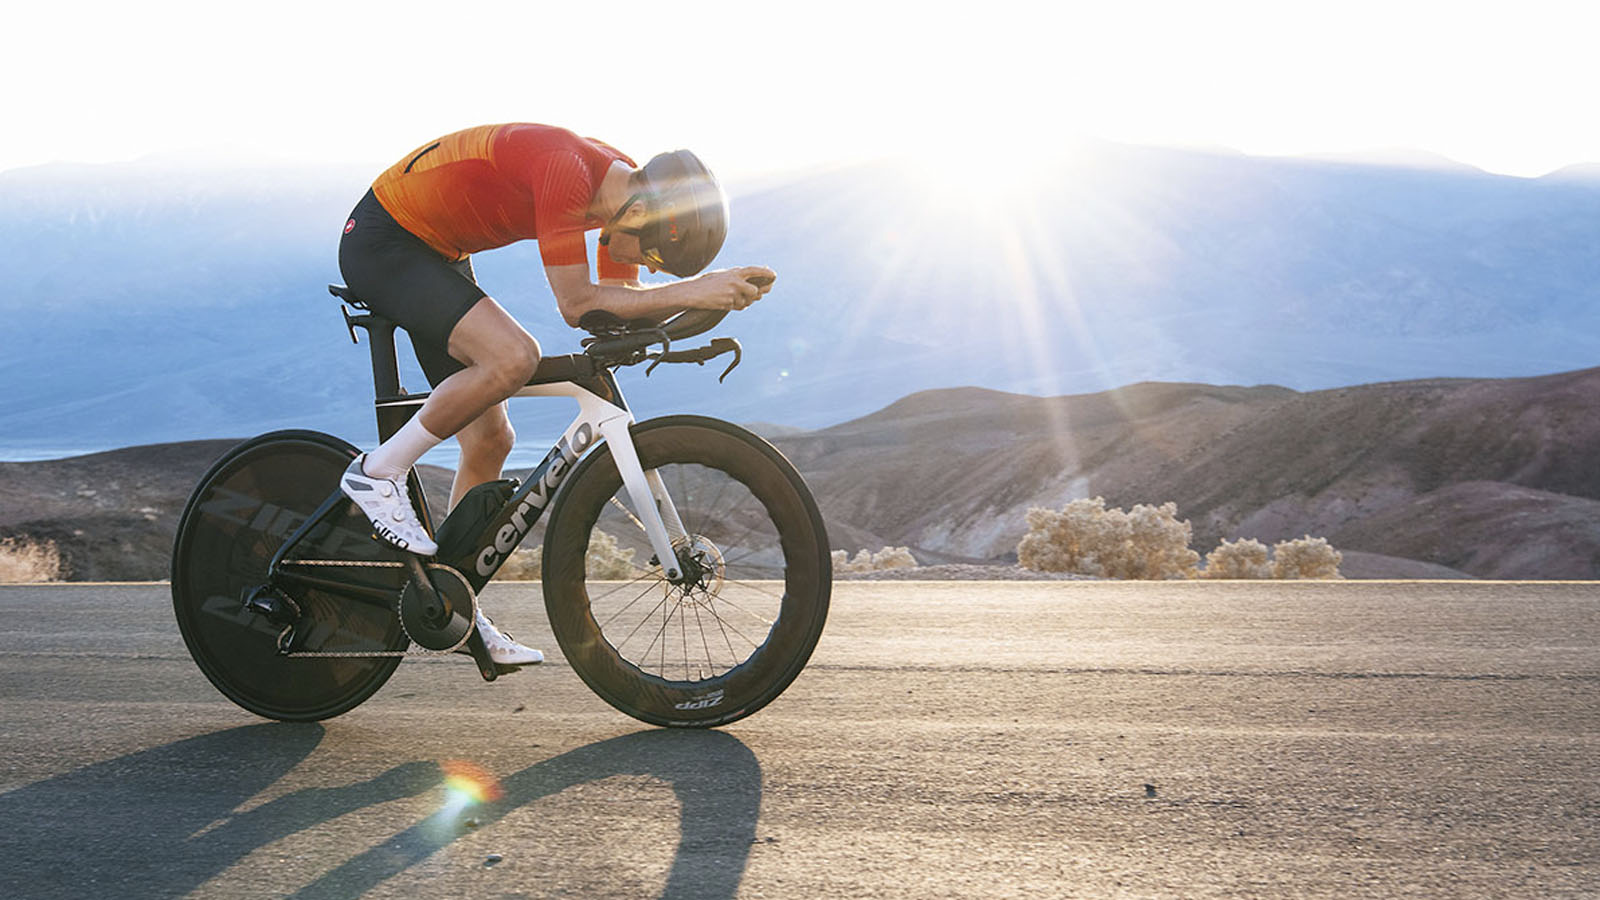
The whole point of the TT position is to reduce your frontal surface area that is exposed to the wind by bringing your head back in perfect alignment with your rear. In an ideal world, this would just be a matter of slamming your bars all the way down and relying on the best time trial helmets to slice through the wind, but unfortunately, our bodies don't work that way.
Time trial positions require quite a lot of flexibility and calling upon muscles groups that we otherwise wouldn’t in the normal riding position. In fact, simply pedalling in the time trial position uses different muscles in your legs because of the hip angle change.
So when you fit a time trial bike, it is a constant battle between getting your body in an aero position that you can maintain for the duration of the event, and still produce sufficient power.
What's more, it's impossible to know if minor tweaks to your TT position are, in actual fact making you more aero without spending time in the wind tunnel. Still, some generally accepted practices should, for most people, improve their position and the amount of drag their body produces.
It's also damn near impossible to provide generalised advice about time trial bike fit because everyone's body and how it drapes over a bike are so different.
The latest race content, interviews, features, reviews and expert buying guides, direct to your inbox!
Front end
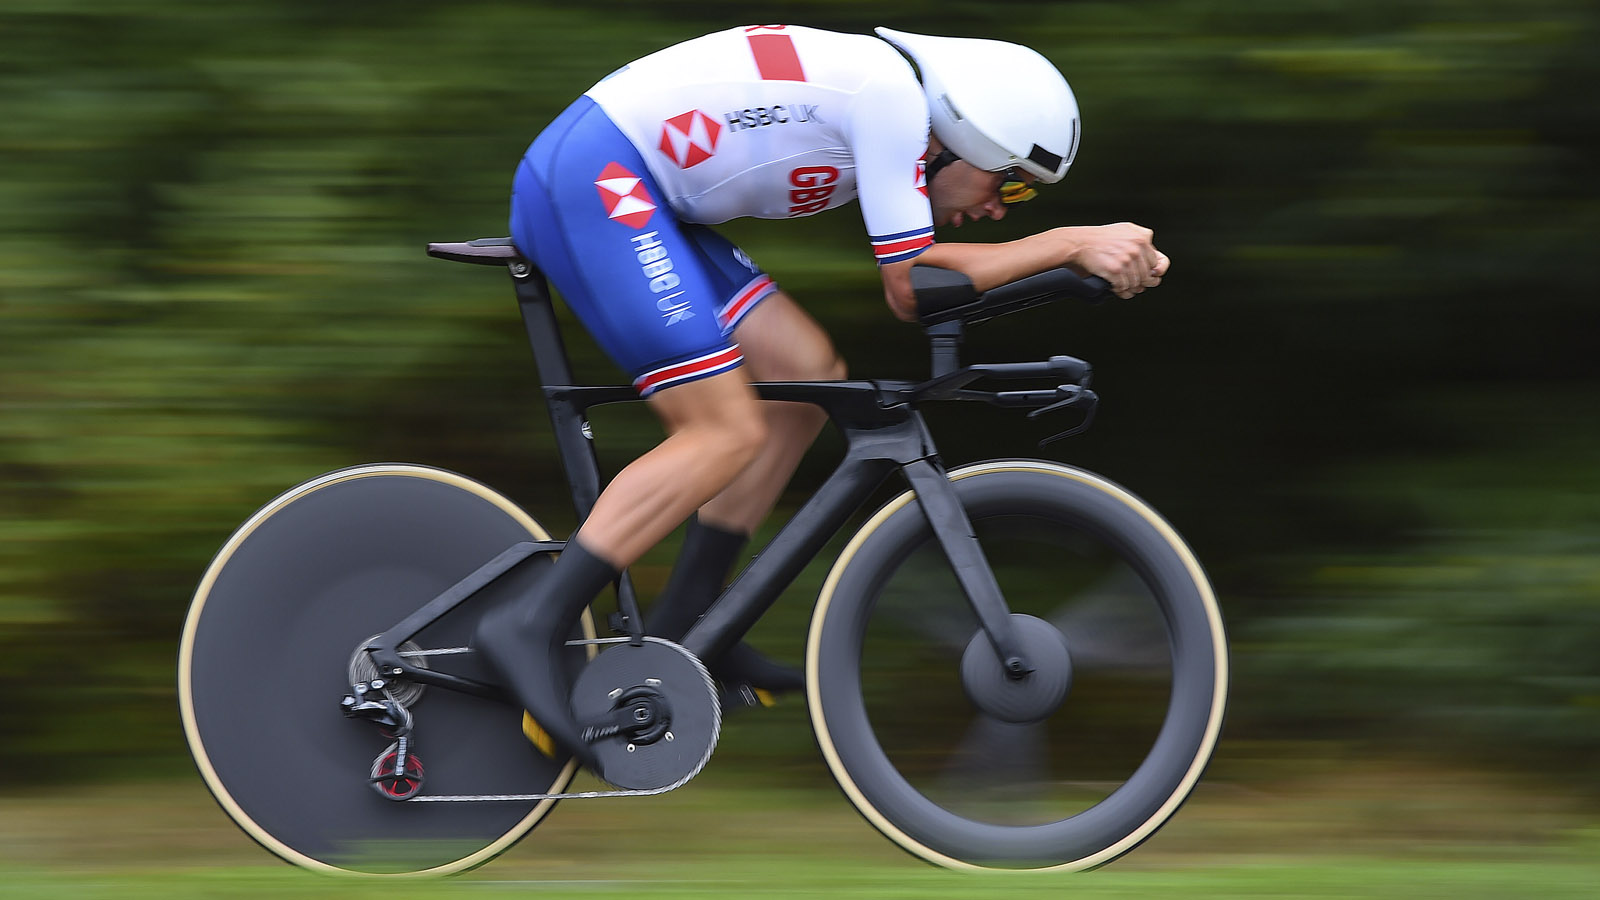
The critical thing for a time trial bike to have is a low front end. A short headtube allows you to bring your chest down and out of the wind and achieve that head-in-line-with-the-back-and-bum position. This is a large part of the reason that many people recommend riding a slightly smaller TT frame rather than a large one — it's easier to raise a handlebar with spacers or an angled stem than it is to lower the front end, which is already slammed to the headset bearing.
The low front end is so important because your elbow height determines your shoulder height, which determines your back height — you get the idea. What makes fitting a time trial bike so hard is that small tweaks to fit can have a considerable knock-on effect on your position further down your joint chains.
With your head punching the initial hole in the wind, you want to keep it 'turtled' — tucked down into your shoulders. This is the first step in getting your TT position rocking, and it's also one of the hardest because your head is so movable, and the human neck was not designed to hold your melon in this contorted position. You want to think of your TT helmet as a sort of bridge that fills the gap between your head and back and transitions the air without turbulence down your back. This is why it's key to ensure your TT lid suits your riding position because if the tail is sticking up well off your back, it's doing nothing to make you faster.
Cockpit
Time trial bars are made up of the base bars and the extensions. The base bars house the brakes, while the extensions have the shifters and are where you should spend the vast majority of your time.
With that, beyond just the number of headset spacers, and stem length and angle, depending on your bars, you will be able to adjust pad height, width, angle, and fore and aft, and the fore and aft and angle of the extensions.
The pad height is vital because it sets the foundation for most of the rest of your fit — literally, pad height defines elbow height, which defines head and shoulder height, you get the picture. If you're doing this on your own, set your bike up on the trainer next to a big mirror, and look at your pistons. Look at how everything lines up when you move your shoulders and your head. Before you make any adjustments using tape or a dry erase marker, mark where your head, shoulders and back settle so that you have a reference point.
When you make adjustments, you'll be aiming to find pad height where you can breathe, still produce power and see, but is as close to having everything lined up to minimise drag as possible.
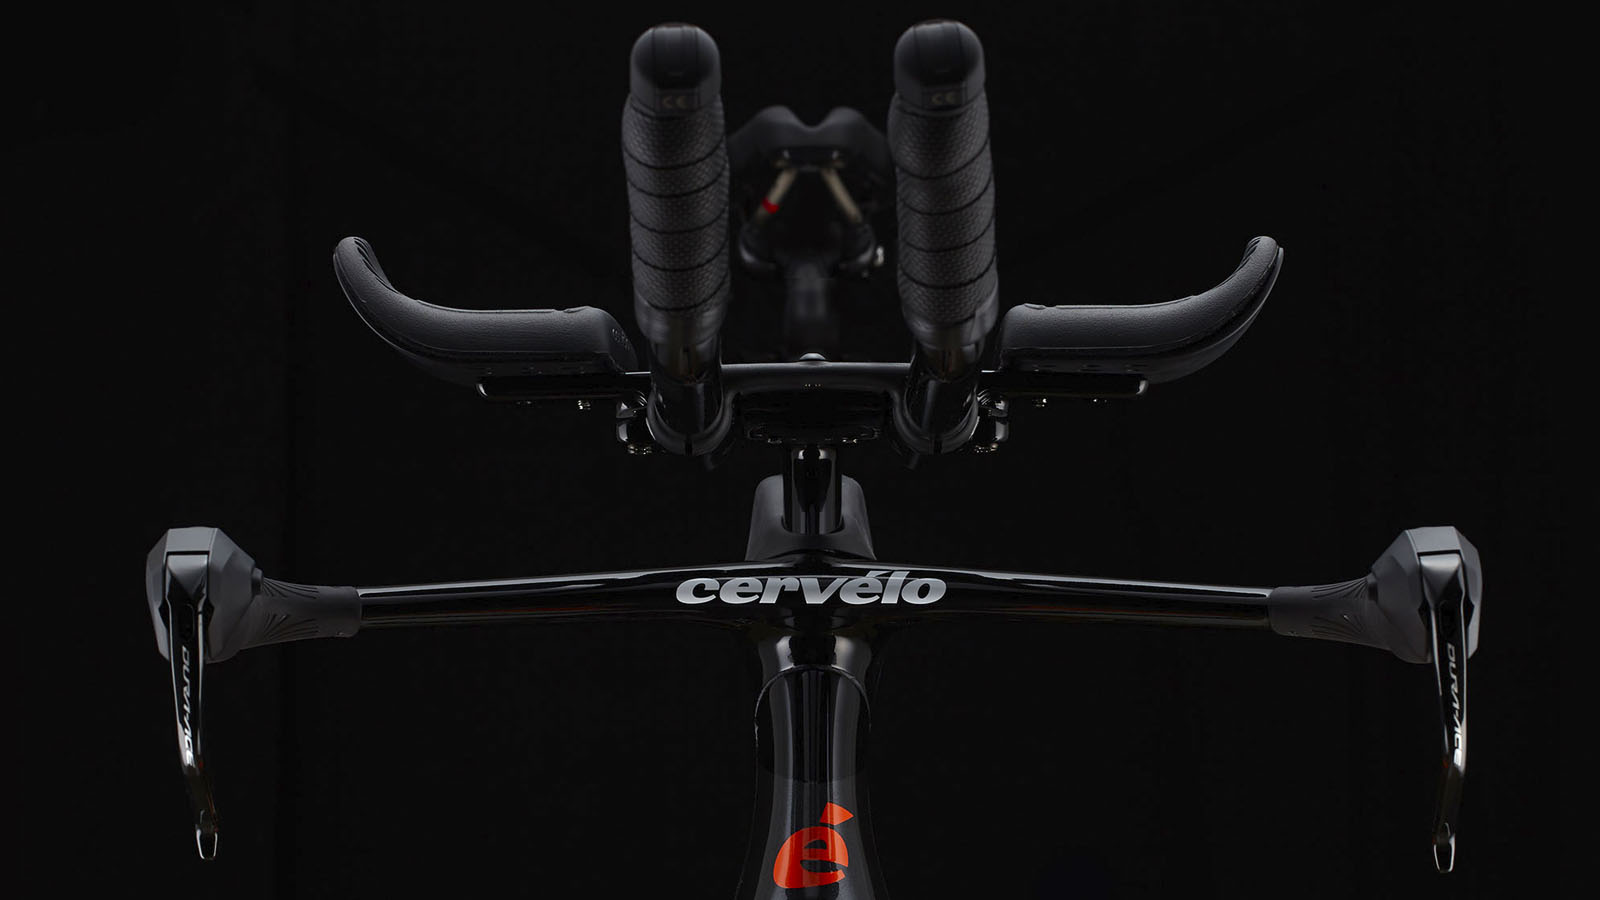
When it comes to the pad width, it's hard to really say what a few mm in or out will do in terms of drag. The general advice is to keep them inside the width of your hips because they are also breaking the airflow, so also long as your elbows aren't sticking out like a sail, there shouldn't be much effect. Again, this is something that really can't be measured outside of the wind tunnel.
We can say with authority what pad width does in terms of bike handling: the narrower they are, the harder it is to gain leverage over the front wheel and control the bike, especially with deep-section wheels in crosswinds.
Some TT cockpits will allow for the pads and extensions to be tilted up or down. Most people choose to run them more or less level. Some people find that angling them up slightly helps them breathe deeper and provides something to 'pull' as they pedal and improve power output. It can also prevent sliding forward off the saddle.
The back half
Beyond just your saddle height, there are quite a few factors to keep in mind when fitting the back half of your TT bike. First and foremost is your undercarriage.
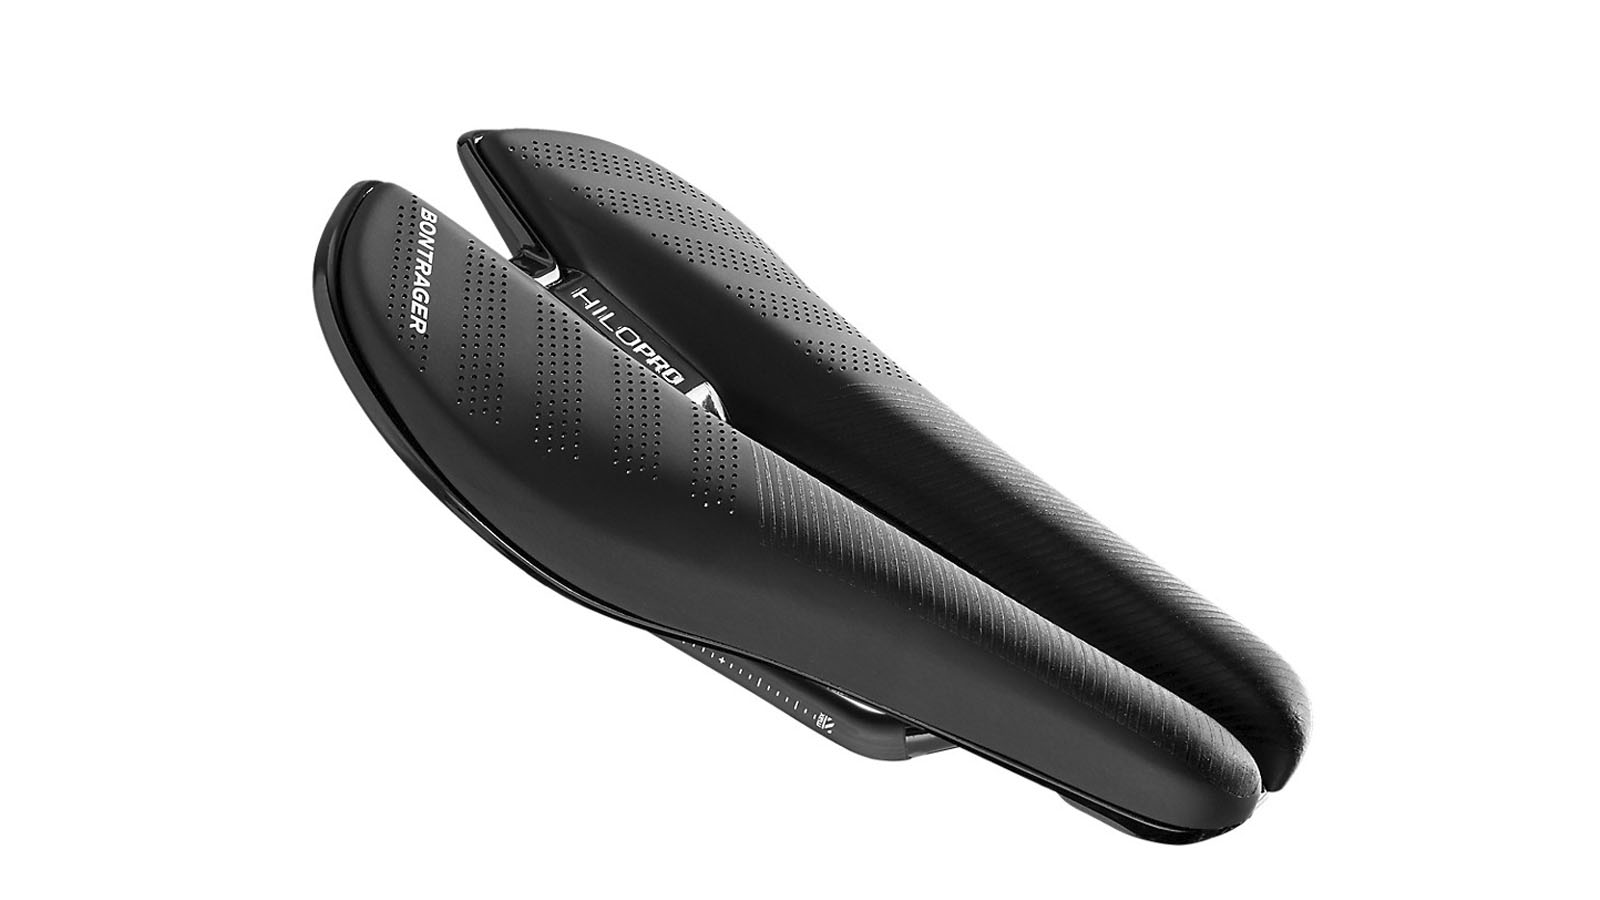
With your front end vastly lower than on your road bike, it may introduce soft tissue pressure, even using TT-specific saddles. While the short and wide saddles like the Specialized Power follow the same general ethos as TT-specific saddles, the latter will have a wider nose with a pressure-relieving channel that continues all the way through.
Some folks spec shorter cranks because it keeps their knee lower at the top of the pedal stroke, opening up the hip angle and leaving more breathing room — literally. Changing crank length does require some adaptation and a bit of coordination, however, quite a lot of TT athletes do opt for 165mm and shorter.
Some riders even go as far as reining in their q-factor by using cranks with a narrowing width, pedals with a shorter spindle or even adjusting cleats outward. While this may save a few grams of drag, it may also introduce hip and knee pain, leading to injury. If you're after marginal gains here, be sure to find them with the help of a bike fitter.
Hopefully, this gets you started on your quest to get more aero on the bike, but we would still recommend getting a professional bike fit to steer you in the right direction. We should note that small changes in position may leave you sore in places that you weren't previously sore, and you’ll need to spend some time getting used to your new position. However - and it's a big 'however' - monitor this soreness closely as it can evolve into an injury if you push too far.
Based on the Gold Coast of Australia, Colin has written tech content for cycling publication for a decade. With hundreds of buyer's guides, reviews and how-tos published in Bike Radar, Cyclingnews, Bike Perfect and Cycling Weekly, as well as in numerous publications dedicated to his other passion, skiing.
Colin was a key contributor to Cyclingnews between 2019 and 2021, during which time he helped build the site's tech coverage from the ground up. Nowadays he works full-time as the news and content editor of Flow MTB magazine.
