Tips for a custom bike build
With so many sizing standards to look out for, these tips can guide your custom build project to success.
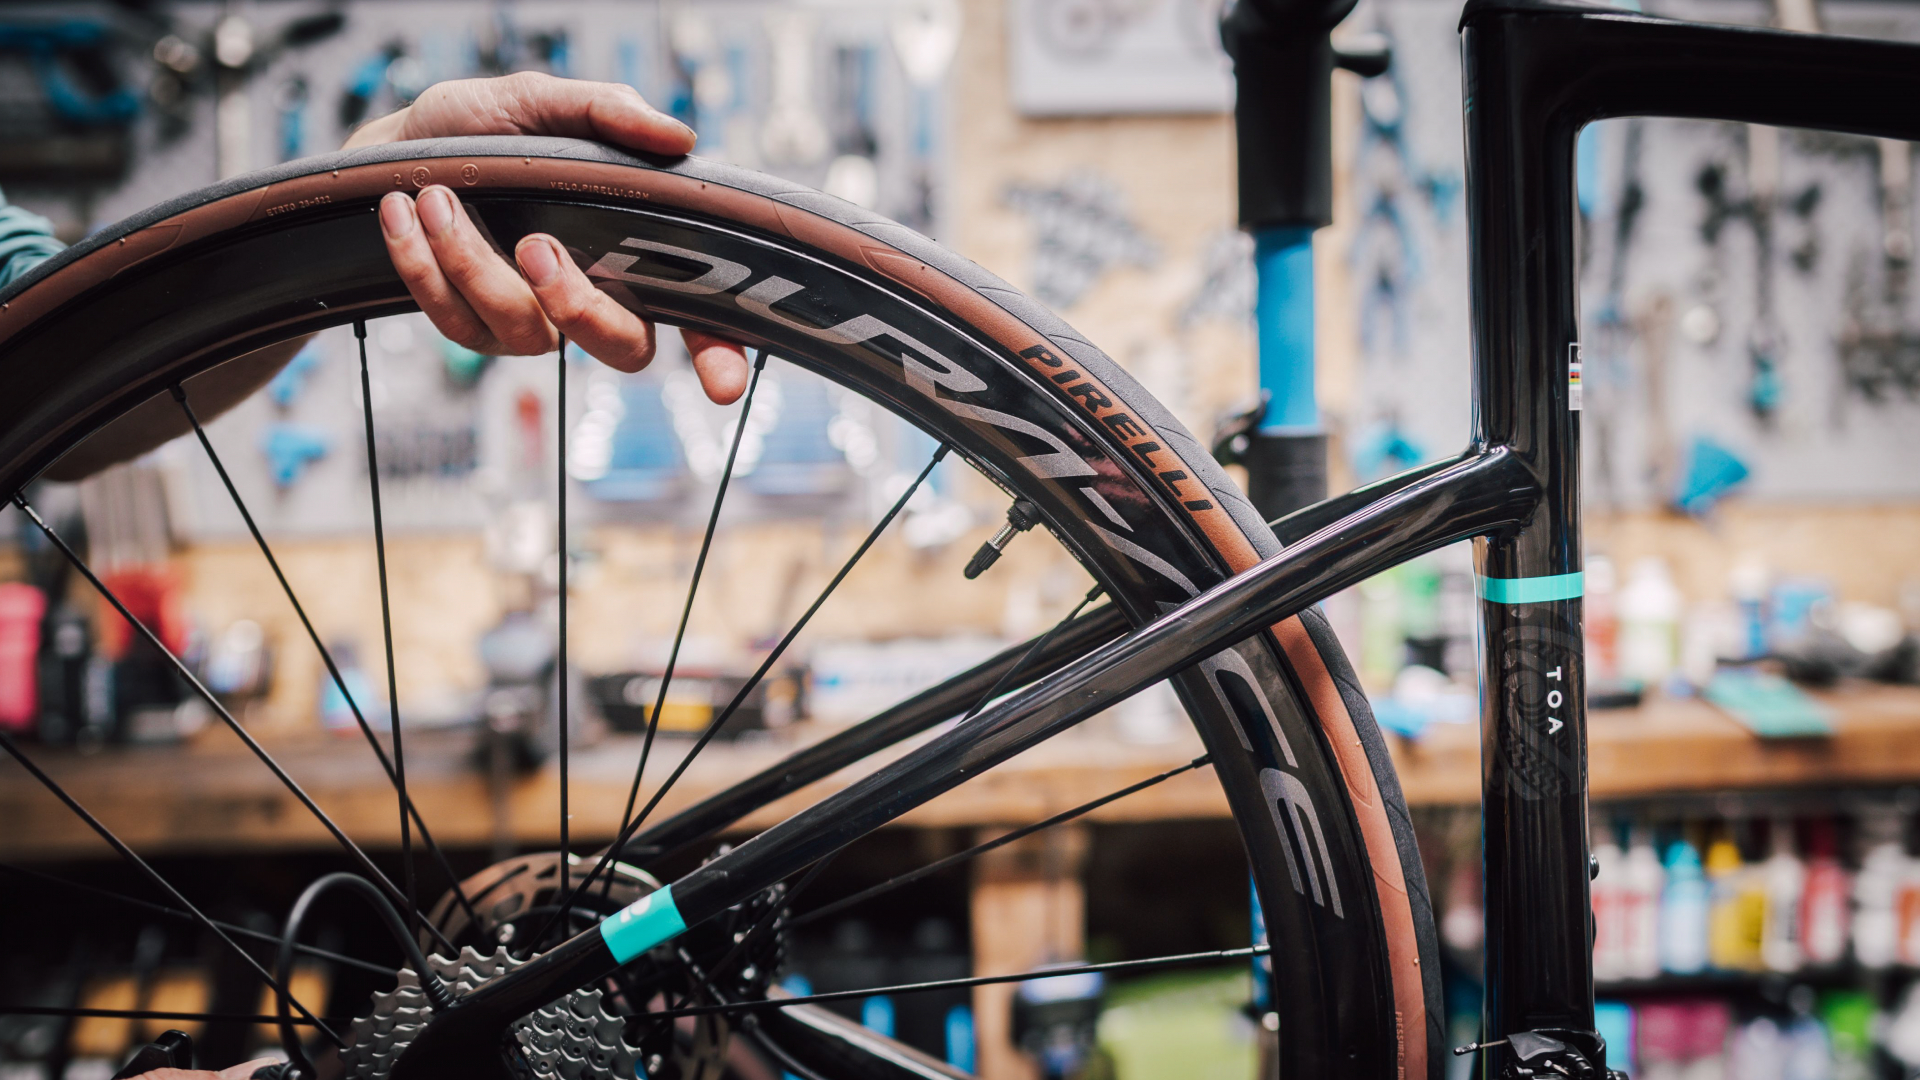
Product planners and category managers spend a lot of time creating the diverse collection of bikes we all know and obsess over, but every cyclist also yearns to be an individual, and that goes beyond boutique riding jerseys or wearing odd coloured gloves.
The custom bike build is a destiny for many. You get to play product manager, creating a bike that features precisely the specification and component specification you require.
Custom builds don’t have to make sense. They rarely do. It is all about creating a bike that reflects what you want to express as a rider, but as ever, there are risks.
If you don’t remain mindful of specific sizing standards, you can easily be tripped up along the way, potentially causing an increase in cost and a lot of wasted time. Before you start, read through the following tips for a custom bike build to help you along the way.
Groupset
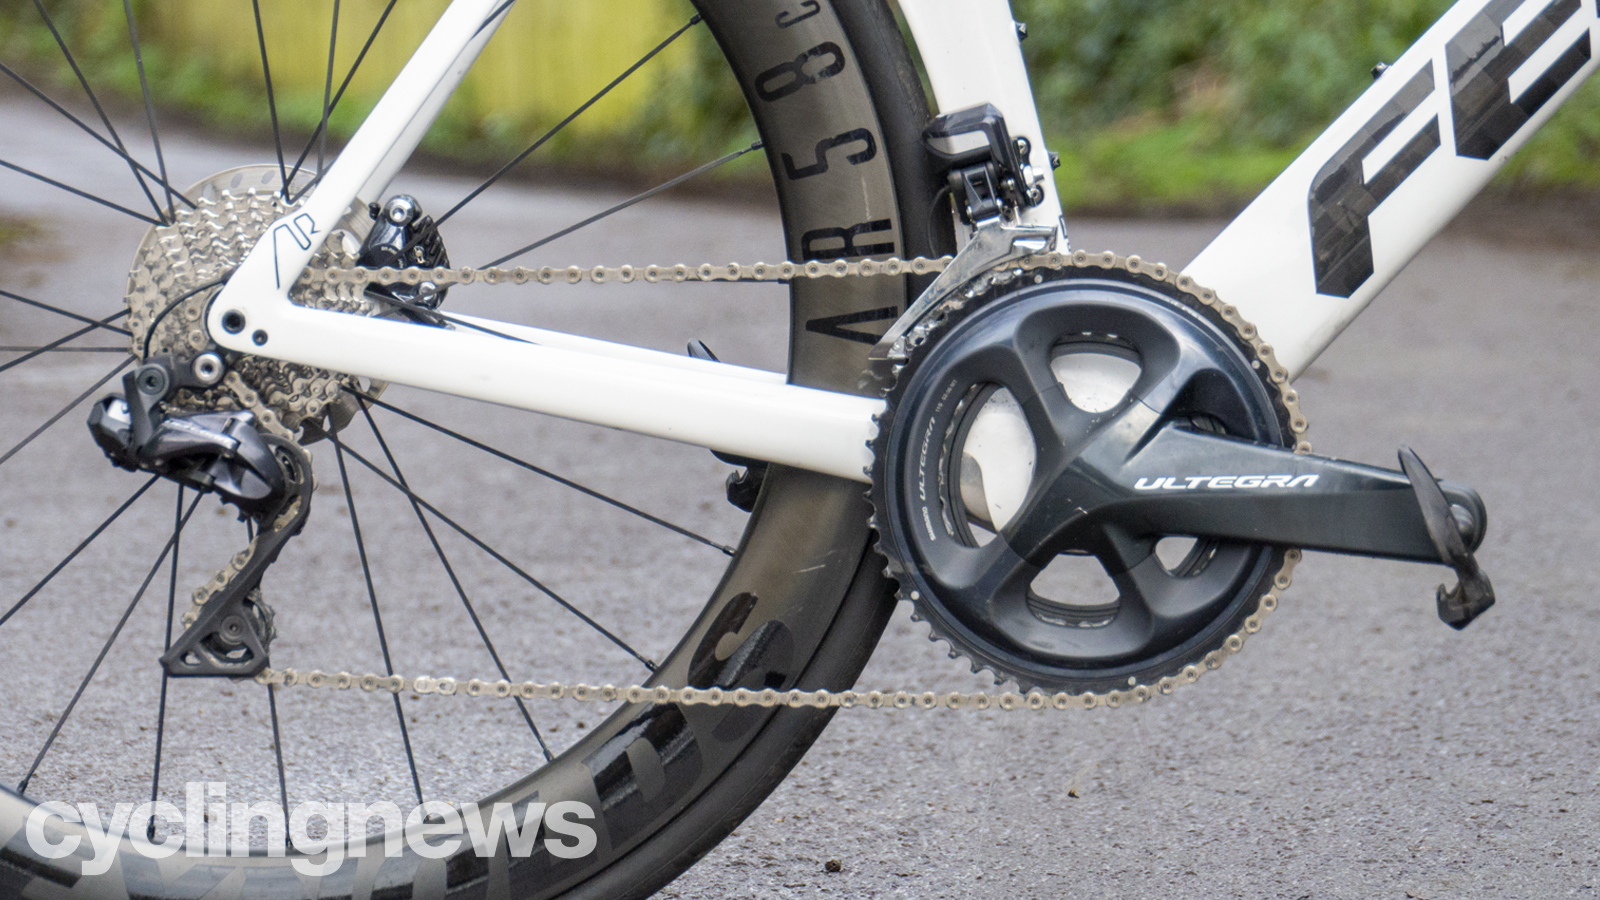
Choosing which road bike groupset you want is one of the fun parts of building a custom bike. You get to decide between Di2 and eTap, you can pit Shimano against SRAM and Campagnolo, you can muse the benefits of digital vs analogue shifting, and decide between disc brakes vs rim brakes.
Ultimately, you'll need to ensure that whichever groupset you choose will actually be compatible with your frame. In the era of electrical groupsets, be reticent of the fact that not all frames will accept the cables that come with mechanical groupsets.
Beyond this, you'll need to ensure that your frame is compatible with your choice of brakes, as rim brake bikes will rarely work with disc brake groupsets, and vice versa.
The latest race content, interviews, features, reviews and expert buying guides, direct to your inbox!
Wheels
Over recent years, tyres have ballooned in width and benefitted from increased comfort, greater levels of grip, lower rolling resistance and reduced risk of puncture. But with wider tyres comes a need for wider clearances, and you'll need to be mindful of that when building your custom bike.
If you're building up a bike with rim brakes, your tyre clearance will be limited by the brake callipers, which usually have space for 26 or 28mm rubber, depending on the brand in question.
Disc brakes open up the room for wider tyres, but you'll still need to ensure that whatever tyres you choose will fit your frame between the seatstays, chainstays and fork legs. The exact clearances offered by the frame should be available from the manufacturer, but if not, measure with some Vernier calipers at the narrowest point, and allow for 4mm of room on either side of the tyre.
Of course, before you get to this point, you'll need to check that the wheel is compatible with your choice of braking at all. If you're using rim brakes, your wheels will need a braking surface on the rim, and if you're using disc brakes, your wheels will need to be able to accept a disc rotor.
Also bear in mind the axle will need to be compatible with the axle standard on your bike. If choosing rim brakes, you're likely looking at quick-release axles, while disc brakes are often paired with stiffer 12mm thru-axles. Check your bike and make sure your axles are a match.
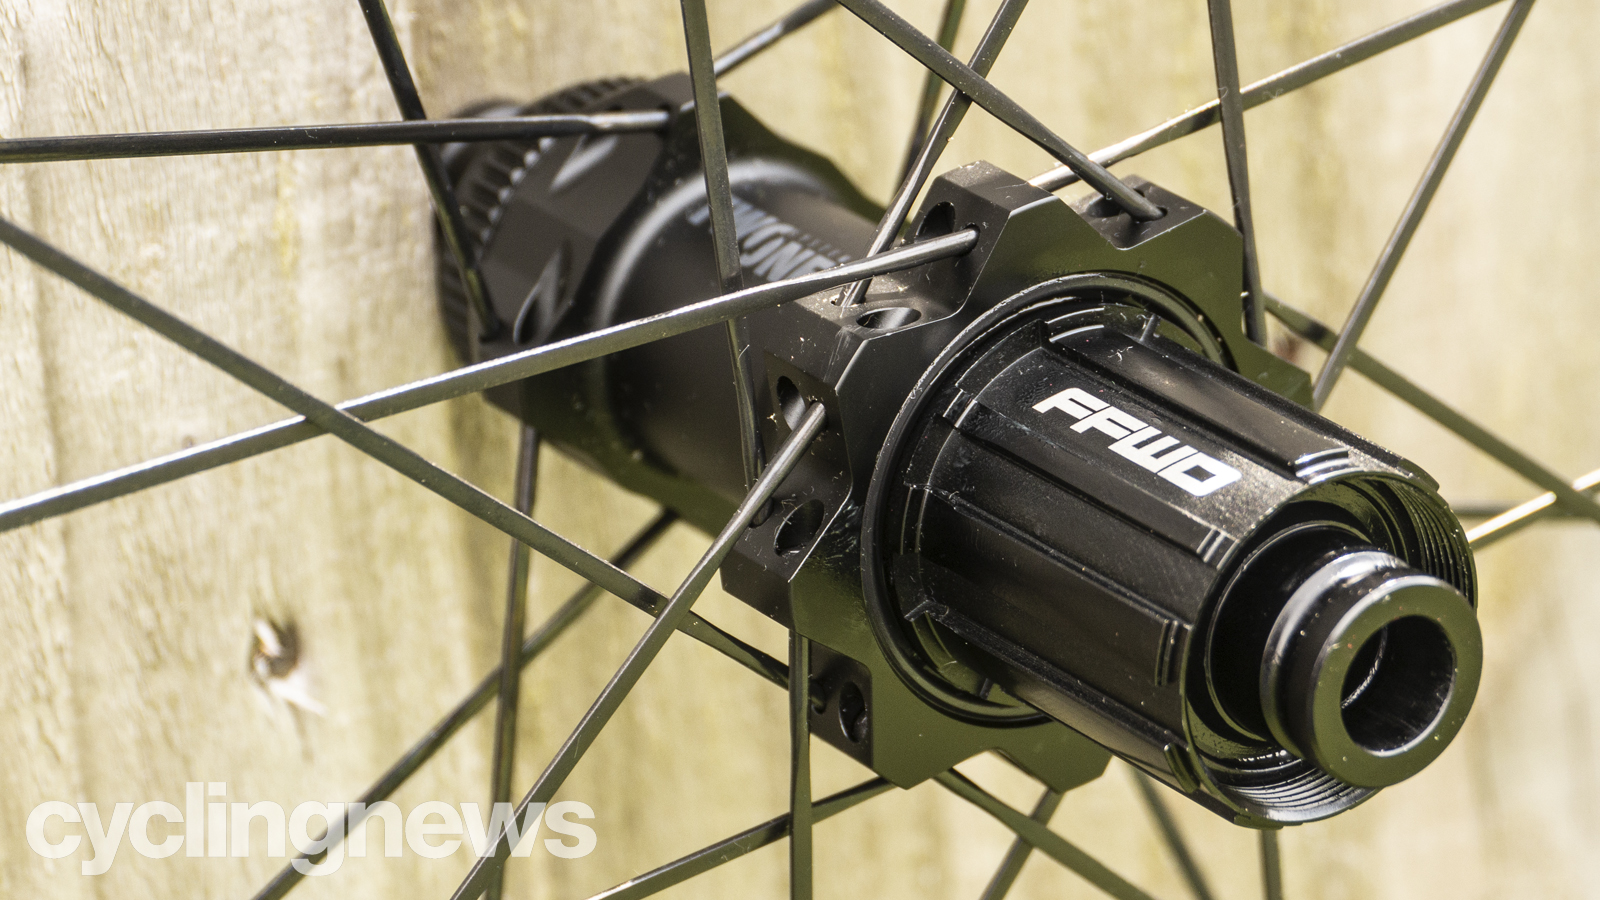
And finally, you'll also need to check that your freehub - the area on the wheel that the groupset's cassette fits onto - is a match to your chosen groupset. For example, a Shimano 11-speed freehub won't fit a 12-speed SRAM cassette. Most wheels are available with a choice of freehubs, so just bear this in mind when buying.
Seatpost
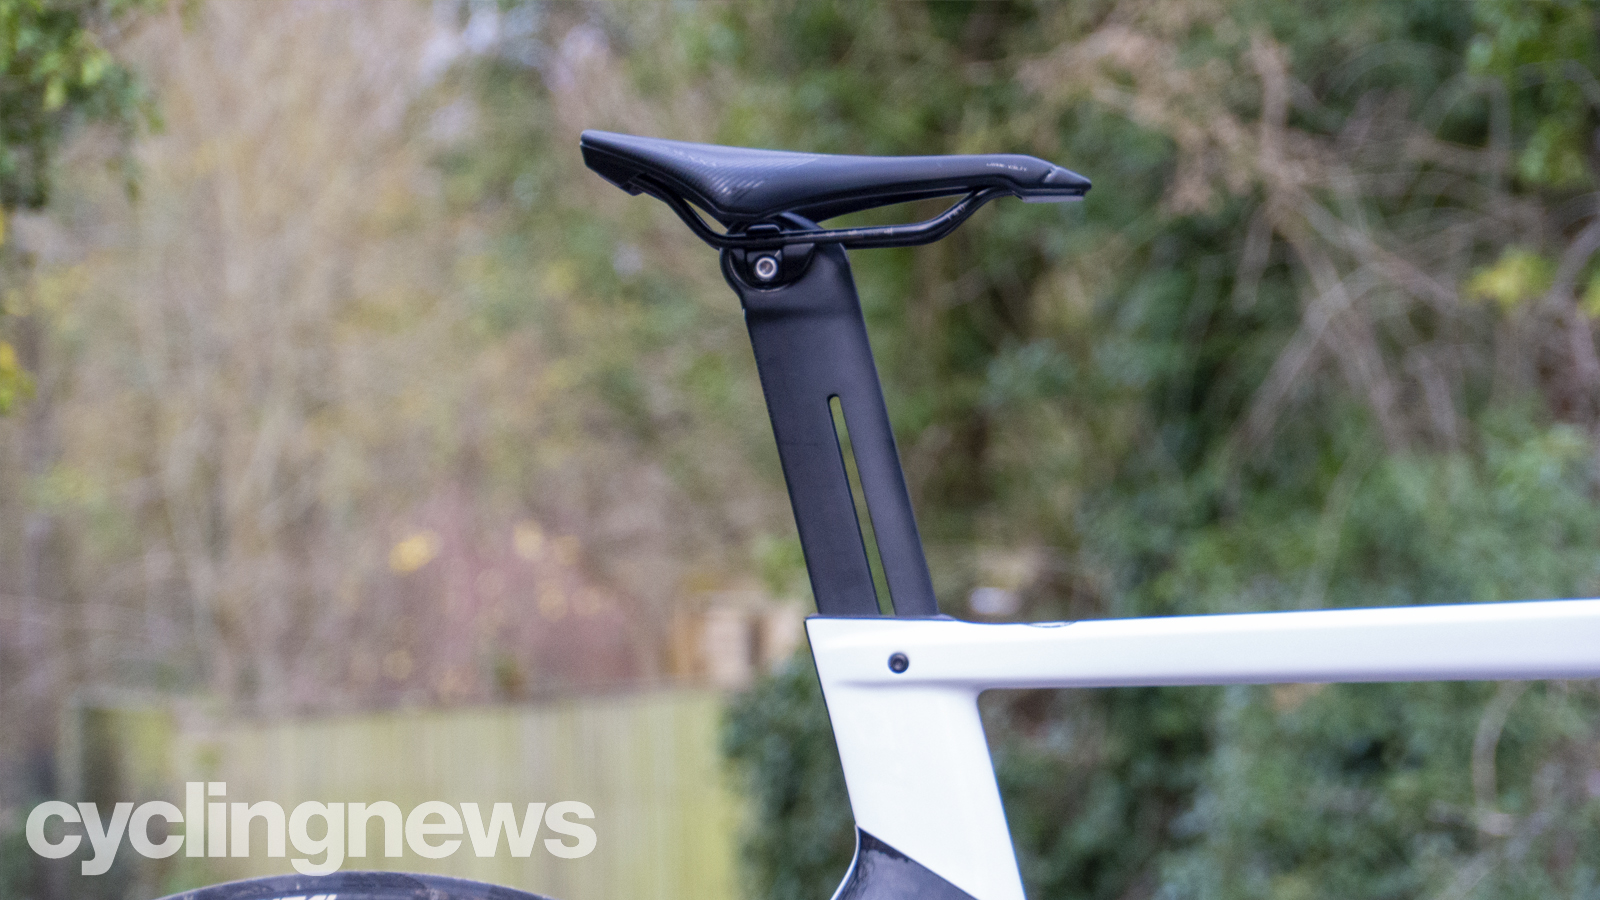
When it comes to seatposts, you'll either be met with a world of choice, or none at all. In the age of aerodynamic optimisation, many framesets come pre-fitted with a proprietary seatpost that you needn't worry about changing. However, if your frame accepts a round seatpost, then you'll need to ensure the diameter of seatpost will match the hole into which it will fit.
Common seatposts sizes are 25.4mm or 27.2mm on road bikes, and the exact size will likely be available from your frame's manufacturer, but if not, you can use Vernier calipers to measure.
At the top of the seatpost, you'll then need to fit a saddle, and while this seems a little more simple, be aware of differing saddle rail sizes. There are three most common sizes: 7mm round, 7mm x 9mm carbon, or 7mm x 10mm carbon. Most seatposts will come with a saddle clamp pre-fitted. Some come with multiple clamps, while others are limited to just one, so just be sure that whatever saddle you choose will be compatible with your seatpost.
Cockpit
Handlebar and stem geometry is a very personal thing, and the best way to get it right, beyond trial and error, is to book yourself in for a bike fit.
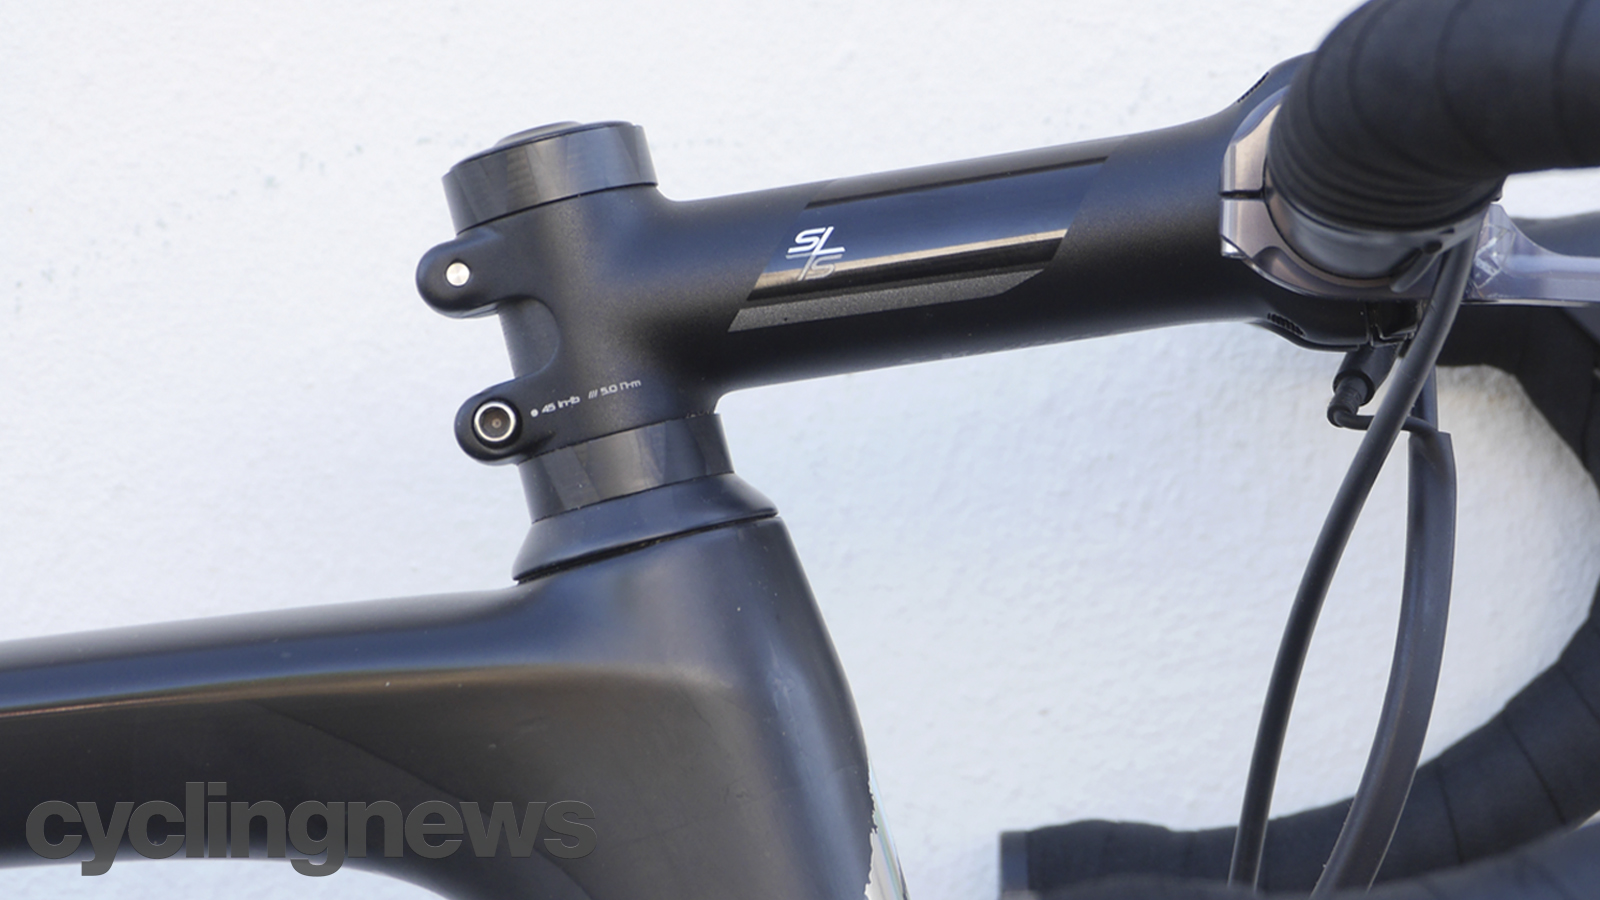
The stem is the most important part of this particular jigsaw puzzle, as its size will affect the position of your hands, while also connecting your frame to your handlebars which means it needs to use the correct sizing standards at both ends.
The length of your stem will directly affect the reach between your saddle and where you place your hands, and that will affect how far forward you'll be positioned on the bike. Stems are also available in multiple different angles, which effectively raise and lower the handlebar depending on the angle. If you aren't flexible or strong enough to hold a long-and-low position for the duration of your ride, it will lead to discomfort and possible injury.
Your fork's steerer tube will connect through the frame's head tube and it is this that your stem will clamp onto. Steerer tubes are most commonly 1 1/8 inches (28.6mm) in diameter, but some brands use an oversized steerer for greater stiffness. Check with your frame manufacturer and ensure the stem matches.
At the other end, the stem will need to clamp onto the handlebar to hold it in place, so once again, it will need to be of the correct diameter. The most common handlebar diameter is 31.8mm, but it can vary, so make sure you check in advance.
Bottom brackets
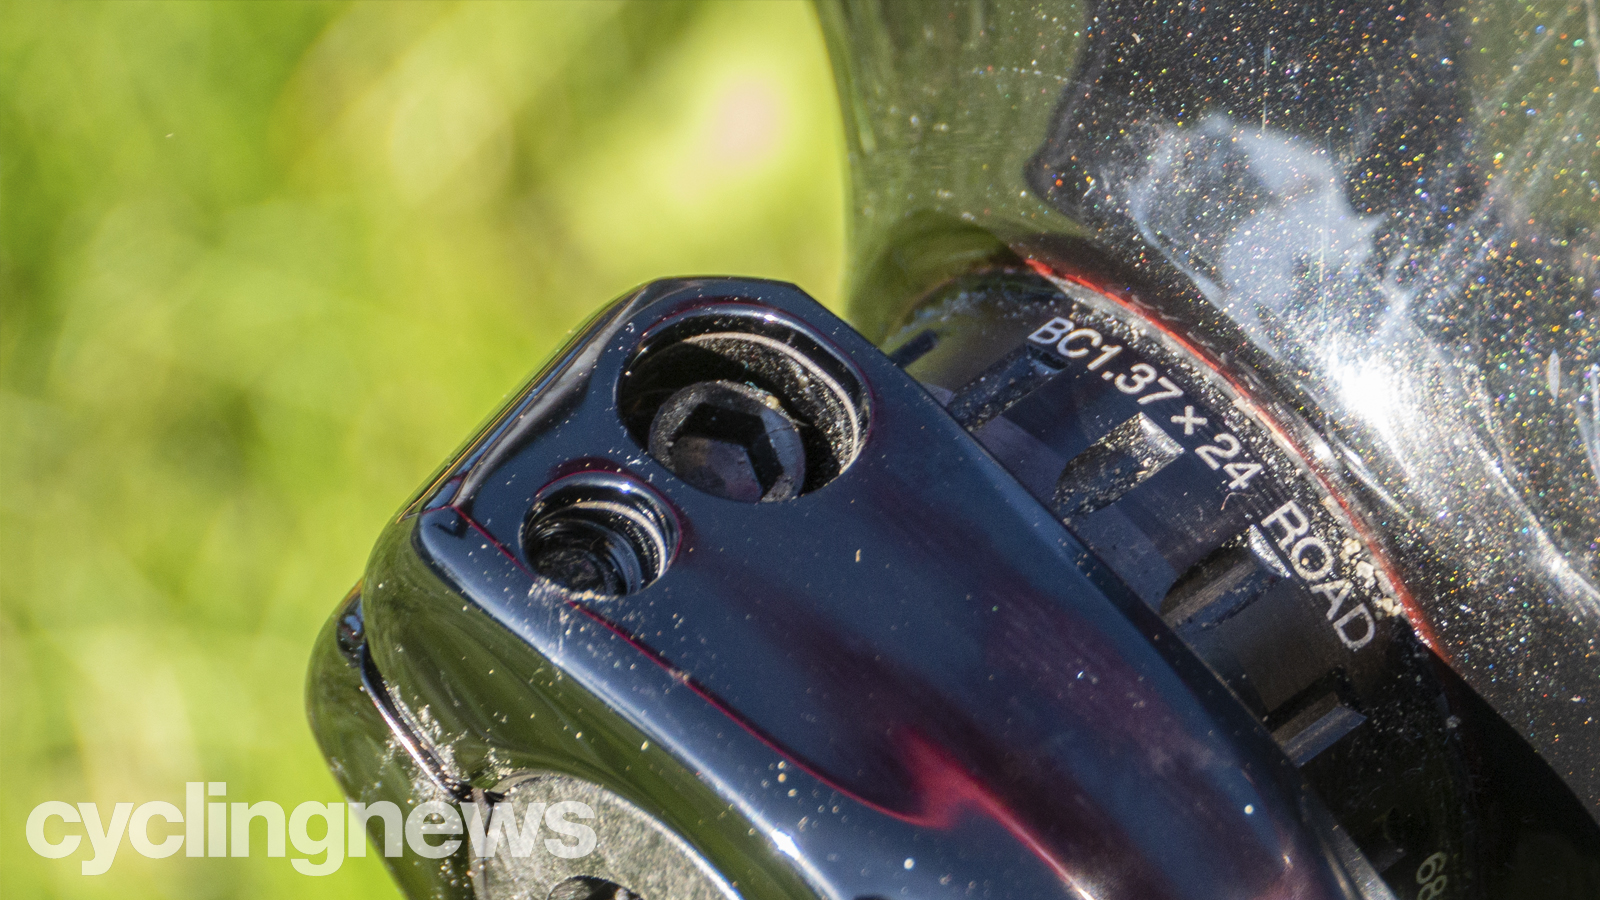
There are so many bottom bracket sizing standards in cycling that it has become a running industry joke. Listing them all is an article for another day - perhaps even a series of articles - but the frameset you're building will dictate the standard you need to use.
What you need to ensure is that the bottom bracket will fit into the frame, and that the axle of your crankset will then fit the bottom bracket.
Lance Branquinho is a Namibian born media professional, with 15-years of experience in technology and engineering journalism covering anything with wheels. Being from Namibia, he knows a good gravel road when he sees one, and he has raced some of Africa’s best-known mountain bike stage races, such as Wines2Wales and Berg&Bush.
