Six things I’ve learned while travelling with a bike
Some thoughts on my luck making it to multiple destinations, and back, with a functioning bike
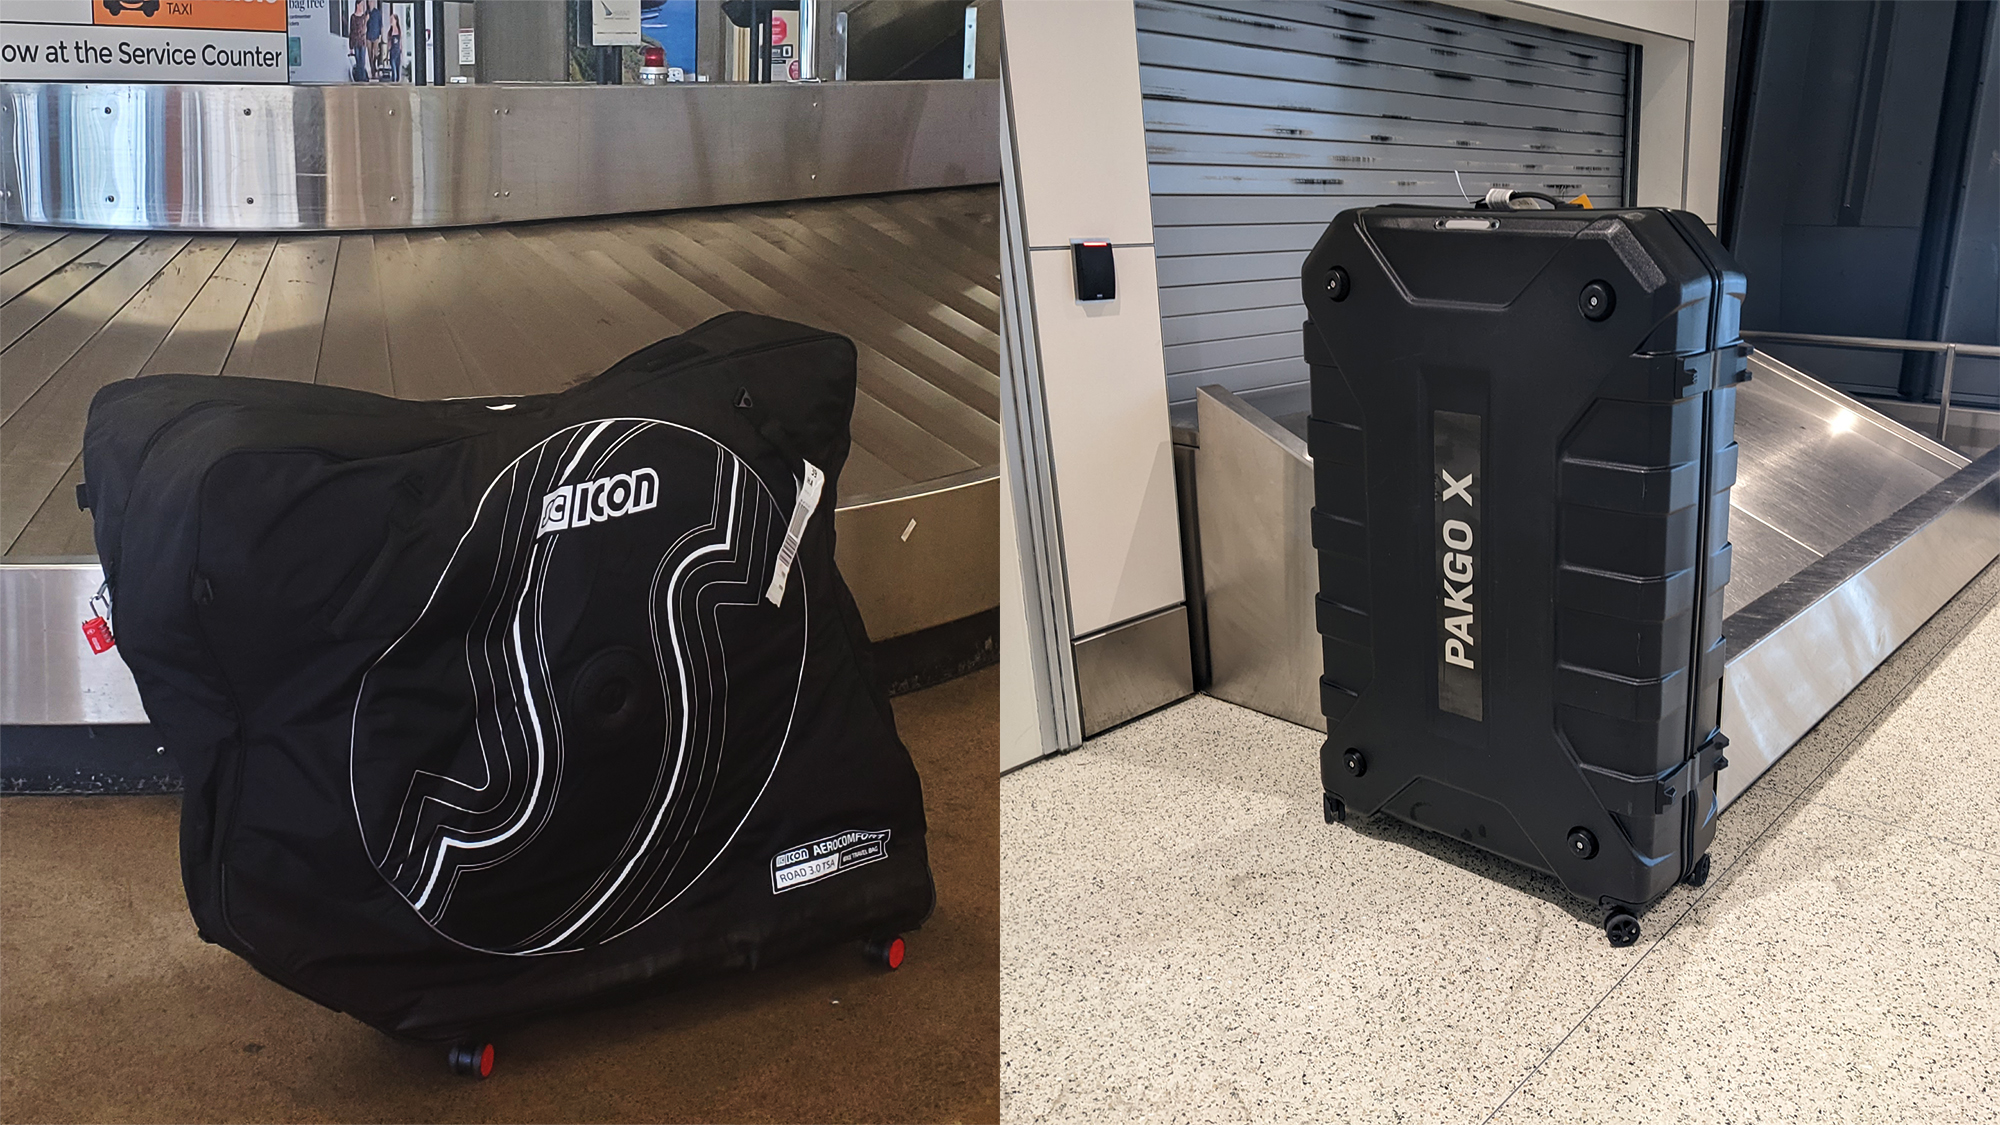
Right now, in the middle of winter, many of us are either looking to get somewhere warmer right away, or dreaming of summer holidays. As you consider these plans, you are probably thinking about what it takes to bring your bike with you. As with anything, travelling with a bike gets easier the more you've done it and, at this point, I've done it a lot.
Although I’ve done it a lot now, for most of my life I never travelled with a bike. I either took a break when I travelled or I borrowed a bike from a friend. If I'm being completely honest one of the reasons is that I was kind of scared to do it. These days though, it's not really an option to leave a bike at home. I make my way across the country, or world, to report on new experiences and I need a bike with me. It's given me the opportunity to test some of the best bike travel cases but it's also given me an opportunity to pick up some tips. It turns out that it's really not so complicated. I missed out on a lot of adventures because I was too nervous. Now I'm hoping to share some ideas and encourage you to bring your bike next time you travel. Keep reading to see some of what I've learned as I've travelled with my bike.
1. Use a tracking device
For the last few years, you've likely been reading about people who know without a doubt exactly where their luggage is. The airlines might not know where it is but the customers do and it's all because of an Apple Airtag. How many times do you need to read that story before you decide to add one of those devices to your must have travel accessories? For me the tipping point was watching US airline Southwest completely melt down during the Christmas 2022 holiday. With stacks of luggage all over the country and general pandemonium, I knew it was time to stop procrastinating and grab a tracker.
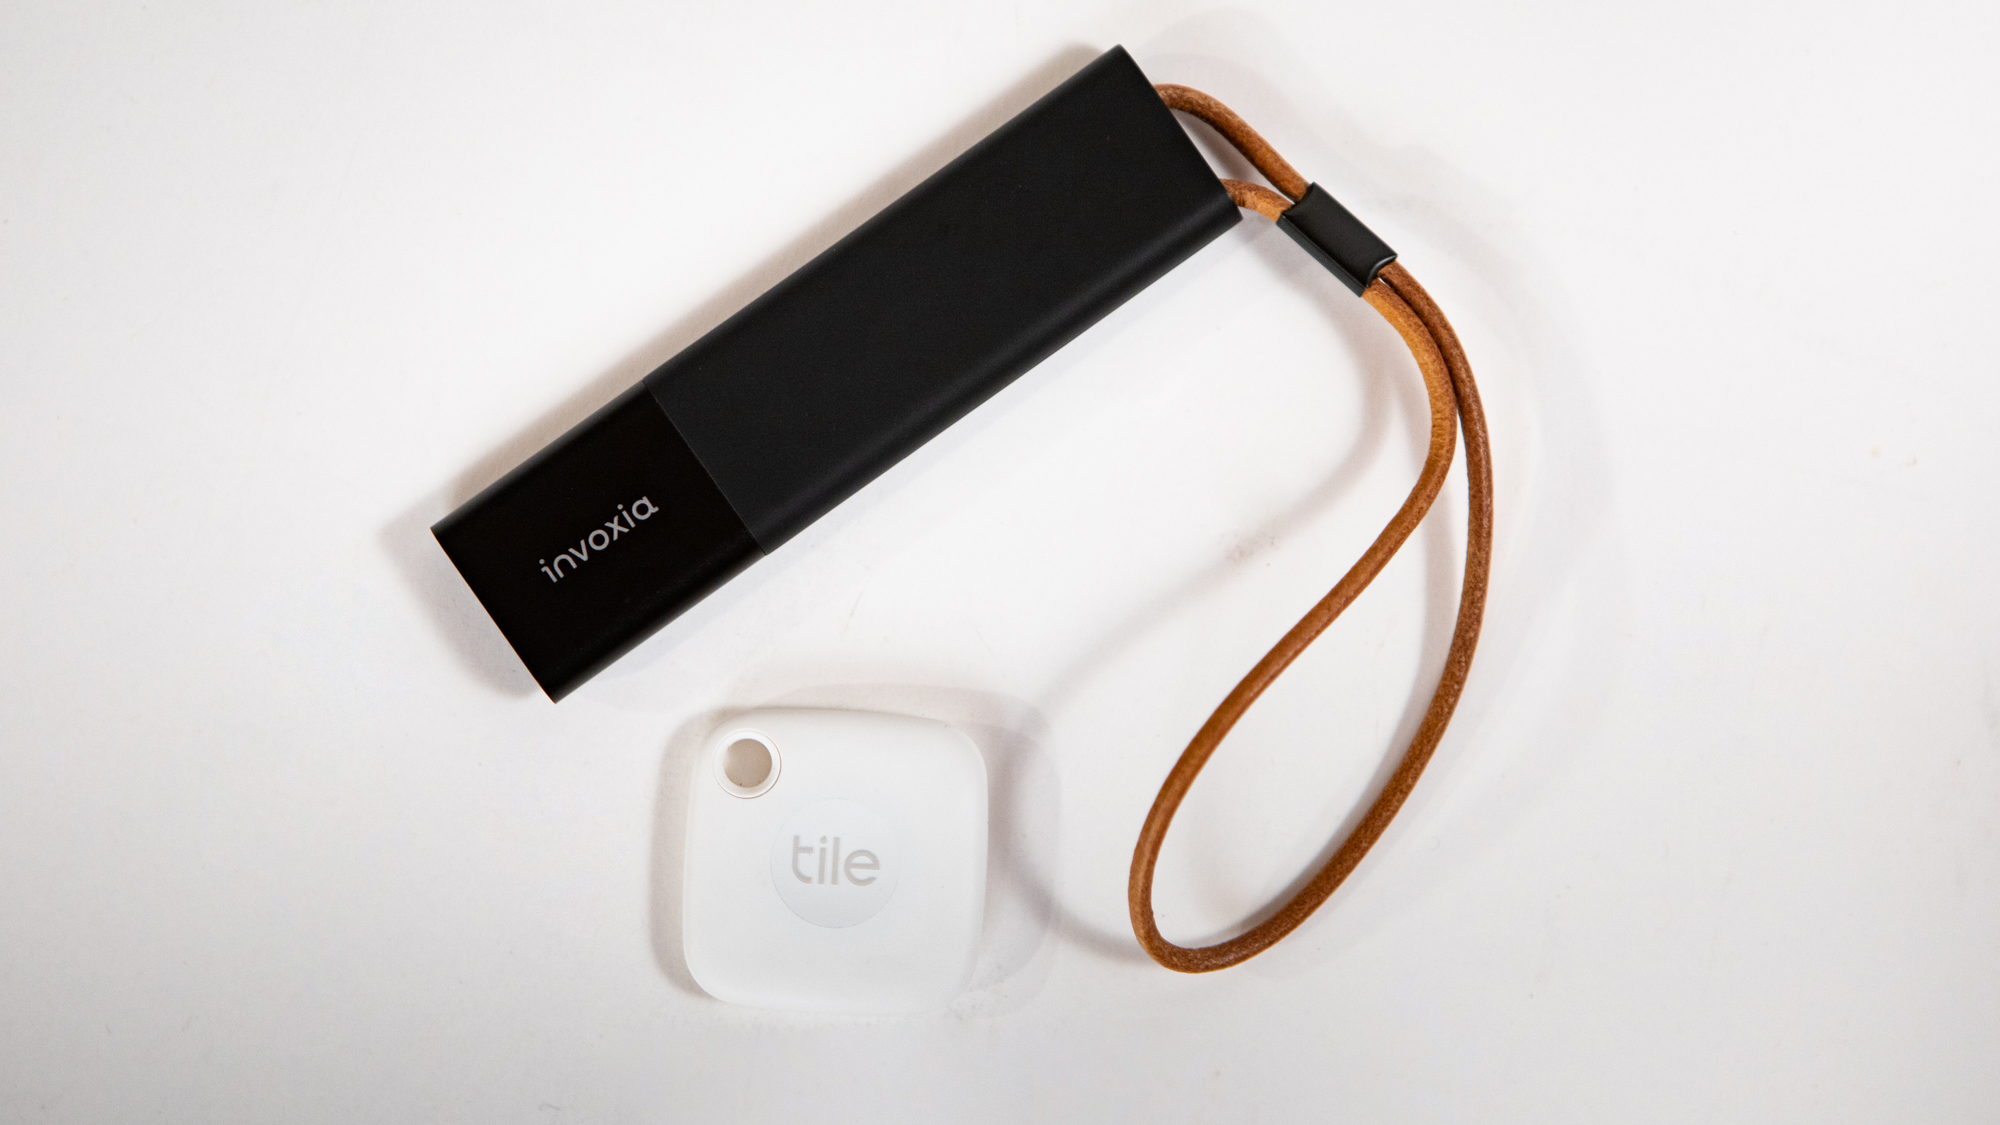
Without diving too deep into the mechanics of it, Airtags are the most well-known option. They connect to any iPhone and they leverage that network connection to report their location. If you don't have an iPhone then you can't use one. Apple didn't invent the system though. Tile came before, and they still exist. Given that I use an Android phone I grabbed a Tile and had it set up within five minutes.
When it was time to fly, I dropped the Tile tracker into the bag with my bike before heading to the airport. The moment I was away from the bag, I started checking. I found it wouldn't always give an exact location but it was more than good enough to show that my bike was on my plane and had made it to the next stop. As I was waiting at the oversize bag collection in the next airport I could always see that the bike was somewhere in the airport. I was able to relax even if it took a bit longer for my bike to come out.
If you want more exact tracking, especially in remote locations, another option is the Invoxia GPS Tracker. Unlike a Bluetooth tracker, there is a yearly service cost, but that’s because it has its own cellular connectivity. It doesn’t matter if someone with a phone is around to connect with your tracker and the location is exact. It’s on our list of the Best bike GPS trackers and it’s something I’ll be playing with next time I fly.
2. Practice with your chosen bike case ahead of time
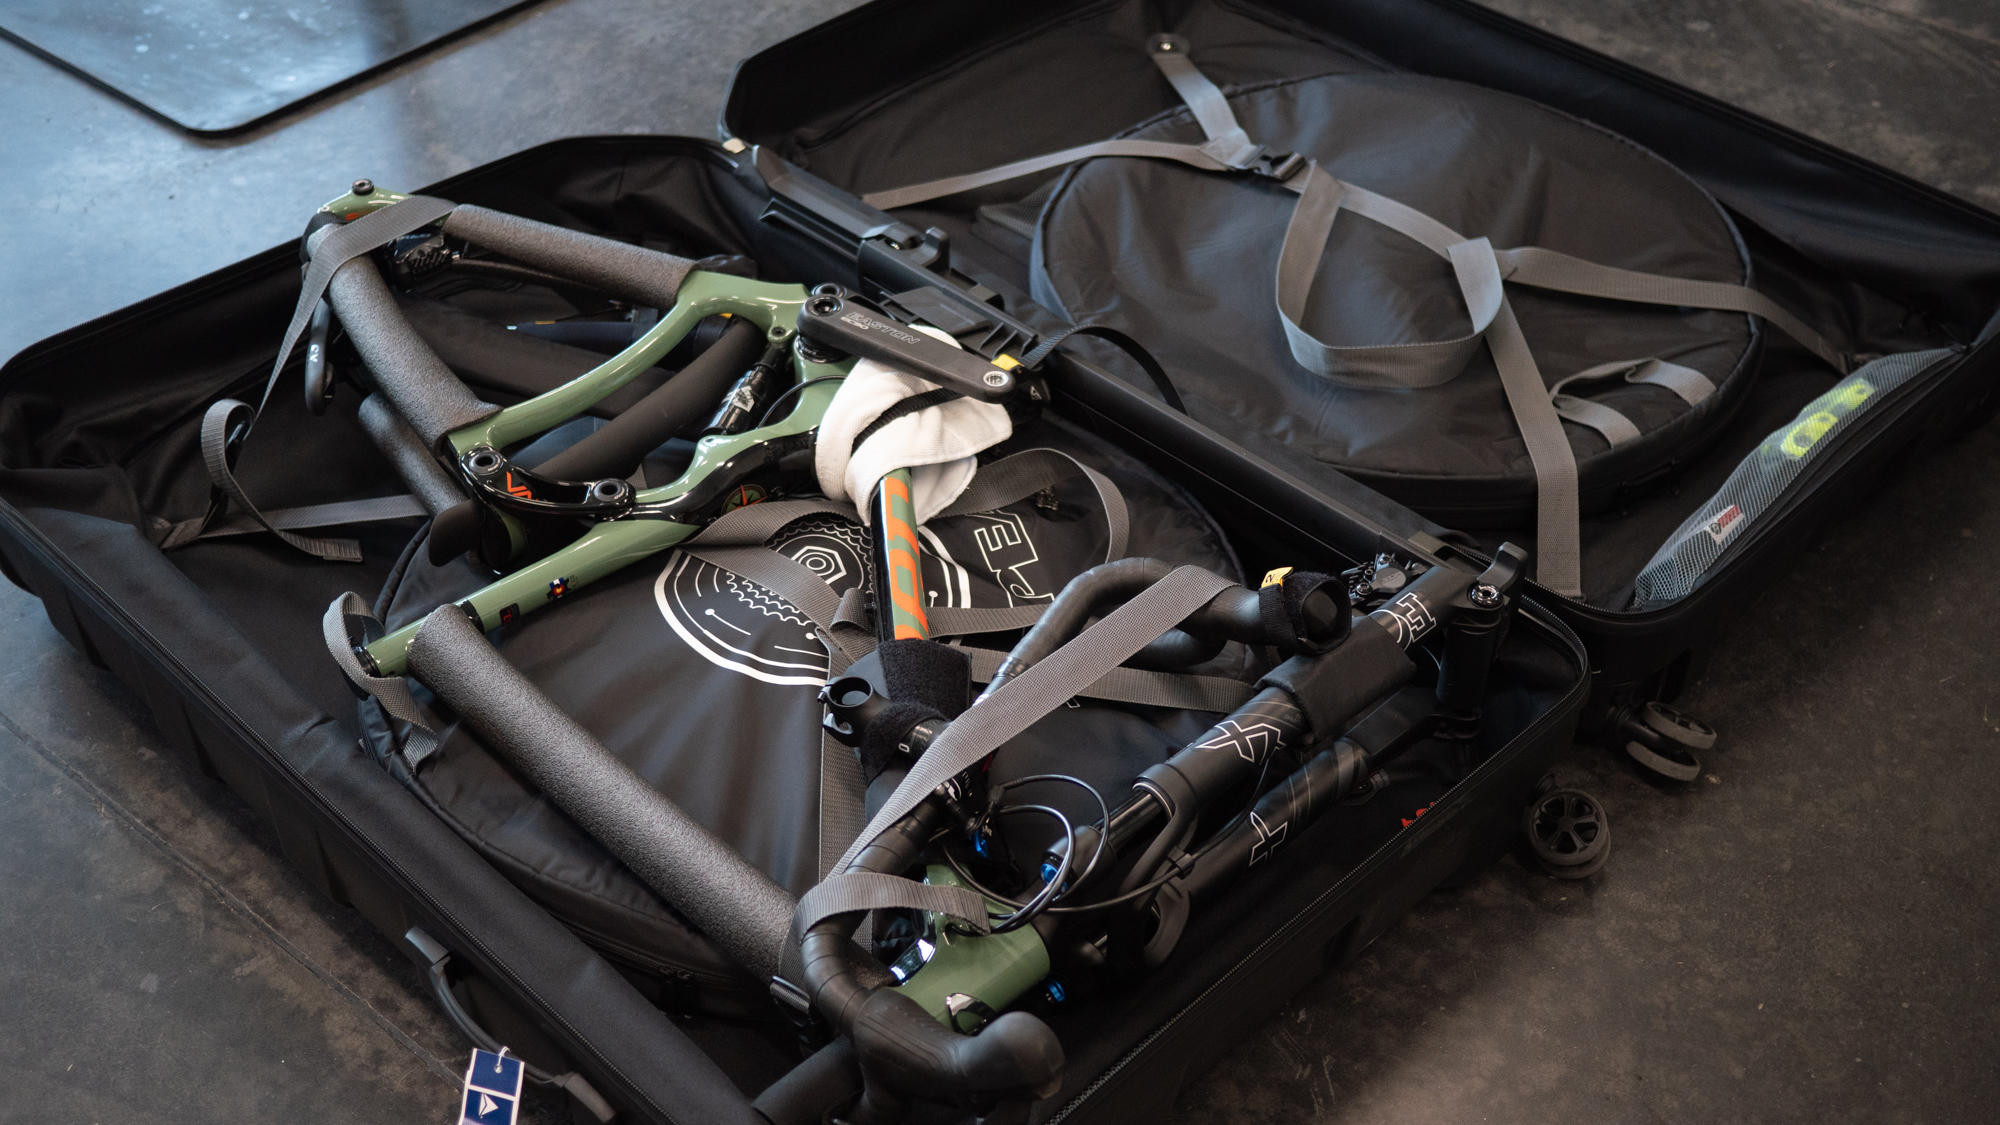
I beg you, do not wait until late the night before your flight to pack your bike for the first time. The first time you try and pack a bike, it takes forever. The second time it takes only a few minutes in most cases, but that first time it could easily take two hours. Not only will you have to figure out the particulars of the case but you'll have to figure out the particulars of your bike. Best case scenario you'll have it take a few hours and require a few consultations with YouTube, or a review, but I've seen a lot worse.
Get The Leadout Newsletter
The latest race content, interviews, features, reviews and expert buying guides, direct to your inbox!
Typically, you can expect to take off the pedals, saddle, and handlebars. If it's been a long time since that stuff has come off, it's entirely possible something won't budge. I recently saw a string of tweets from a person who waited until the last minute only to find seized pedals. They were lucky enough to manage packing the bike with the pedal attached to deal with it on the other end. Do yourself a favour though and save the stress. Practice makes perfect after all.
3. Bring the tools you need
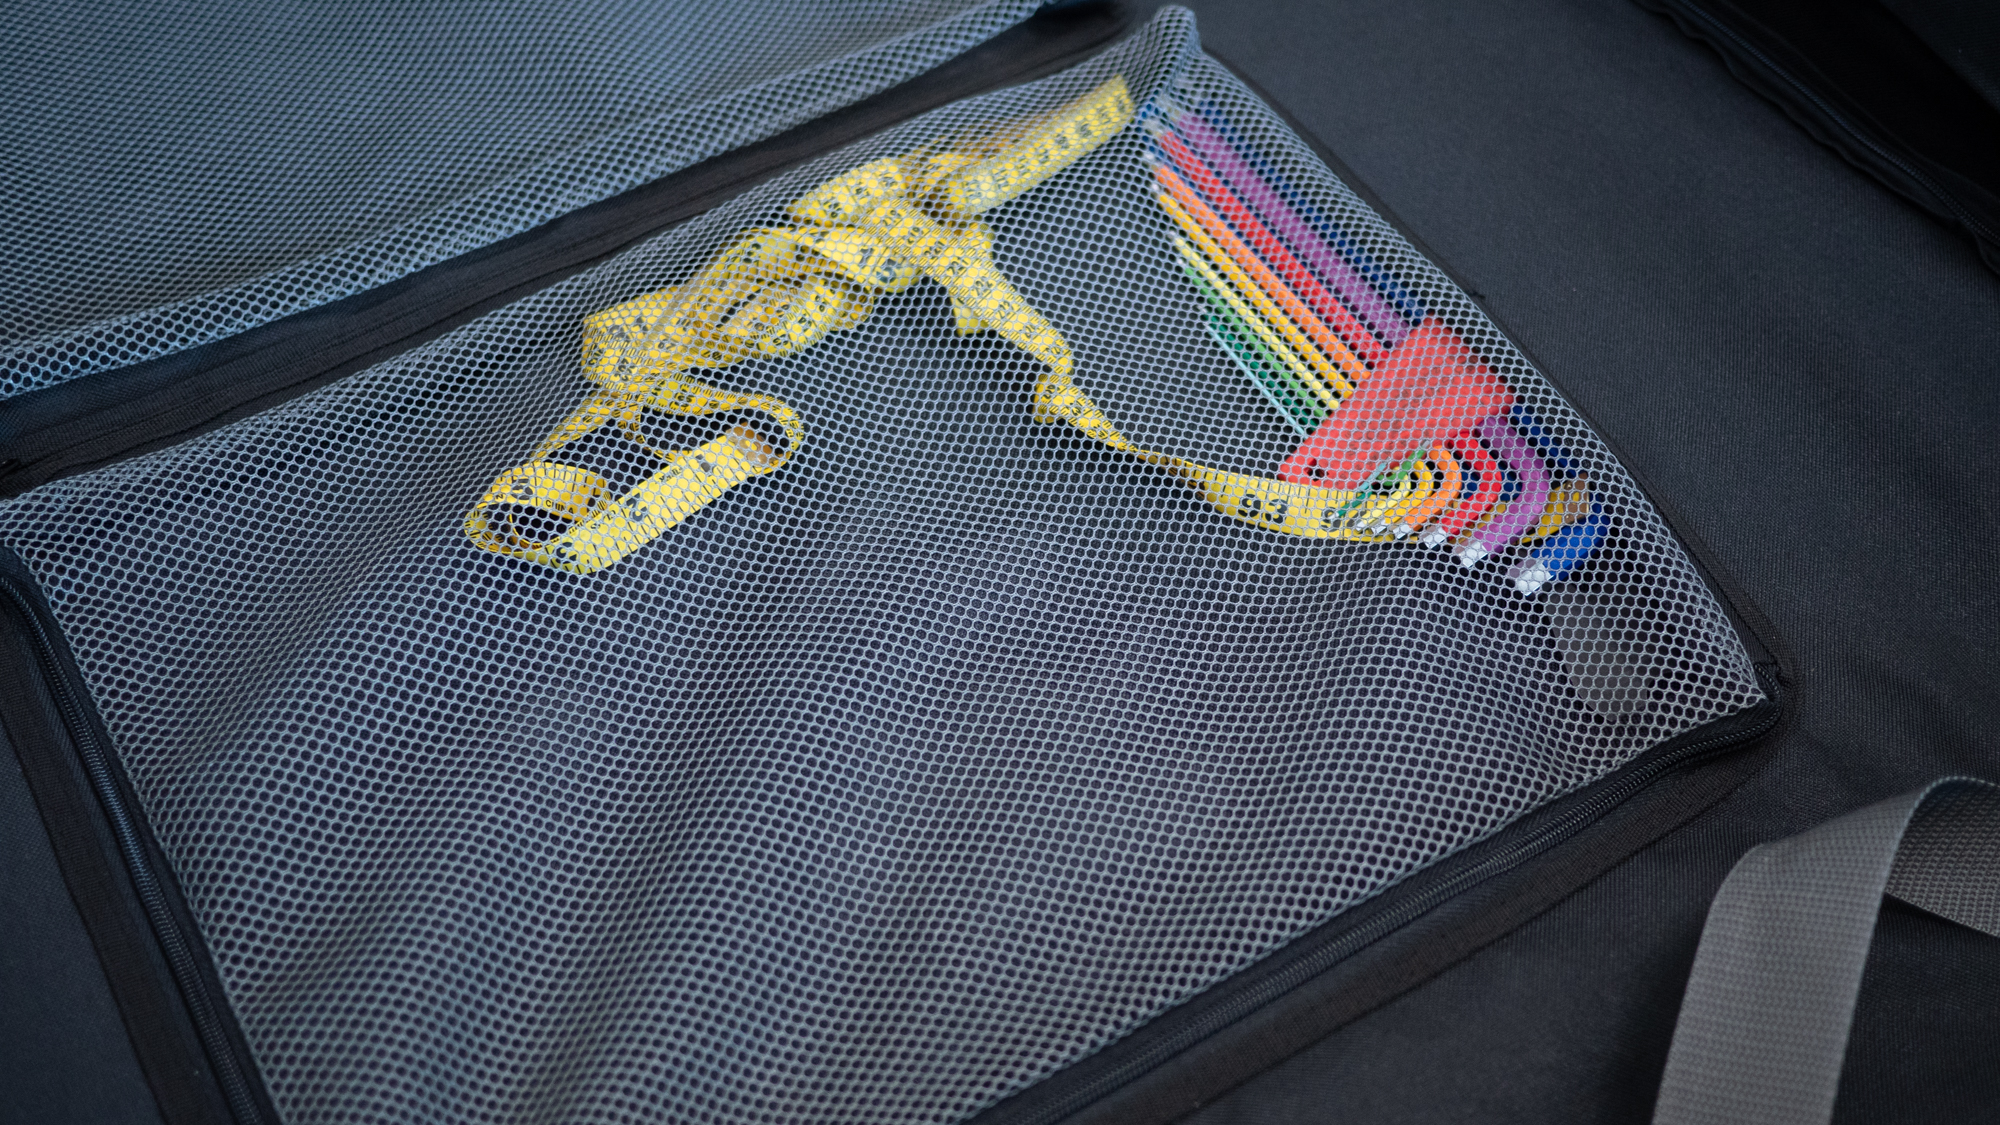
When you take the bike apart and pack it up, keep track of the tools you need. Those tools should come with you. This is particularly important if you are travelling with power pedals that use a pedal wrench instead of a hex wrench for installation and removal. When I travel for bike events there are often actual bike mechanics on the other end and even then, pedal wrenches are a rare sight. That's just one example though, you will also want to remember to bring a torque wrench, a set of hex wrenches, and the correct tools for disc brakes if you have them.
Even if you are doing some kind of organised event that promises to have everything, bring it with you anyway. If you get lucky and they have everything then great, but if there's something missing you won't waste time hunting for it. You might also find that having everything with you allows you to set your bike up yourself and be out riding while others are waiting for help and tools.
Also keep in mind that you don't need full-size workshop tools. The hex wrench set could be whatever you normally carry with you on rides. For me, that means a Fix-It-Sticks Ratcheting T-Way Wrench is the main tool I have. Then for the pedal wrench I carry a Park Tool DCW-2 Double-Sided Cone Wrench. I do go for full size options for the centre lock disc rotors and the torque wrench but there are options out there if you want to optimise more than me.
4. Take things off even if it seems unnecessary
One detail you might have noticed above is that I bring a full-size tool to remove the brake rotors. You absolutely don't have to remove the rotors when travelling, in fact I've gotten away without doing it in the past, but you should. In fact, that's my next tip. Just because you don't have to remove something doesn't mean you shouldn't. Disc rotors don't take long to remove and it doesn't hurt anything but if you leave them on and they get bent, it's a huge hassle.
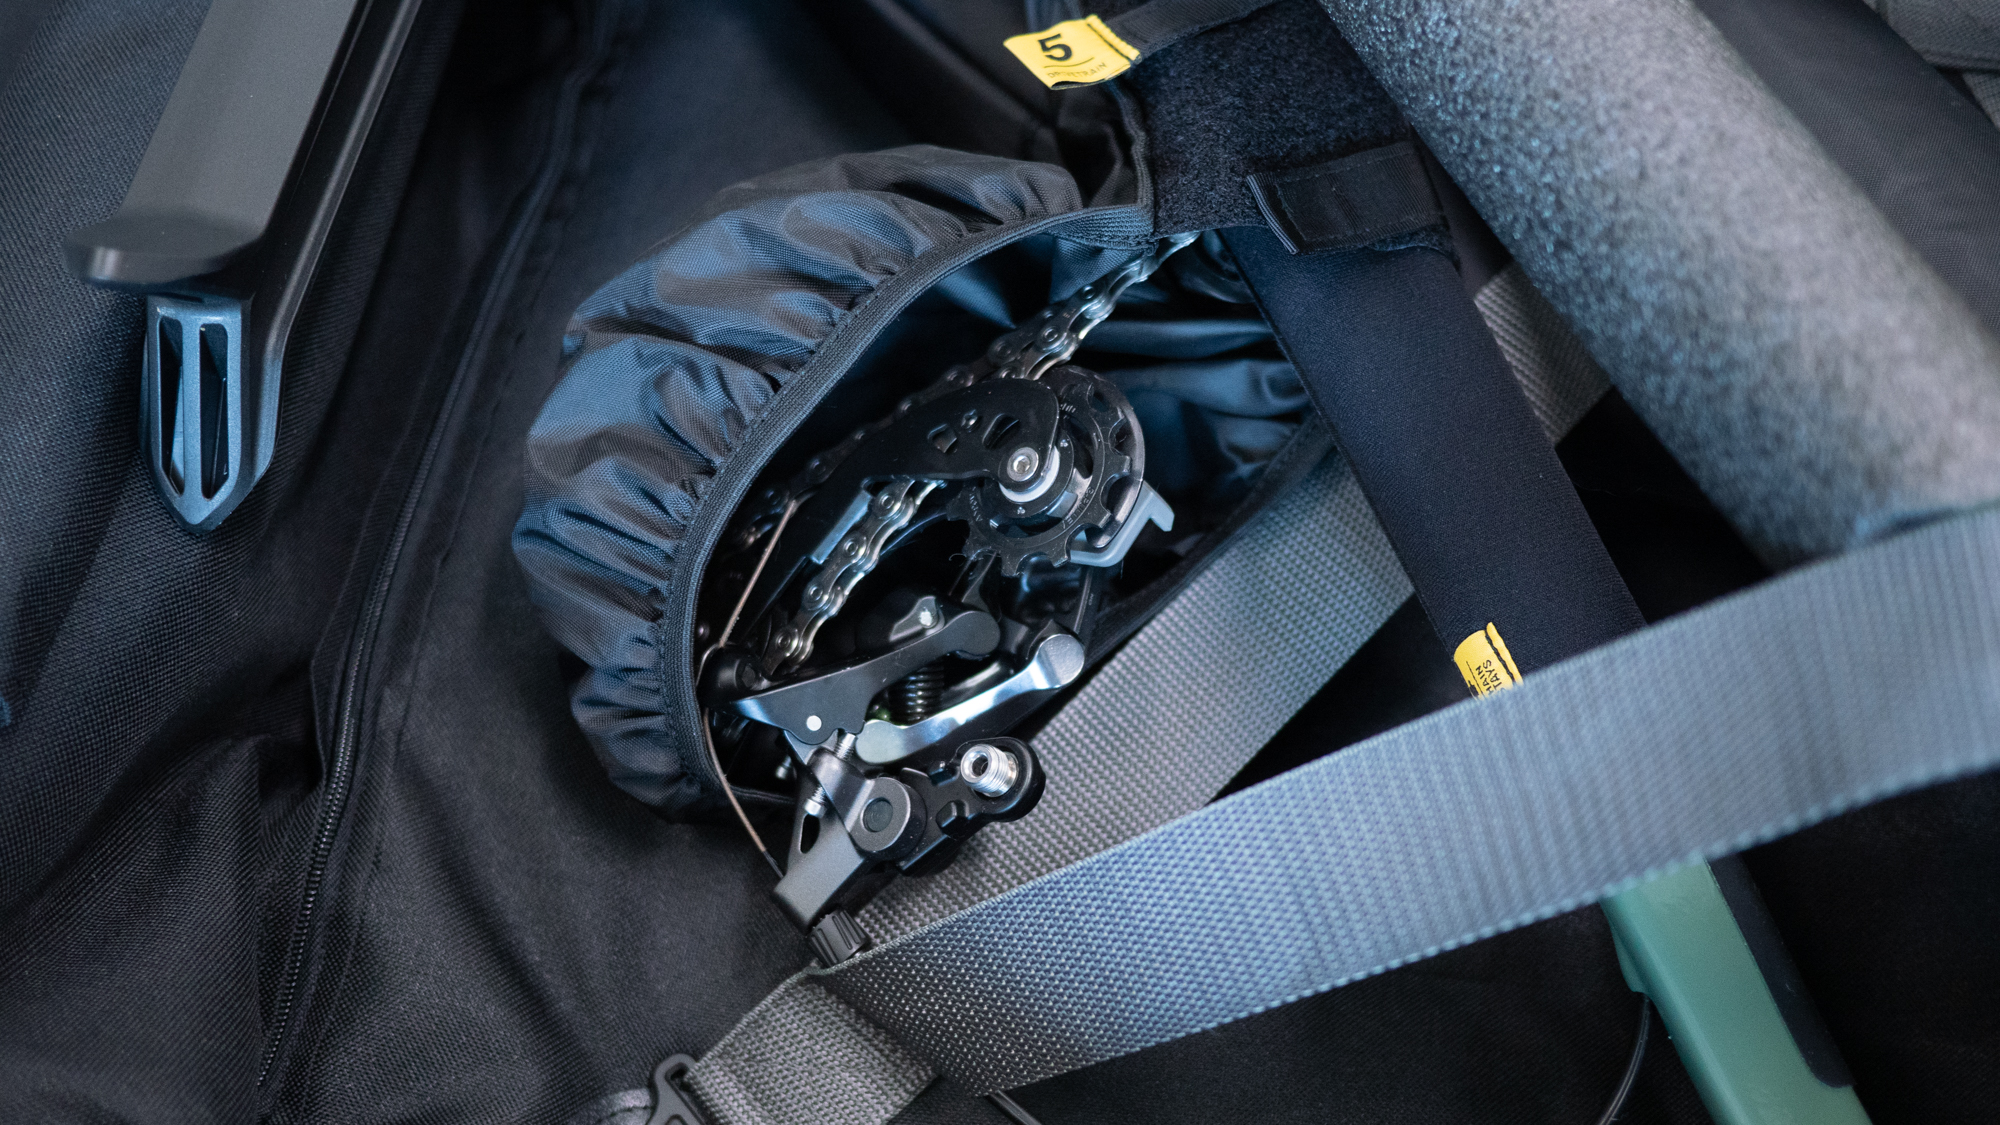
If you've heard you should remove something, just go ahead and do it. Take the small amount of time upfront to remove things rather than deal with a mishap. The rotos are a pretty obvious one but I also recommend removing the rear derailleur. I make that recommendation even if you've got a bike case that promises to protect it. It's incredibly simple to do and it ensures no issues. Some of the other pieces worth removing are any kind of computer mount and, if it's simple, I'd suggest pulling the derailleur hanger as well.
5. Expect TSA to open your case
If you are travelling in the US, the TSA will open your bike case. This is more of a reminder than a tip but it leads to some tips. They will open it every single time and often they will not put it back together the way that you had it. You should expect this.
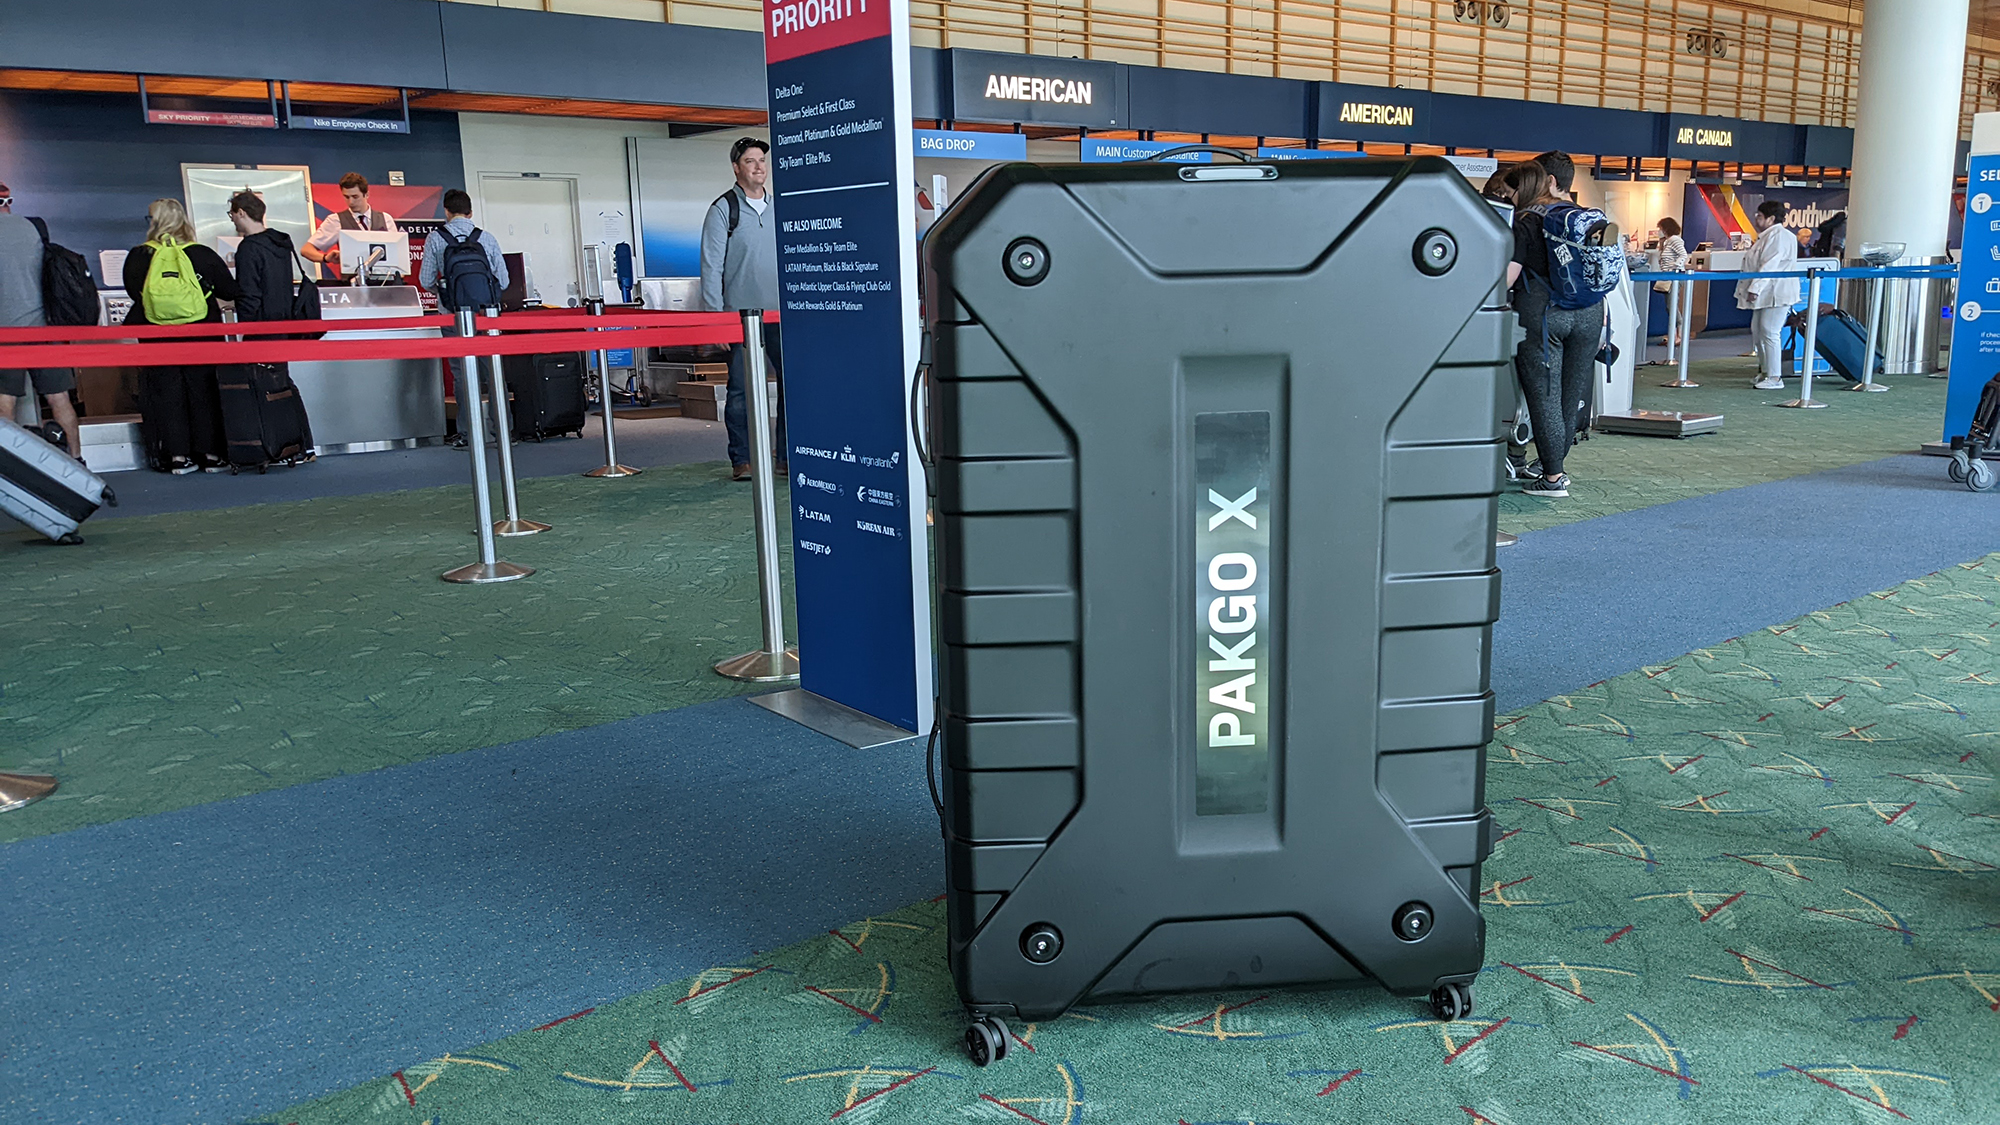
The case I travel with the most is the Topeak PakGo X. It's a hard case that has a workstand which attaches in the centre. Every single flight I've taken with it, TSA has disconnected the workstand from the spine and left it that way. It also has straps that clip together and hold the bike from moving around. Last time I travelled I had them unclip those and, once again, leave it like that.
Most bike bags fly as oversized baggage. That means they are too big to fit through the scanners for luggage and it means that TSA will check them by hand. They open the case and they swab for explosives. When I've seen them do it, they tend to look for any zippers and swab those. Regardless though, it will happen and they will not put things back.
That means you should over protect the bike for this eventuality. Use foam padding across as much of the frame as possible. Make sure the derailleur is in a bag and unable to float free in the larger bag. Mostly, don't expect that because everything was working the way you packed it that it will stay in that configuration.
6. Carry your helmet and shoes with you but not your tools
If you are following the advice here, you'll have a tracker in the bike bag. That means you won't have a lost bike but it doesn't mean you won't have a delayed bike. If you have your helmet, shoes, and pedals with you then you might be able to figure something out while you work on getting reunited with your bike.
That's only half the reason though. The other is the part where TSA will open your bag and do a bad job putting it back together. You are just as likely to have your shoes floating within the case potentially scratching the frame, as anything else. Plus, Helmets are single use and should not be in a position to get bounced around in luggage. Pack your helmet in carry on and make sure it's protected.
As you are taking things out of the bag and simplifying your case for TSA, don't go overboard. Tools are a no-go for carry on and that goes for your small pieces as well. Anything bigger is probably pretty obvious but I've also run into trouble with smaller things. Small wrenches for pedals tend to get measured even when obviously small enough to meet the rules and bike pumps are often an issue.
In fact, bike pumps are specifically listed as okay to bring on board and should be a non-issue. Despite that, I've almost lost my mini-pump multiple times. I've had to take it apart to make it smaller, I've had lectures about how it's not allowed, and I've also had it go through with no issues. It's completely luck of the draw and if I'm travelling with a checked bag it's always easier to just check that stuff.
Now that you’ve read through these tips, keep in mind it’s not as hard as it seems. I’ve managed to take multiple bikes all over the country and world and the worst I’ve seen was a mangled hanger on a friend’s bike. Even in that situation, a trip to a local bike shop got her sorted enough to manage. Things can sometimes go wrong but usually they don’t. Get out and enjoy the amazing locations this great world has to offer.
Josh hails from the Pacific Northwest of the United States but would prefer riding through the desert than the rain. He will happily talk for hours about the minutiae of cycling tech but also has an understanding that most people just want things to work. He is a road cyclist at heart and doesn't care much if those roads are paved, dirt, or digital. Although he rarely races, if you ask him to ride from sunrise to sunset the answer will be yes. Height: 5'9" Weight: 140 lb. Rides: Salsa Warbird, Cannondale CAAD9, Enve Melee, Look 795 Blade RS, Priority Continuum Onyx
