Leather bike saddles: The definitive guide to choosing and owning one
From shapes, care, breaking in, and everything in between, the best leather bike saddles require an extra level of care, but get it right and you'll never look back
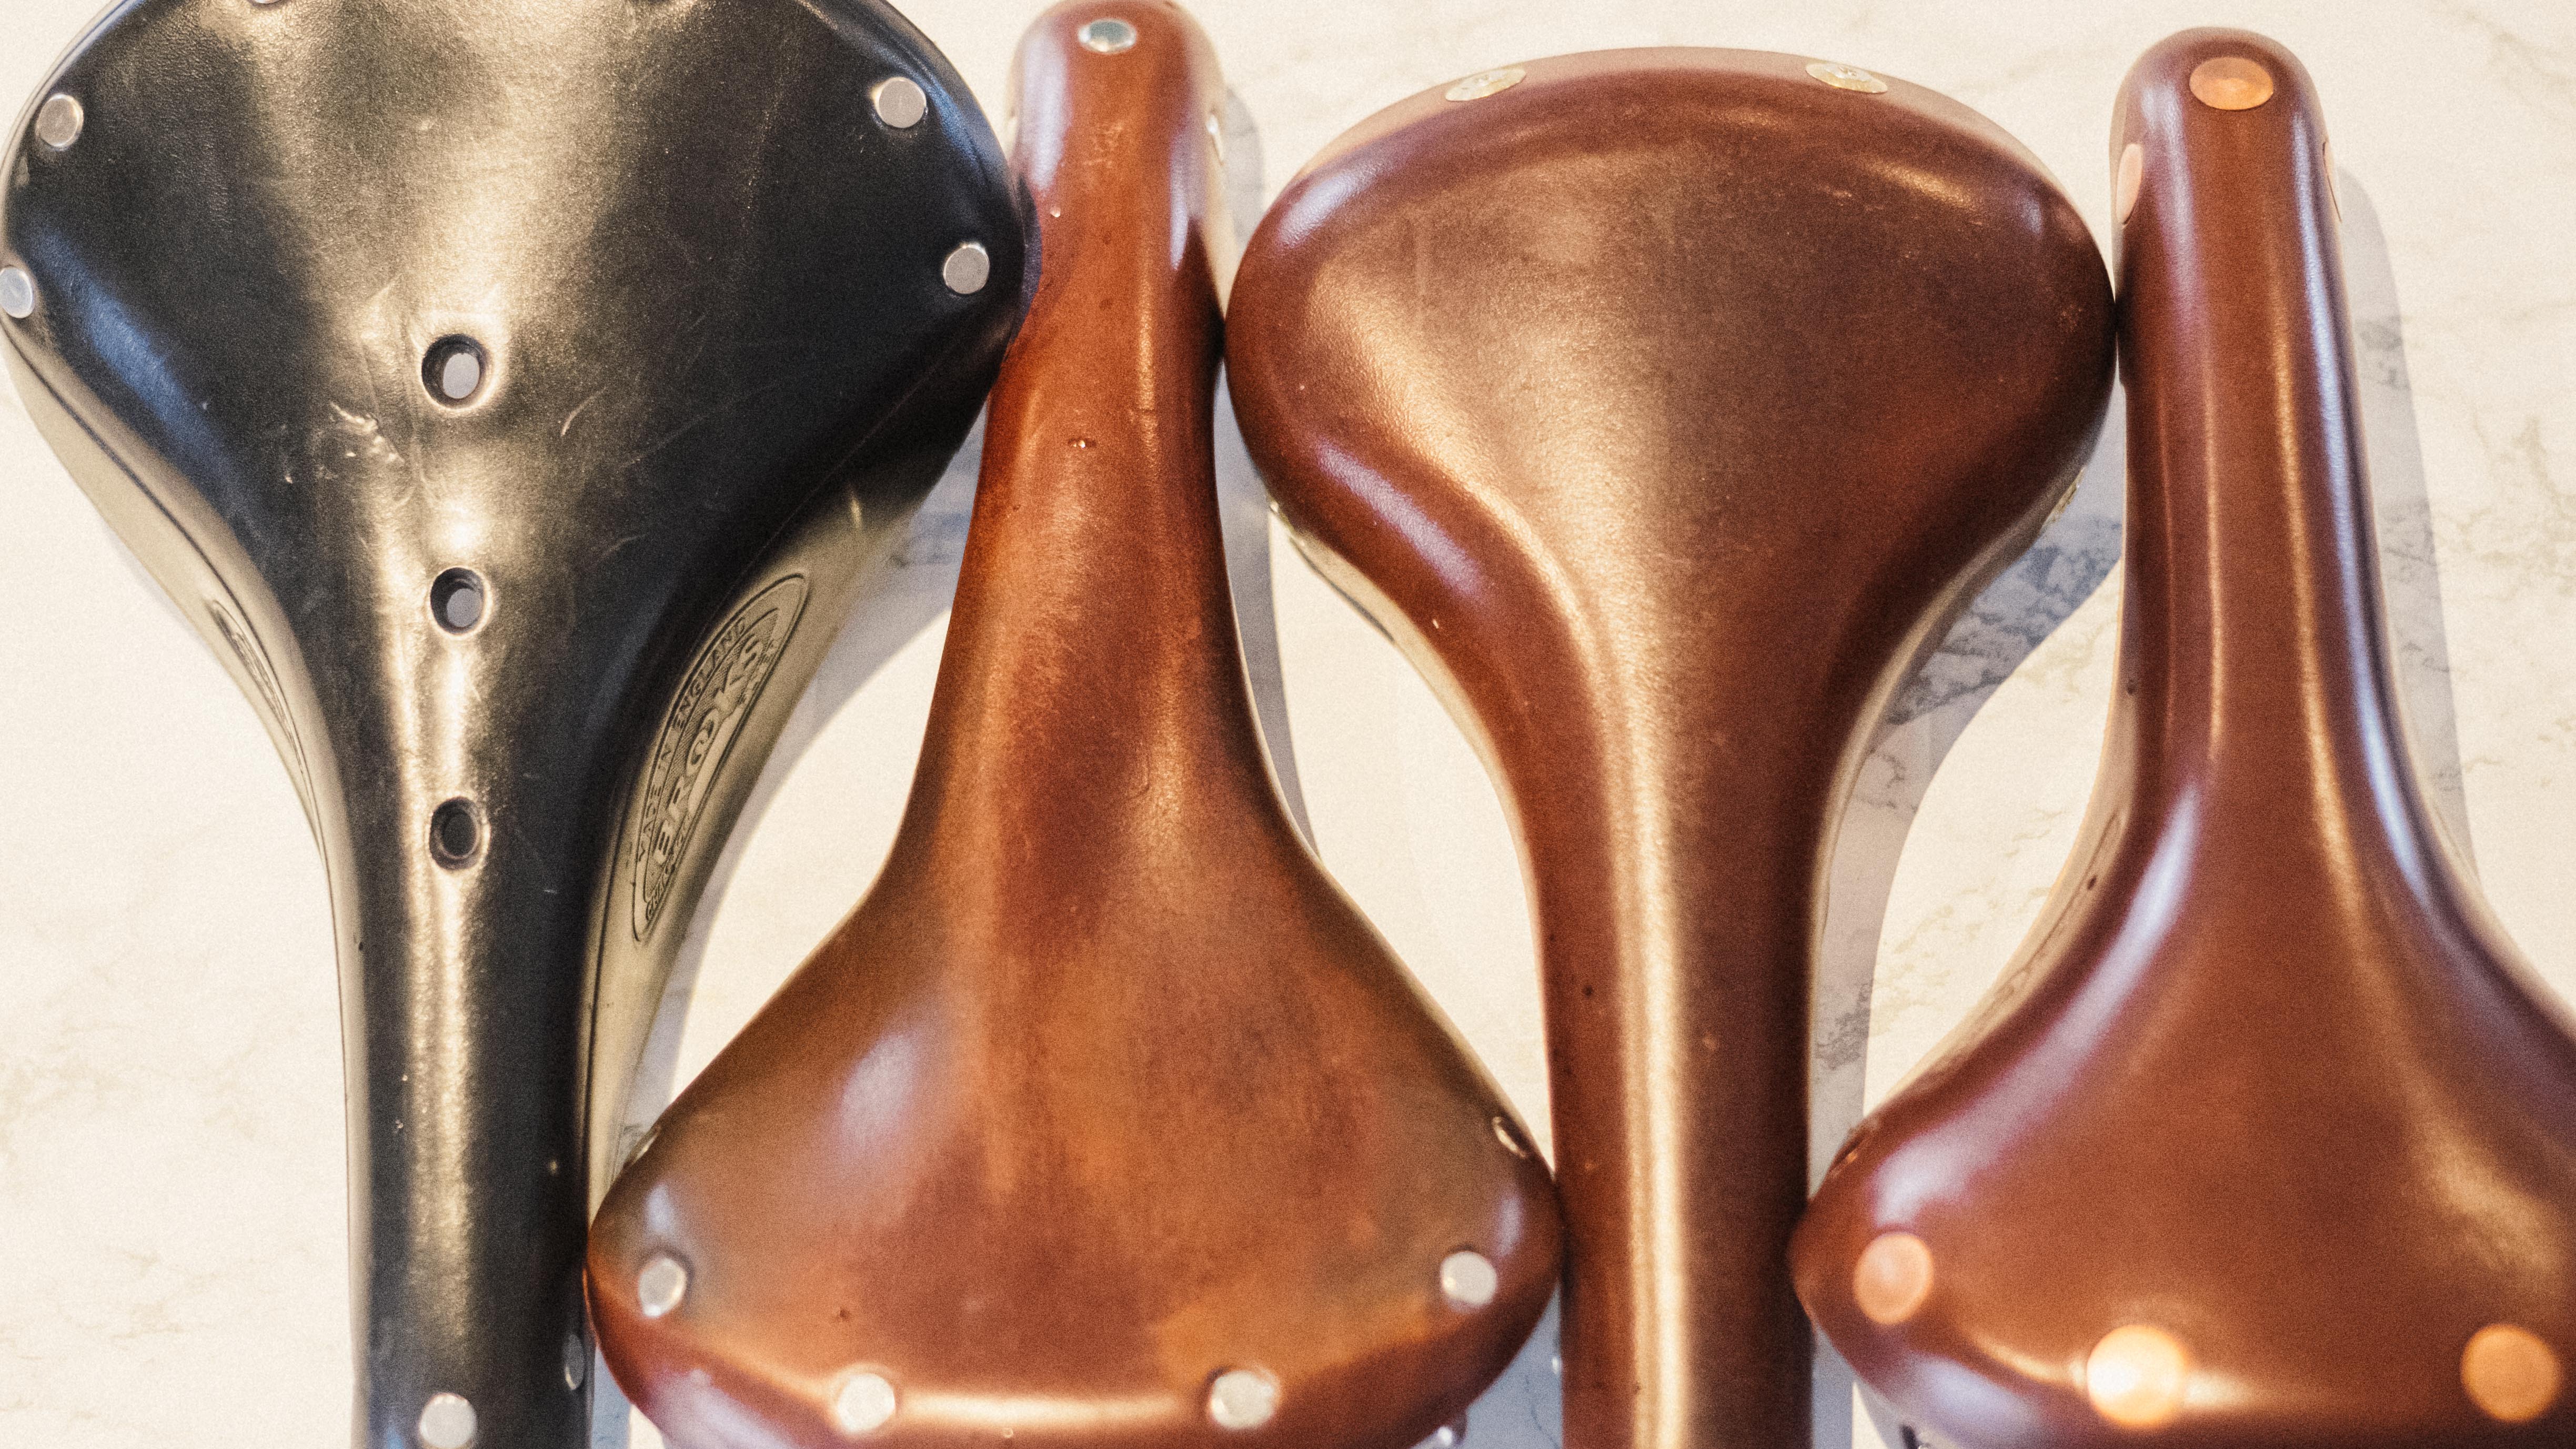
There are very few things in life I am evangelical about. Rim brakes being perfectly adequate, even preferable in some cases, is one of them, and leather saddles is another. Pop punk from the 2000s is also definitely on the list, but that’s not really relevant here. We have a guide to the best road bike saddles, and the best gravel bike saddles too, neither of which really showcase the advantages of a leather saddle, so I’m going to devote a whole guide to them here.
I’ve tried a pretty wide array of leather saddles over the years, I’ve gone through the break-in process many times over, and I’ve picked up some tips and tricks that’ll help you on your way. If you’re leather curious, or you’ve got a new bike that’s come with a leather saddle and want to get the best out of it then read on and it might just change your riding life.
Should I use a leather saddle?
You can trust Cyclingnews
I'd never be so bold as to tell anyone what to do with their own bottom; saddles are a deeply personal choice after all, perhaps the most of any bike component. A saddle that’s a comfy armchair for one person may well be intolerable for someone else. It’s about finding the sweet spot of shape, padding, and your position on the bike. Personally and professionally I’ve tried more saddles than I can recall, and none of them, for me, match the comfort offered by a broken-in leather saddle.
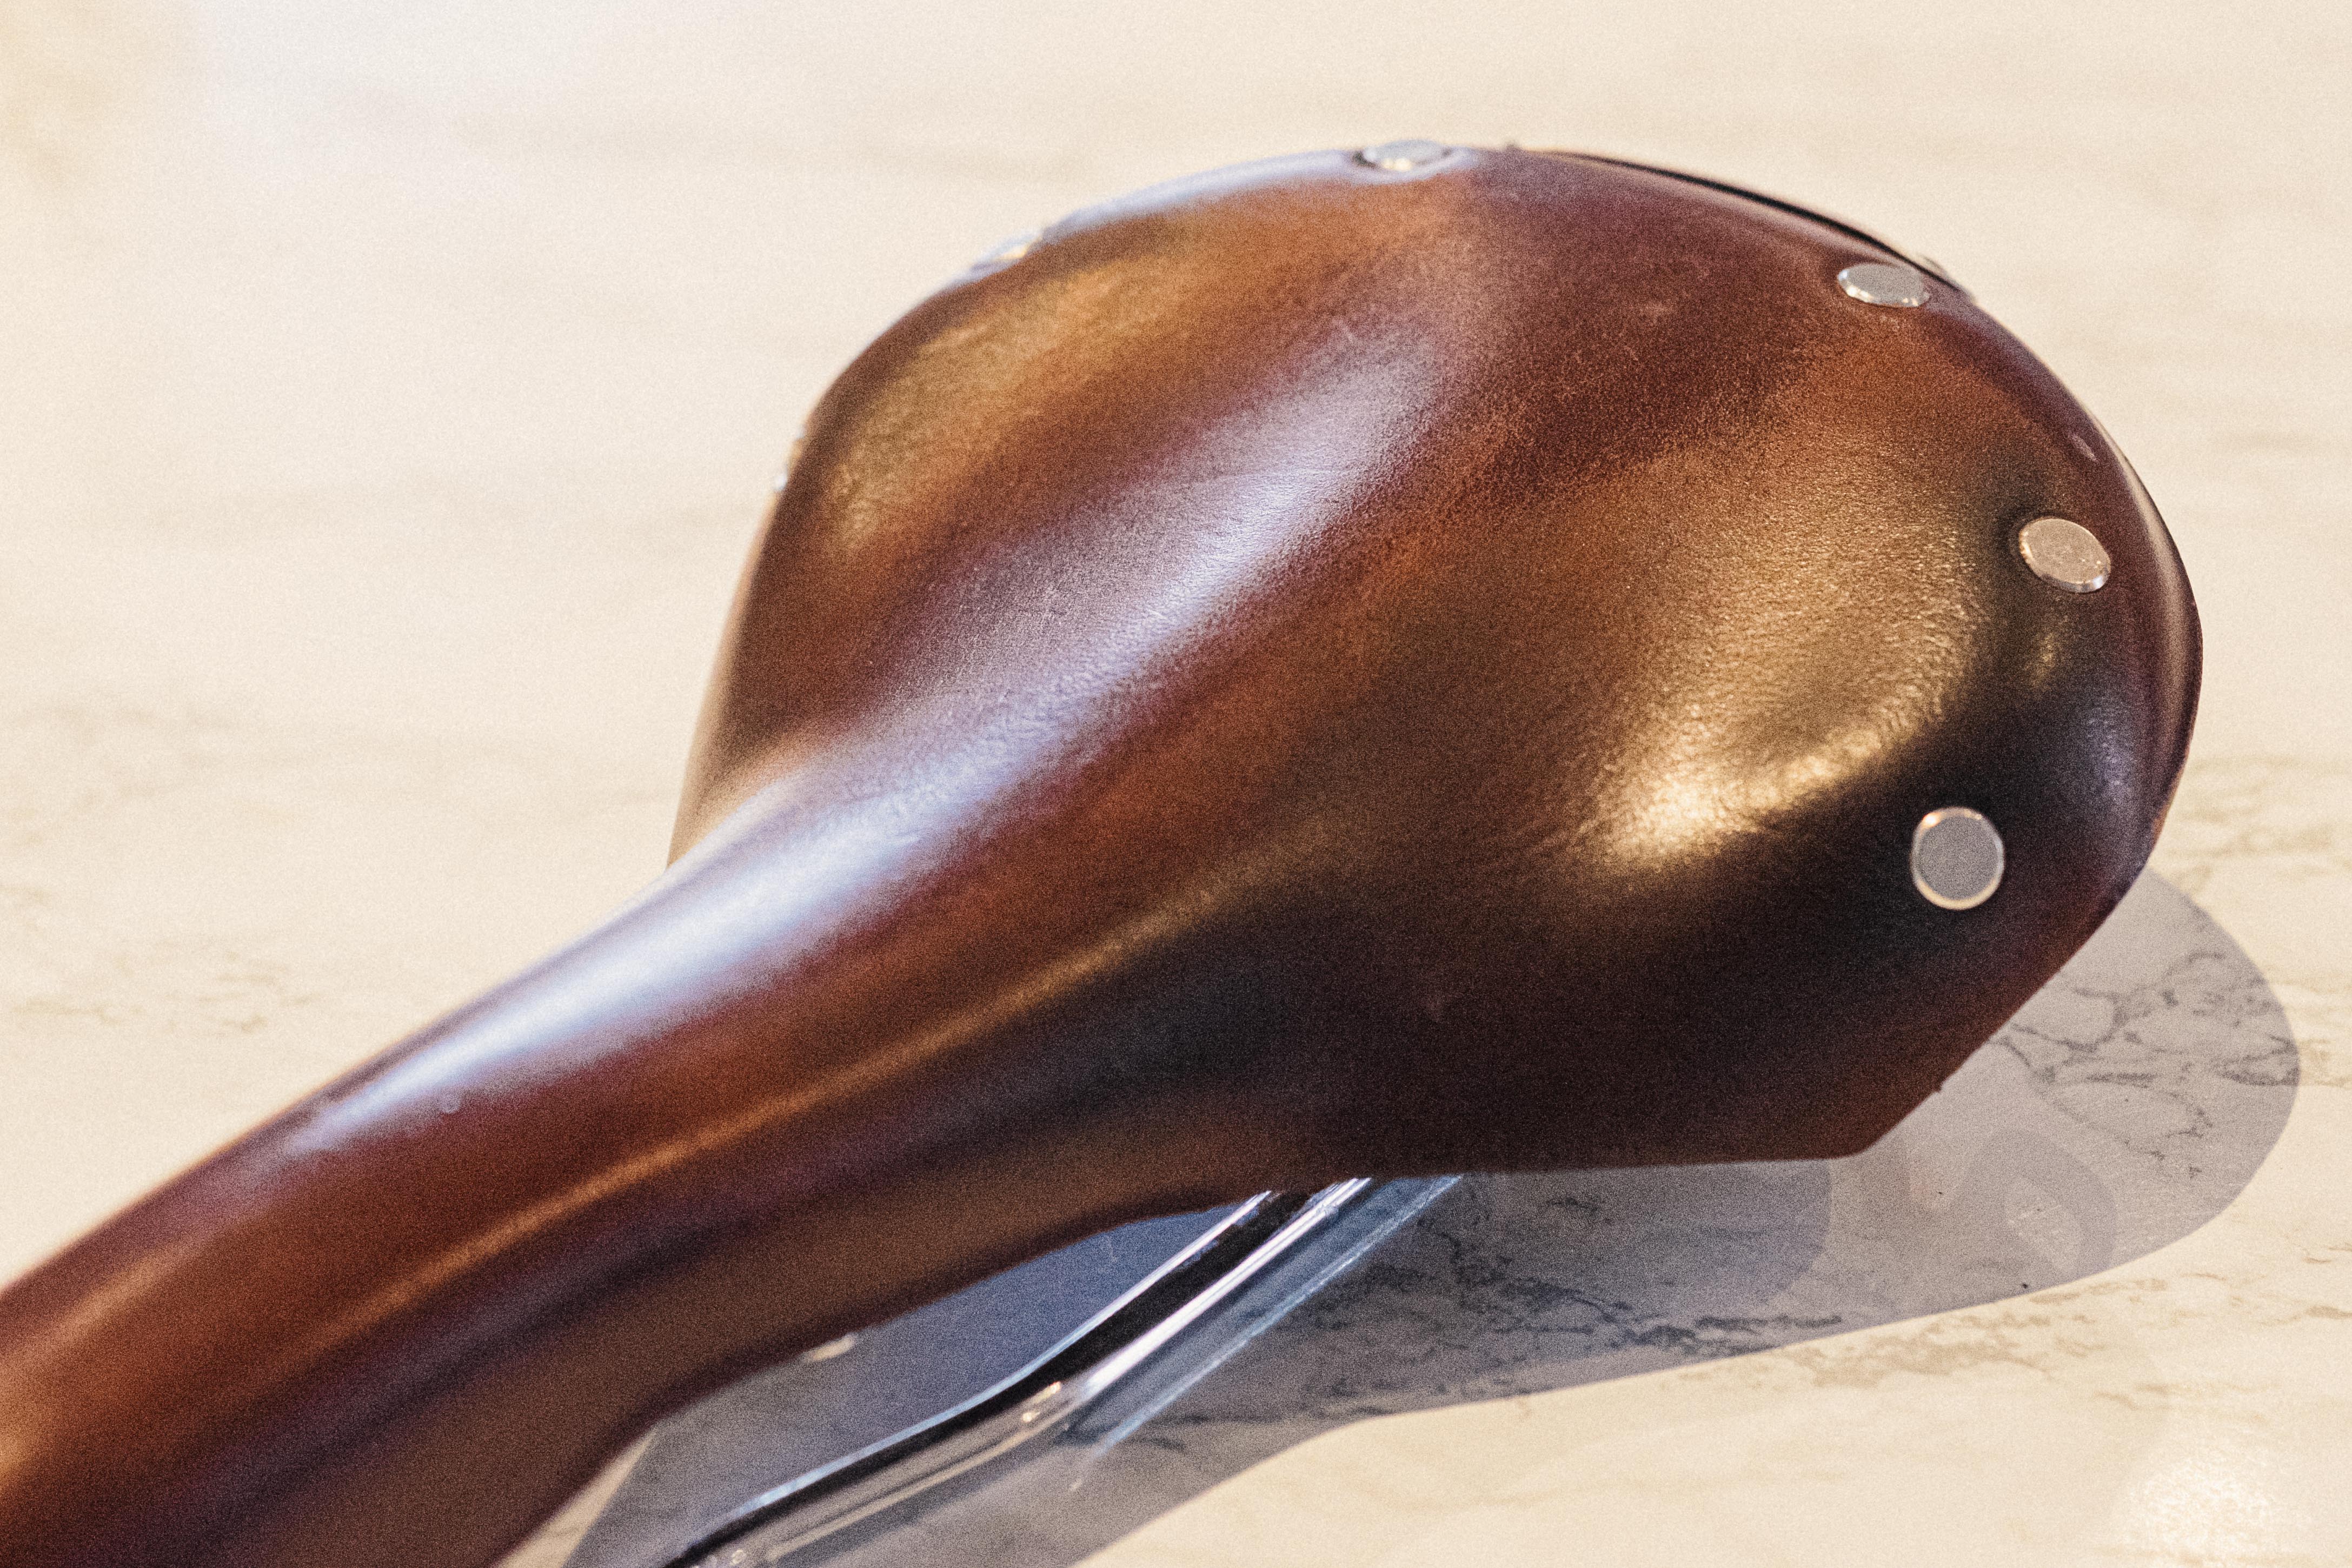
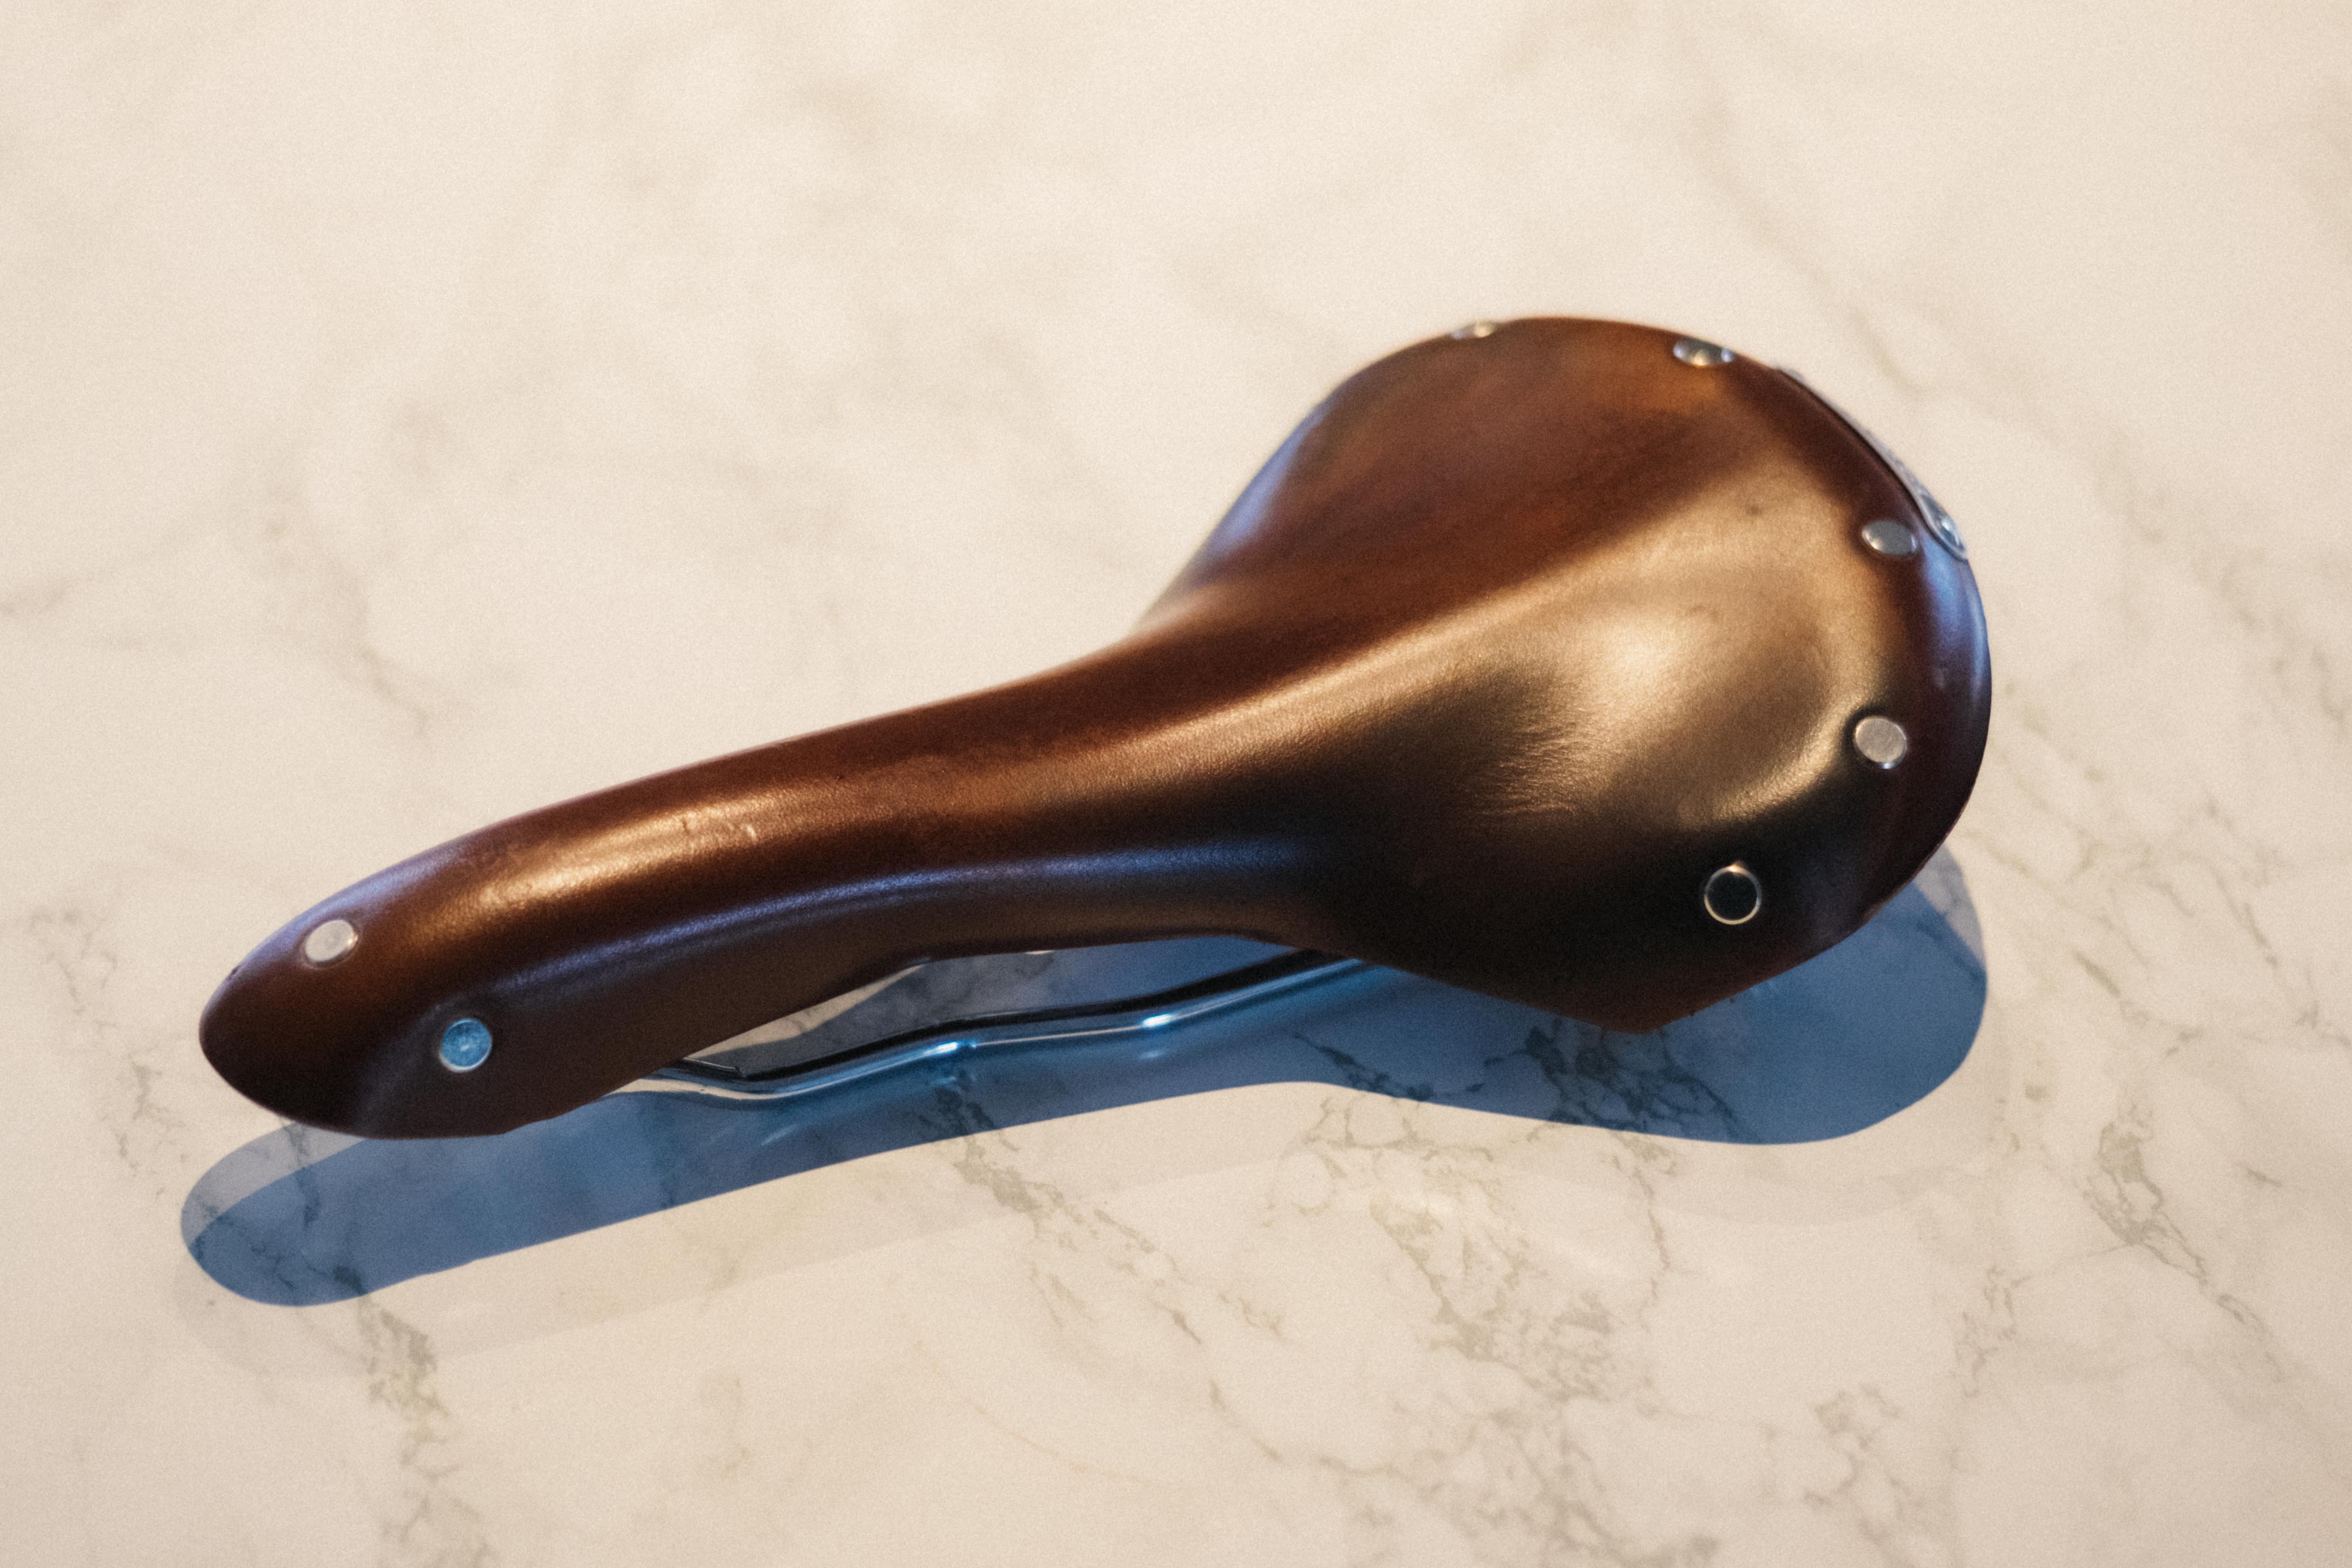
While synthetic saddles are a set shape, leather saddles work in a very different way. The upper-shaped piece of leather is suspended above the rails and held in place at the nose and the rear. Tension keeps it in place, but with age and use the leather softens and slowly the saddle forms to your specific anatomy, much like breaking in a pair of leather shoes. The leather is either riveted or bolted on, and this is where the phrase ‘on the rivet’ originates from; riders, while making big efforts, would literally be sitting on the rivet at the nose of their saddles.
If you struggle with saddle comfort and you’re willing to take a hit on weight then a leather saddle may well offer a big improvement. From my own experience, I have always suffered from saddle sores on my right sit bones more or less regardless of the saddle I use. When I swapped to leather I noticed that the right side of the saddle became broken in far more prominently than the left, leading me to deduce that I have a functional leg length discrepancy from an old back injury. Using a leather saddle allows for this biomechanical quirk, and, once broken in, takes a noticeable amount of pressure off my right sit bone. The difference is so stark that I can happily ride my broken-in Brooks B17 for hours off-road without any padded shorts.
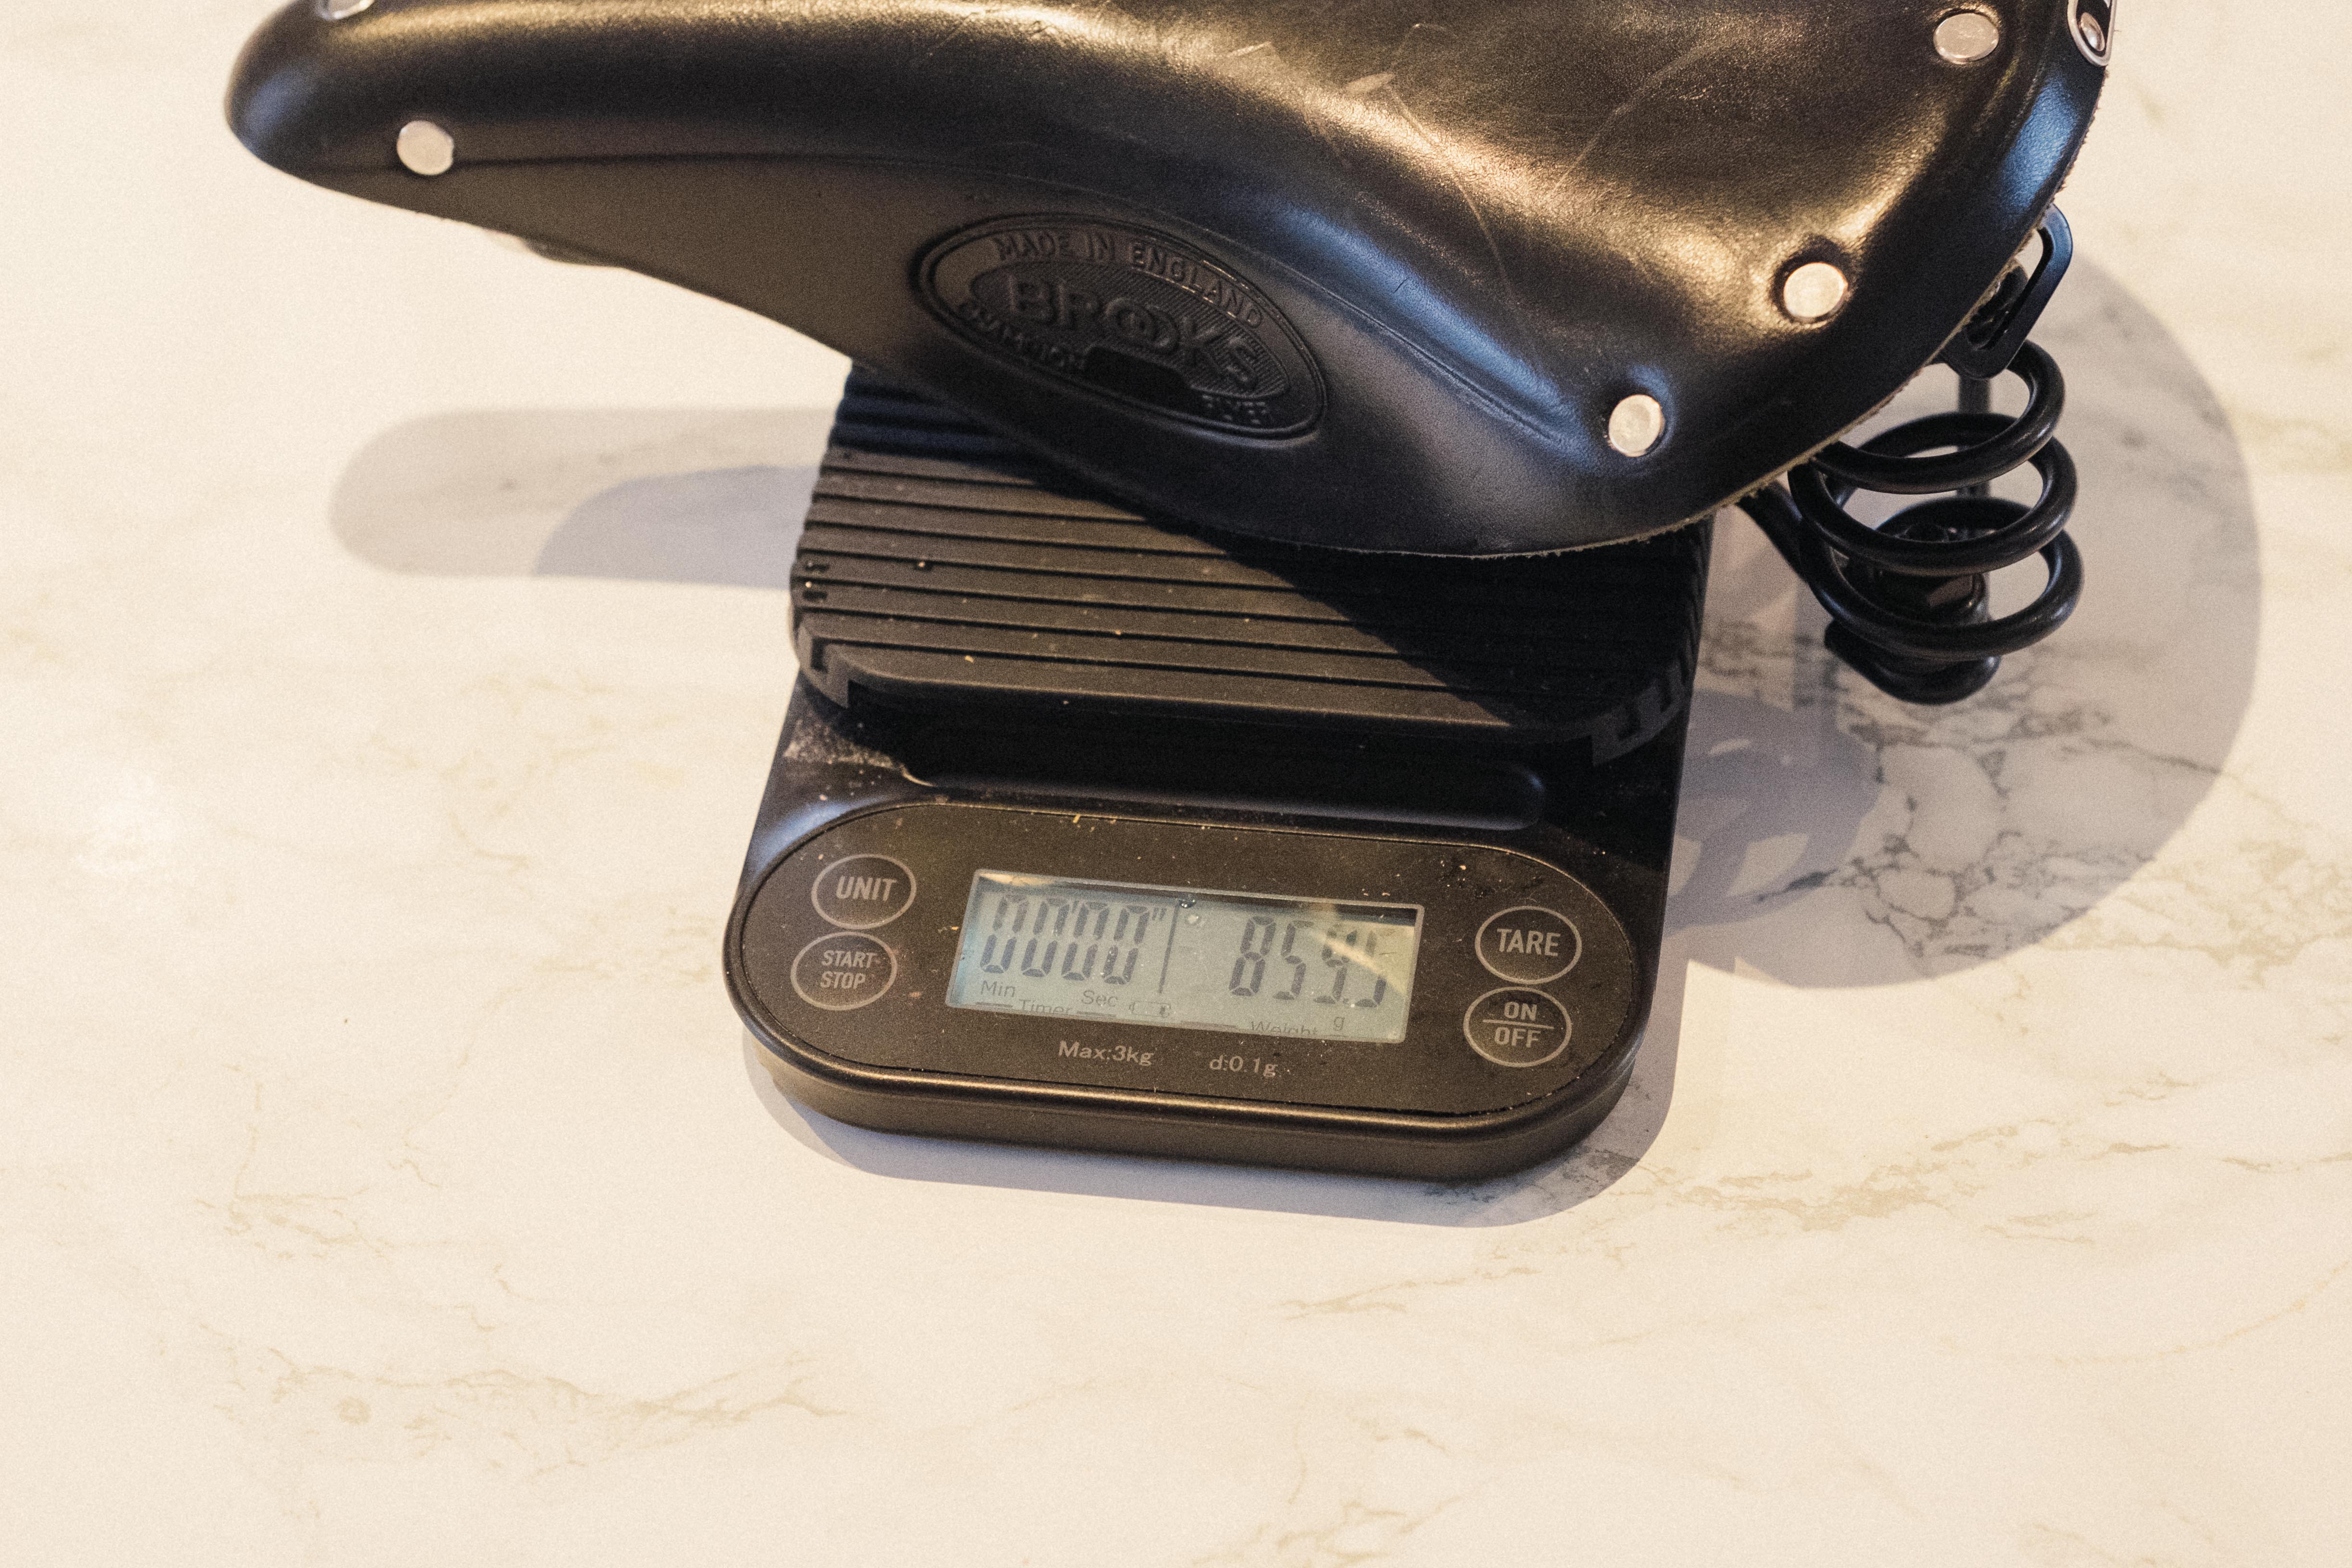
Every component decision in cycling involves some form of compromise. The main drawback, in this case, is the weight. In general, I’m willing to take the hit, but that’s something you’ll have to square away with the weight weenie part of your psyche. That and the fact that they can look a little out of place aesthetically speaking on modern road bikes.
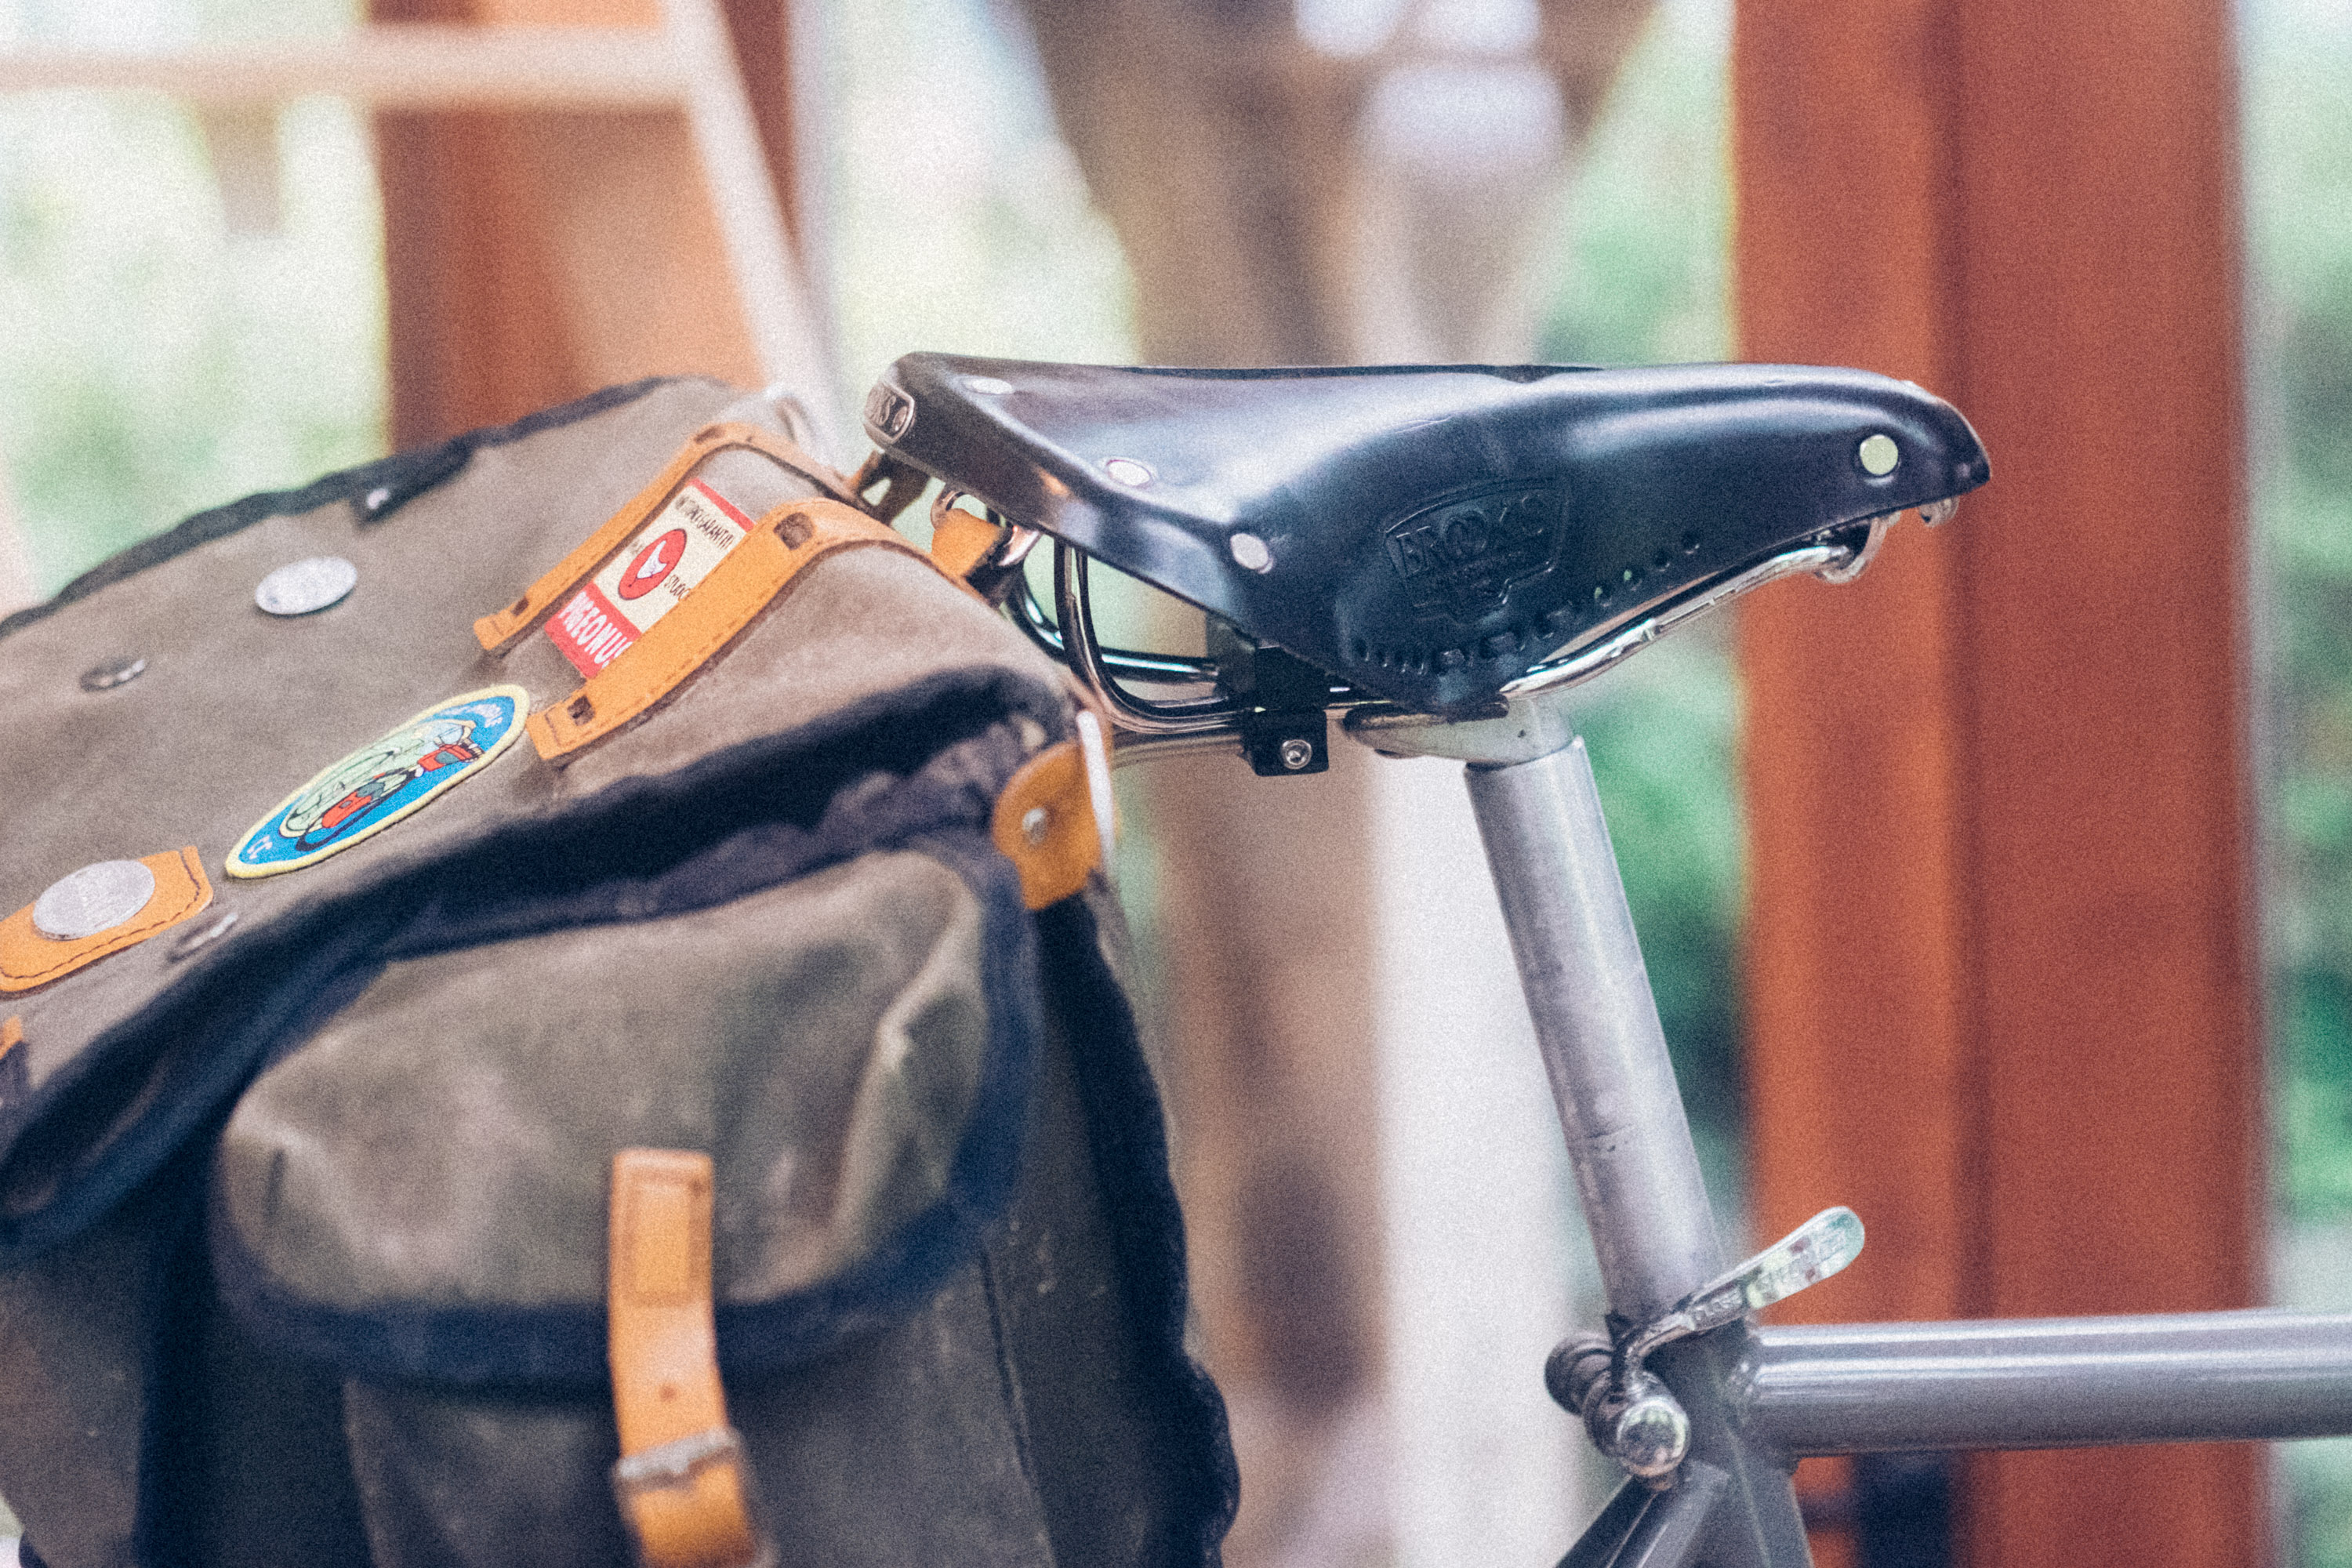
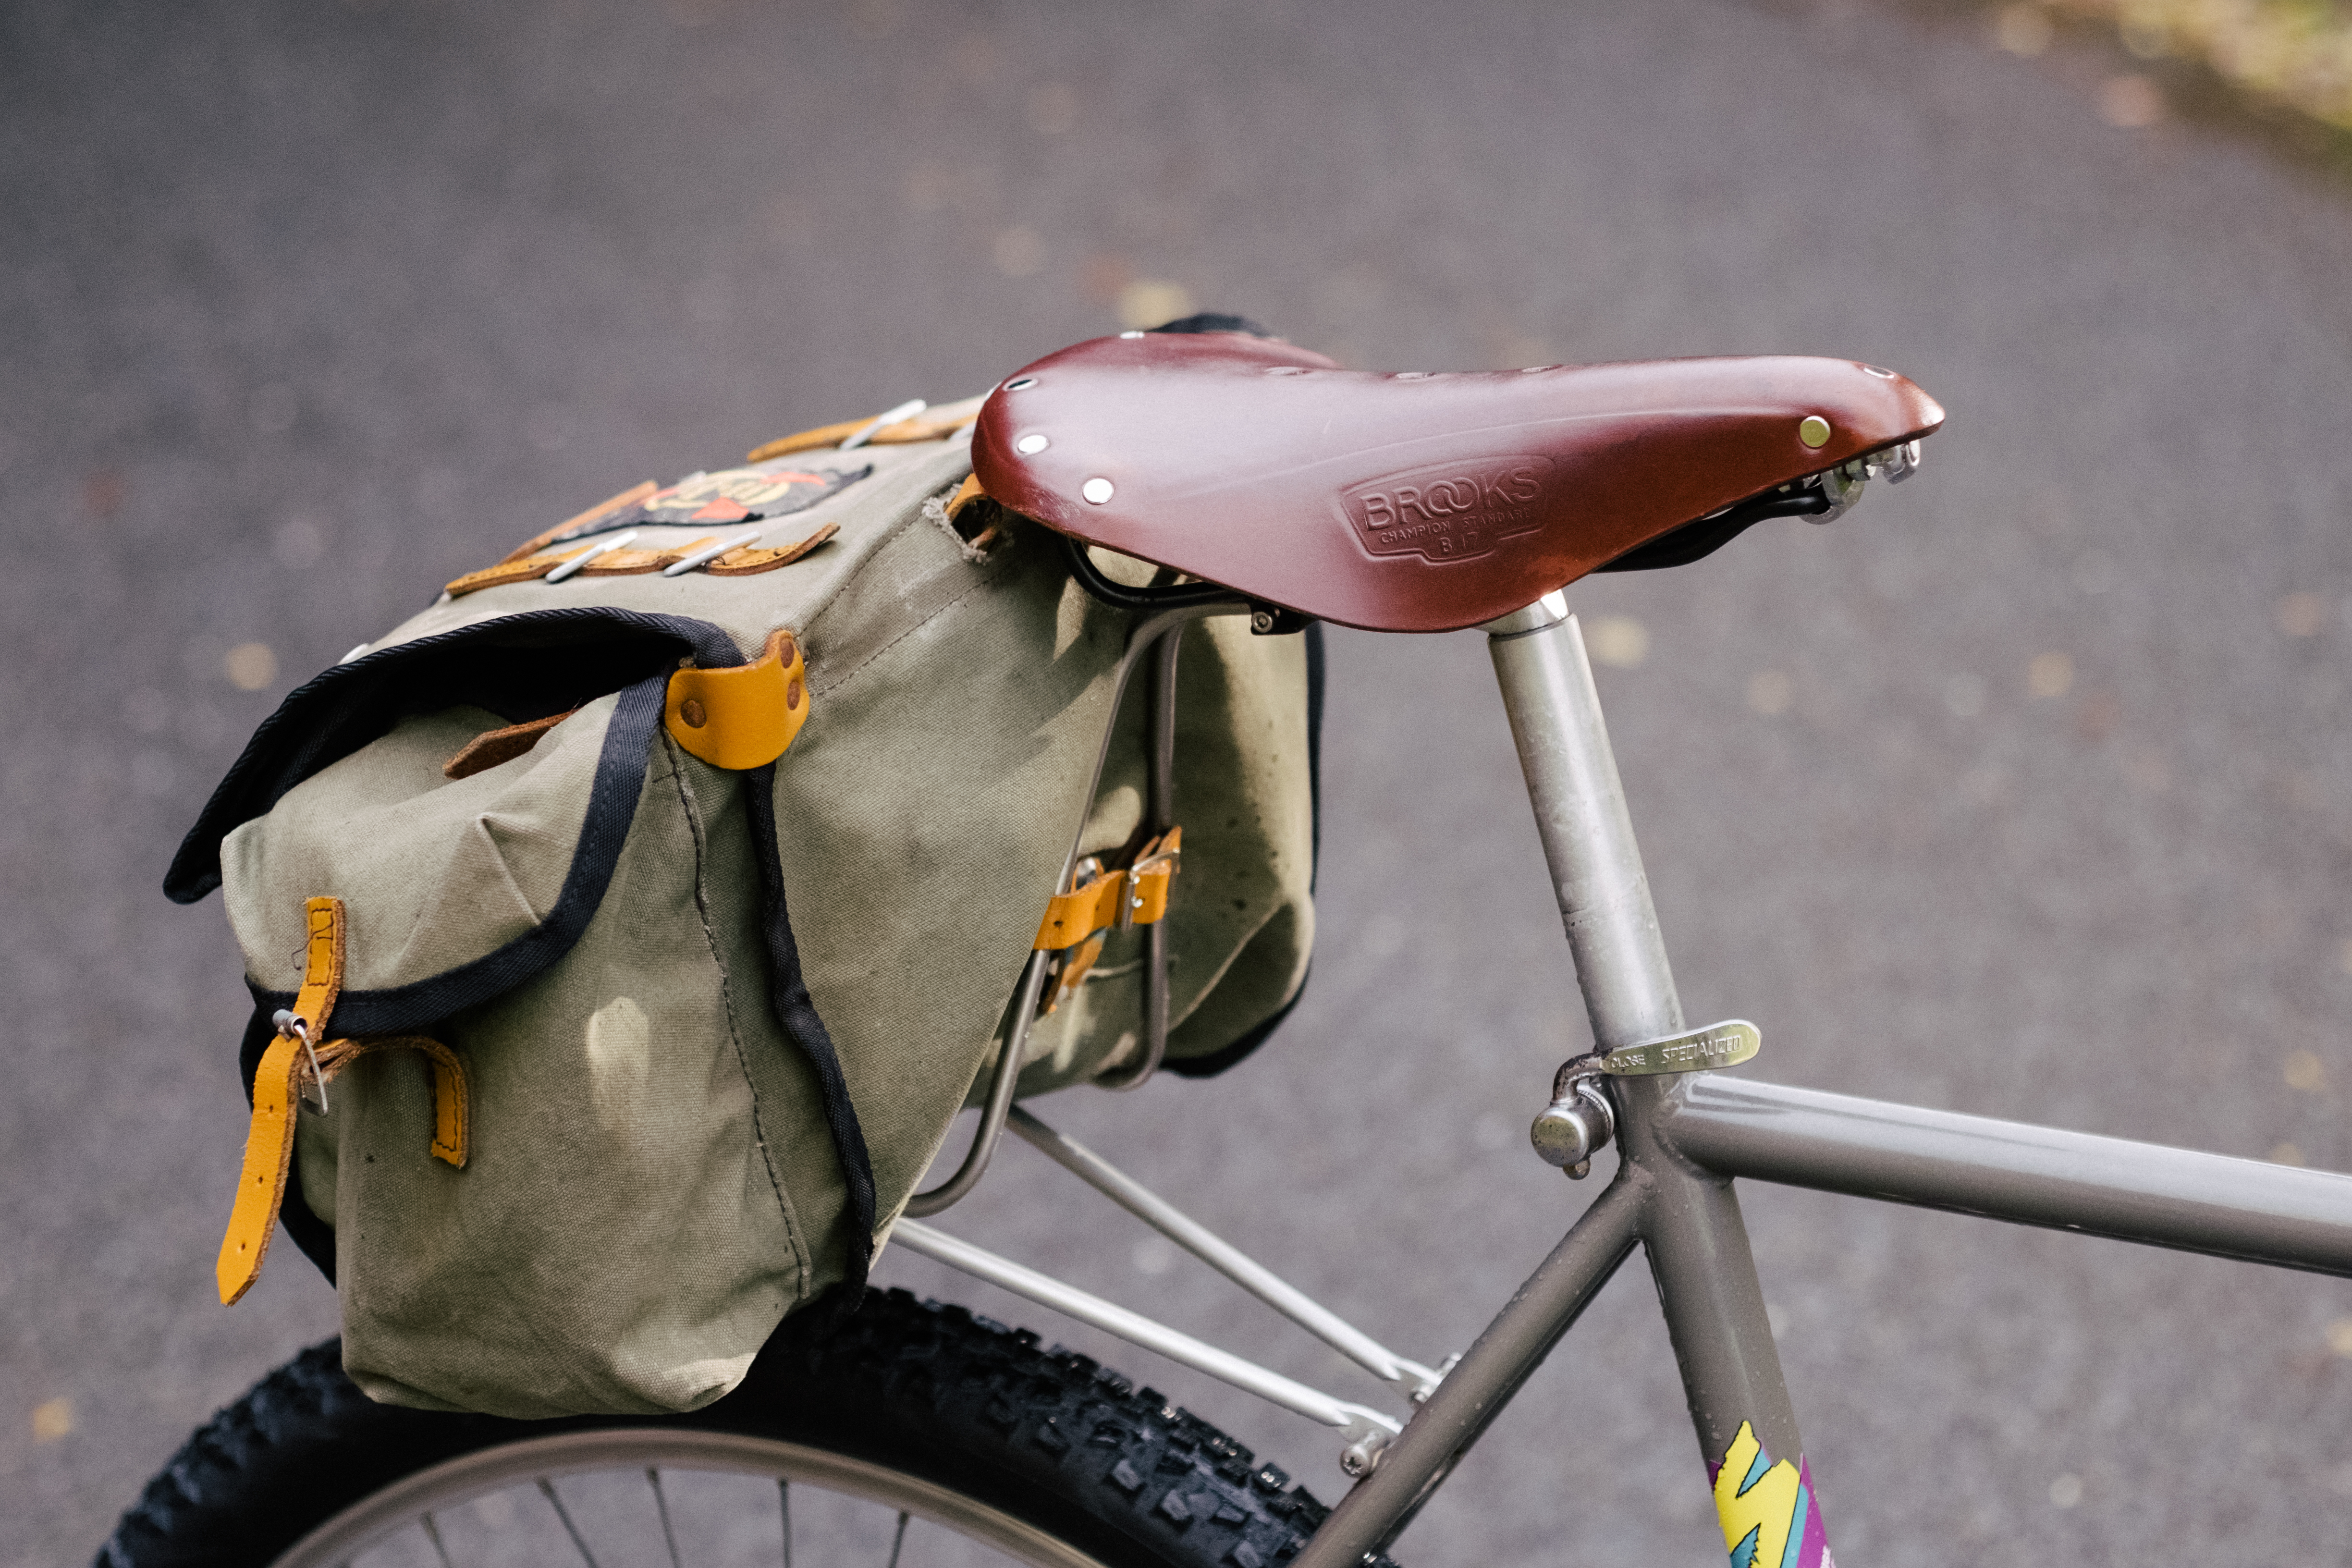
Another benefit that’s rarely publicised is that more or less all leather saddles come with ‘saddle loops’. These are a pair of slots built into the saddle chassis, from which you can hang all manner of things, but primarily Carradice-style saddle bags. These are my preferred on-bike luggage options too; high capacity, limited sway when compared to teardrop options, and more aero than a bar bag. Plus there are size options from a couple of litres up to truly gigantic, pannier size options. Even if you don't use a leather saddle you can run one of these with an adapter like the Hobopieces Restuvus.
Is it hard to break in a leather saddle?
The main reason I hear that puts people off using a leather saddle is the break-in period. There are horror stories aplenty, but it needn’t be as bad as all that. Each manufacturer has its own recommended system, and if you dive into any forum or message board there are a tonne of leather saddle fanaticists, each with their own secret to breaking in. I’ve no doubt the following will enrage some of them, but this is my go-to method for breaking in: One coat of leather conditioner focusing primarily on the underside of the saddle, and one very wet ride of no longer than two hours. It is worth noting that some manufacturers like Berthoud pre-apply a grease before sale to aid waterproofing, so you needn't add any yourself for the first year.
As we’ll go into in the section on ongoing care, leather doesn’t particularly like being wet. It’s an absorbent material, and if it gets drenched it swells and becomes drastically more pliable. I only really found this out after getting caught out by a thunderstorm. When I got home my B17 had sagged and formed to my posterior in a very noticeable way; not enough to need re-tensioning, but enough for it to become markedly more comfortable thereafter. If you don’t live somewhere wet you can give it a dunk in a bucket of water for a few minutes instead; a spray with a hose won’t really cut it, as it’ll not have time to absorb and soften.
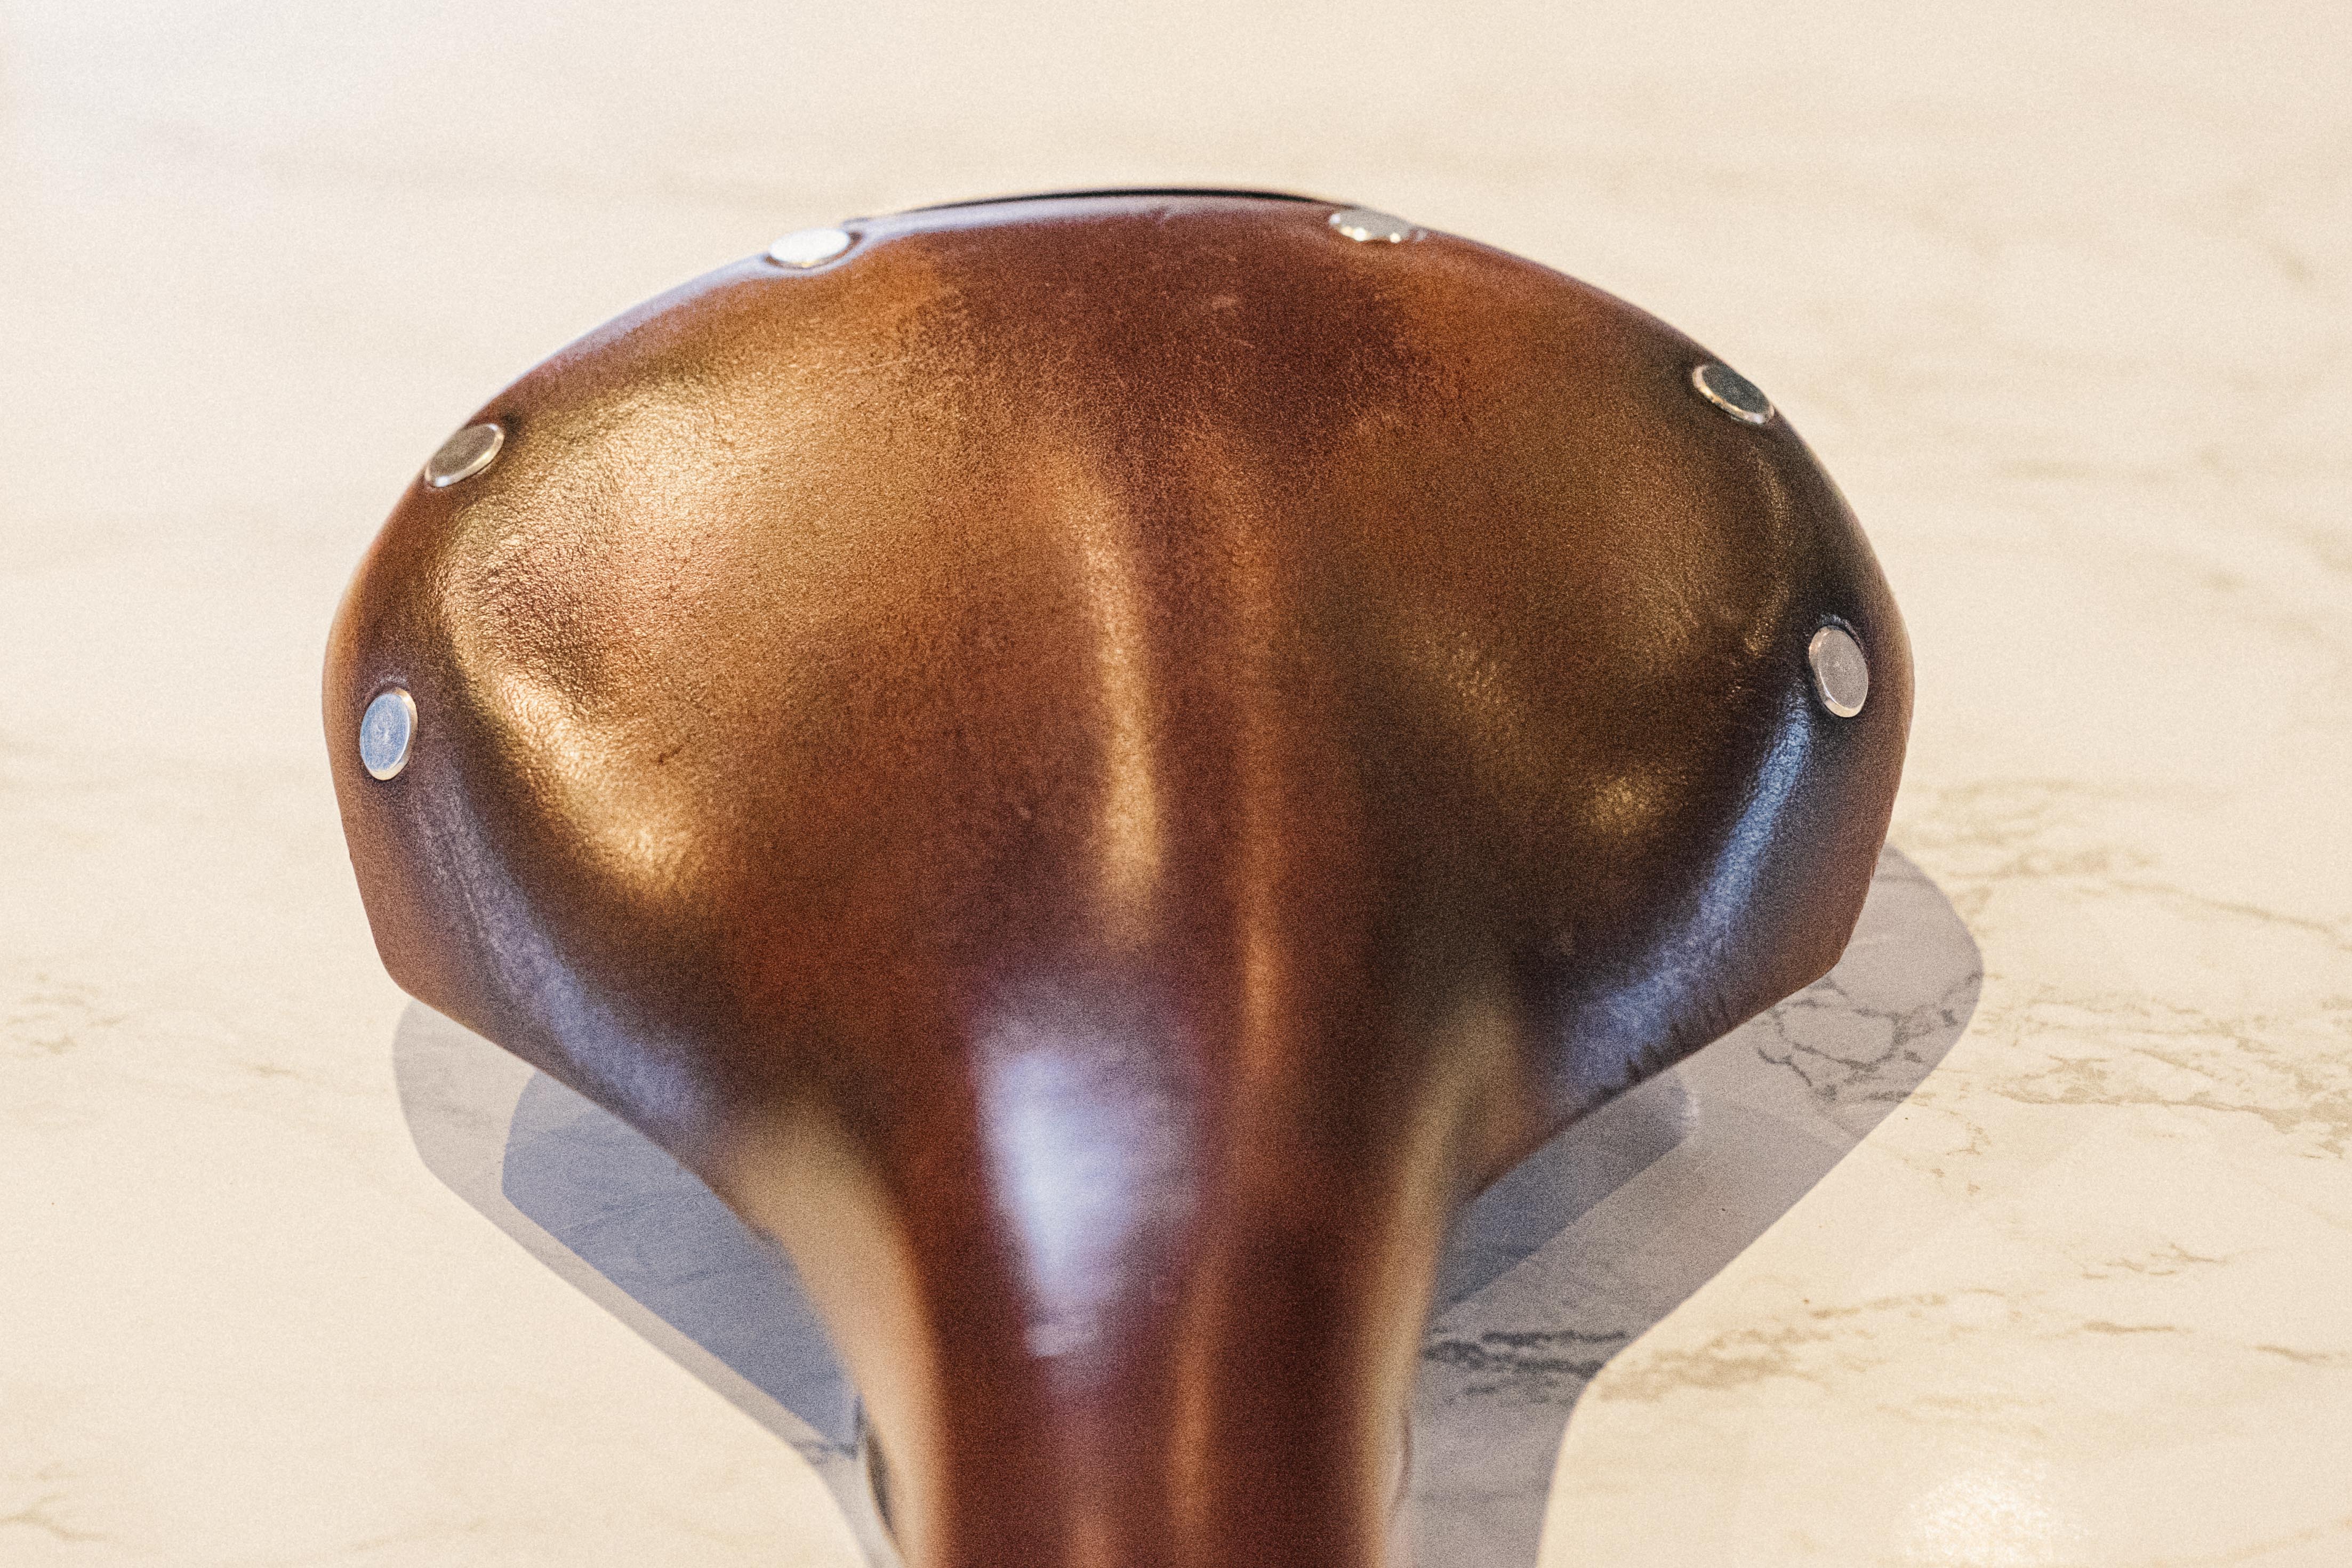
It's also worth noting that this will absolutely void your warranty, with Brooks expressly mentioning "riding a completely saturated saddle" in their warranty exceptions, so do so at your own risk. If you can this is all best done in a controlled environment. The absolute ideal would be on a turbo trainer at home, so you can stop once it has sagged to a degree you are happy with and no more. What's more, some saddles will sag faster than others; my Brooks Swallow formed within an hour, so the more careful and controlled you can be the better. A few short stints will be better in the long run than one long one where you overshoot the break-in point.
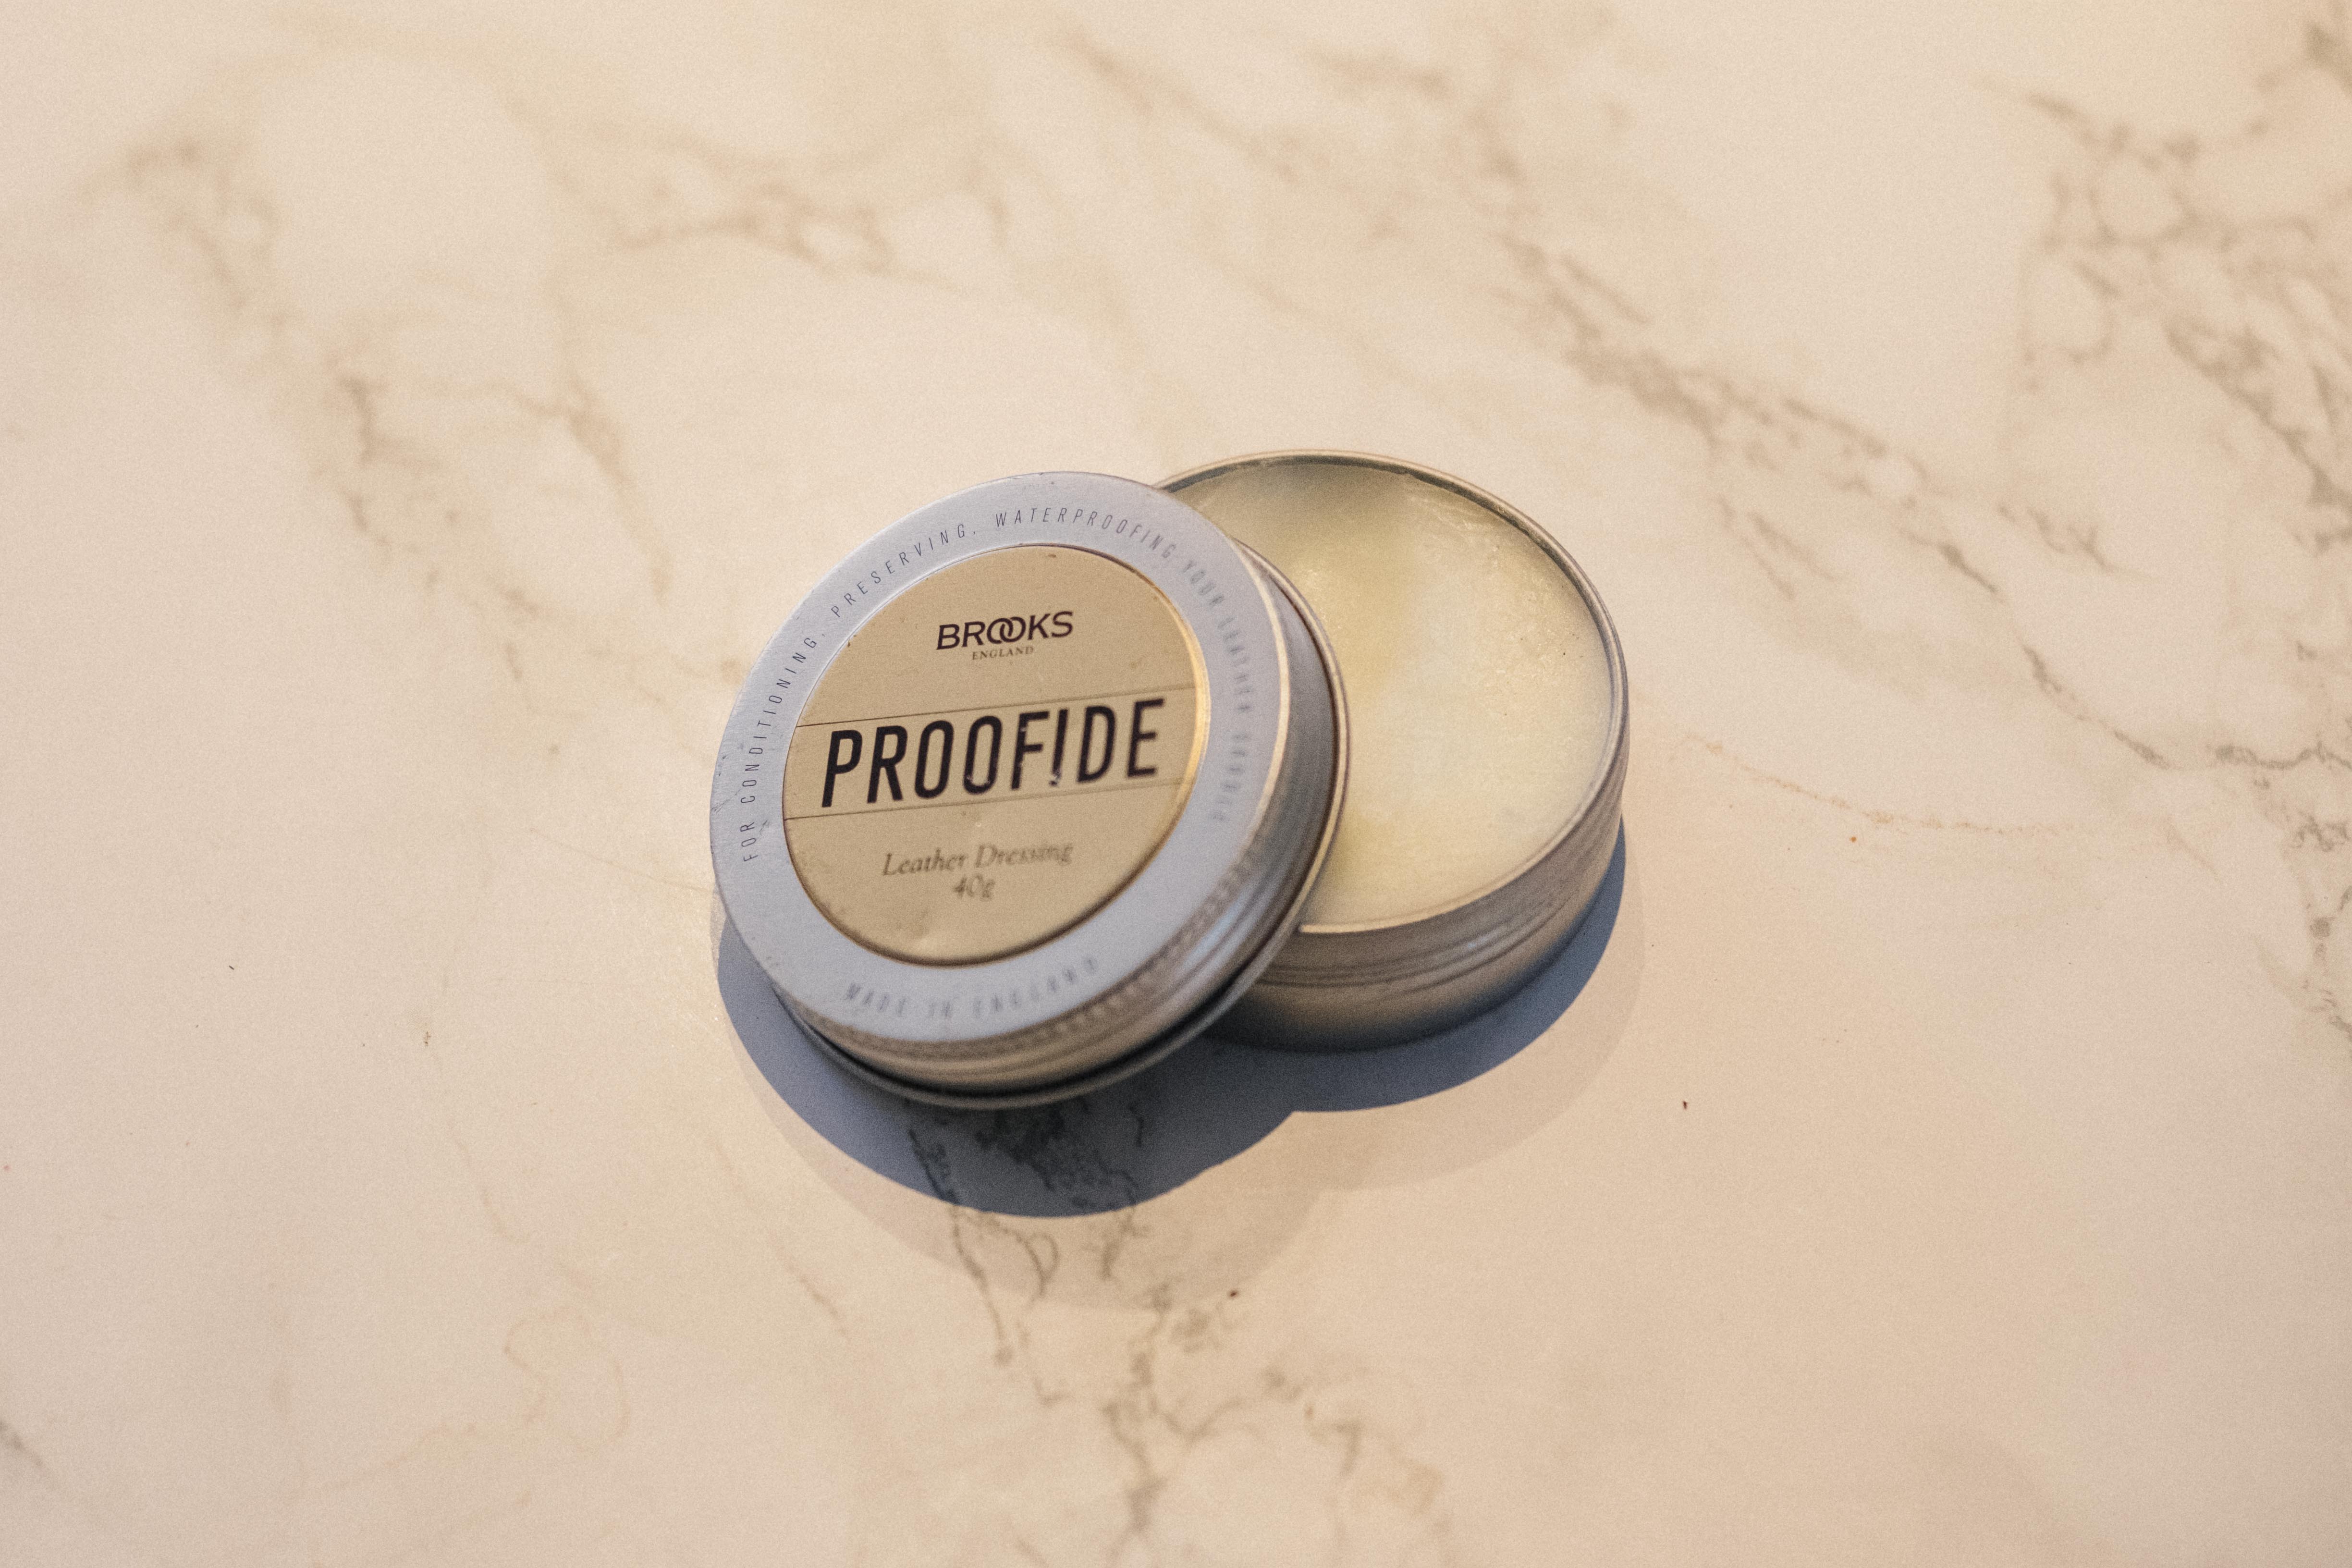
Brooks saddles ship out with a little sachet of ‘Proofide’. There’s a relatively common misapprehension that this is a waterproofing treatment, given its greasy nature, but it’s a leather conditioner. It will add waterproof qualities, but its job is to soften the leather to aid the break-in process. It should be used sparingly, as overdoing it will over-soften the leather upper and eventually lead to sagging over and above that which is optimal.
If you don’t want to get drastic with water the only real way to break one in is time. As mentioned though, don’t be tempted to overdo it with the leather softeners as it's a one-way street.
How to care for a leather saddle
Now, contrary to what I’ve said above, leather saddles don’t really like getting wet, and you should do your best to protect them from the rain as much as possible. Fortunately, when you’re sitting on one you are doing a pretty good job of protecting the upper from the rain. The underside however is very vulnerable to tyre spray, and as such it’s recommended you use mudguards. If like me, you think mudguards are a vibe then this won’t concern you much, and you should take it as confirmation that you are also a person of great taste and distinction. If however you can't, or won't, run fenders then your options are a saddle cover, or a staunch refusal to ride in the rain.
Bear in mind though that before synthetic saddles were developed, leather saddles were simply known as ‘saddles’, and were fitted to all bicycles and used in all conditions. They are hardy things, and the occasional drenching isn’t going to totally ruin them. If you’re regularly going to encounter wet conditions though, say you’re slapping one on your commuter bike or utility bike, then it’s best to take steps to protect them from regular inundation.
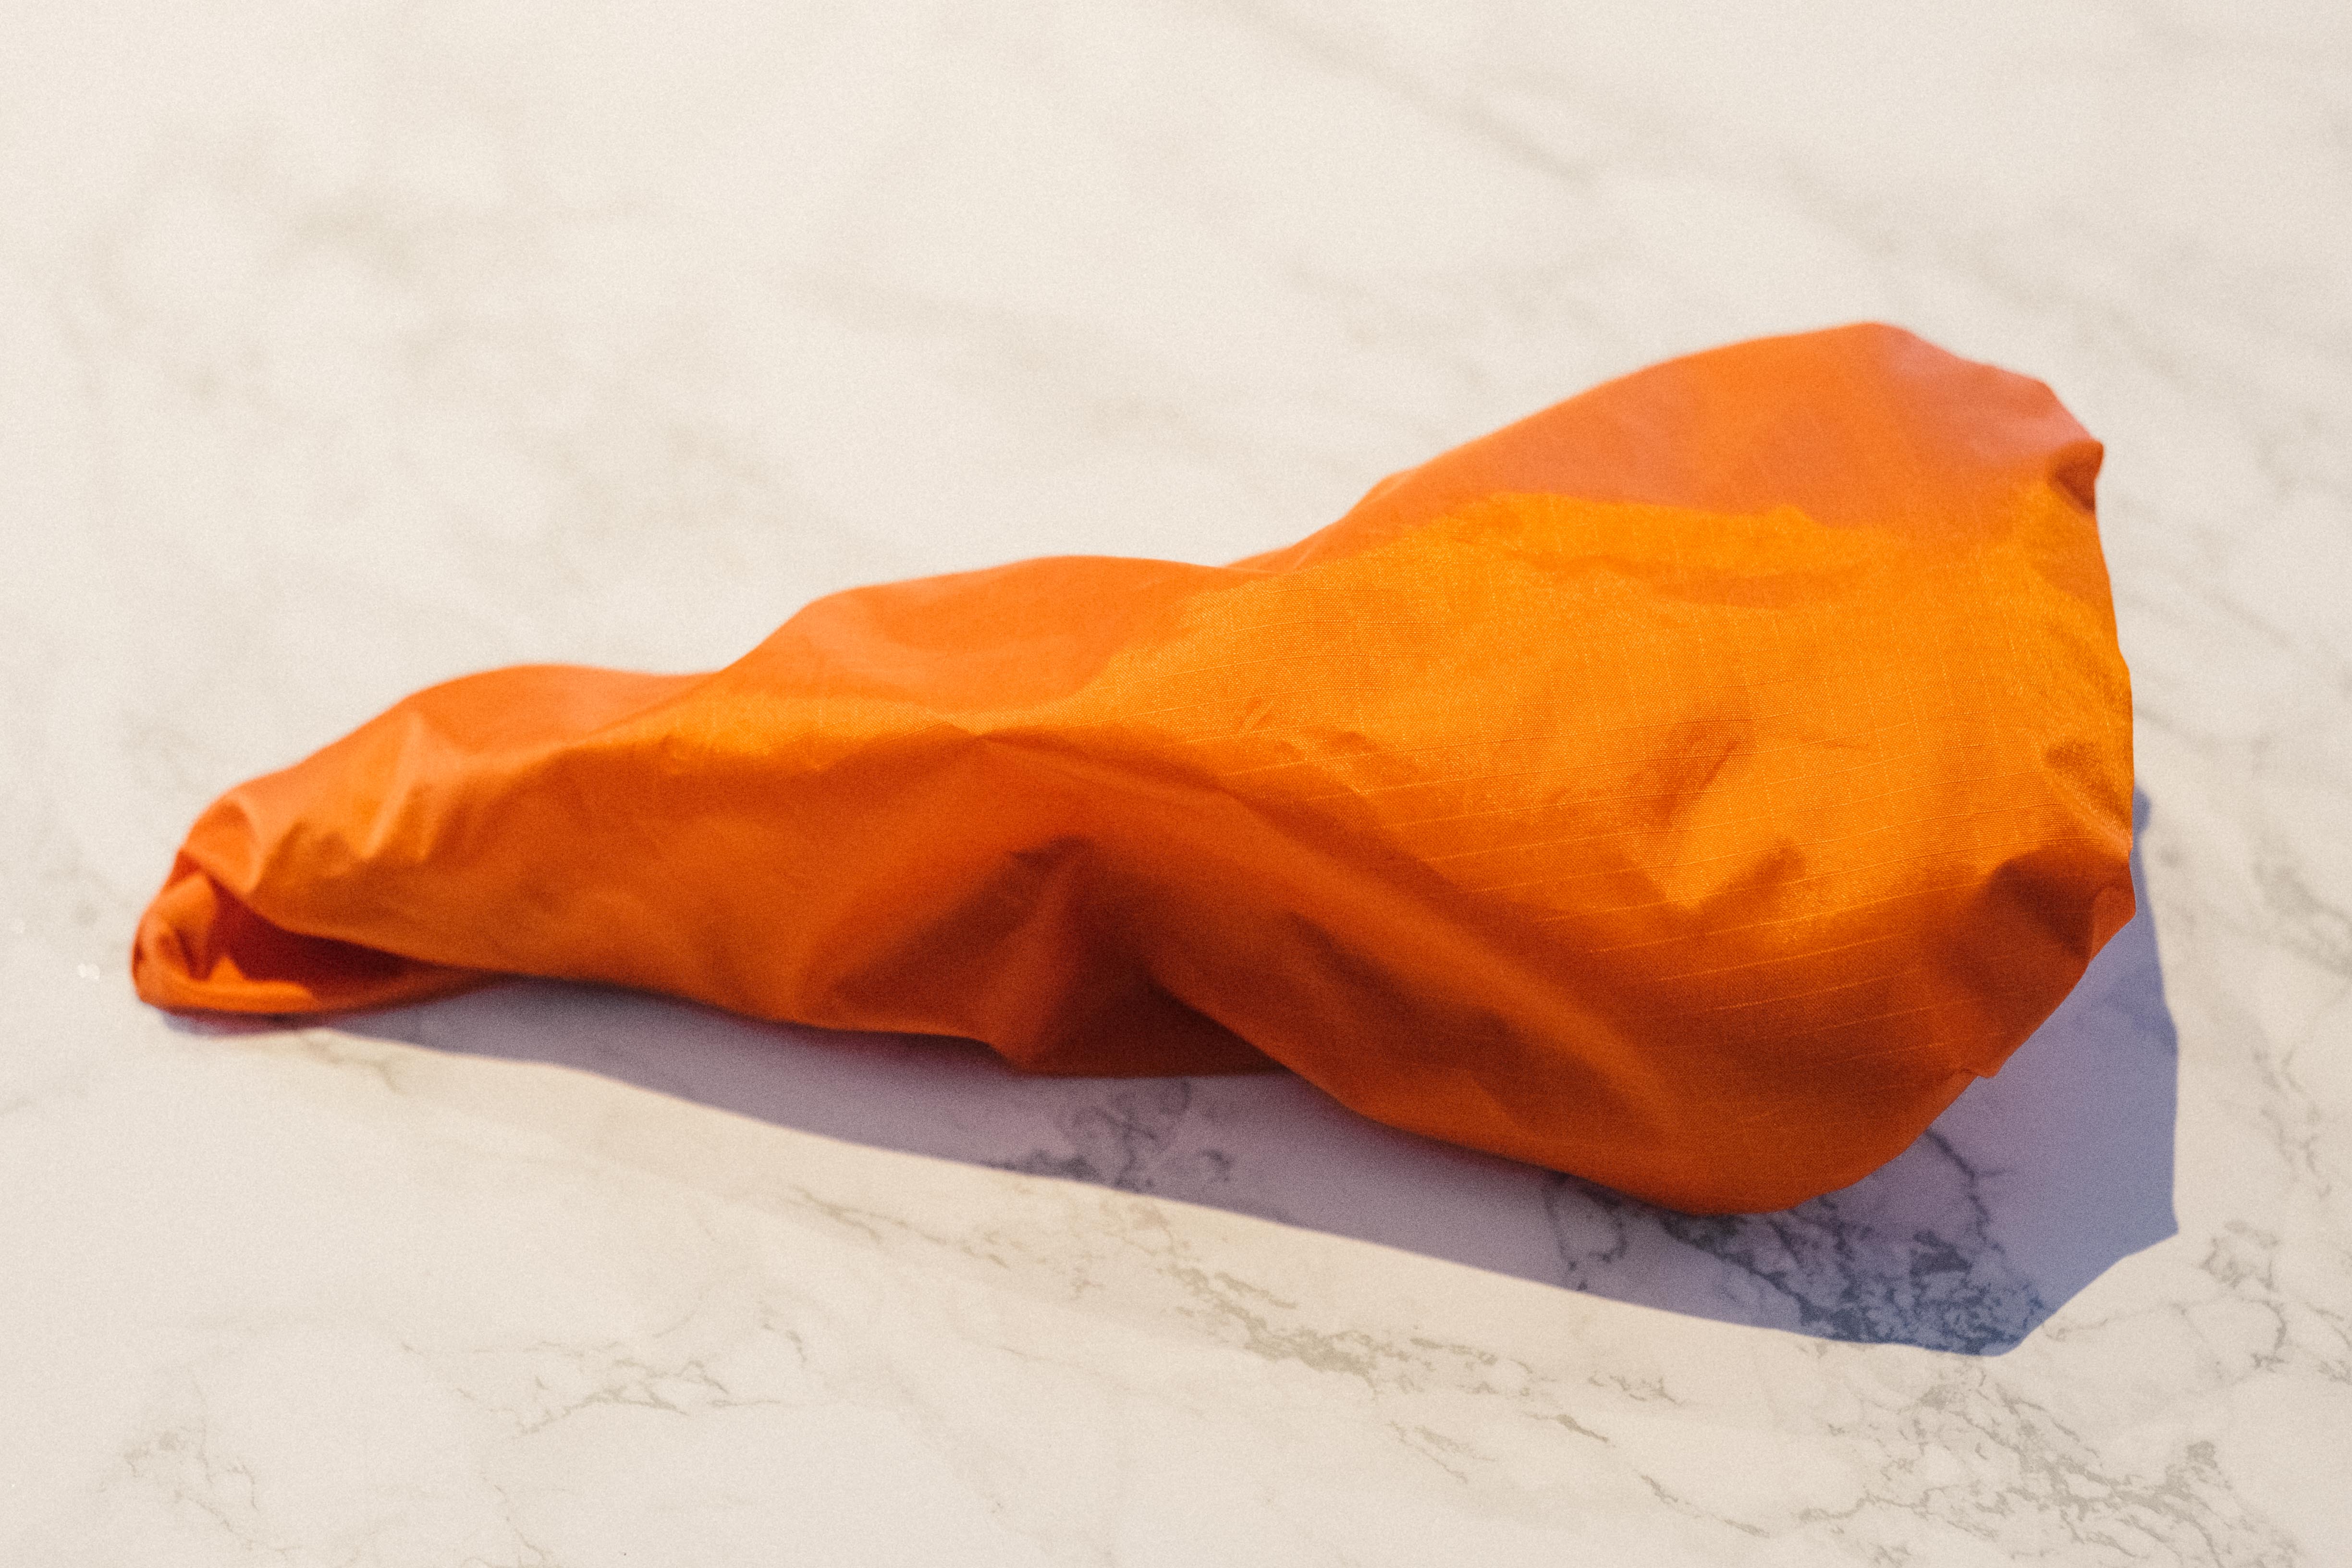
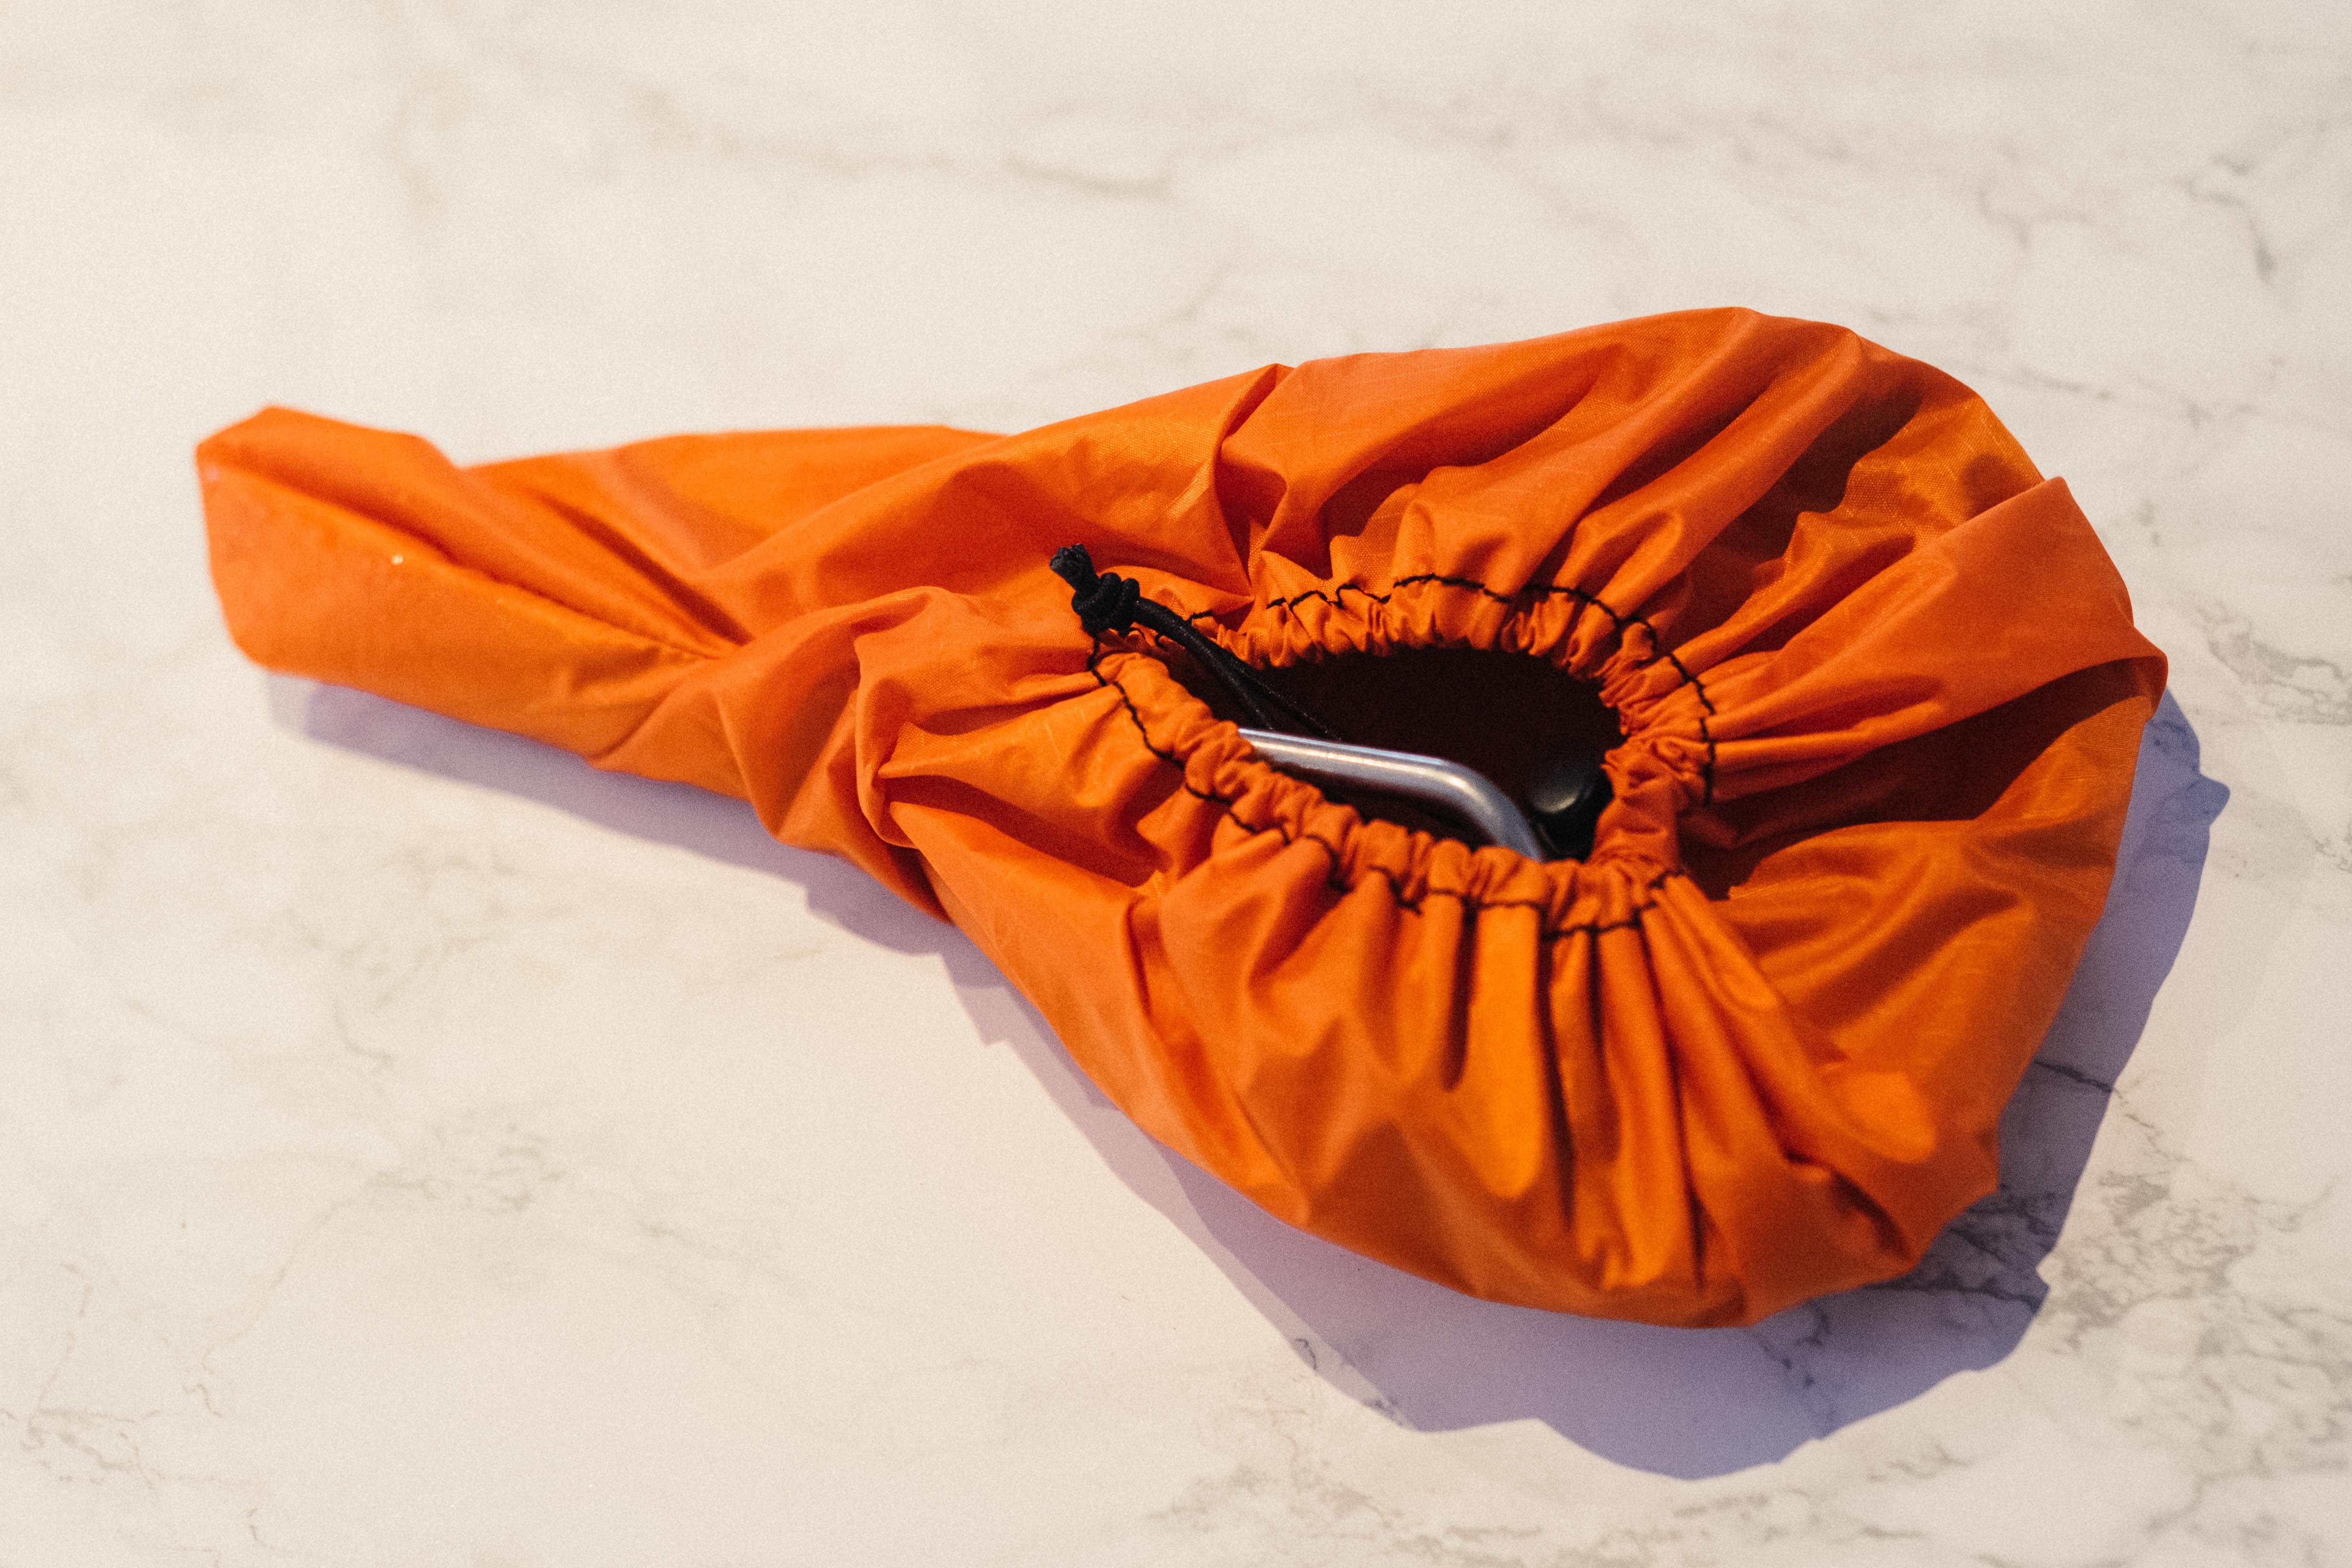
On one leather saddle that I have used for gravel riding I have had some success in waterproofing the underside using Fjallraven Greenland Wax, the same stuff I use to reproof my canvas saddlebags (yes, I know I’m really painting a retrogrouch picture here…). When the saddle is totally dry I scrubbed the wax bar all over the underside and melted it in with a hairdryer. Two coats was sufficient to make it more or less impervious to water, but again it should be noted this very much goes against manufacturer recommendations and you can say goodbye to that precious warranty.
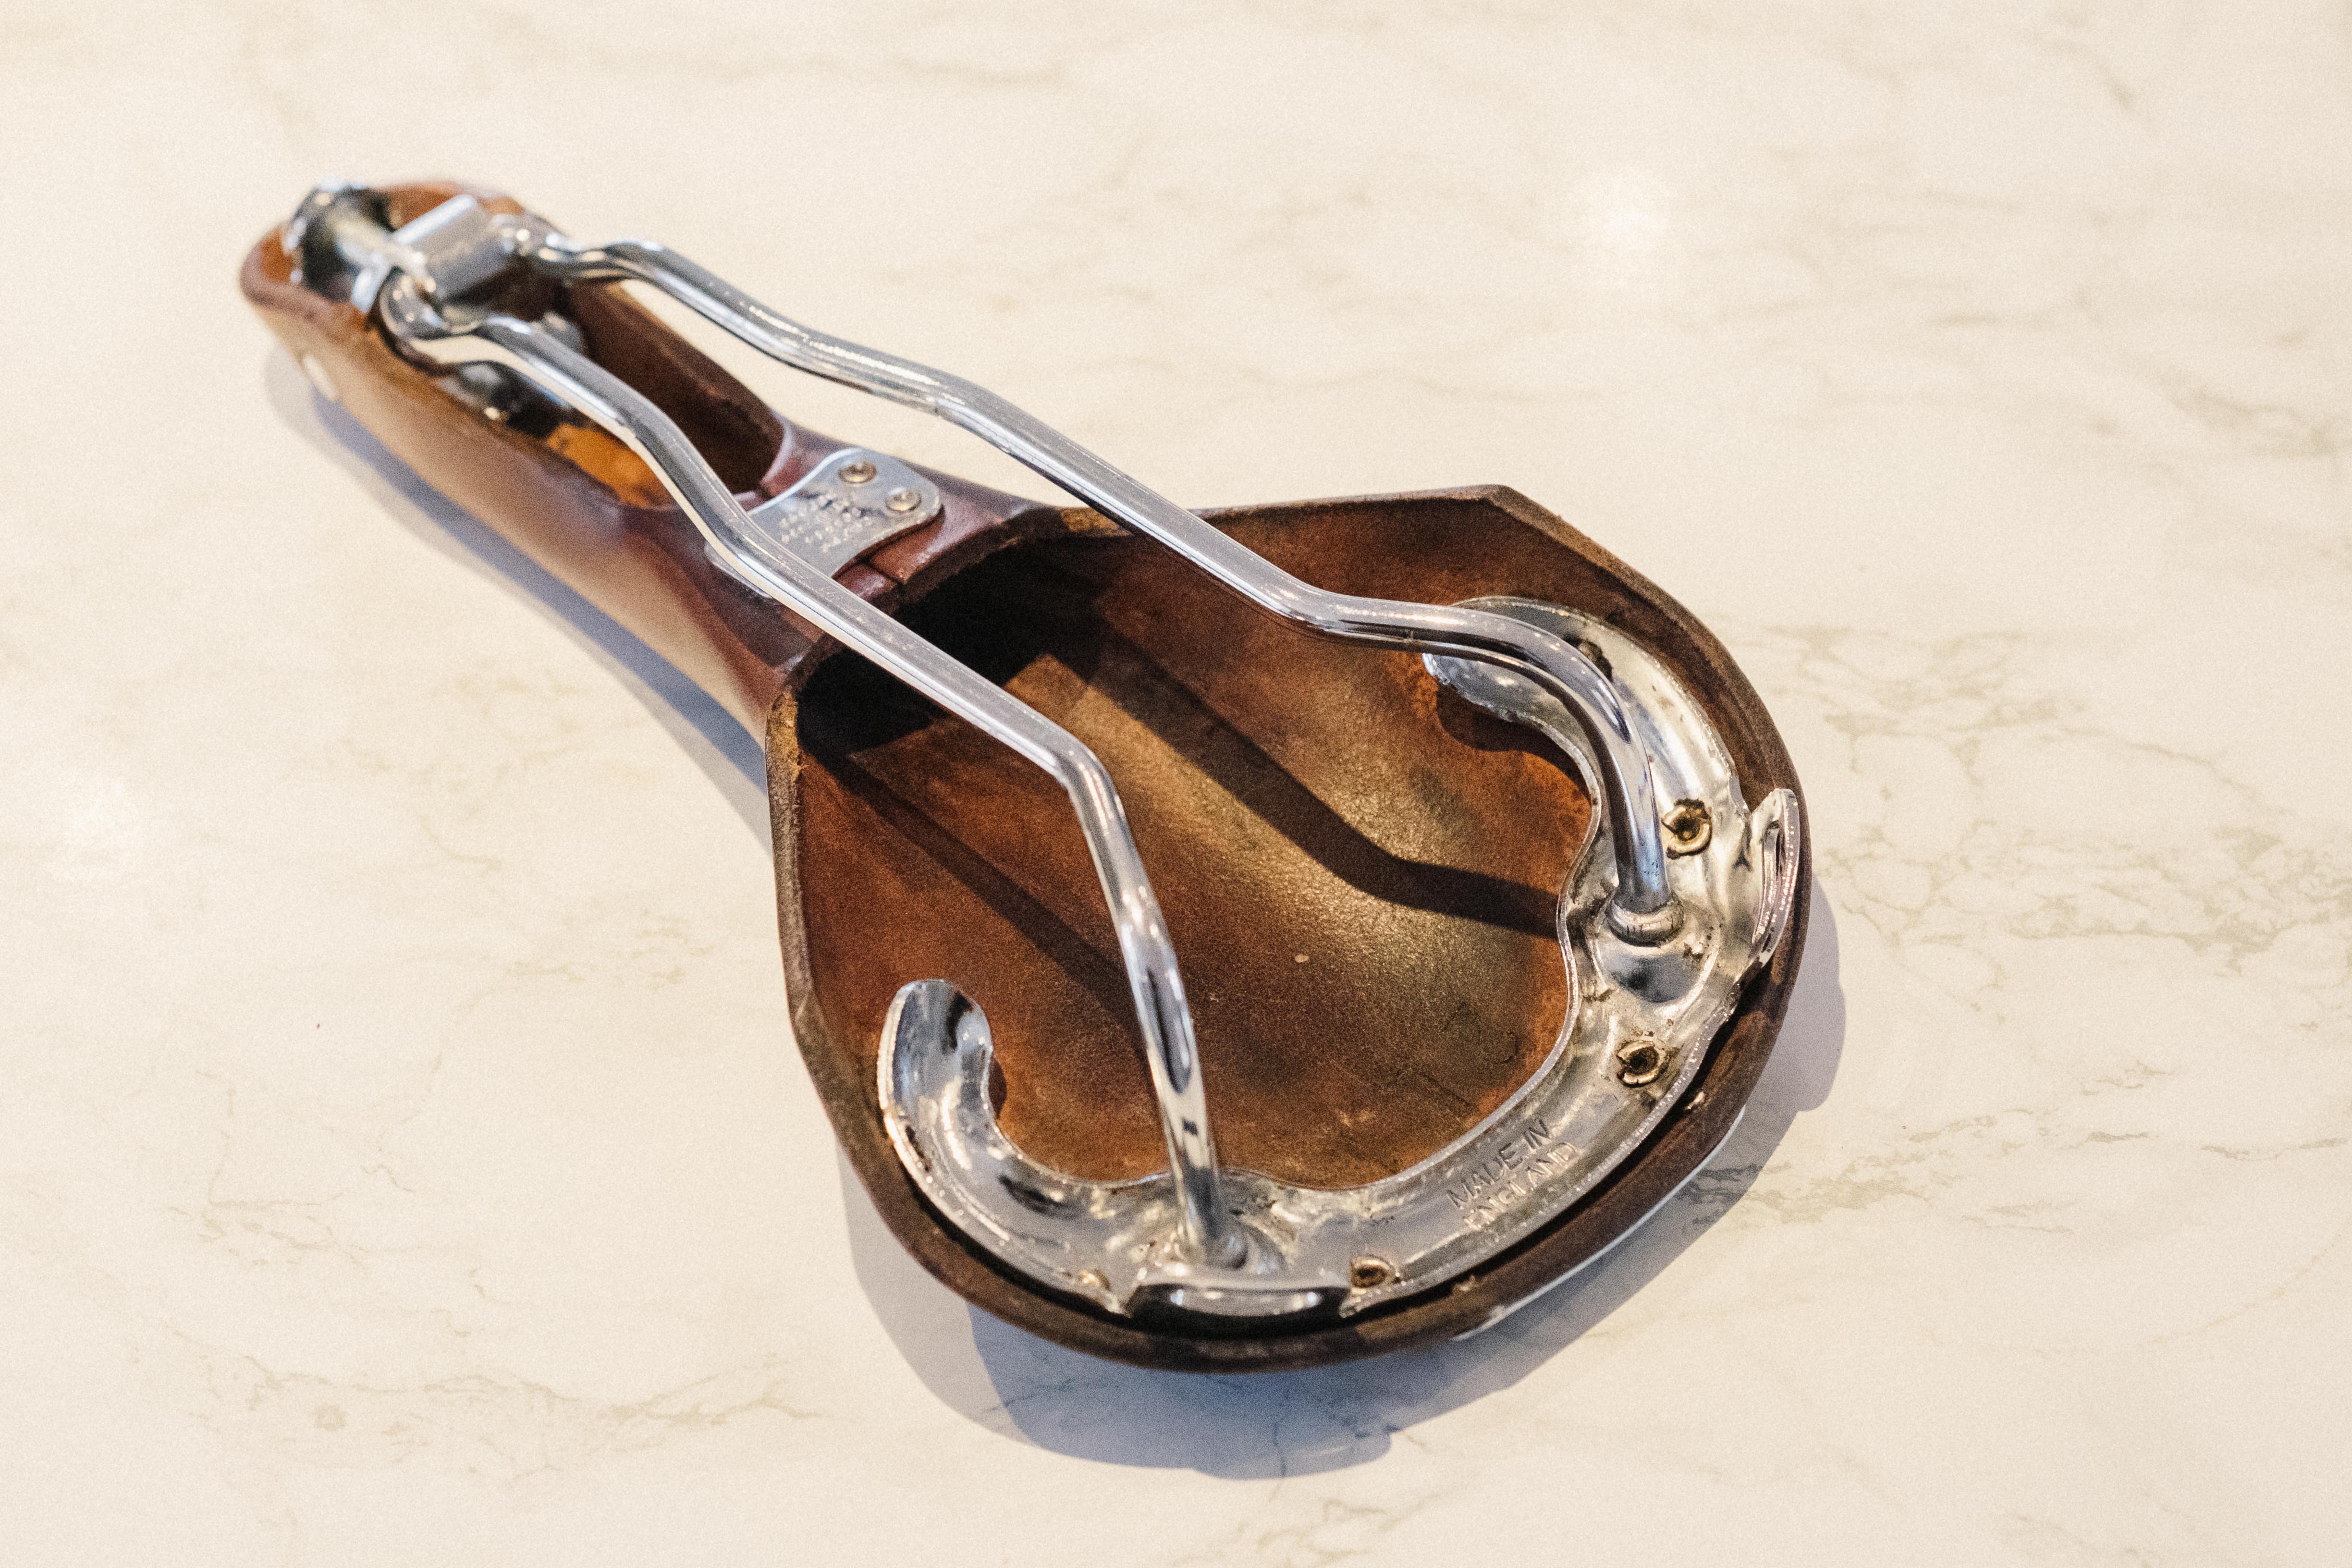
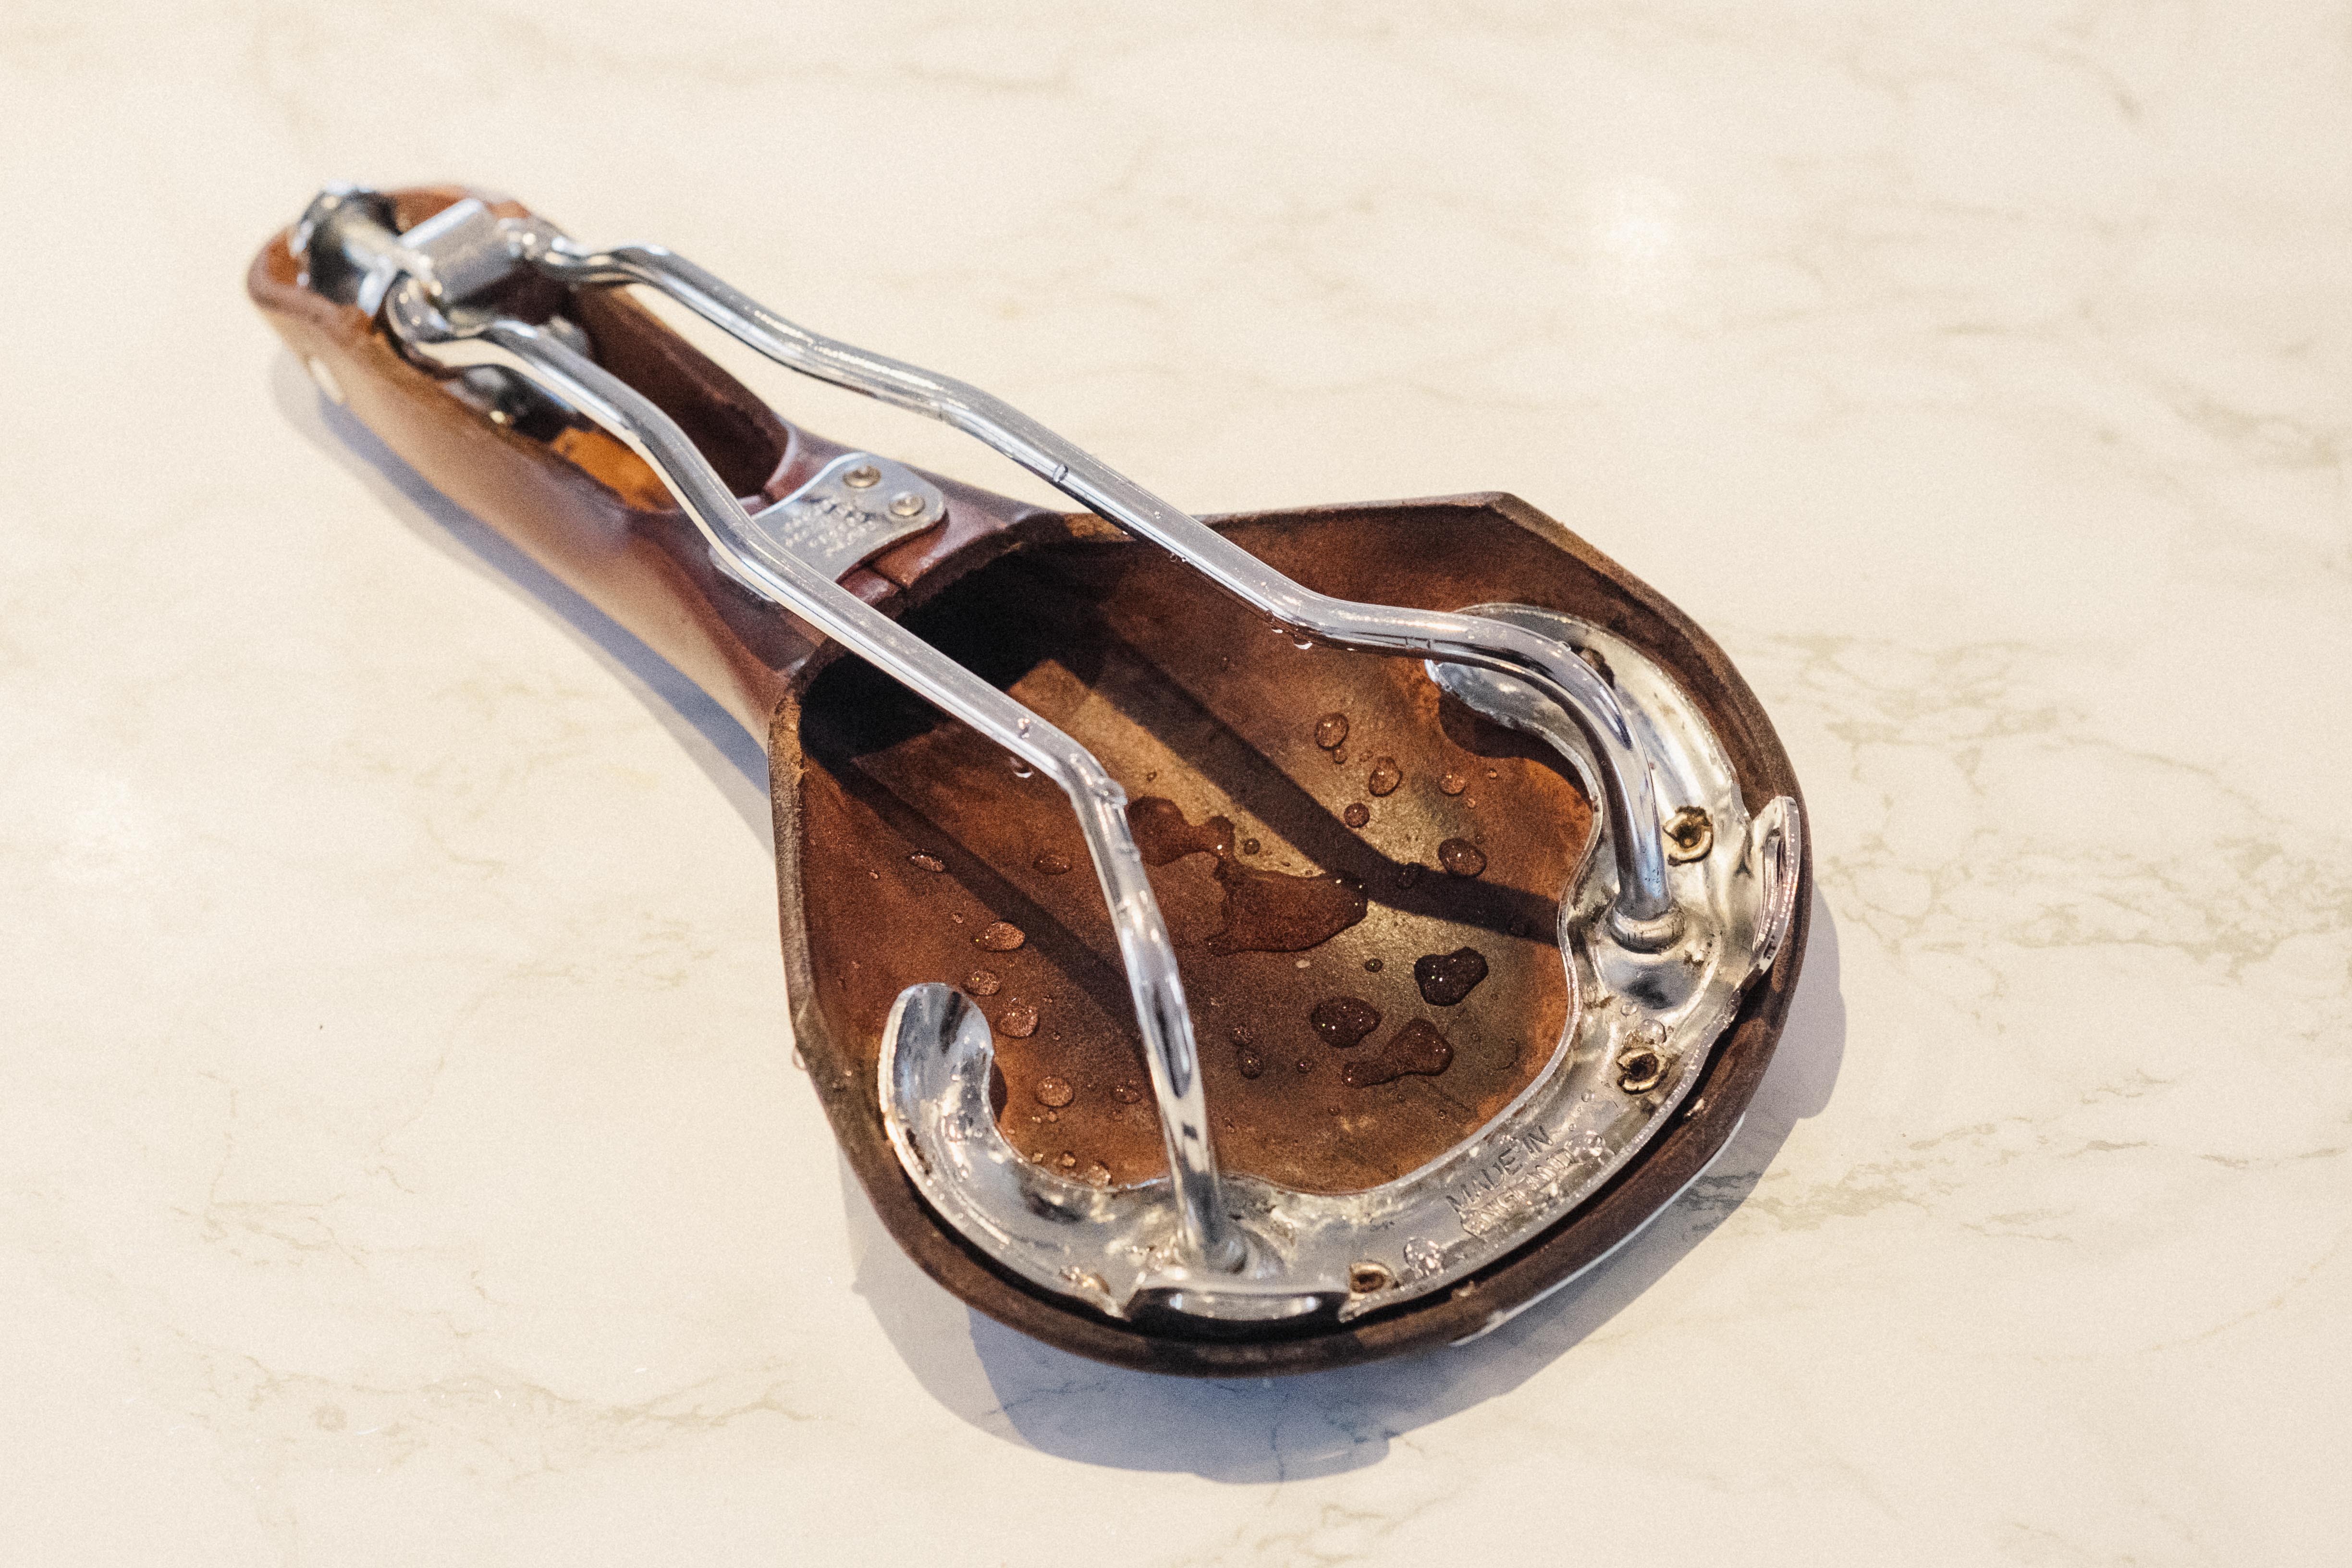
Here’s the key bit to bear in mind if your leather saddle ever does get wet. Do not, under any circumstances, force dry it. Don’t leave it on or near a radiator. Do not blast it with a hairdryer. Don’t remove it and put it in the airing cupboard, nor deliberately pop it in a patch of the baking sun. Just let it dry off slowly to avoid any risk of the leather cracking and it will be fine.
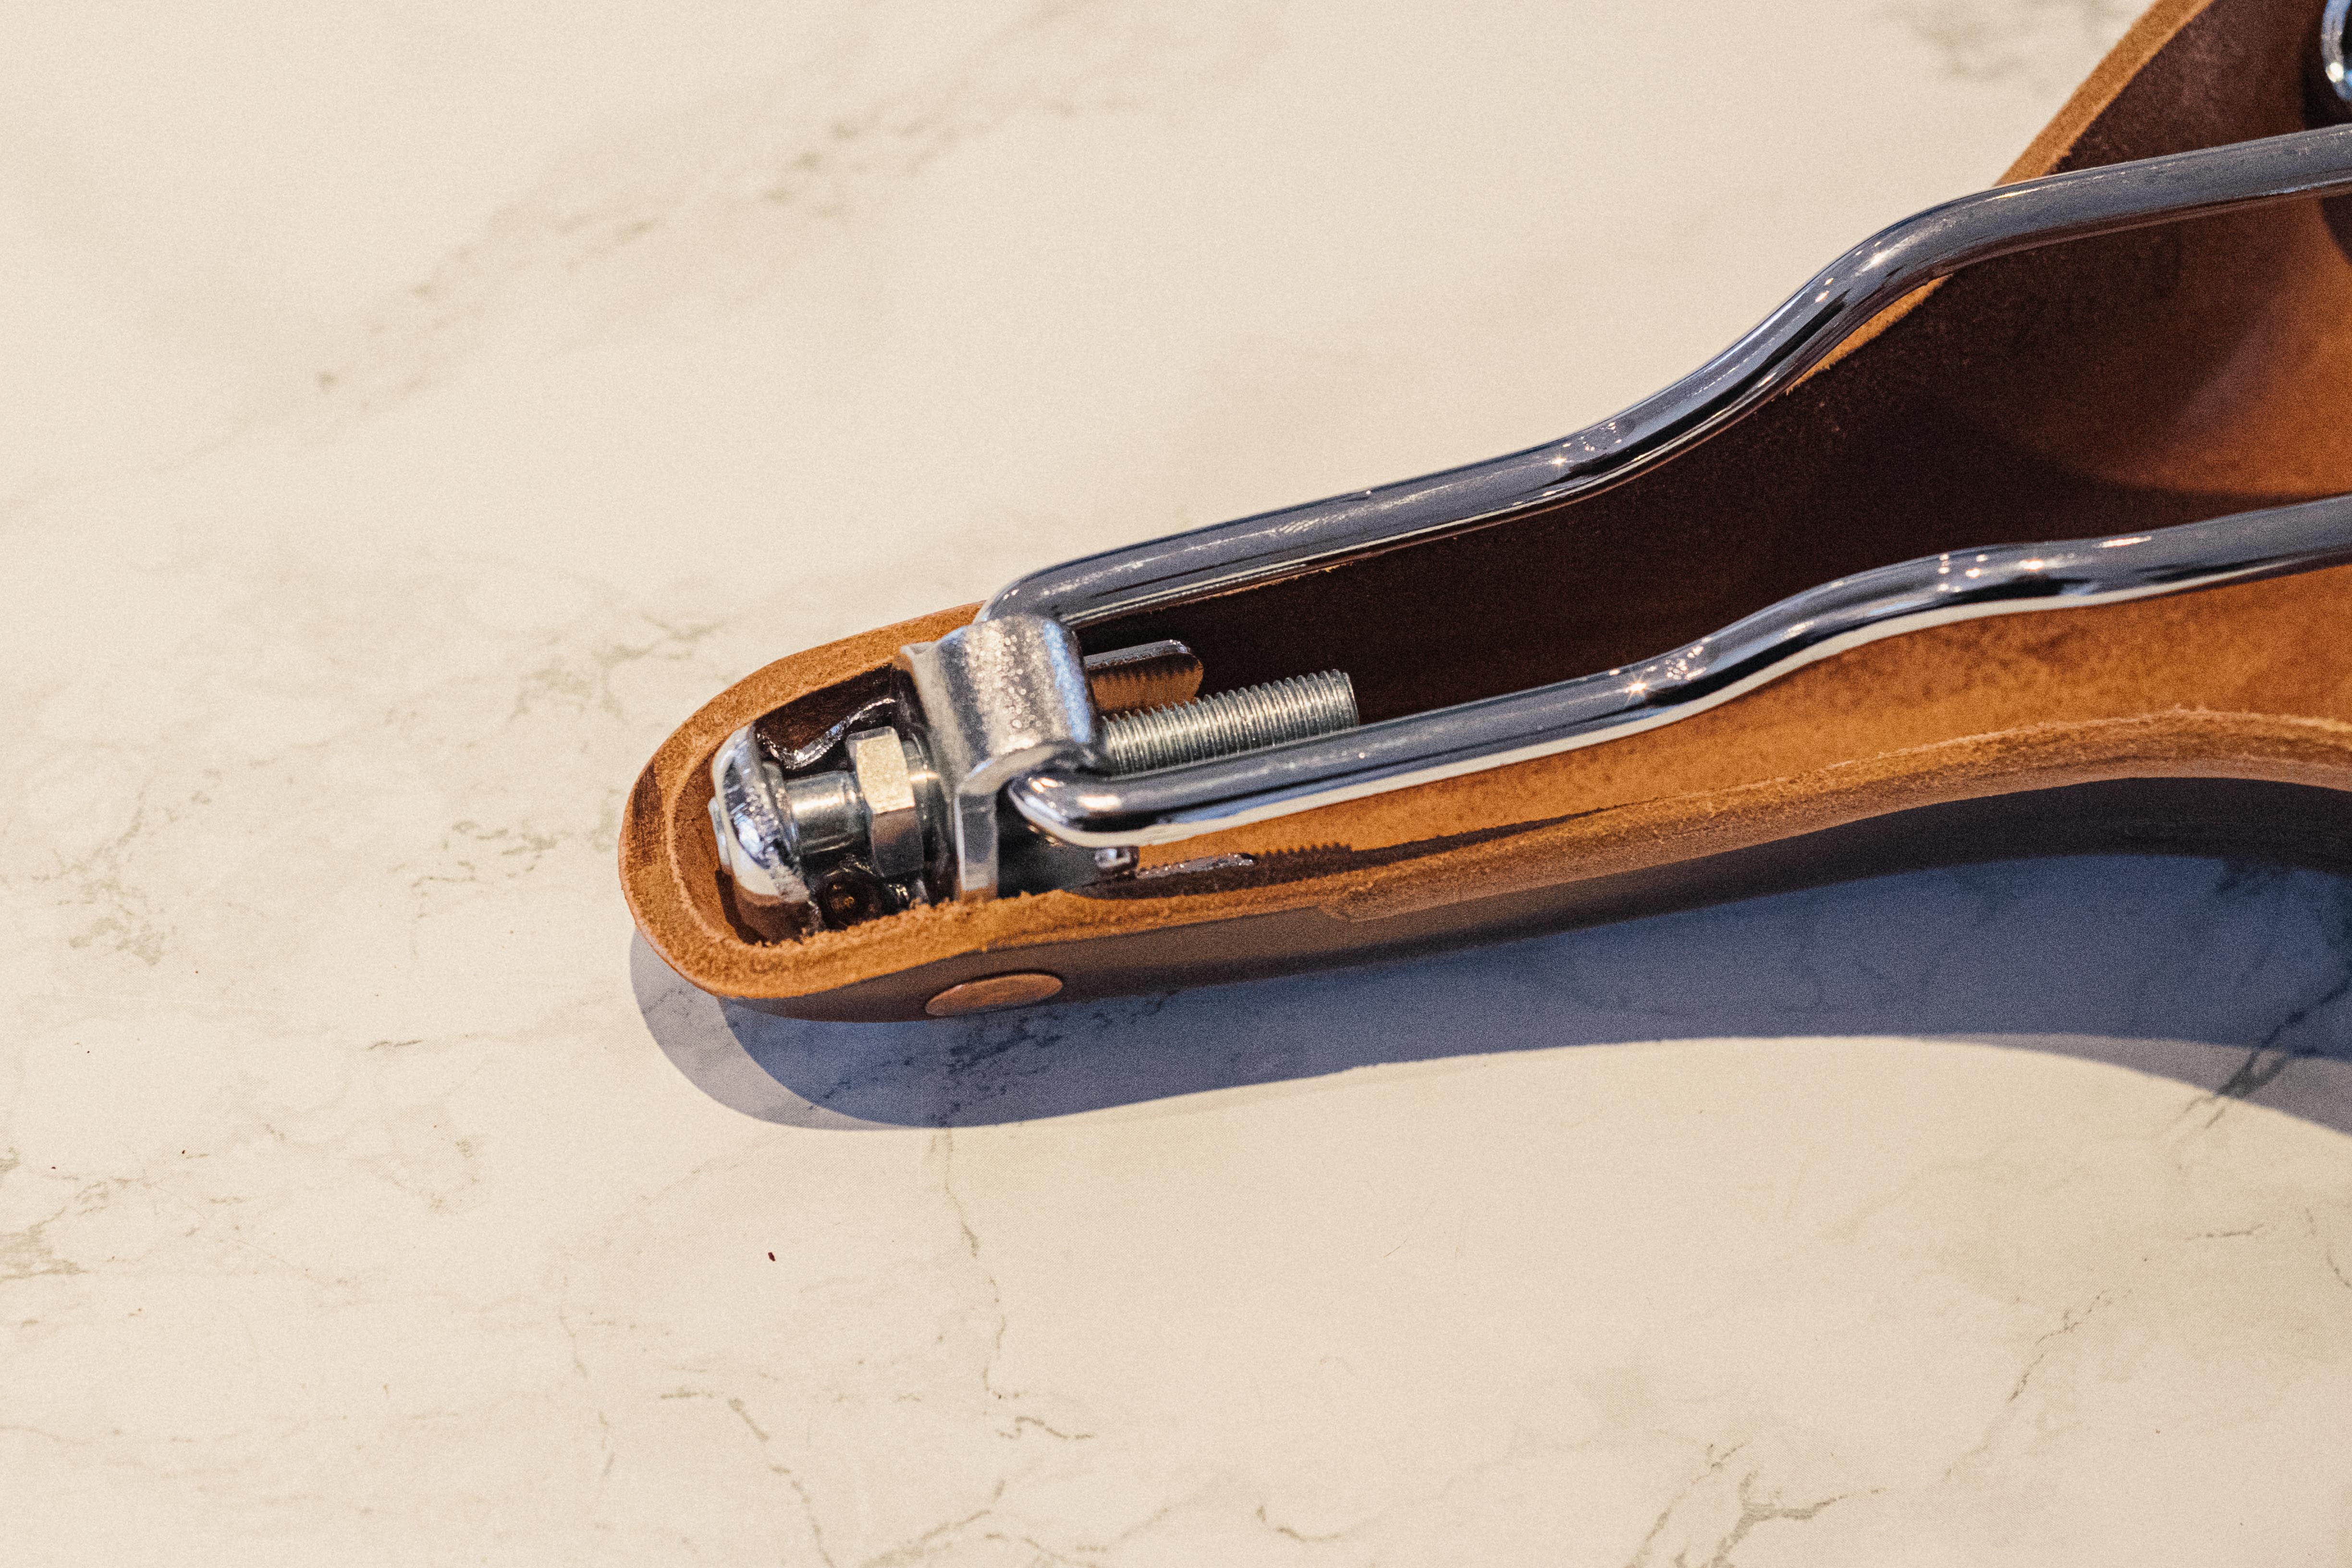
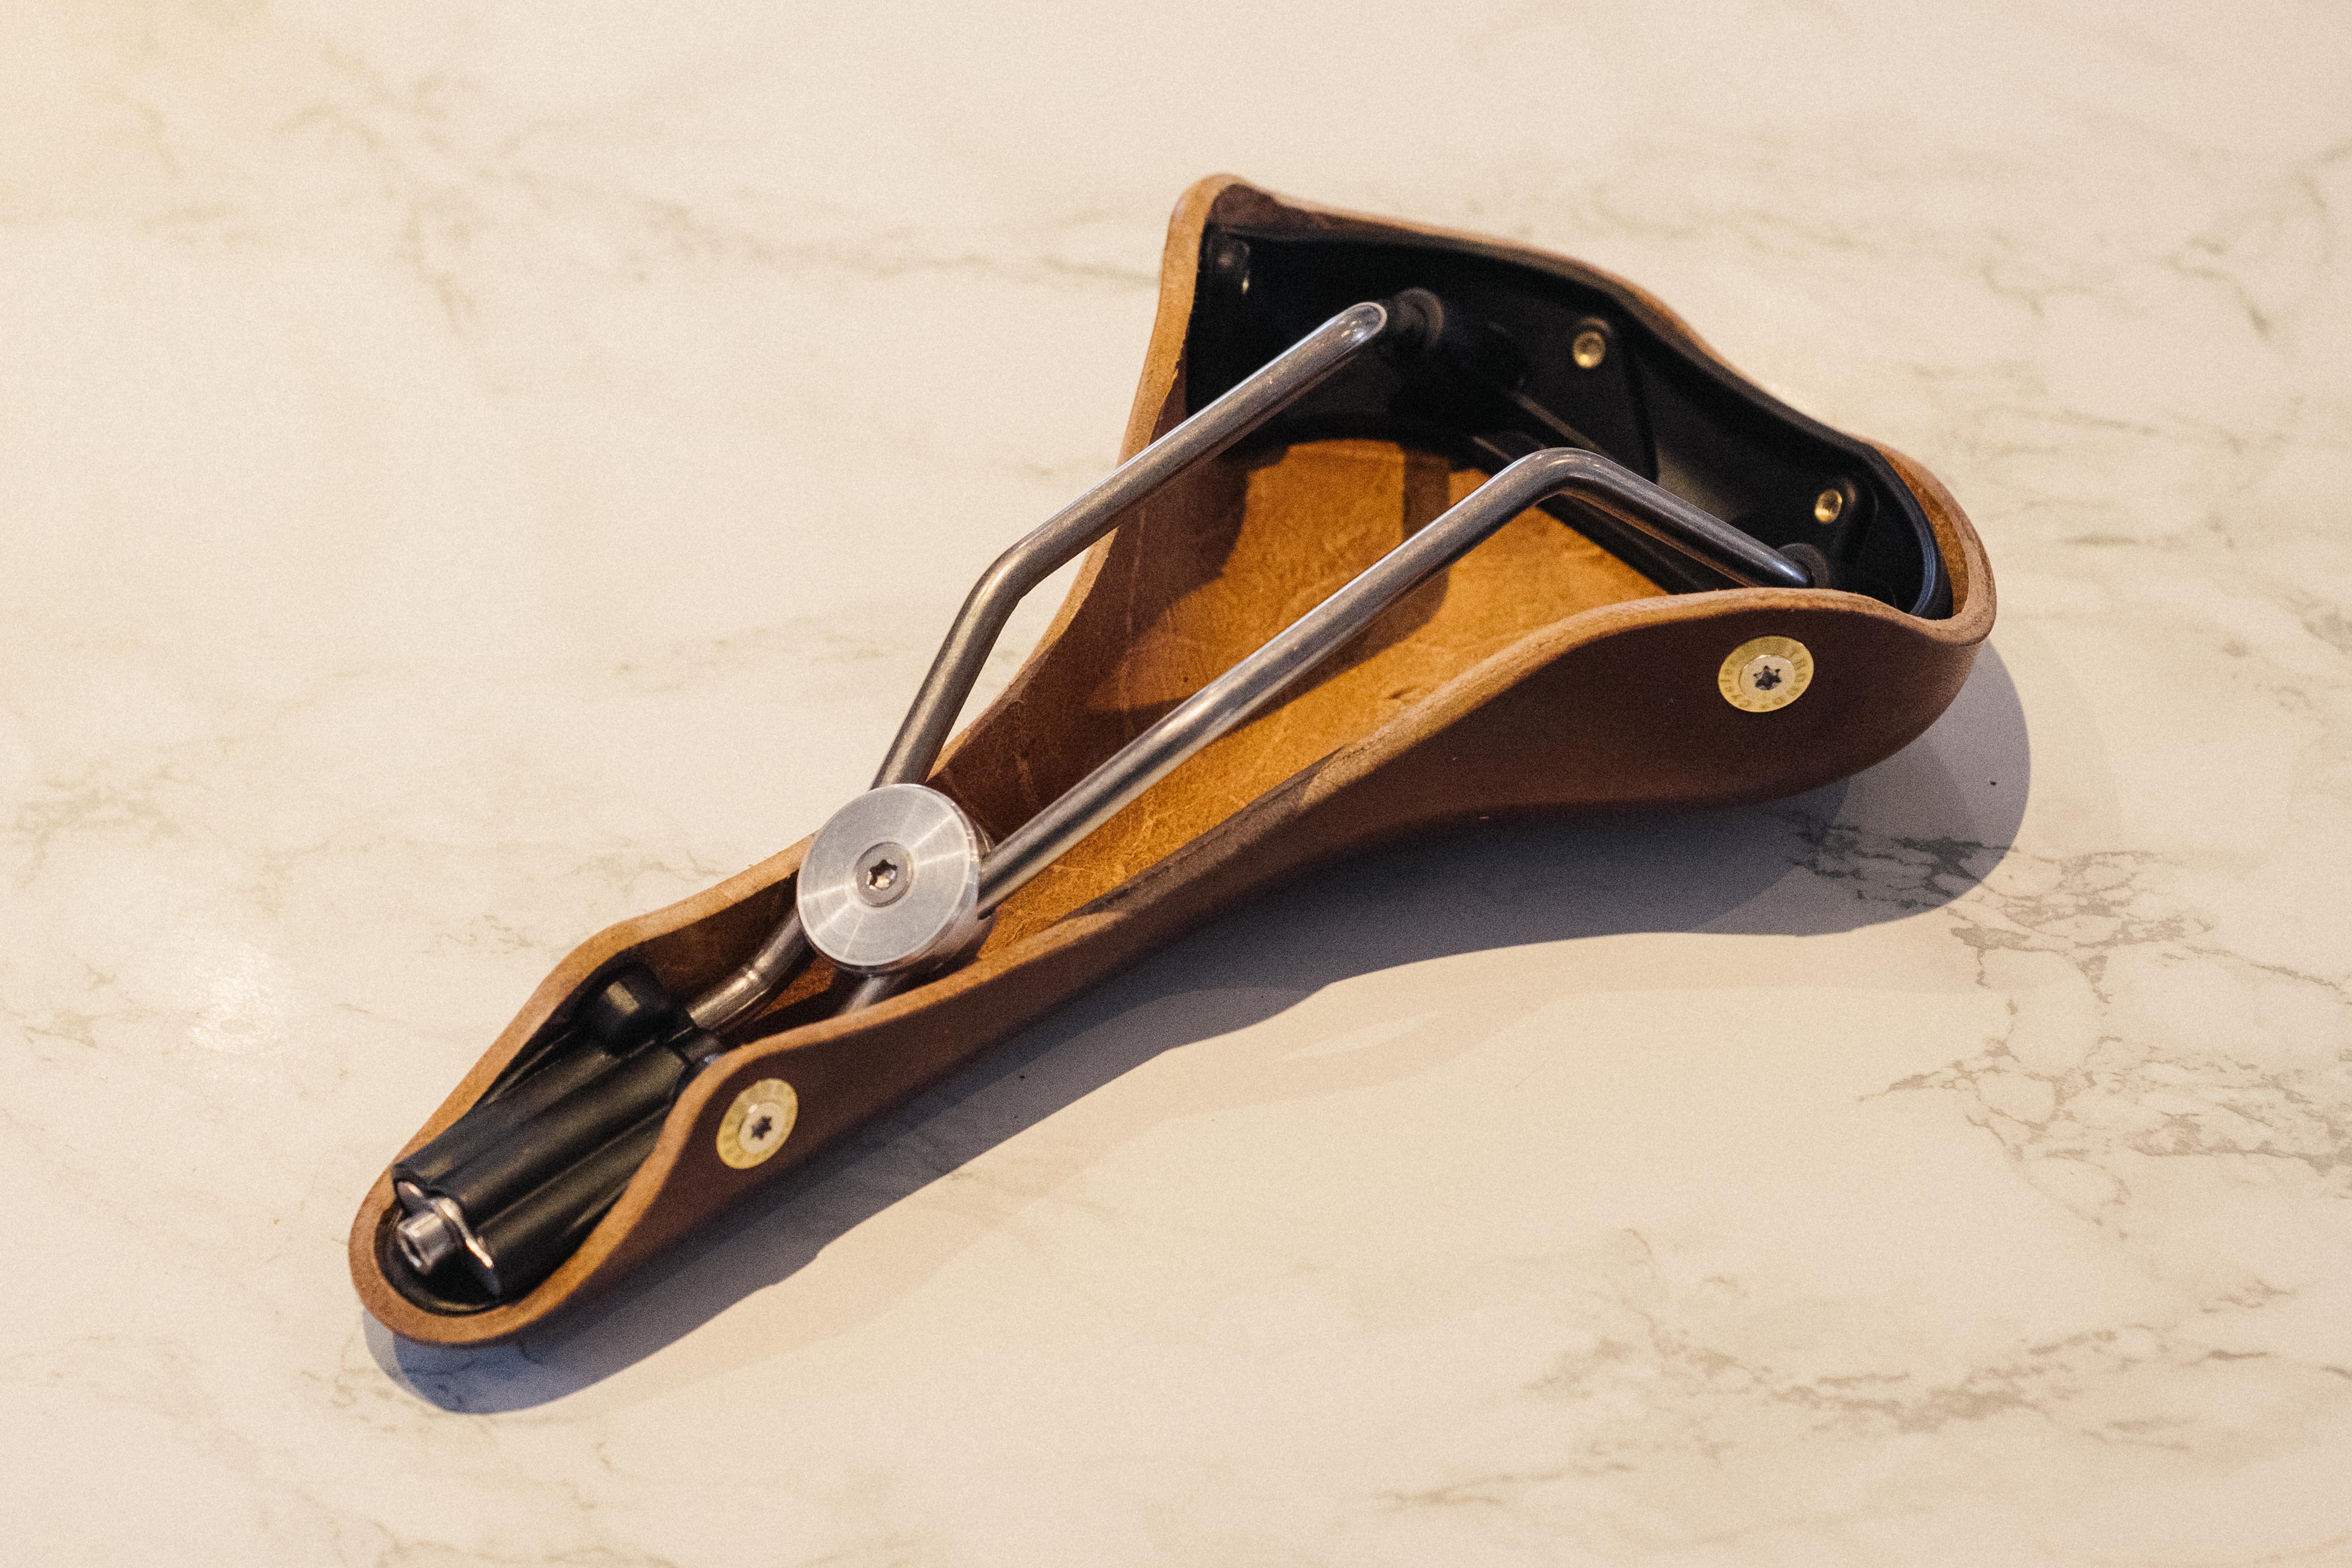
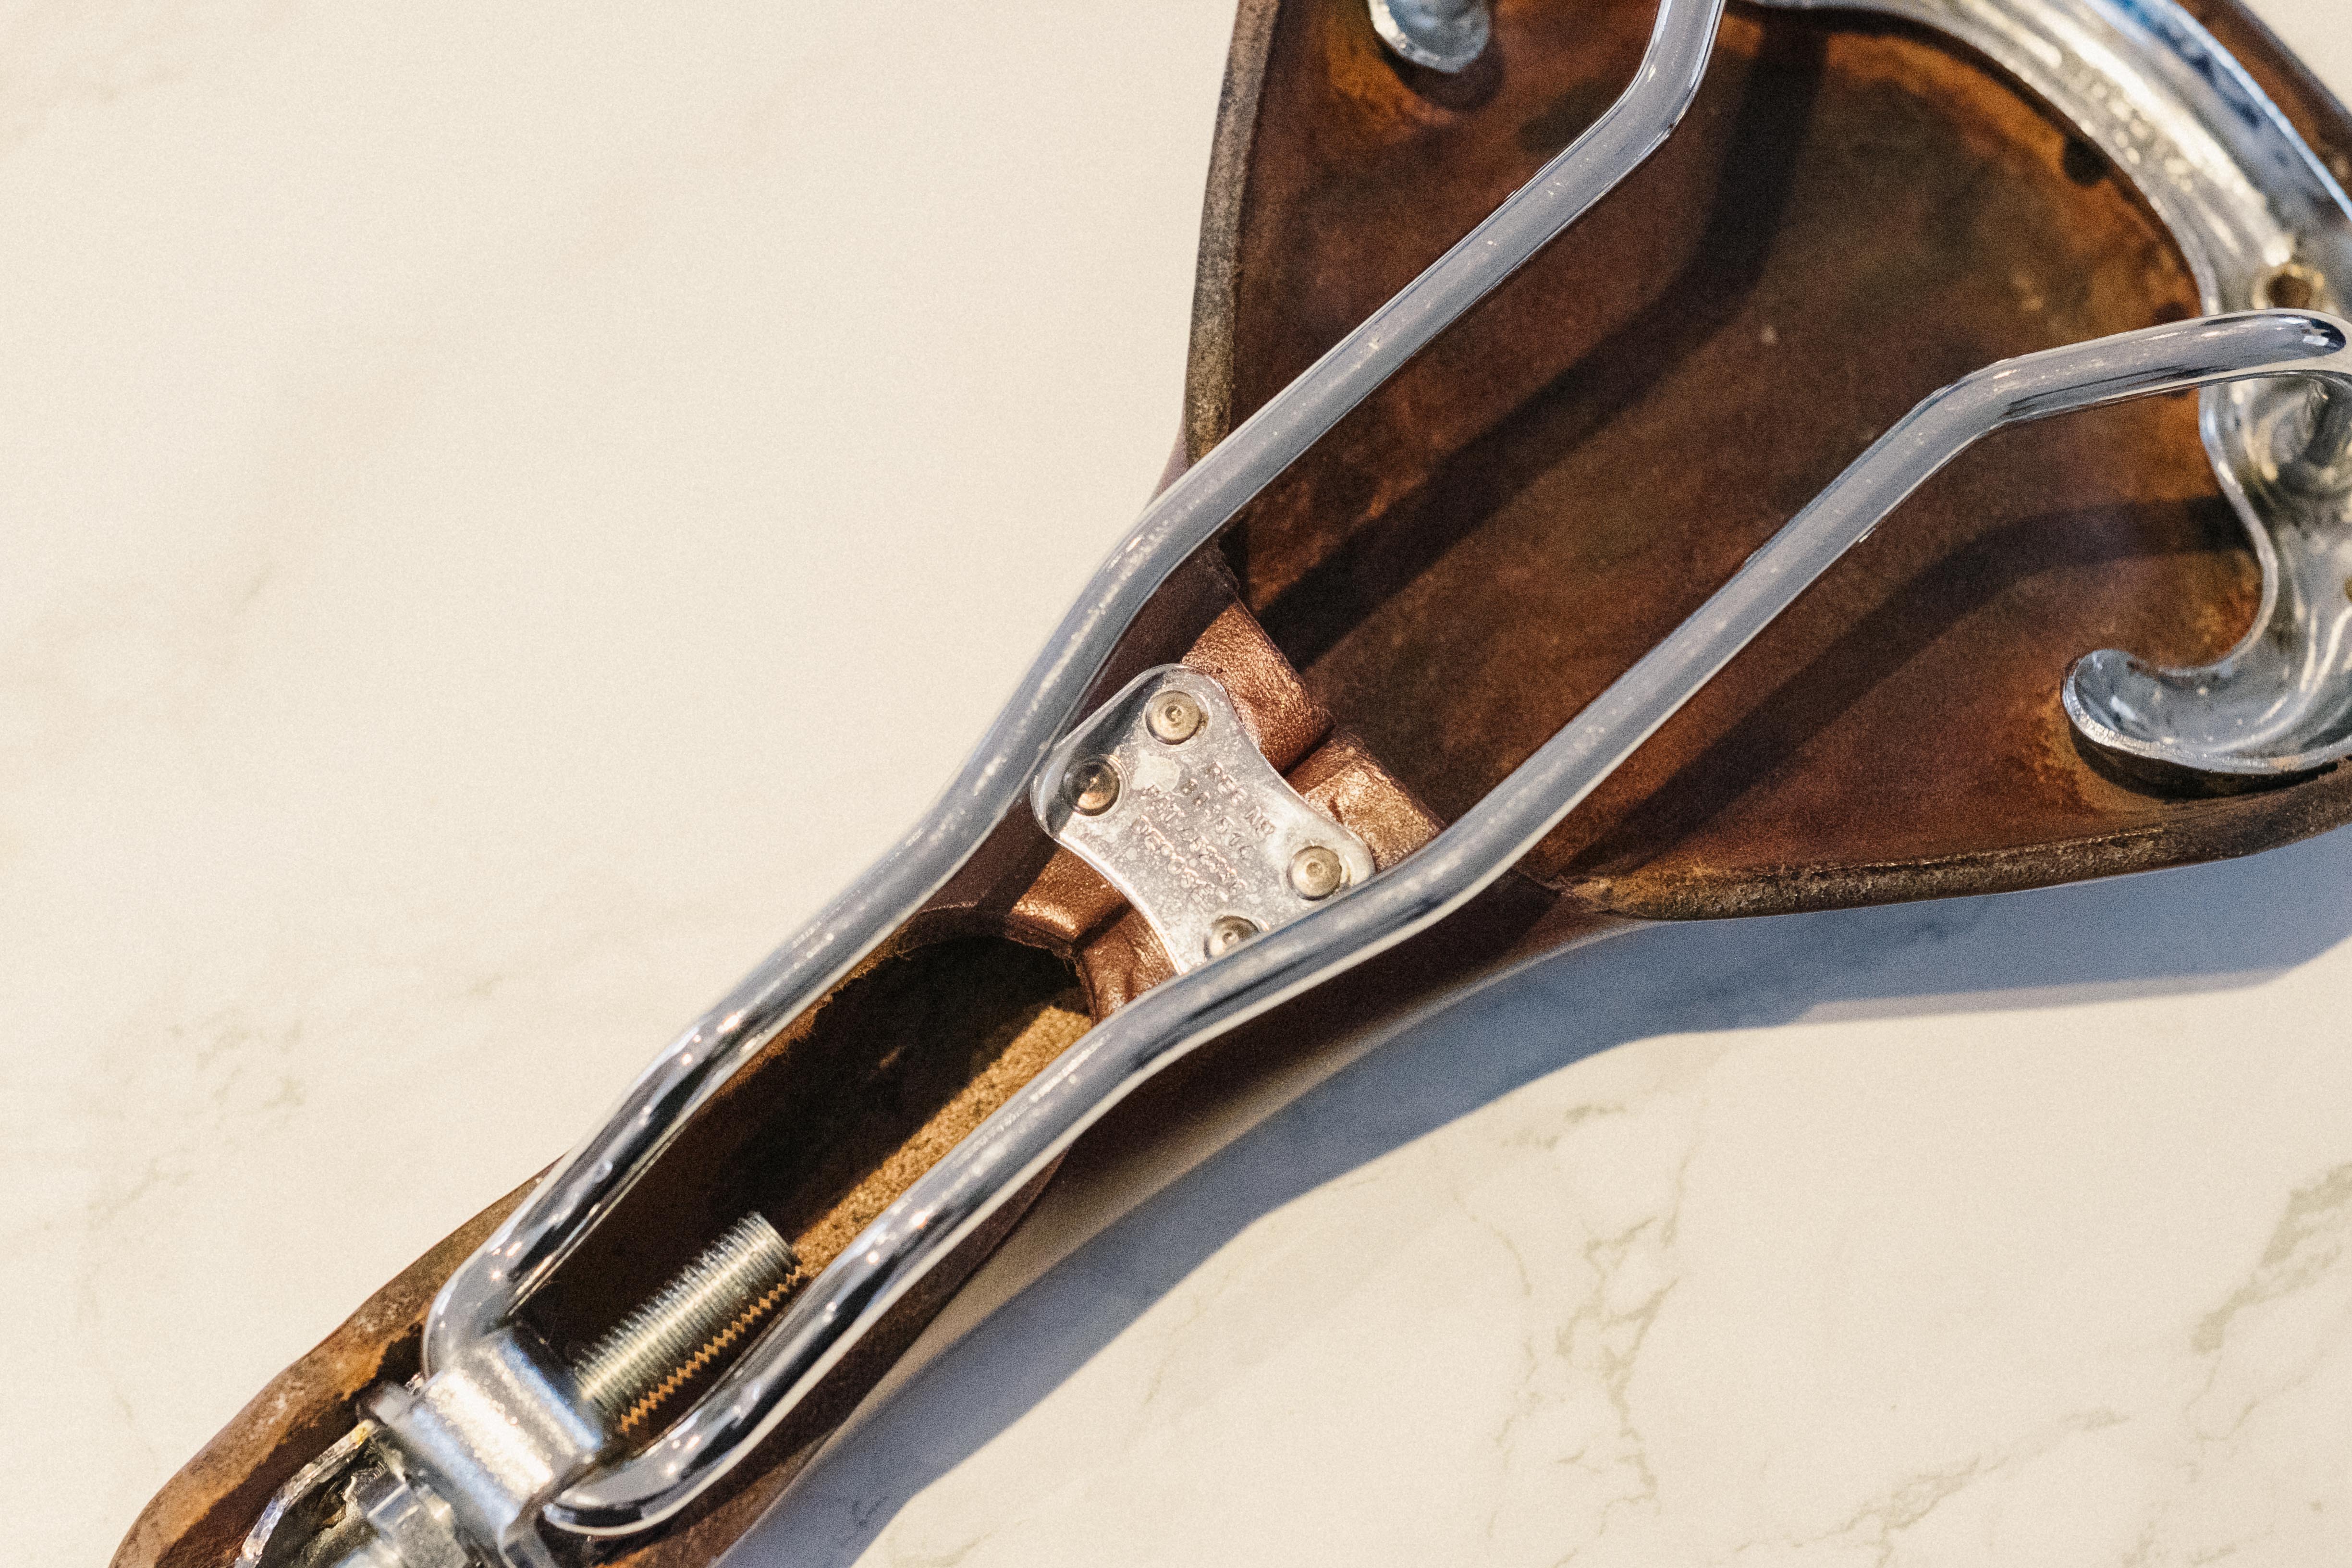
Over time 'breaking in' will eventually become 'sagging', at which point you’re going to want to add a bit more tension. On nearly all leather saddles the rear of the leather upper is fixed in place, and the nose is mounted to a moveable sled. Pulling this sled forward by the use of a nose bolt increases the distance between the mounting points and re-tensions the leather upper. When it’s got too saggy for your liking simply add a bit of tension, a half turn at a time, and never, ever when the saddle is wet.
Leather conditioning products, as mentioned before, should be used sparingly. The regularity at which you’ll need to apply things such as Brooks Proofide will depend on the conditions in which you ride, but as a rule of thumb every half a year or so is ‘normal’. Don’t be slapping it on weekly, and don’t leave it for five years either.
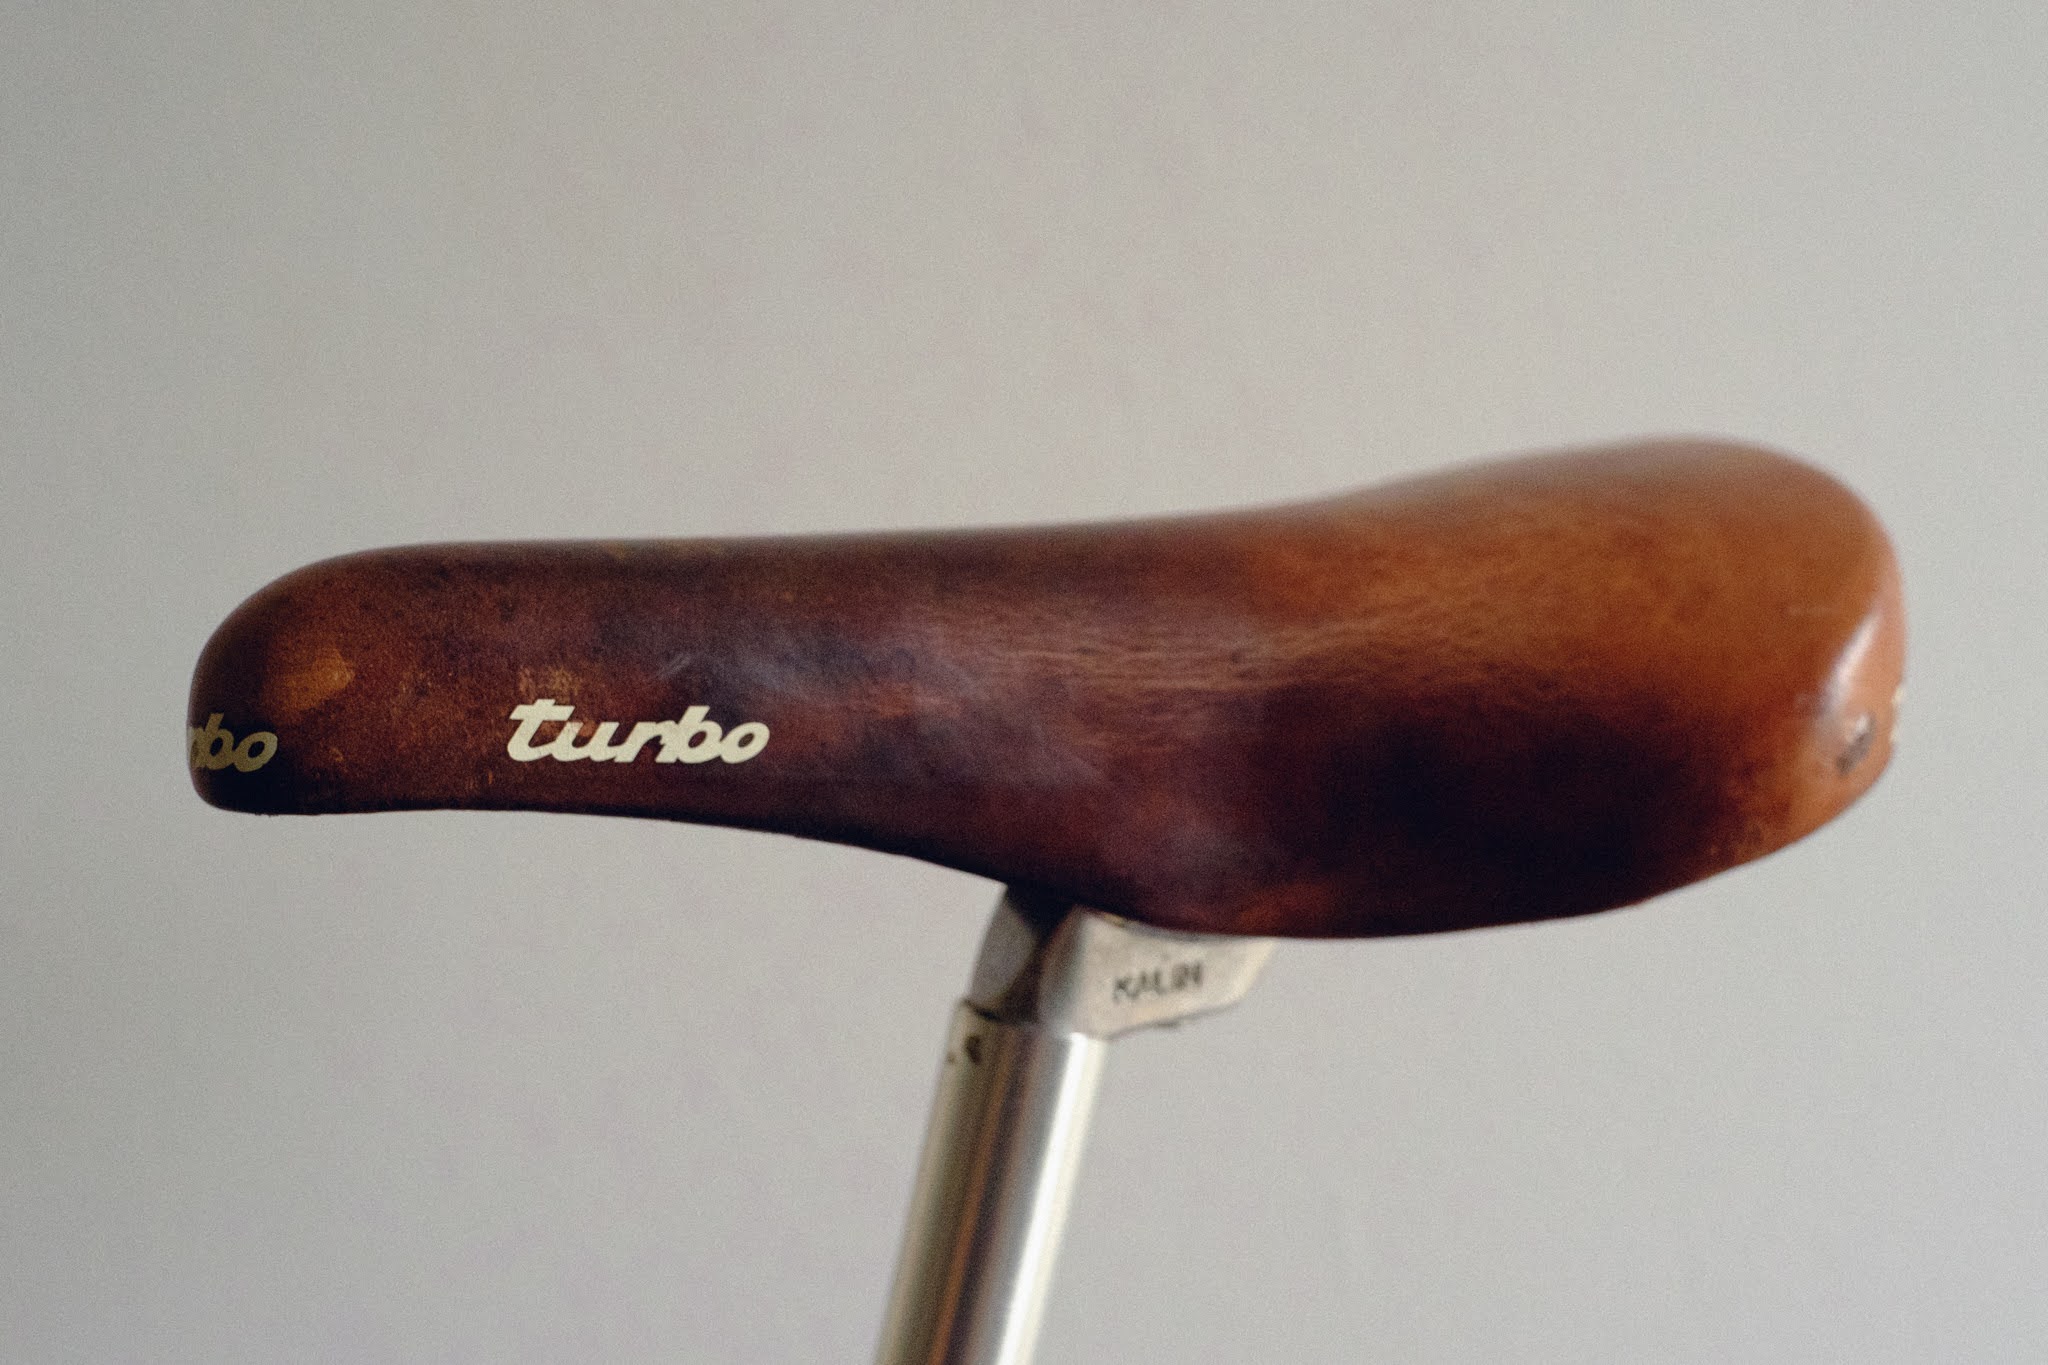
These care tips also apply to a certain extent to leather-covered synthetic saddles. There aren't a huge number of them, but if you’re running something like a Selle Italia Turbo then you at least don’t need to worry about it sagging. Just treat the leather like you would a good pair of shoes: Give it a polish and a buff as and when it looks dry, and still avoid forced drying if it gets wet.
Shapes and models
While synthetic saddles come in a bewildering variety of shapes, sizes and widths, leather saddles are remarkably simple in comparison. For starters there is no real requirement for exact widths as your own personal anatomy will dictate the final form. Generally speaking, though the shape of your leather saddle will be dictated by your riding style. A more upright position for touring or commuting would require a bigger perch as more of your weight is placed on the saddle and less on the hands. In contrast, if you’re riding a very aggressive position you’ll need a narrower option to account for the forward rotation of the pelvis and the fact that more of your weight is supported by your arms.
Many models are available with or without a cutout. In my experience, these aren’t as beneficial as they are for synthetic models, as, once broken in they're essentially redundant. However, they do make for a saddle with a little more initial give, as the removal of the central material allows the sides of the upper to sag inwards a touch, which can cause the side wings to flare out. This is why you’ll often see saddles with cutouts having a web of cord under to hold the sides in place. Perhaps think of them less as relief channels, and more as break in relief.
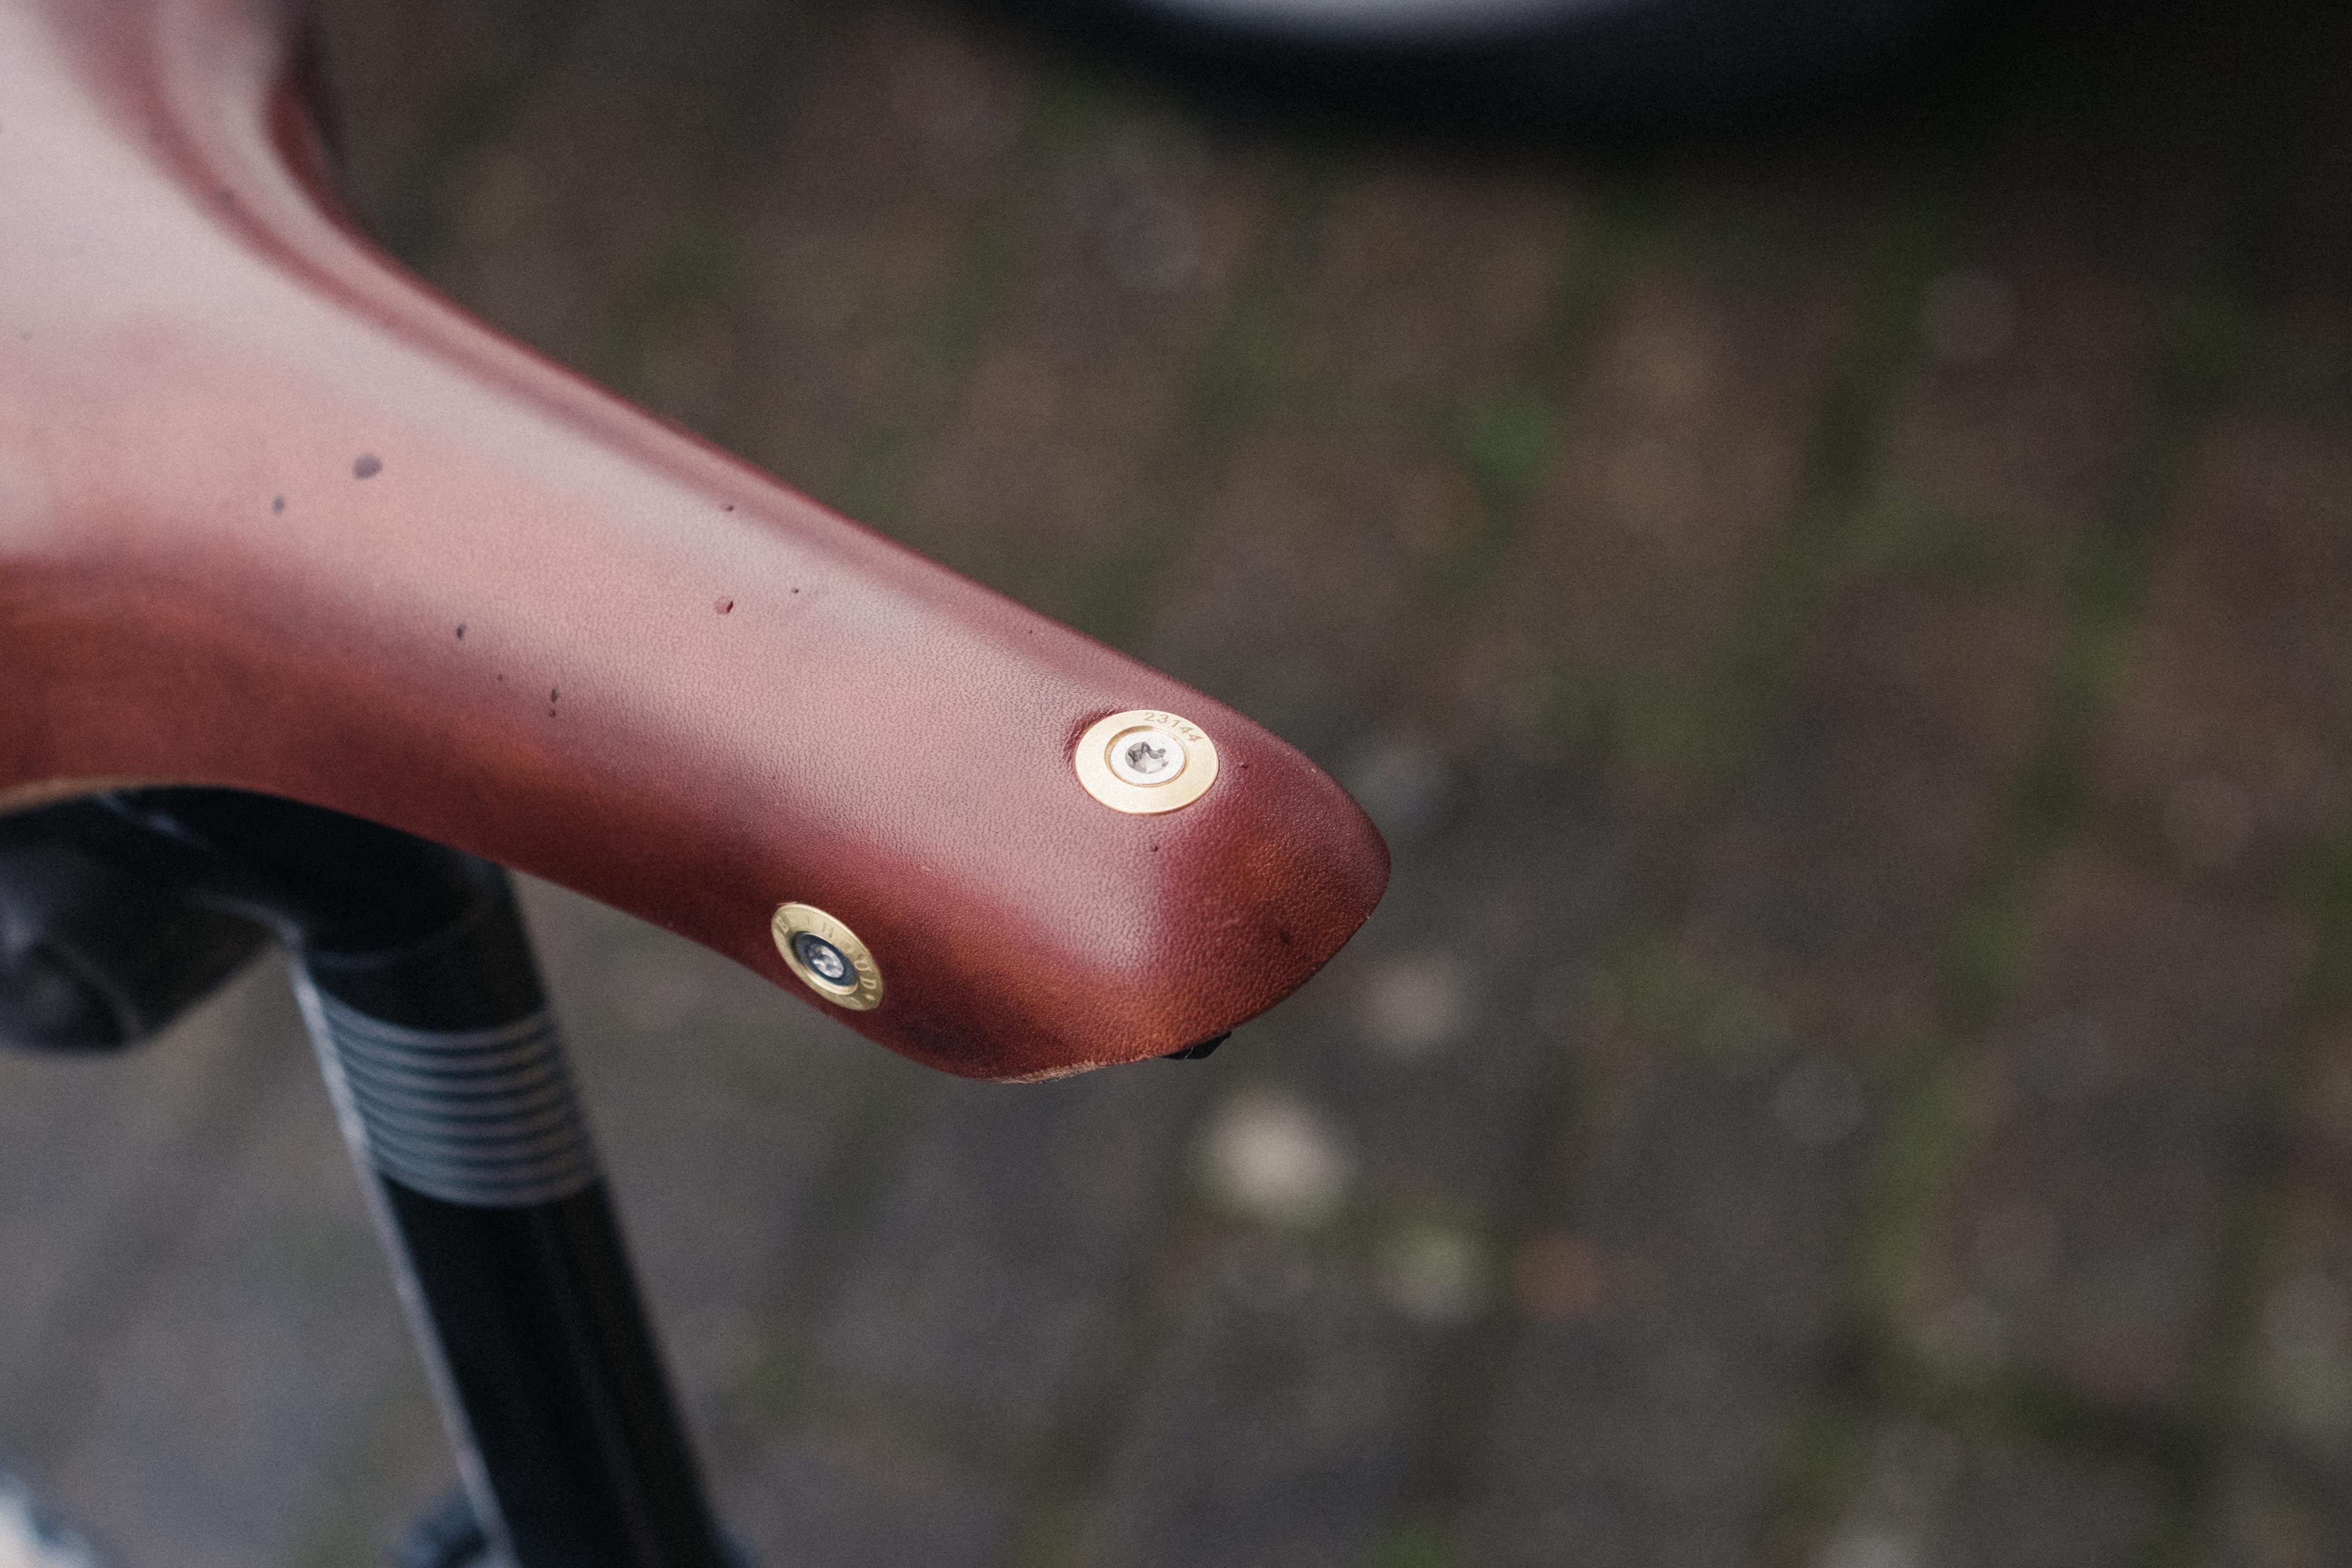
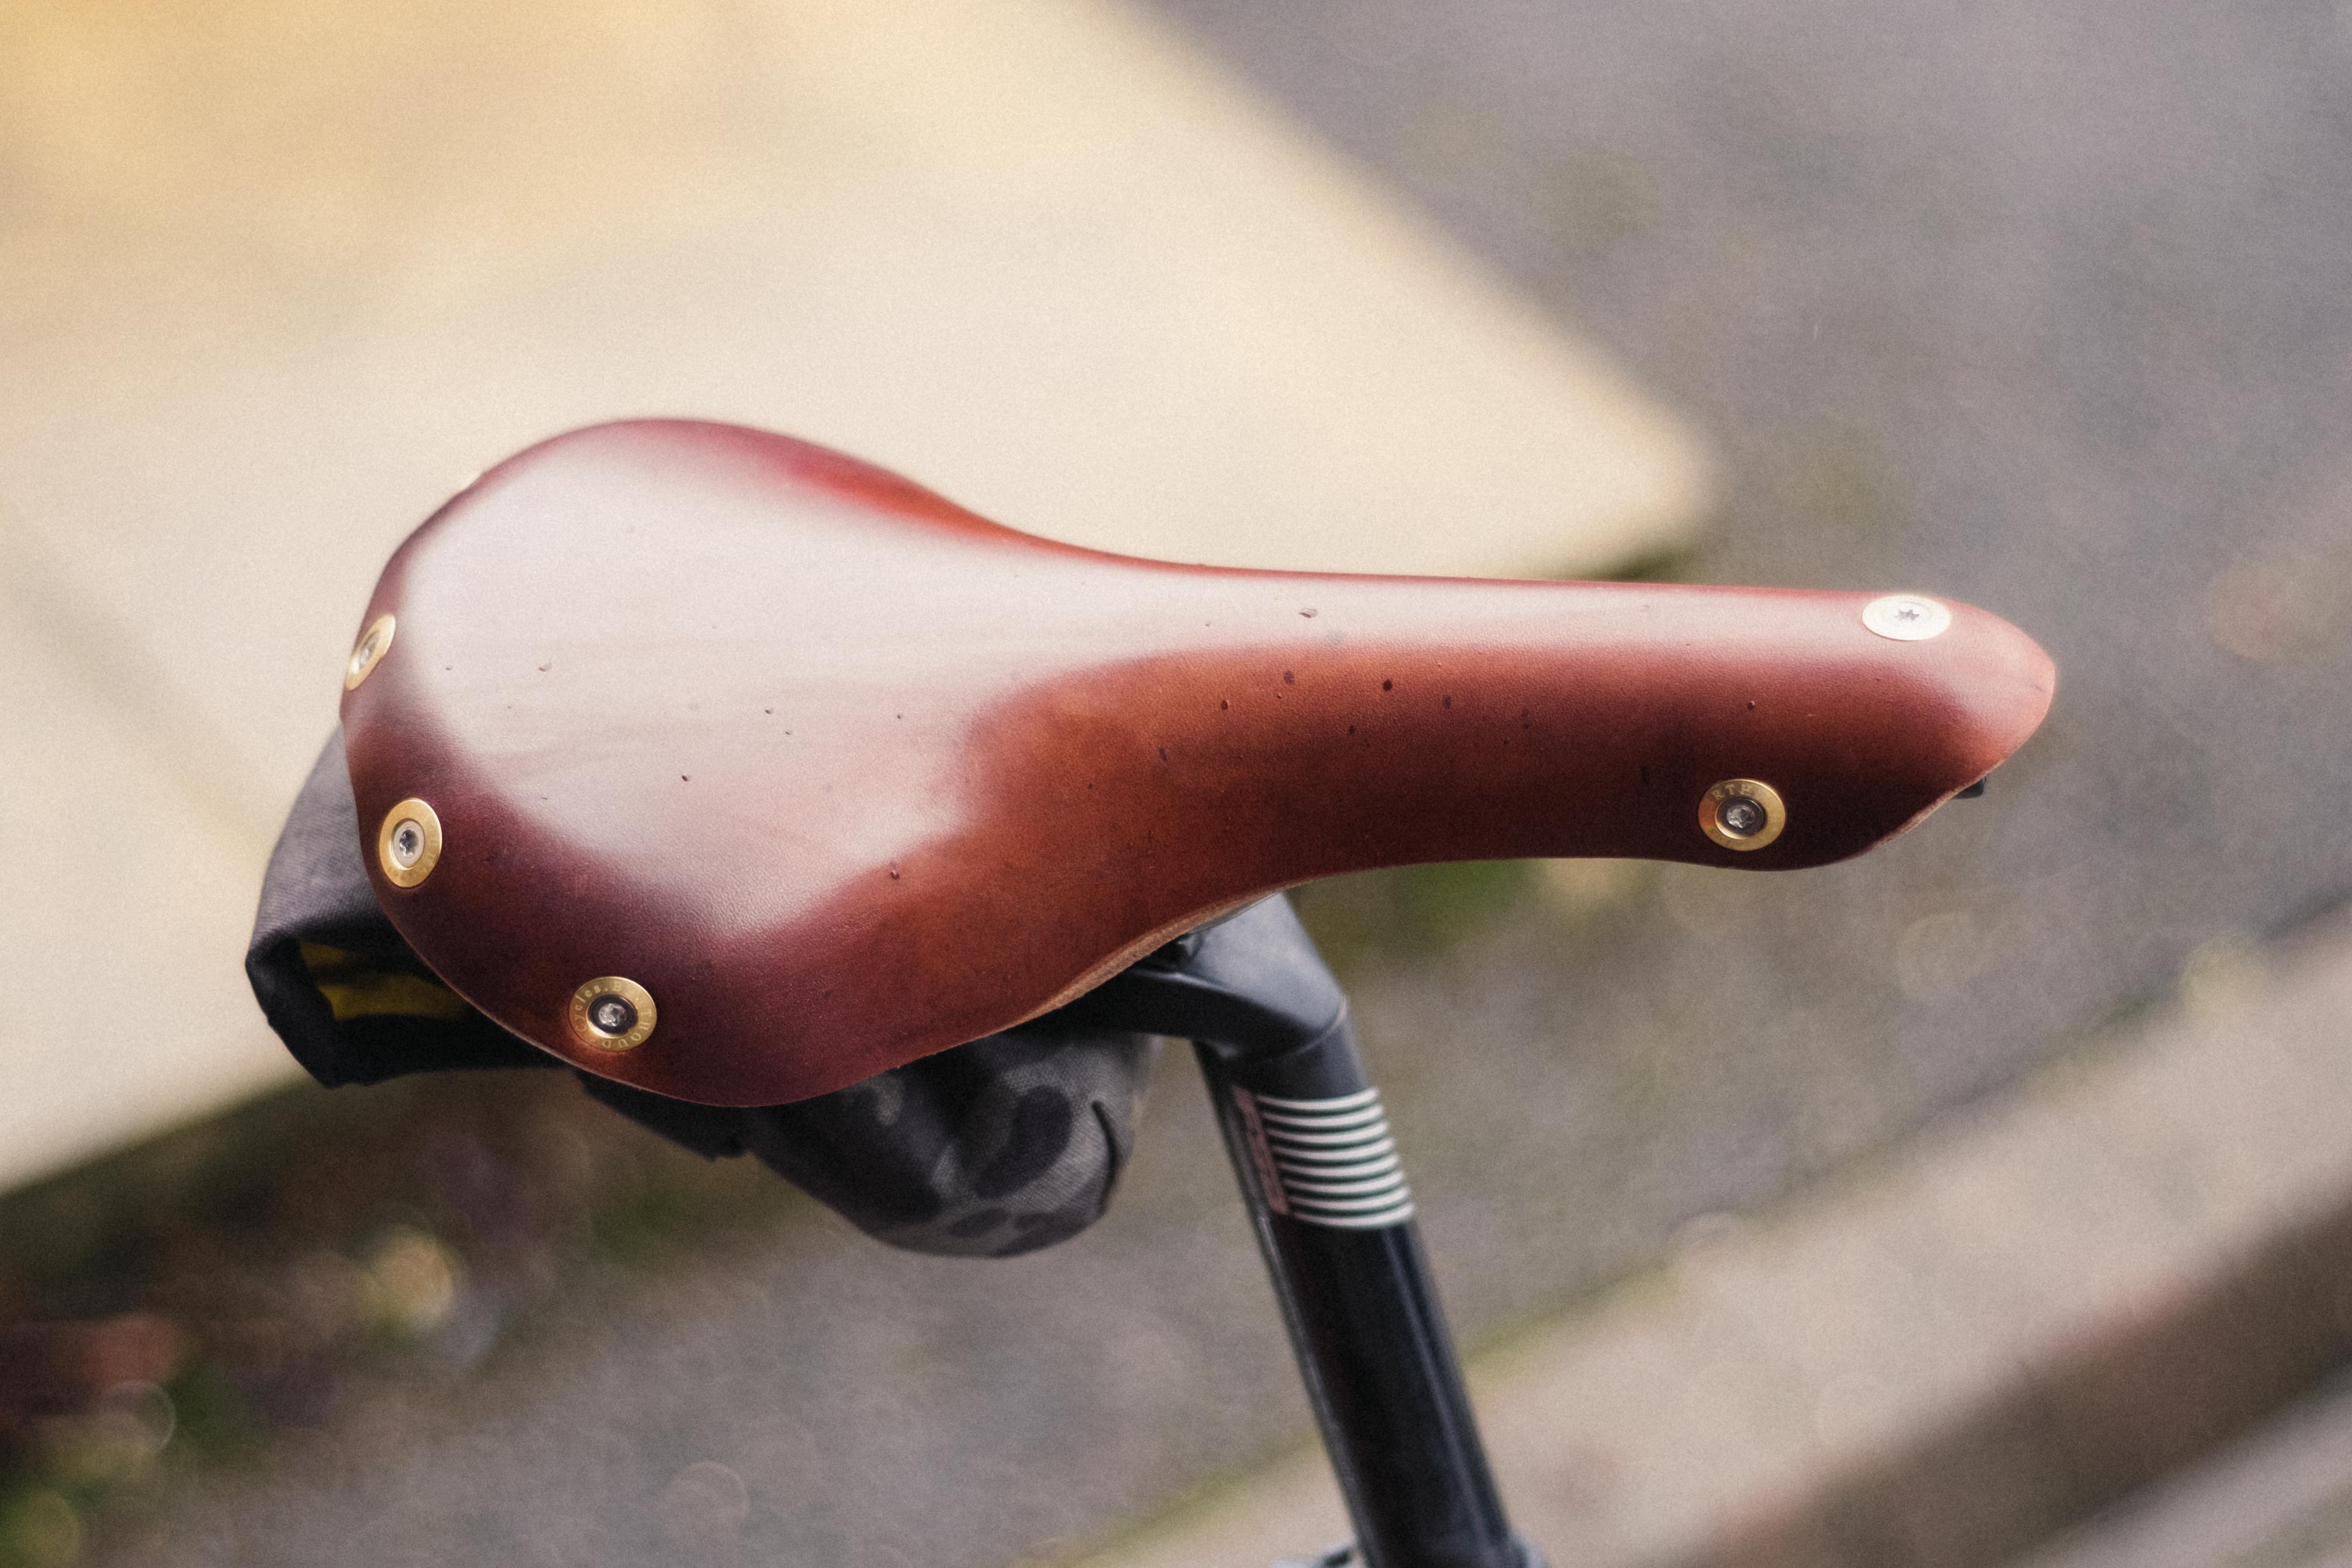
I’m going to stick to models I have experience with here, as going over all of them would take some time. I have been using a number from Brooks and more recently Berthoud. Generally speaking, I’ve found the break-in period for Berthoud saddles to be a little more arduous. The leather feels a little stiffer, and perhaps a smidge thicker too. Berthoud saddles do come in as the more premium option, but for that, you get replaceable hardware. When the upper leather eventually reaches the end of its useable life you can simply attach a new one, making it a more sustainable option. Brooks uppers are riveted in place by contrast, meaning once they have sagged beyond the point of no return they will need replacing. They are also available with a variety of rail options, from steel to lightweight titanium.
Commuting/Touring
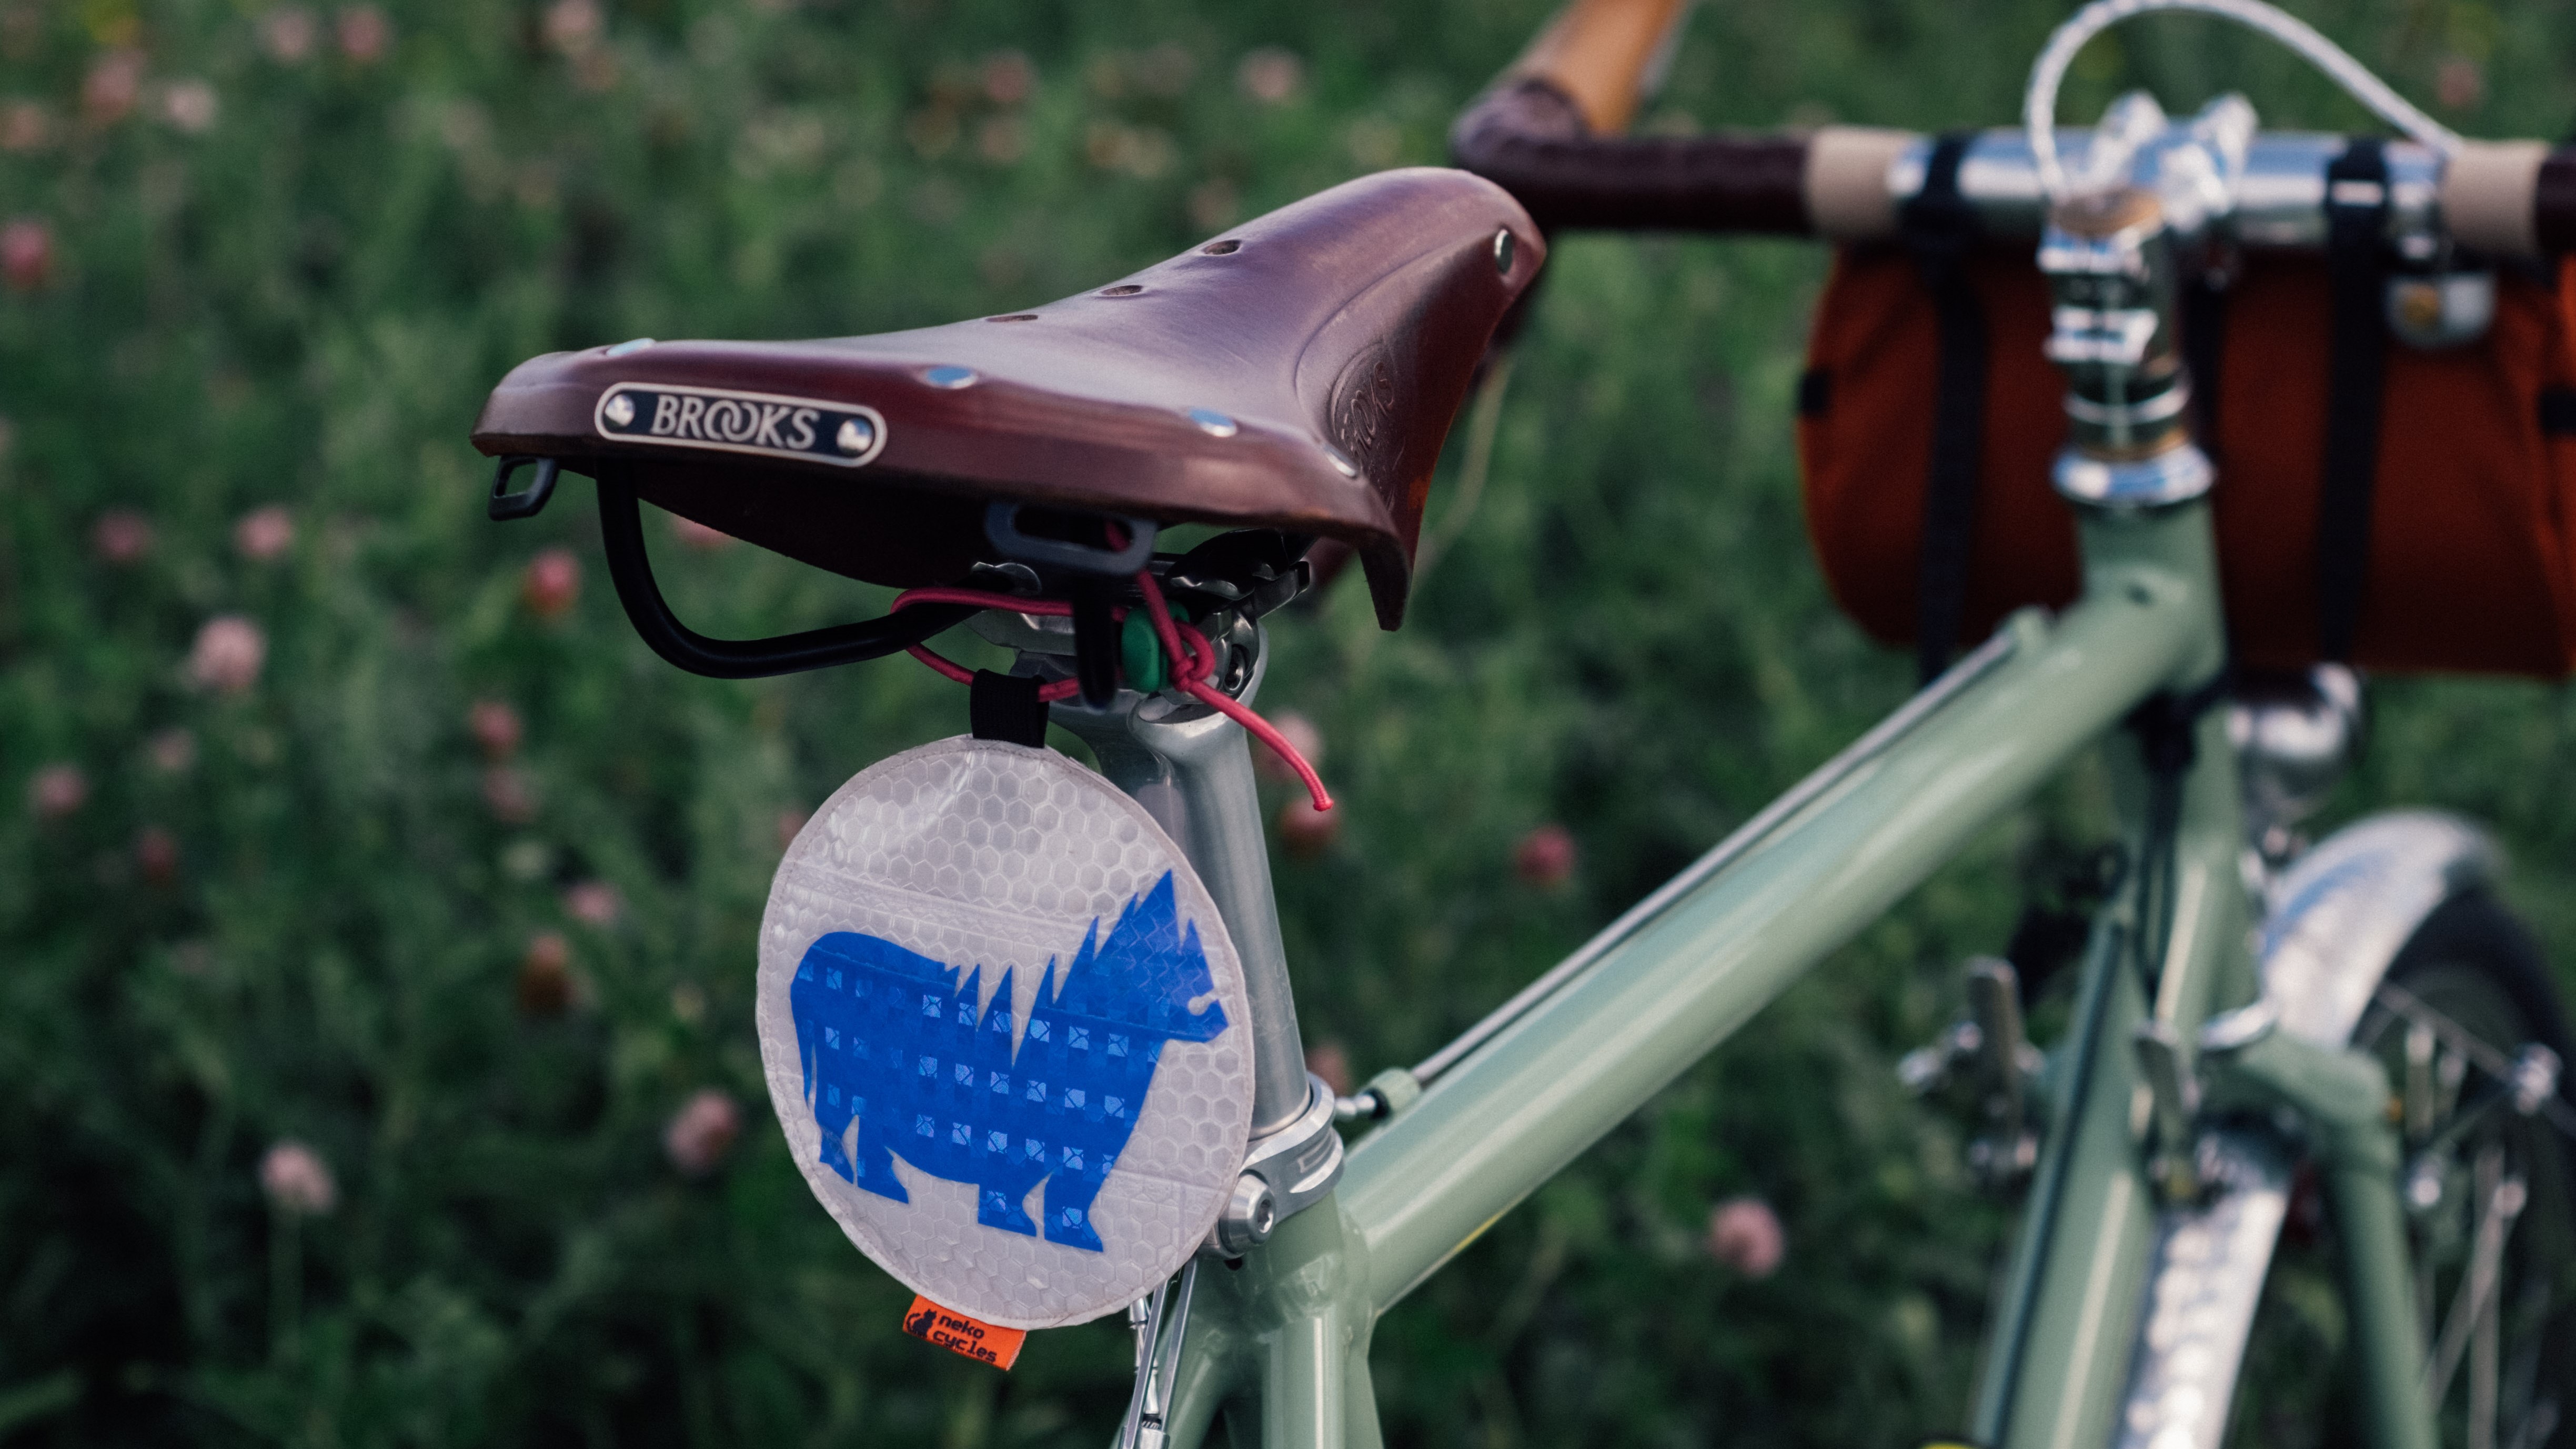
When you think of a leather saddle you’re probably thinking of a Brooks B17. It’s the classic shape, and for general use it’s pretty hard to beat. I use mine on my everyday/gravel tourer, and it’s only getting more comfortable. The break in period for the standard B17 is a little longer than with the rest of the range I’ve found, this seems to be to do with the extended side wings. As the upper presses down these want to flare outwards, but your inner thighs prevent this.
From Berthoud there’s the Aubisque, which is marketed more as a ‘city saddle’. I’ve not used this shape personally, but to my eyes the shape is more similar to the B17 than the companies ‘touring’ saddle, the Aspin. I’d take these recommendations with a pinch of salt though.
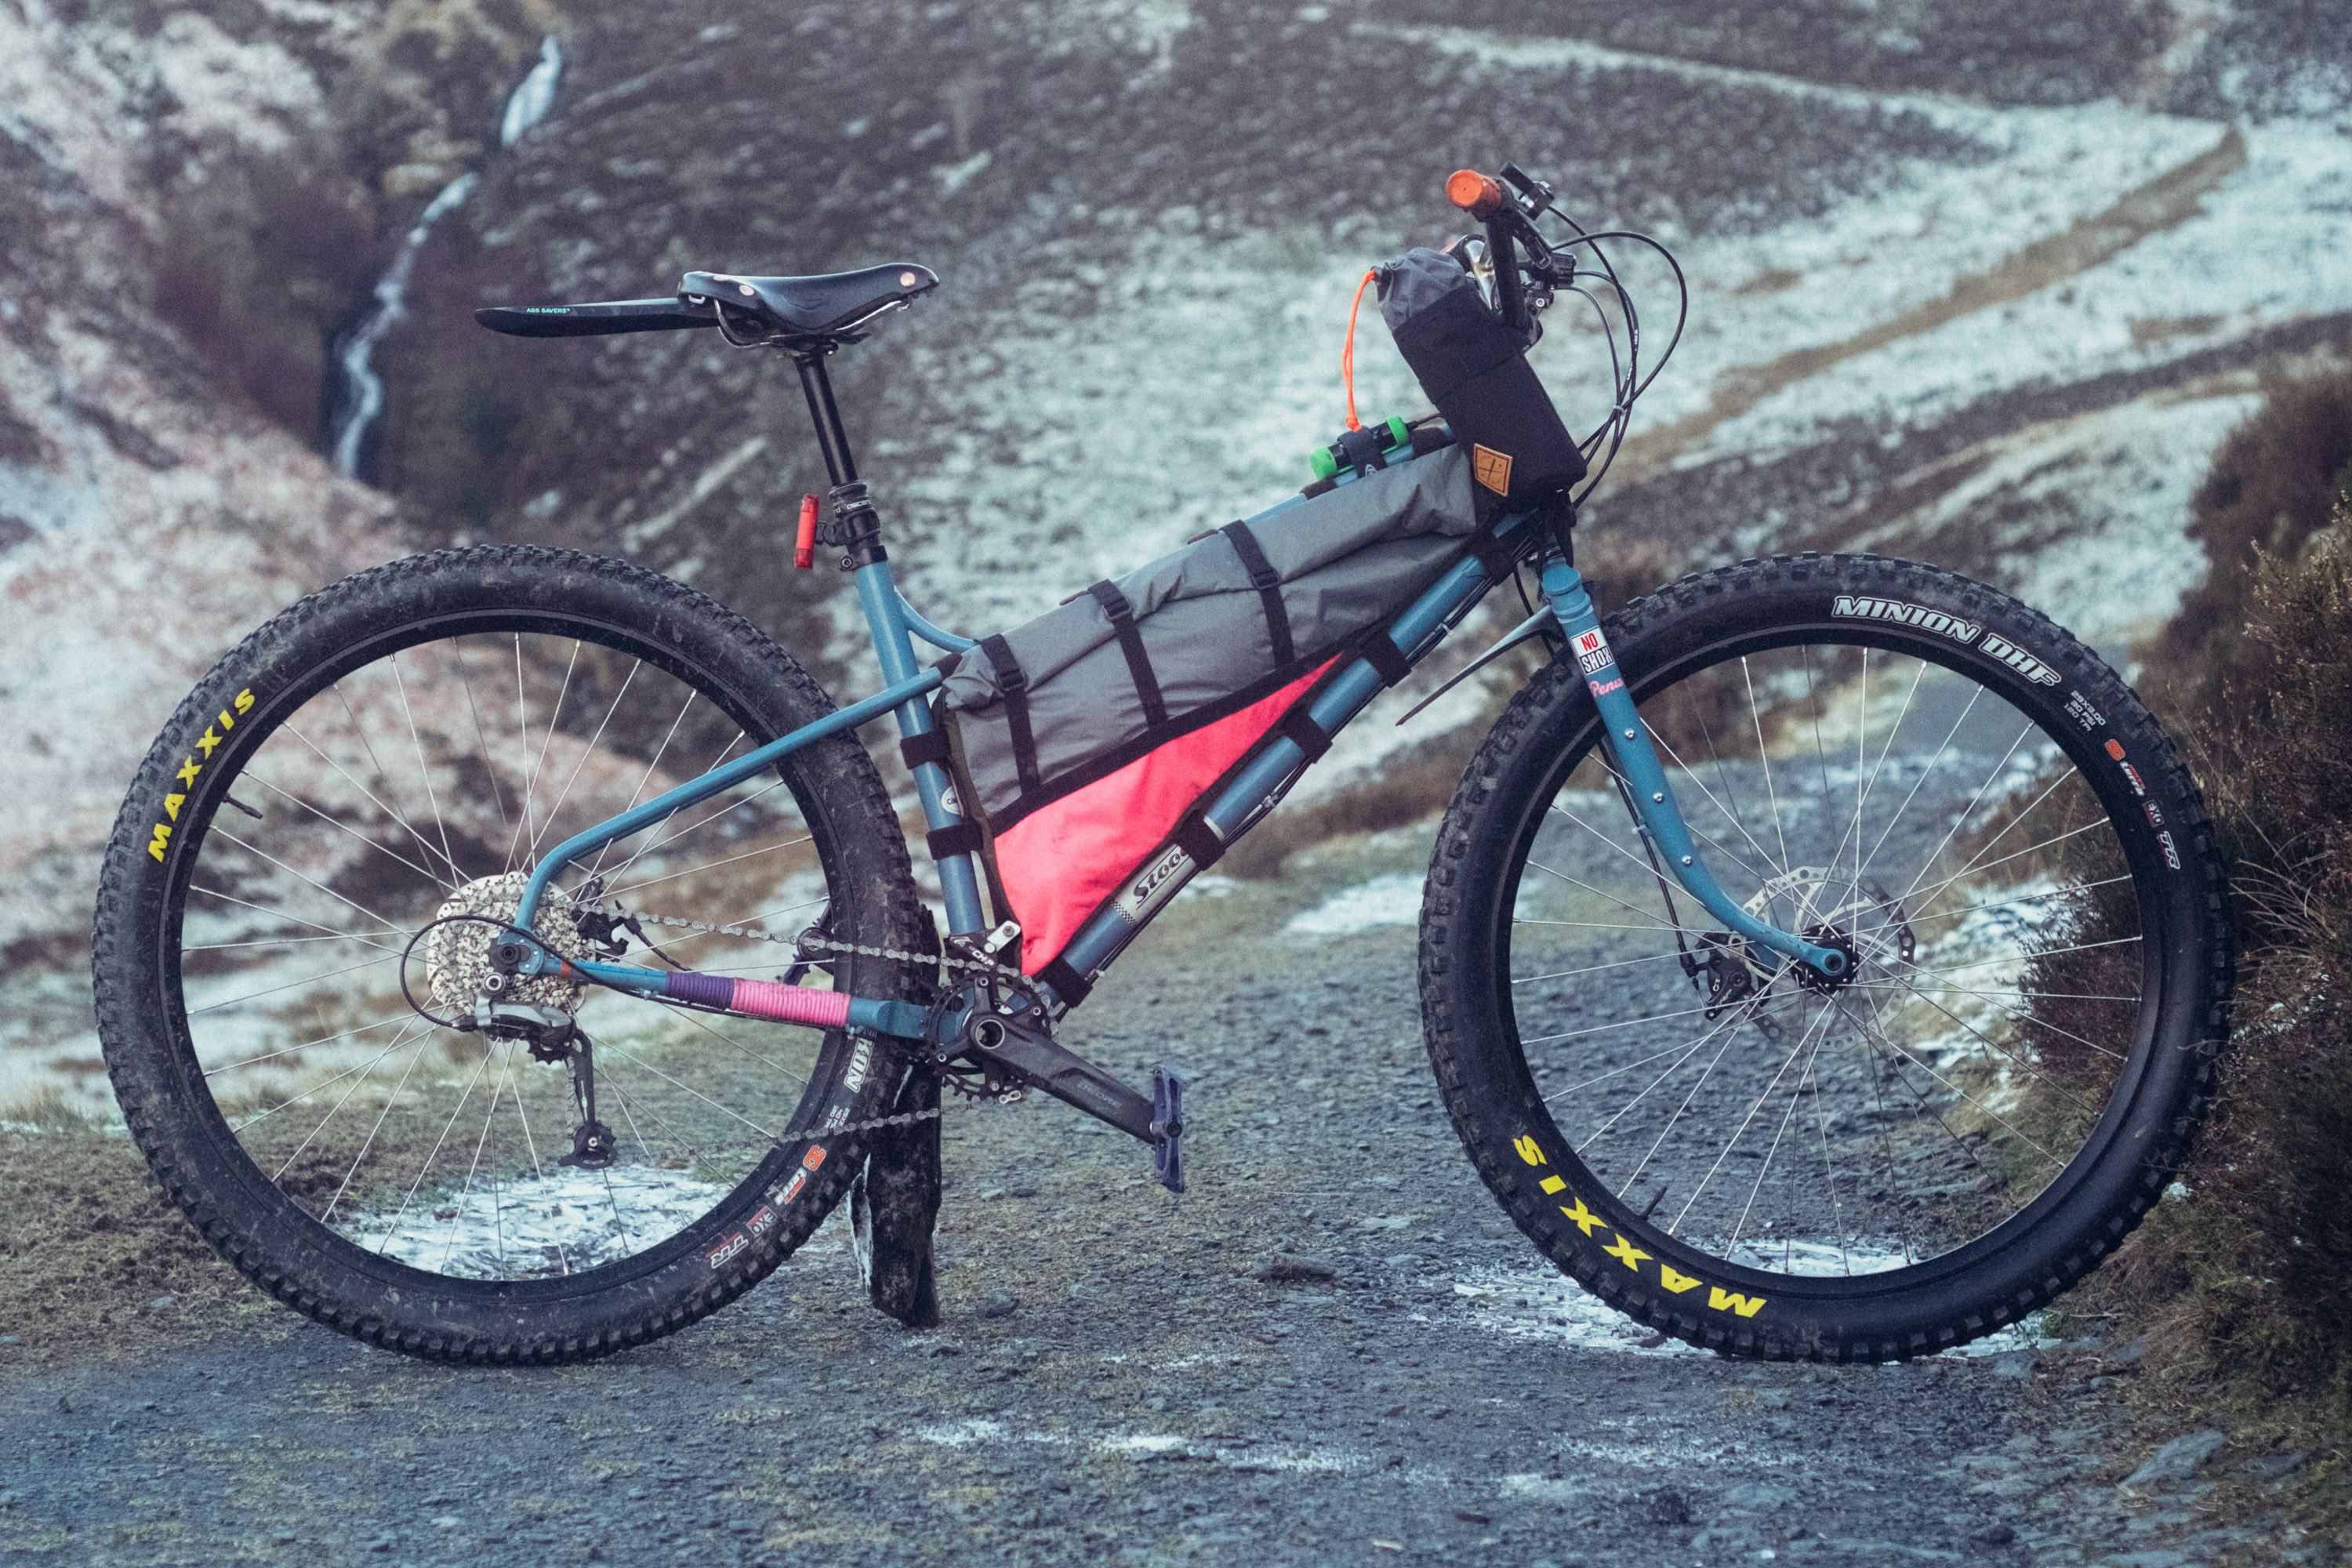
One thing I have had success with in the past is using the shorter nosed, nominally ‘women’s’ models of the B17 on bikes that put me in a more aggressive position. If you’ve got a bike where you are sometimes in an upright position for greater control, but also sometimes on aero bars (I’m thinking some gravel/ultra race setups here) then the short nosed models are definitely worth considering as you’ll get the support you need, and not have a long nose bothering your undercarriage when you want to get aero.
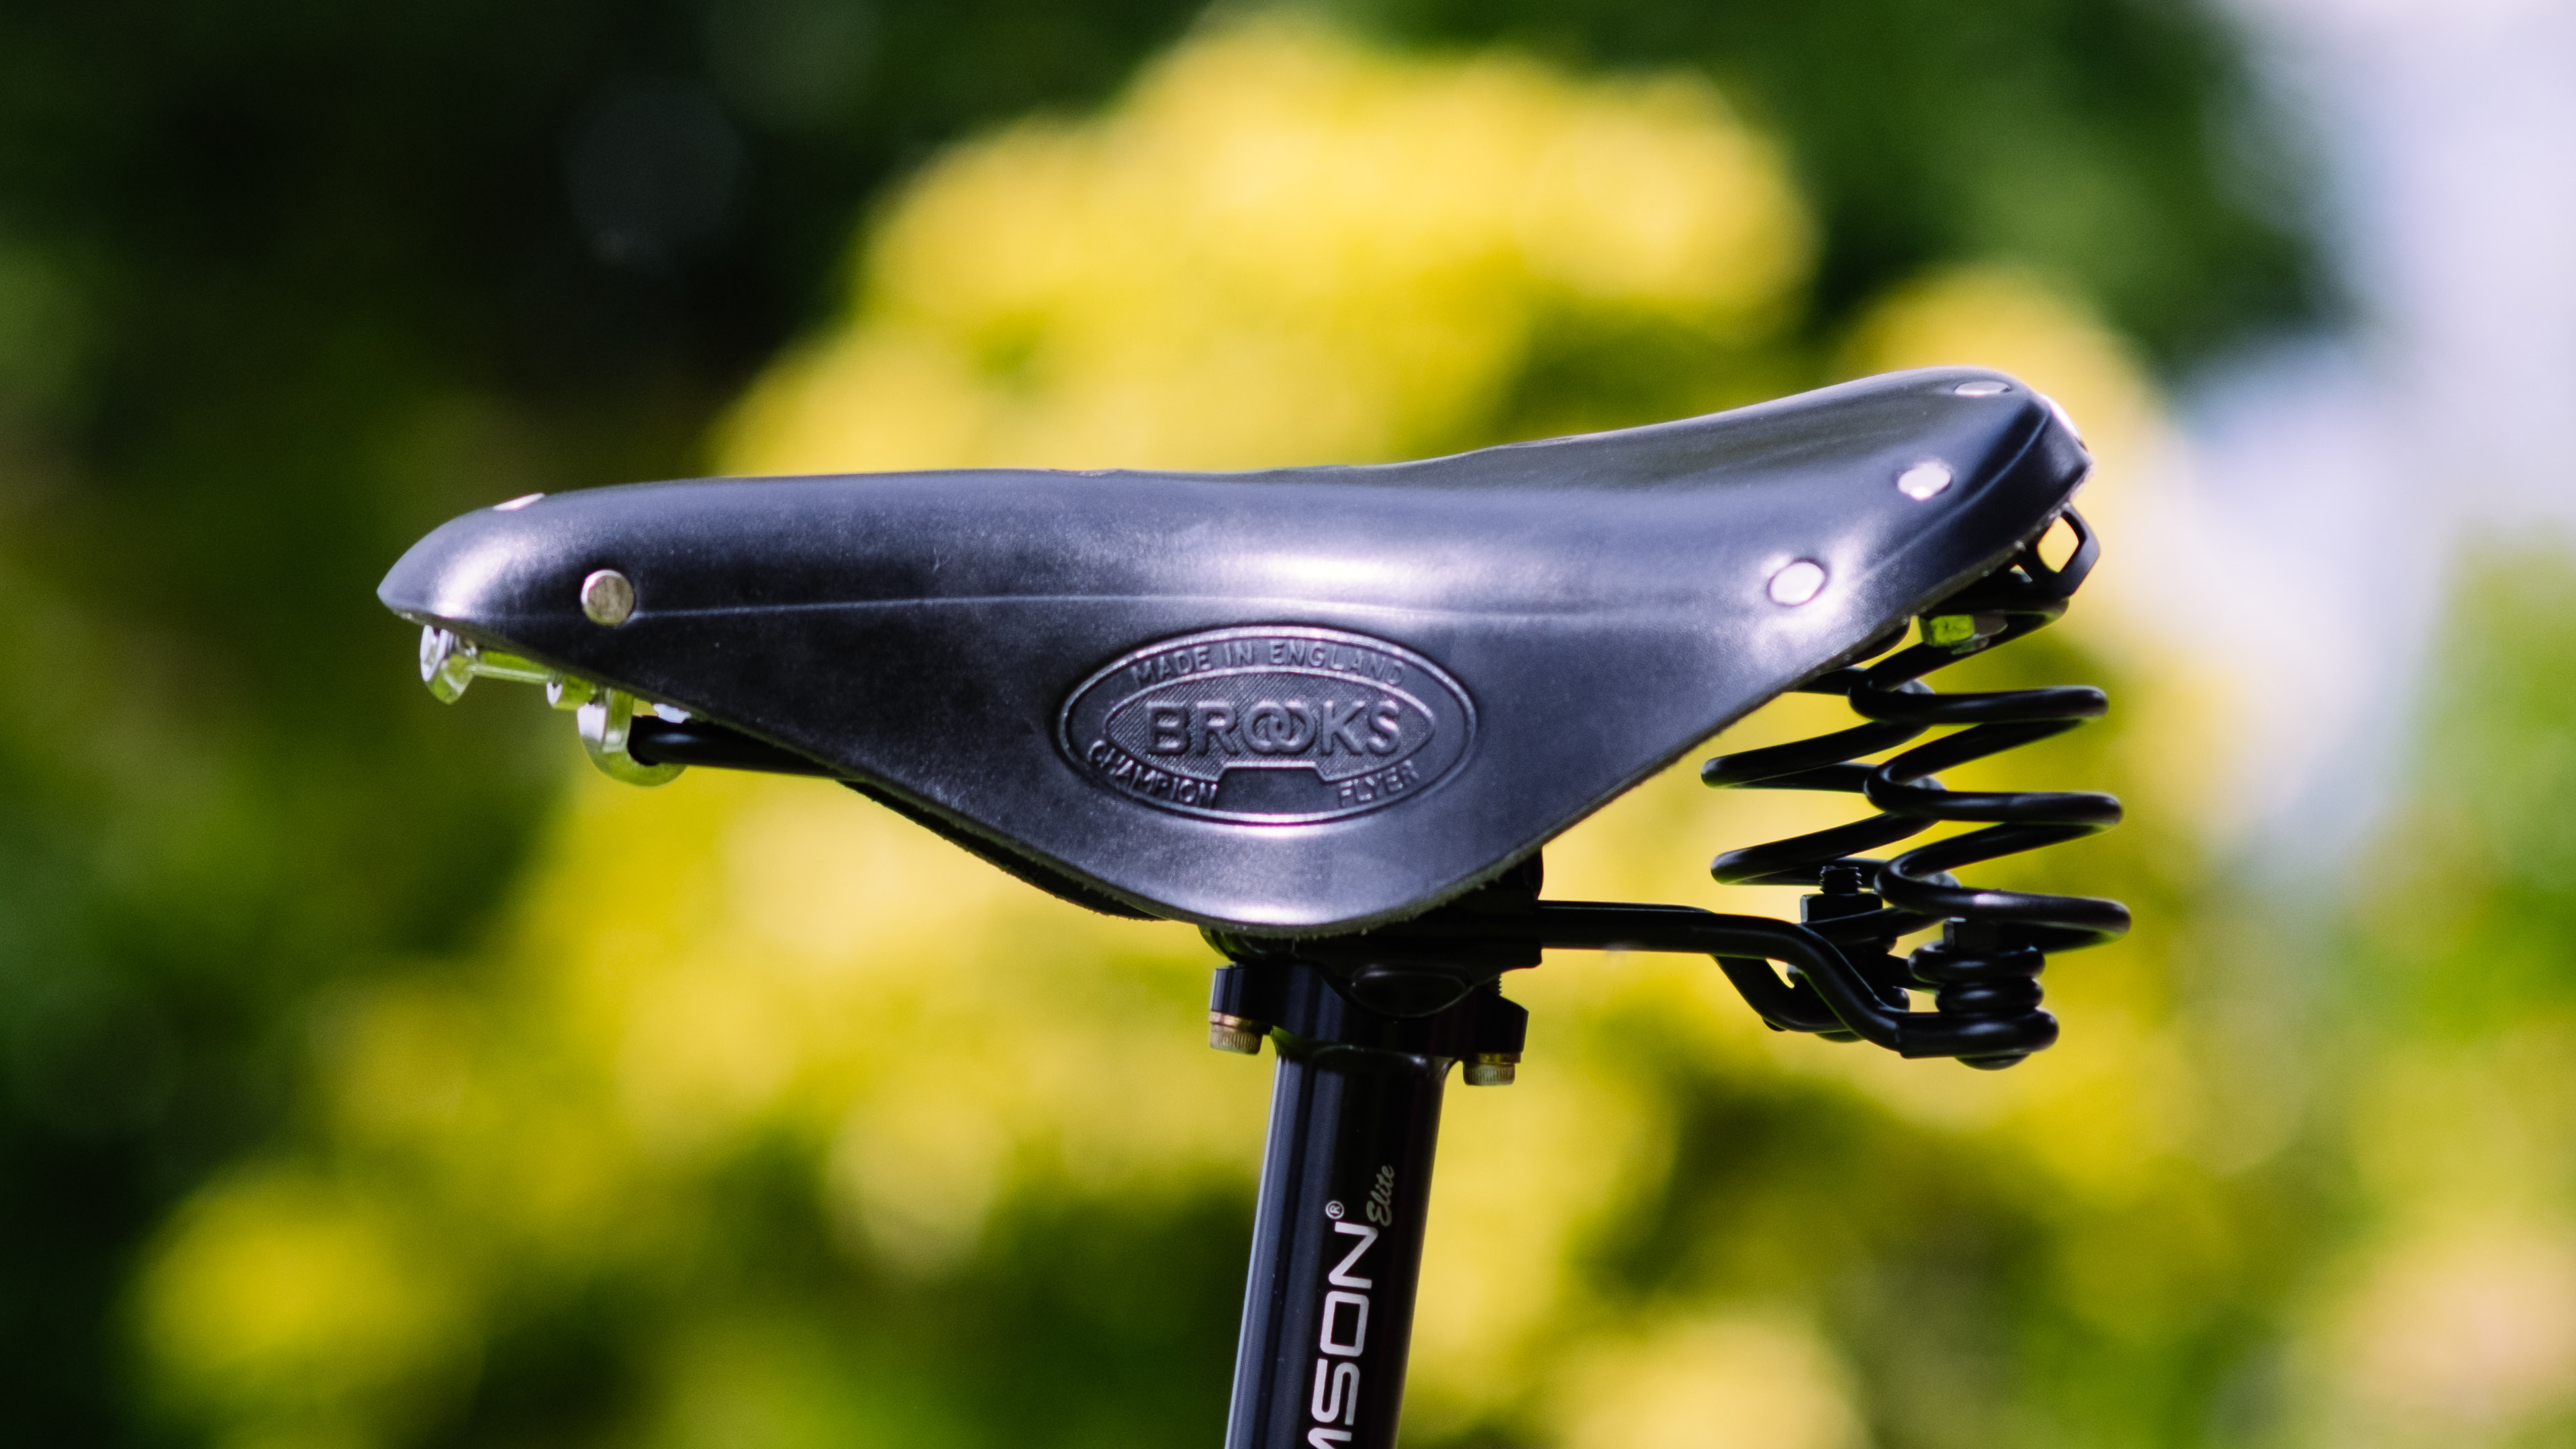
If you need a bit of extra cush there’s also the Flyer from Brooks, but it’s a bit of a beast at just shy of 900g thanks to the two giant springs at rear end. A significant weight penalty, but it may help if your commute is over particularly rough tarmac.
Gravel/General use
I’m loath to label any leather saddles as ‘gravel specific’ but to me, the Berthoud Aspin and the Brooks Swift, both of which have a relatively similar profile, make ideal gravel saddles if you’re unsure of what to opt for. Gravel bikes, unless you’re on a gravel race bike, generally puts you in a slightly more upright position than road bikes. Both these saddles have the longer profile of a classic road leather saddle, but with some extra width to support more of your derriere. If your commuter has a little more of a forward position these would work too.
Road/Aggressive positions
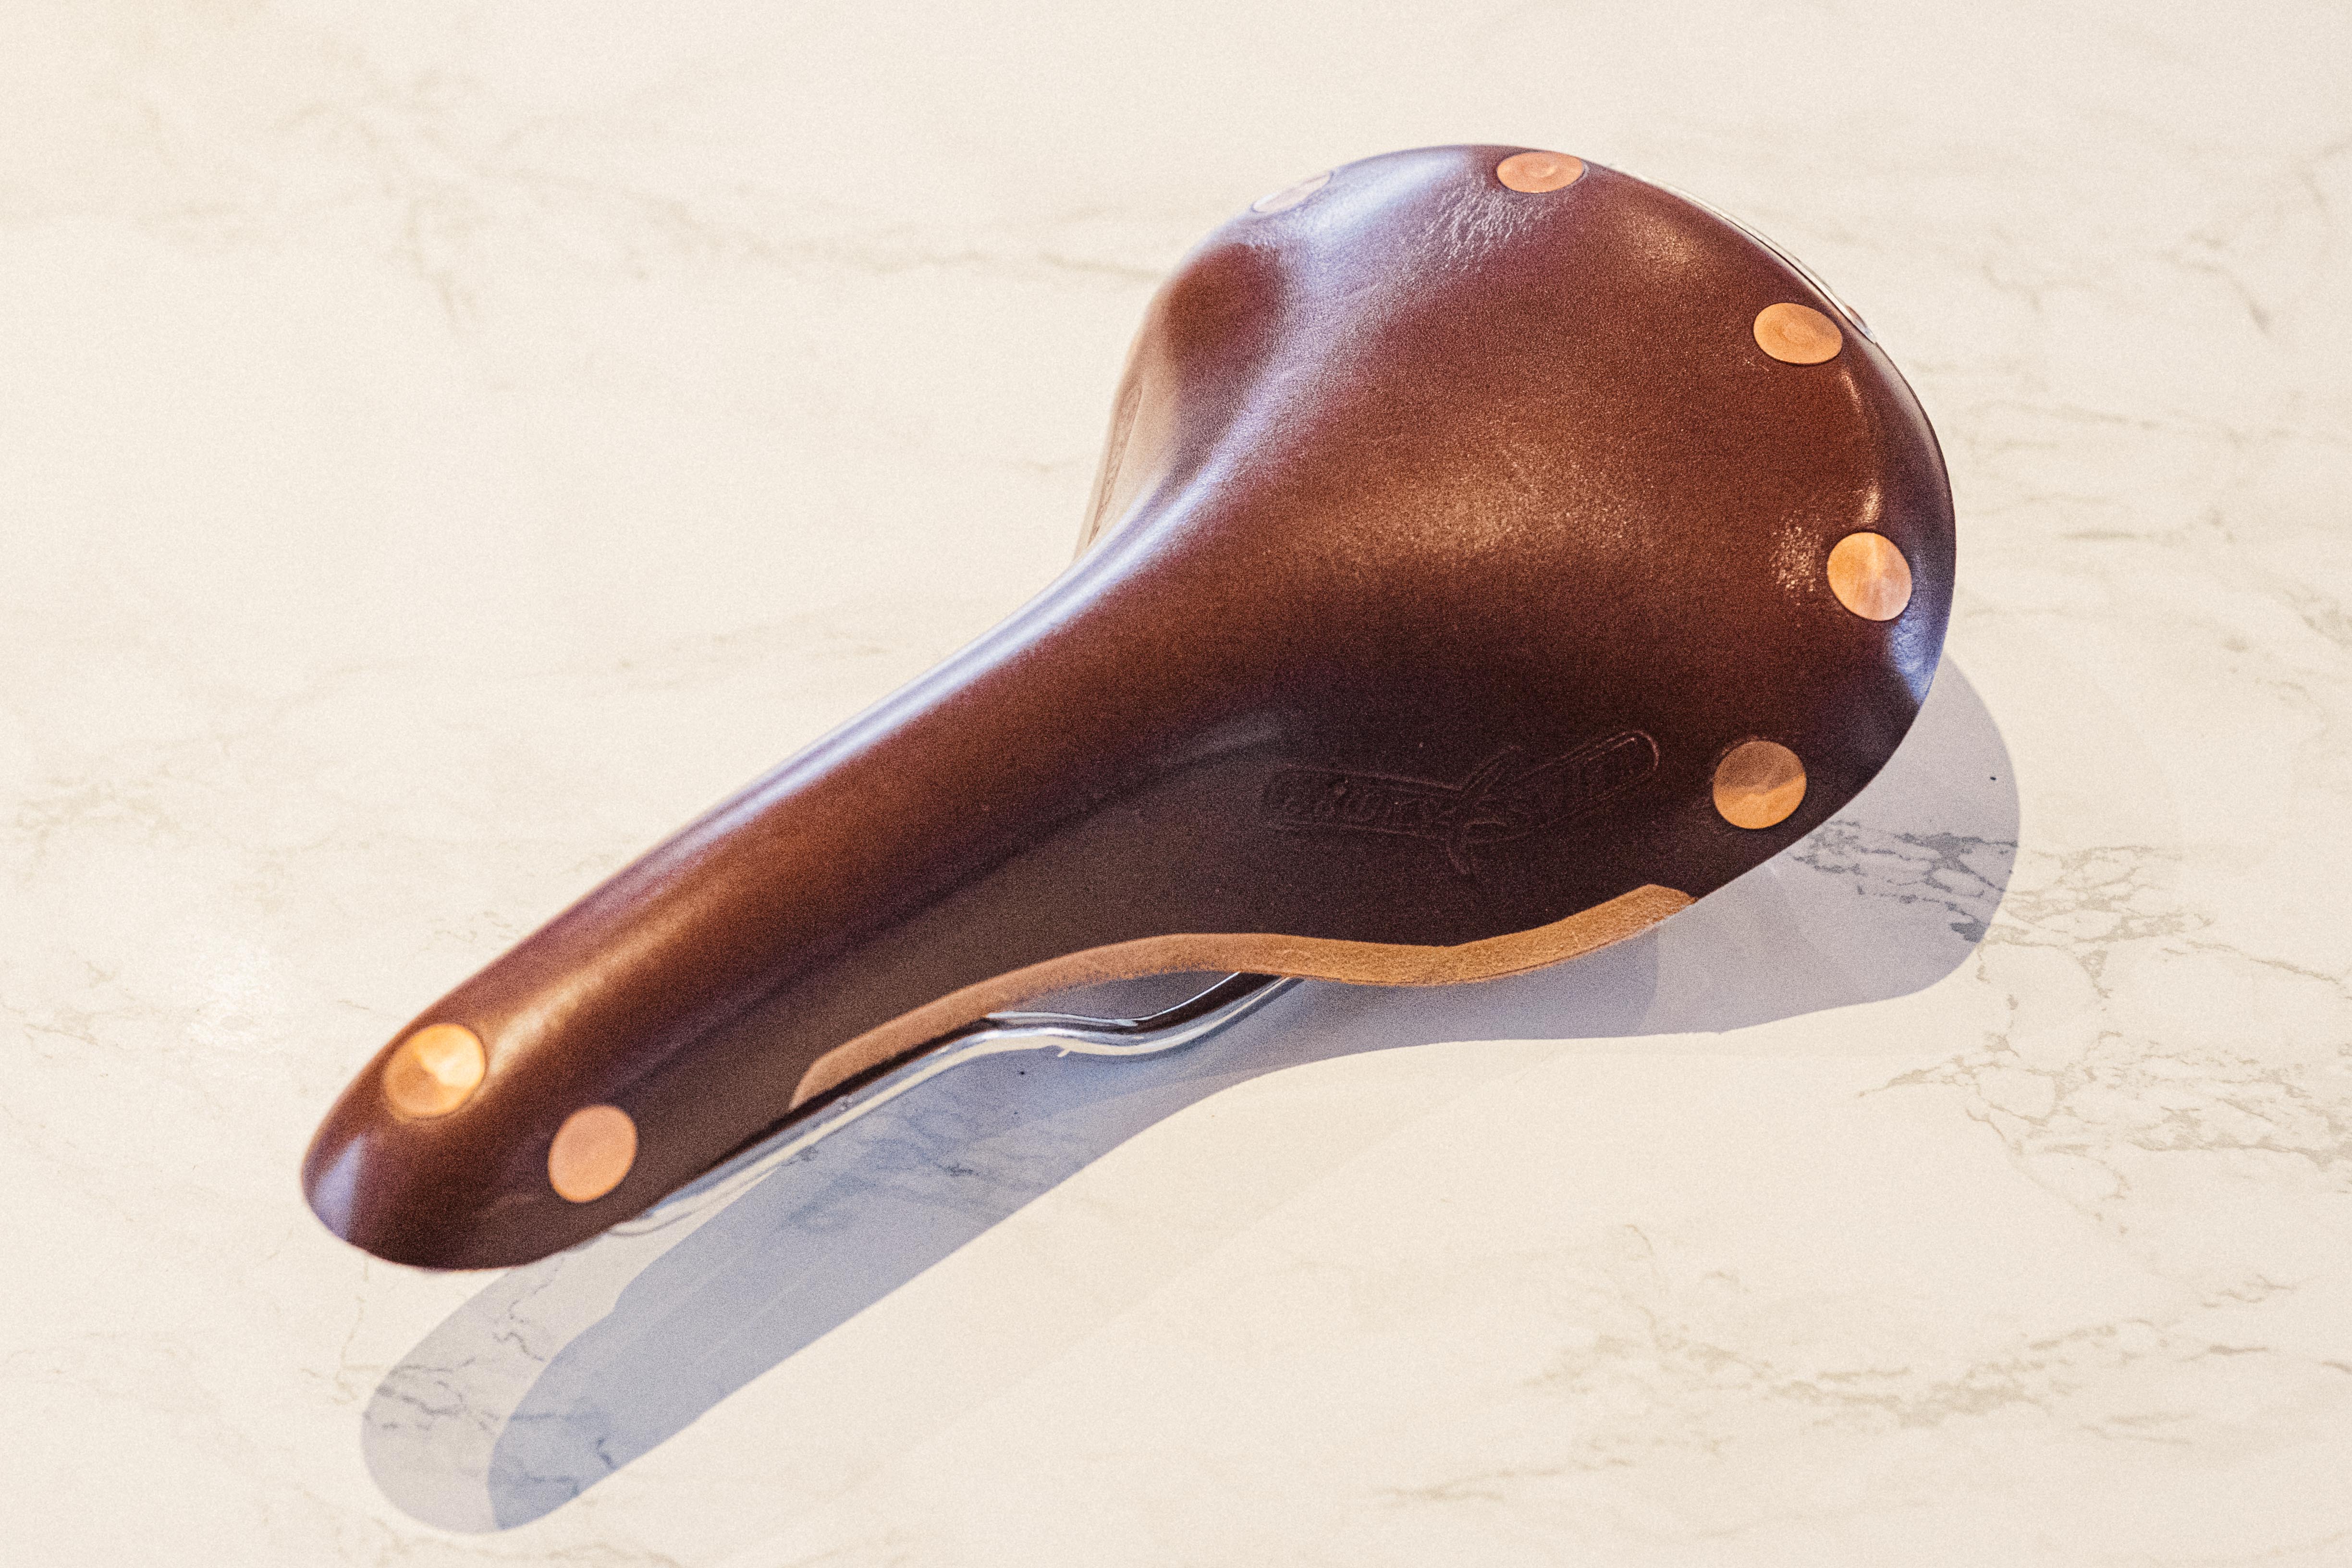
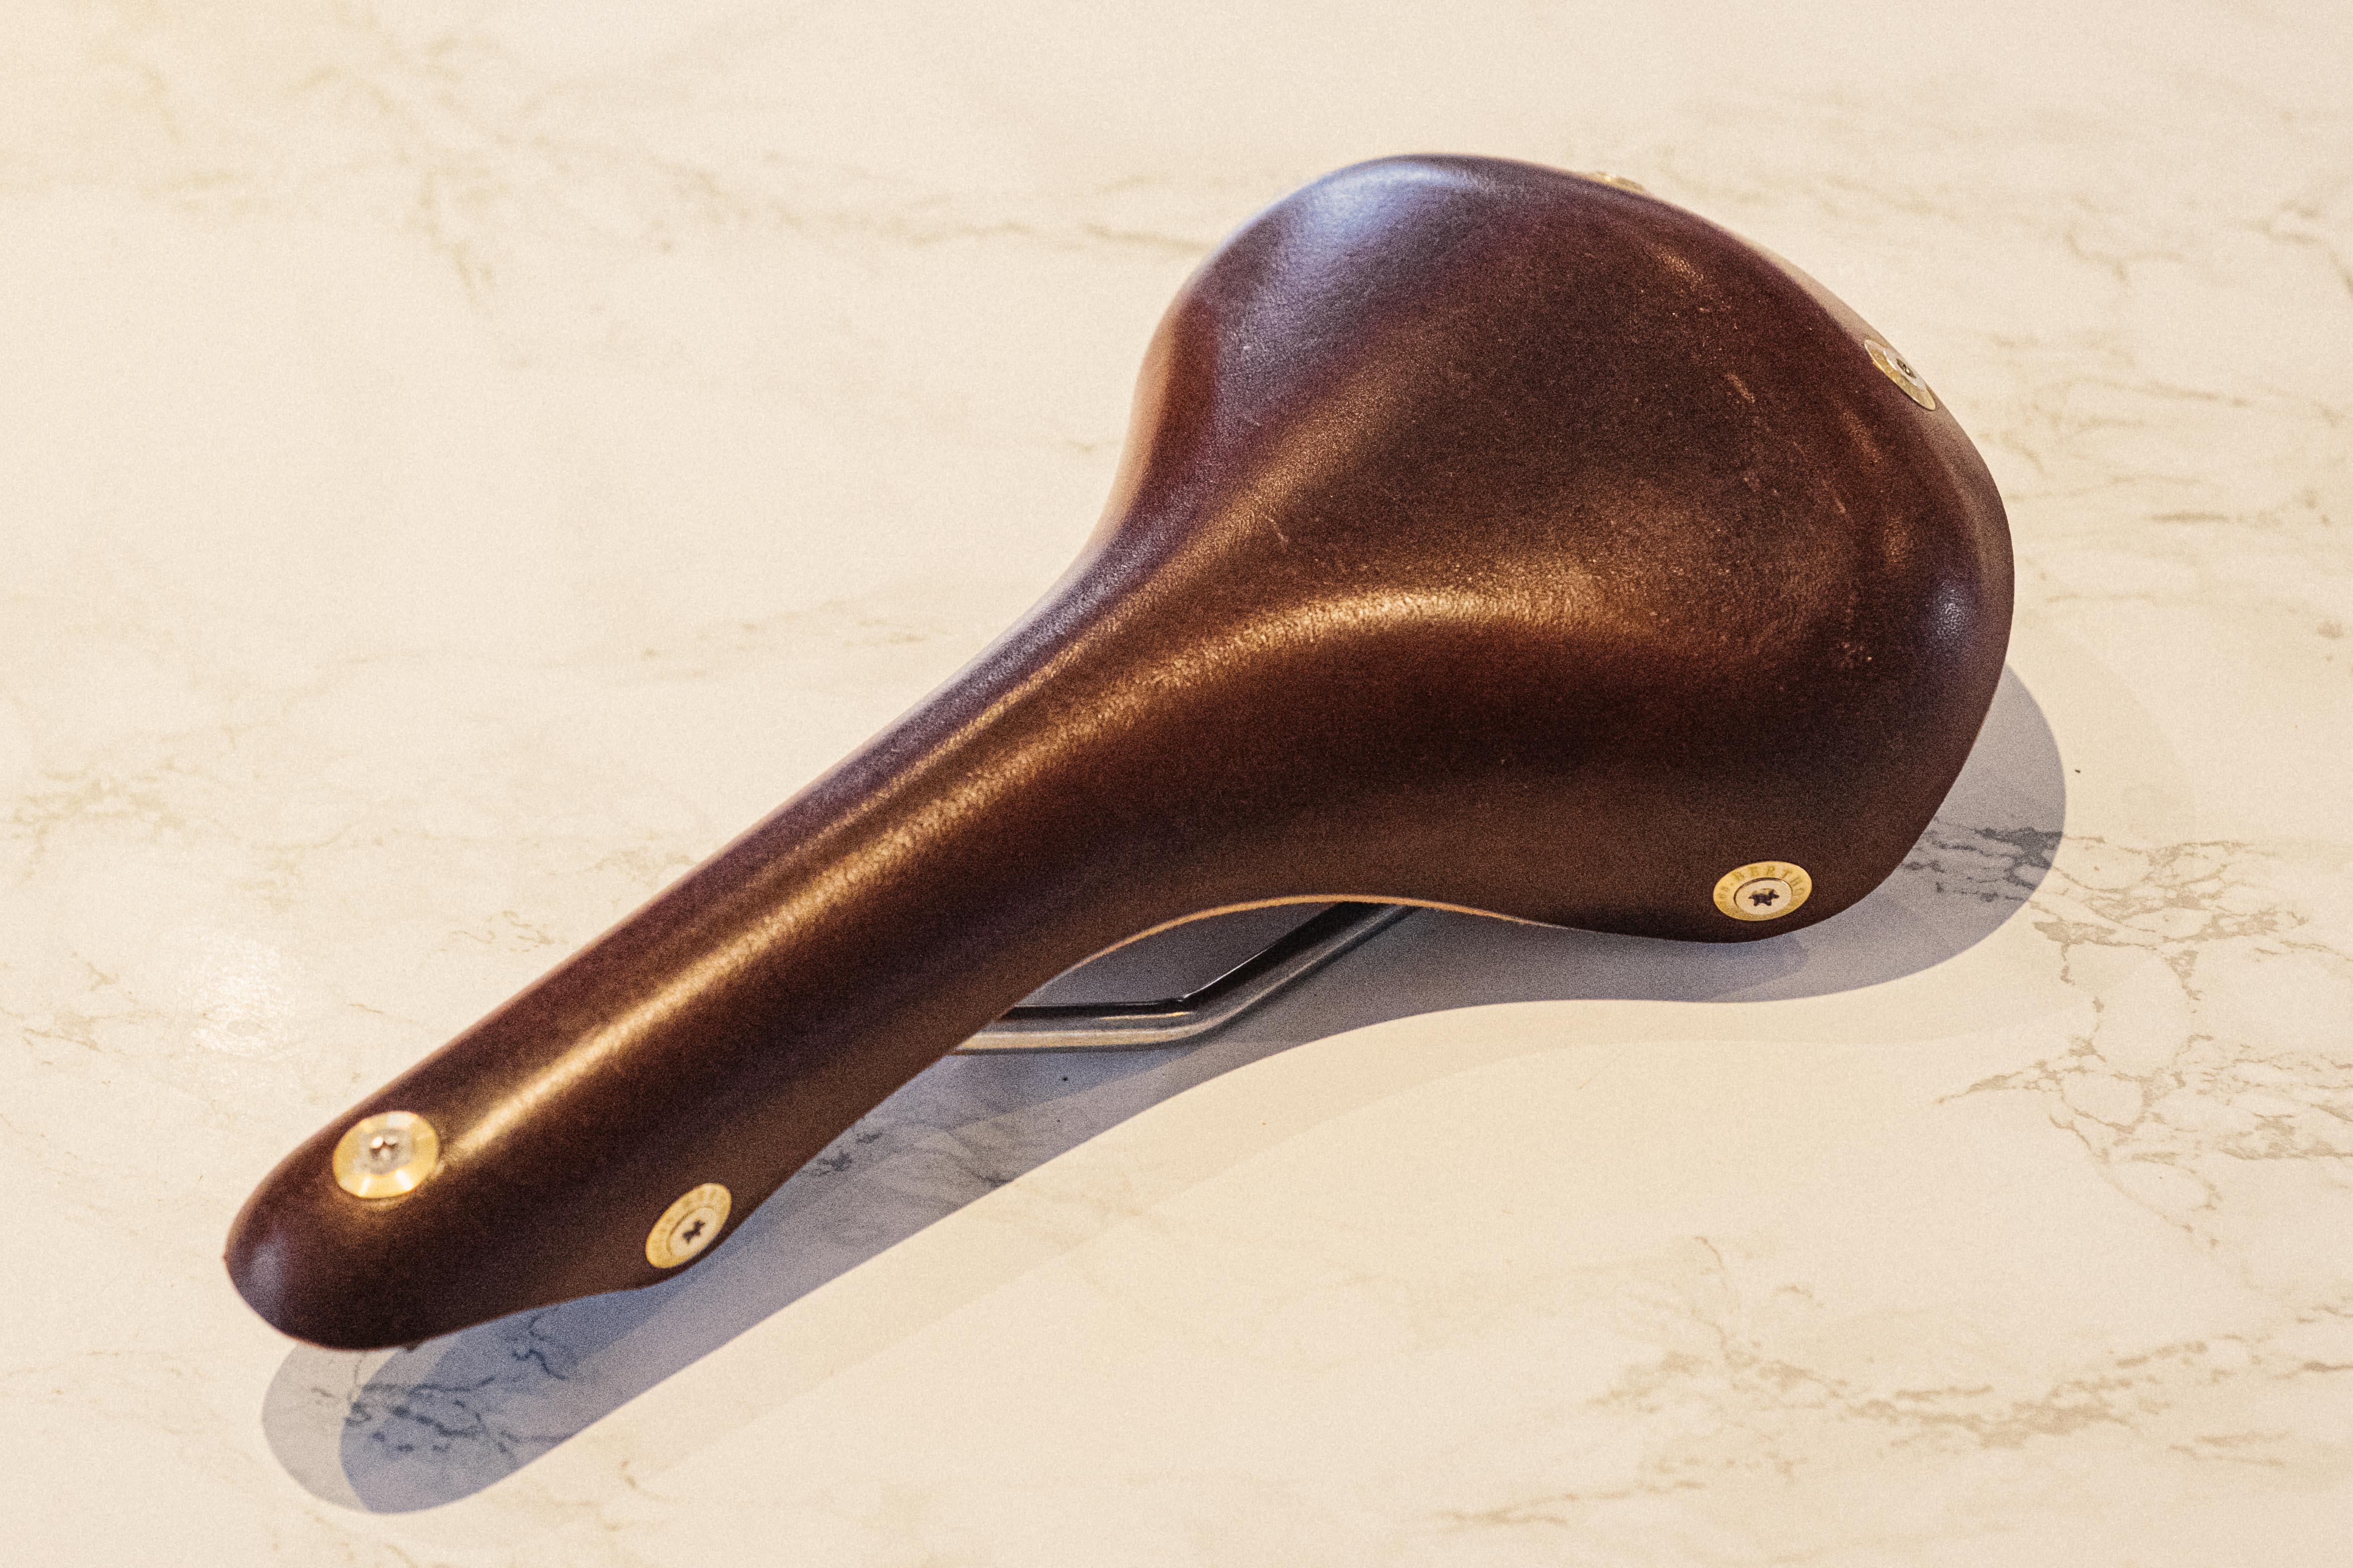
It’s a rarity to see nowadays, but if you want to run a leather saddle on a road bike, whether for a vintage look or for actual comfort benefits, your best bet is likely either the Brooks Swallow or the Berthoud Soulor. In my experience, the break-in period for these is noticeably shorter than with something like a B17. The longer nose means there is more leather to sag, and the lack of side wings on both allows the centre to push the edges outwards under your body weight more easily. The sides of the Swallow are tucked under and stapled together, while the Soulor are simply truncated. Thanks to the faster sagging rate these should be more diligently protected from water.
Positioning and setup
As with any saddle you want to make sure your weight is in the right place. One thing you’ll notice in pictures of bikes with leather saddles is they are often run with a slight nose-up tilt. Thanks to the leather uppers being quite slippery the upward tilt ensures you slide rearwards to a happy resting place where your thighs meet the flare at the rear. A flat setup, or worse a downward tilt, would see you sliding forwards so that your soft tissue is resting on the narrow nose, which isn’t particularly pleasant.
Buying second hand
Buying second-hand anything is an excellent way to be more sustainable, but if you’re leather curious (for saddles - for anything else just go to Berlin) you can dip your toe in by finding second-hand models online. I’ve noticed many bikes come as stock with a Brooks B17, and many owners remove them and sell them for a variety of reasons. It does tend to be mostly B17s, but if that works for your setup it’s a great way to cut some costs. Just make sure it’s relatively new; if you buy a heavily broken-in one you’ll have a saddle moulded to someone else’s anatomy, which isn’t a great recipe for comfort.
The latest race content, interviews, features, reviews and expert buying guides, direct to your inbox!

Will joined the Cyclingnews team as a reviews writer in 2022, having previously written for Cyclist, BikeRadar and Advntr. He’s tried his hand at most cycling disciplines, from the standard mix of road, gravel, and mountain bike, to the more unusual like bike polo and tracklocross. He’s made his own bike frames, covered tech news from the biggest races on the planet, and published countless premium galleries thanks to his excellent photographic eye. Also, given he doesn’t ever ride indoors he’s become a real expert on foul-weather riding gear. His collection of bikes is a real smorgasbord, with everything from vintage-style steel tourers through to superlight flat bar hill climb machines.
