How to train with a power meter
If you don't know how to train with a power meter, then it's little more than an expensive random number generator

The question of 'how to train with a power meter' is one that many cyclists looking to take their performance seriously will have asked at a point in time. You don't need to be pushing Chris Froome's wattage to benefit from training with power, done correctly, anyone and everyone can benefit from the increased accuracy, consistency and time efficiency that a power meter will add to your training.
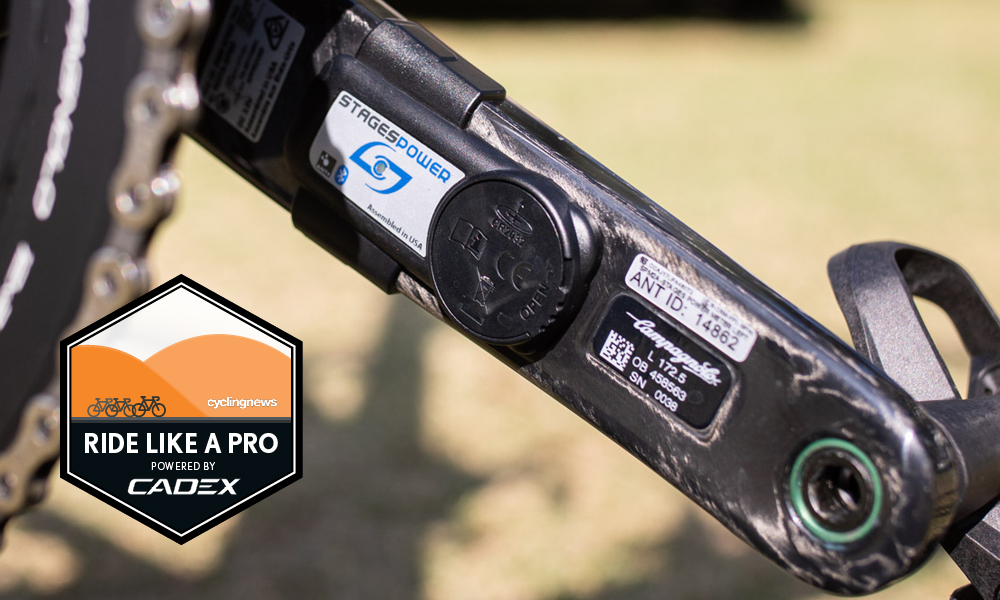
Typically, cycling power meters use strain gauges to measure the torque applied to the pedals, which when combined with angular velocity, can be used to calculate a rider's power in watts. This is often measured multiple times per each revolution of the pedals and can then be used by riders and coaches to measure a physical capability and train accordingly.
The way today's best power meters work hasn't changed all that much from the original crank-spider-based system invented in the late 1980s, but advancements in materials, manufacturing and technologies have led to increased accuracy, better weather protection and wireless data transmission to cycling computers. Today, power meters come in various guises and can be found inside crank spiders, crank arms, pedals, hub axles and rear hubs.
In addition to the improvements in technology, when brands such as Stages, 4iiii and Pioneer launched affordable, single-sided, crank-based power meters, it drove the competition up and forced the price of power meters down, making them an affordable proposition for all cyclists looking to train seriously. However, as affordable as they may now be, if you don't know how to train with a power meter, the money is ultimately wasted.
What are the benefits of training with power?
The main benefit of training with a power meter is the immediate and consistent data that it provides. Once you've done the necessary testing - which we'll get to shortly - you'll know what power you can realistically sustain for any given period of time. You can measure this, you can then train it, and you can improve it. By knowing the power you're pushing in real-time, your training time can be used more efficiently.
But more than just training a specific effort, you can use a power meter to train energy systems. If you're aiming to complete your first century, you're going to need to train a different energy system to someone aiming to win a bunch sprint, and training with a power meter enables this by the use of zones - again, we'll get to this shortly.

Power meter vs heart rate monitor
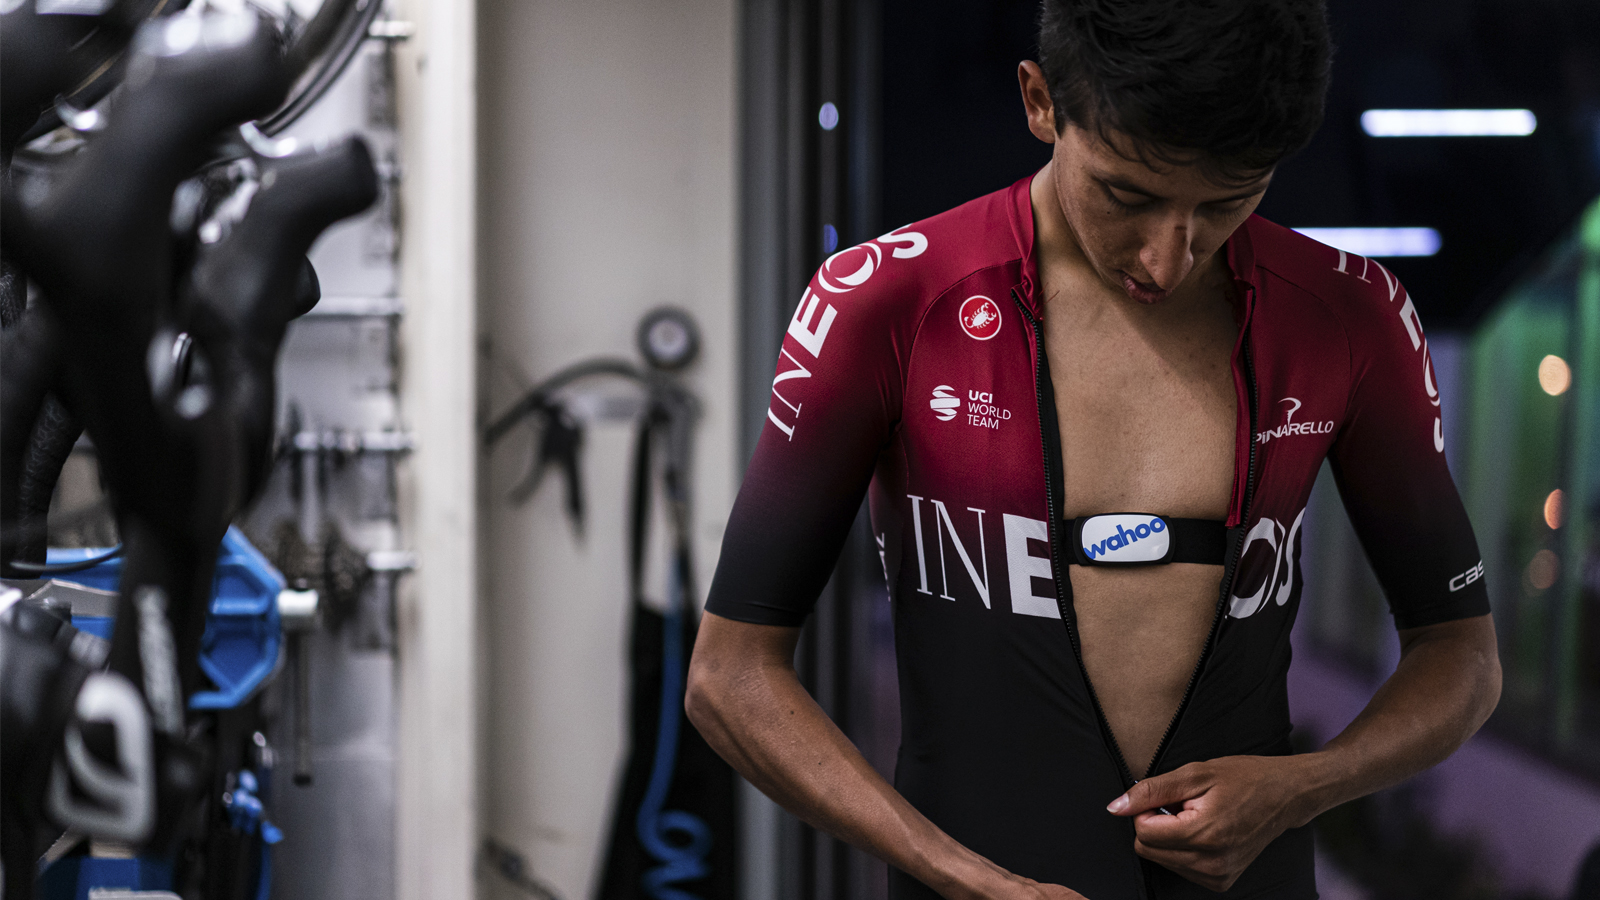
By virtue of its mechanics, your heart is reactive to your body's needs for oxygen and it has no ability to predict what you're going to do next. If you start a flat-out sprint as hard as you can go for 10 seconds, your heart won't know about it until the legs are already screaming out for more oxygen. For a time trial, a heart rate monitor can provide a useful standalone training tool, but due to this time delay, it becomes almost useless for interval training. The data provided by a power meter, meanwhile, is immediate.
Get The Leadout Newsletter
The latest race content, interviews, features, reviews and expert buying guides, direct to your inbox!
Max Stedman, professional cyclist for Canyon dhb p/b Soreen and coach for Duchy Coaching, explains that the gold standard is to use both together. "The heart is a muscle, so fatigues over large blocks training and can also vary a lot depending on environmental conditions."
As Stedman explains, heart rate can be affected by a range of factors which include illness or fatigue, whereas power data is constant and consistent. Imagine you're trying to train at your threshold heart rate and your fatigue is preventing you from raising your heart rate. You're going to need to work harder than usual to achieve the same heart rate, compounding that fatigue even further. "With that, a z2 heart rate becomes a z3 power ride which isn't what you want and probably means it's time for a rest," Stedman adds.
How to get started
Firstly, and perhaps obviously, you'll need a power meter. There are various types, as mentioned above, and compatibility with your current bike will play a major part in which you choose. Our guide to the best power meters has a rundown of our favourites, as well as a guide on how to choose.
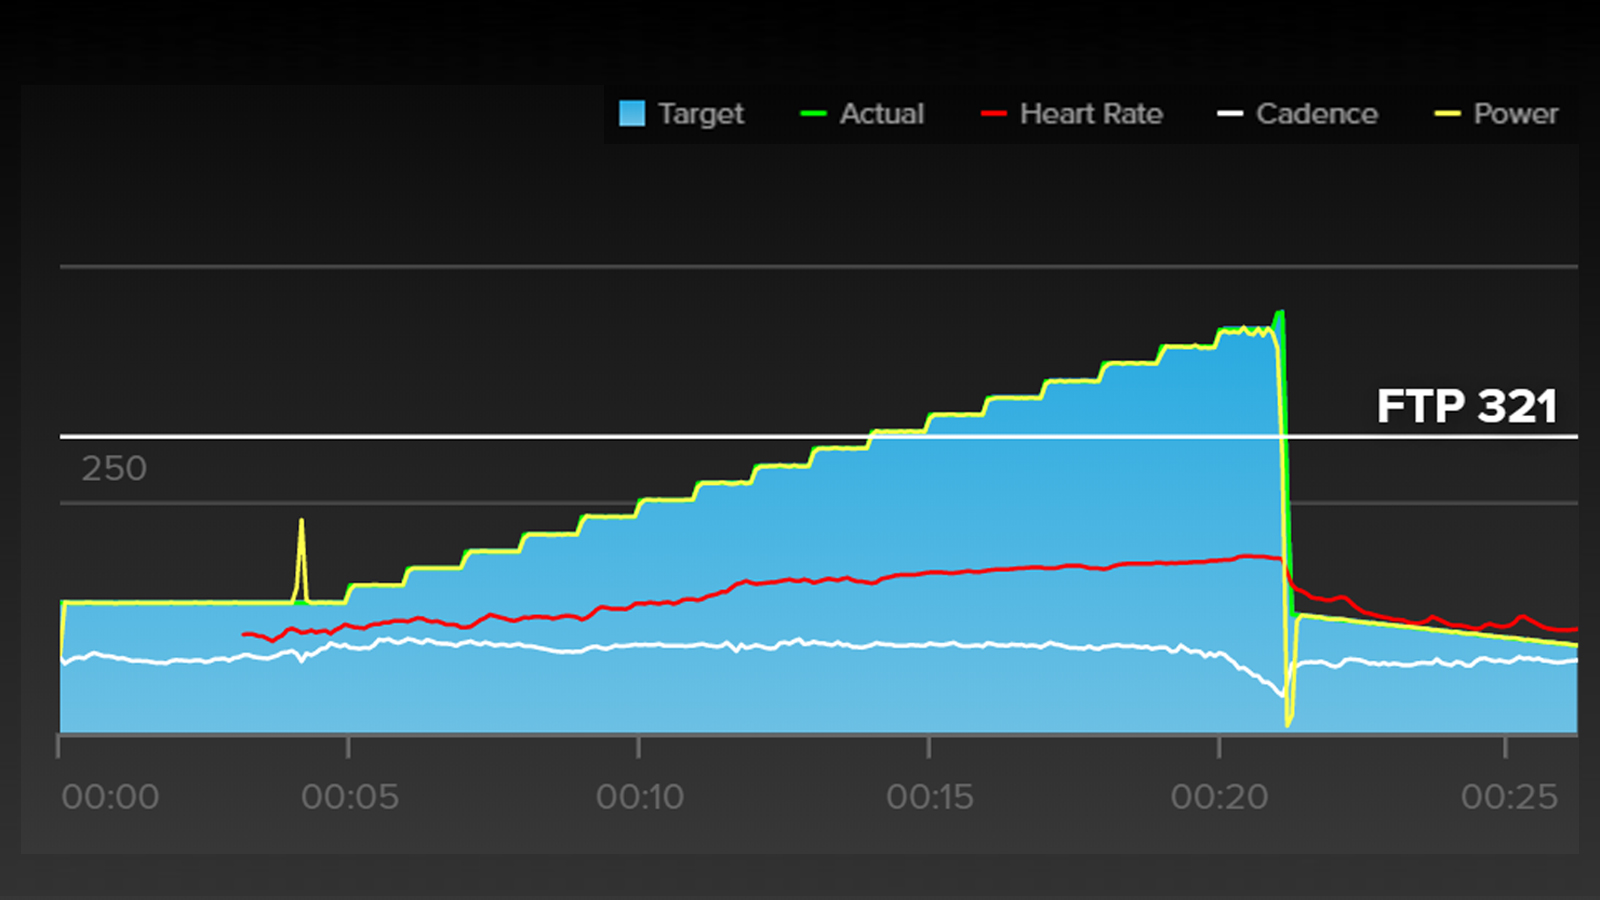
Next up, you'll need to perform a test to calculate your Functional Threshold Power (FTP). This is the term used to explain the maximum power you can sustain for an hour. There are multiple ways to go about testing this, but the two most common are the 20-minute test and a ramp test performed indoors.
"My recommended test is a step ramp test with lactate and Vo2, if you have the money and access to it," Stedman explains. "It's a really good way to know that your zones are made for you, but the 20-minute test is pretty good, to be honest. It's an easy way to track progress and anyone with a power meter can do it."
20-minute FTP test
The 20-minute FTP test is an all-out sustained effort. Upon completion, multiply the average power by 0.95, which is said to be a good measure of the power you could then hold for an hour. It is done this way because a 60-minute all-out effort is incredibly taxing on the body and very difficult to pace correctly.
"Just be careful when setting zones," Stedman warns. "A lot of people can't actually do 95 per cent of their best 20 minutes [for an hour], it is sometimes a little lower, depending on the athlete."
A common school of thought on this subject is that the better trained an athlete is, the closer to 95 per cent he or she is able to maintain. If you find your subsequent training sessions are too difficult to complete, try dropping it down to 90 per cent and working it back up until you find a suitable level.

Ramp Test
The Ramp Test is best performed on erg mode on a turbo trainer and is the chosen method used by popular indoor cycling apps such as TrainerRoad. It starts easily, but the resistance increases every minute until the rider is no longer able to pedal. The average power for the final minute is then multiplied by 0.75 to calculate FTP.
Once you have your FTP, you can then use it to calculate your training zones.
There are six zones in total, which can be found below.
- Zone 1. Active Recovery. 0-55% of FTP
- Zone 2. Endurance. 55-75% of FTP
- Zone 3. Tempo. 75-90% of FTP
- Zone 4. Threshold. 90-105% FTP
- Zone 5. Vo2 Max. 105-120% FTP
- Zone 6. Anaerobic. 120% +
Some coaches also incorporate two extra zones; Sweet Spot and Zone 7. Sweet Spot sits across Zone 3 and 4, can be calculated as between 88 and 93% of FTP, and is said to be the sweet spot (hence the name) between hard enough to trigger adaptation, but easy enough to recover from meaning it can be done more often. Zone 7 is neuromuscular, and while it rarely has a percentage band associated, it's best described as maximum effort.
How to train with zones
This is where you need to look at your goals. What do you actually want to achieve? Do you just want to improve your weaknesses or target a specific effort? Do you want to be a faster time triallist? Do you want to stick it with the bunch over that three-minute-long climb you were dropped on last time? Do you want to be able to hit 1200 watts in a sprint? All of these will require different approaches to your training.
Make a plan
First things first, if there's one thing that will help you get faster, it's consistency. No matter whether you're training with a power meter or purely on feel, taking two weeks off and then trying to make up for it with an eight-hour epic is going to do little for your progression. So make a plan that works for you, around your current work and life commitments, and be realistic about your available training time.
Find training sessions that target your chosen goal. If you're training for a 25-mile time trial, and you know it'll last approximately one hour, you know it will be your threshold that you need to train, so finding sessions that improve this energy system is going to be key to improving this. For example, you might start with a session that comprises six x 10-minute efforts in zone 4 with five minutes of rest between. Then next time out, drop those rests down to four minutes, then three. Perhaps change to four x 15-minute efforts, two x 30-minute efforts and ultimately complete the 60-minute effort without a rest.
If you want to recruit professional help, a cycling coach is a great investment in ensuring that your training time is spent working towards your goals, rather than wasted. A coach will not only prescribe relevant training, but they will help analyse your progress, help you understand the purpose of each session and perhaps most importantly, hold you accountable, ensuring you remain motivated and dedicated.
If you wish to go it alone, there are various applications and programs that are designed to help you create a training program tailored to your needs and to analyse your performance post-ride. Zwift, for example, has inbuilt workouts or training plans that can be completed on the popular indoor cycling app. Training Peaks provides the function to create your own Annual Training Plan and the option to download pre-made plans or workouts to drop into your calendar. In our opinion, TrainerRoad is one of the most comprehensive solutions. It features an inbuilt plan builder, pre-designed training plans that target specific disciplines, an extensive library of workouts, and the ability to ride the workout indoors or out.
Track your progress
Using traditional training block cycles of three build weeks followed by a rest week, you should use your power meter to re-test and reset your training zones at the start of every four-week block. This will help you to target your zones accurately to ensure you get the most out of your training time. With consistency and training, each time you re-test, your threshold power should increase and that Zone 4 effort we mentioned earlier will be at a higher wattage than when you started training. It will prevent time being wasted doing training that is too easy, and it will also prevent you from overtraining should your fitness take a backwards step due to illness or a lack of consistency.
Beyond just testing, though, your data analysis can help you track your progress, too.
"If you do an endurance ride every week, look at the EF (efficiency factor)," Stedman explains. "It's the difference between average heart rate and your normalised power, if this ratio increases over the months, for the same sort of ride, it's a good marker of increasing base fitness."
Analyse the data
Without analysing the data, the data becomes useless, and Stedman is quick to analyse his own race data: "For example, in racing, looking where the peak numbers in the race came and what they were. Say your best five-minutes was near the end of the race, but [it was] only 90 per cent of your best ever five-minute power, your know fatigue resistance needs a bit of work."

Josh is Associate Editor of Cyclingnews – leading our content on the best bikes, kit and the latest breaking tech stories from the pro peloton. He has been with us since the summer of 2019 and throughout that time he's covered everything from buyer's guides and deals to the latest tech news and reviews.
On the bike, Josh has been riding and racing for over 15 years. He started out racing cross country in his teens back when 26-inch wheels and triple chainsets were still mainstream, but he found favour in road racing in his early 20s, racing at a local and national level for Somerset-based Team Tor 2000. These days he rides indoors for convenience and fitness, and outdoors for fun on road, gravel, 'cross and cross-country bikes, the latter usually with his two dogs in tow.