How to set your saddle height
Setting your saddle height right is crucial for efficient, comfortable pedalling and to avoid injury. Here’s our favourite simple method to get you in the right ballpark
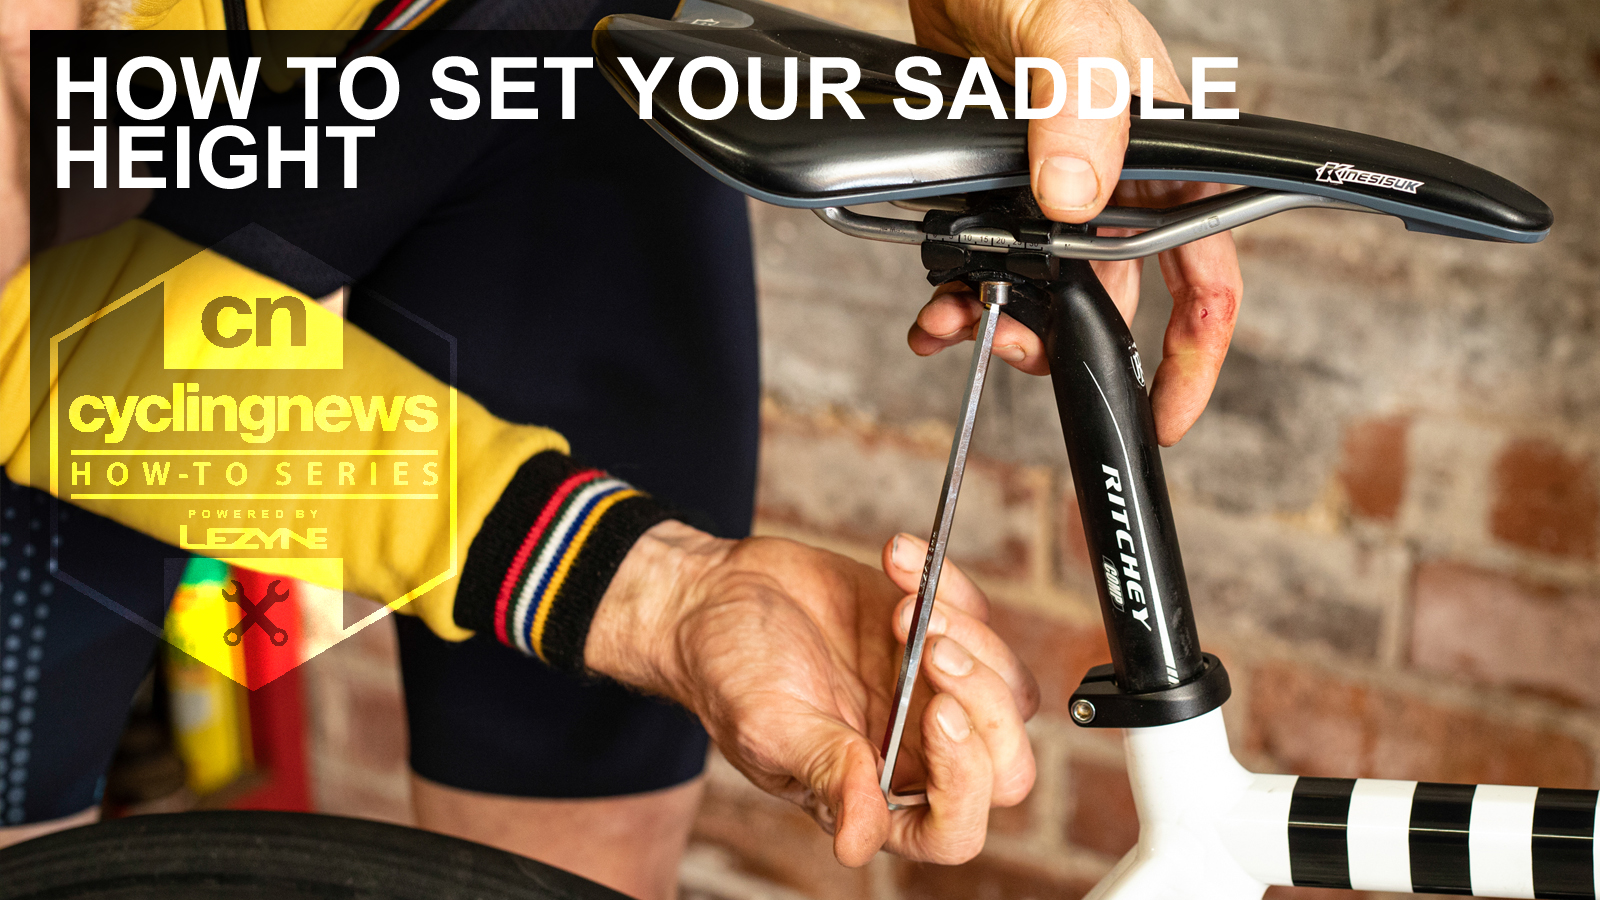
Whether you’re setting up a new bike or you’re struggling with knee or back pain on your current bike, getting your saddle height right is a crucial part of a correct fit. You can have any of the best road bike saddles in the world, but it must be set up correctly assure maximum comfort and efficiency. This simple method is easy to do on your own and it’s based on your actual leg length, not just random numbers.
While many of our team have used this method to set saddle height successfully for decades, for some riders it will just be a useful ballpark starting point. If it doesn’t feel quite right make small progressive adjustments until you find your sweet spot. Keep any changes very small though as even a few mm or degrees of tilt can matter a lot. If you’re also playing with other fit measurements or new shoes, saddle angle; etc. Only make one change at a time too so you can be sure which alterations have helped. Writing down the measurements and the tweaks you try as you go along will also help you track the process in case you need to rewind if subsequent adjustments give worse results. Definitely write down the dimensions and angles once you find your sweet spot too so you can easily restore them if something slips or you need to pull the bike apart for travelling.
If you’re still struggling to find a comfortable fit then there are lots of shops and independent specialists that offer professional, in-depth bike fitting services.
If you are looking for more helpful maintenance advice, Cyclingnews is bringing you a series of guides so that you can learn how to perform basic bike maintenance tasks yourself. Check out the other guides that are available.
- How to fit a bike wheel
- How to change a bike tyre
- How to repair an inner tube on your bike
- How to remove and fit bike pedals
- How to adjust disc brakes on a bike
- How to remove and fit a bike chain
- How to adjust bike gears
Tools needed
To adjust your saddle height and position you need nothing more than the correct size Allen key for your seatpost and saddle clamps and a tape measure. We would recommend having some grease (for aluminium or steel posts) or carbon grip paste (for carbon posts) to make sure your post is fitted correctly. A long mirror or friend to check your position can be a big help and a cheap ‘stunt’ seat post can also be useful if you don’t want to mark your expensive one.
Saddle height
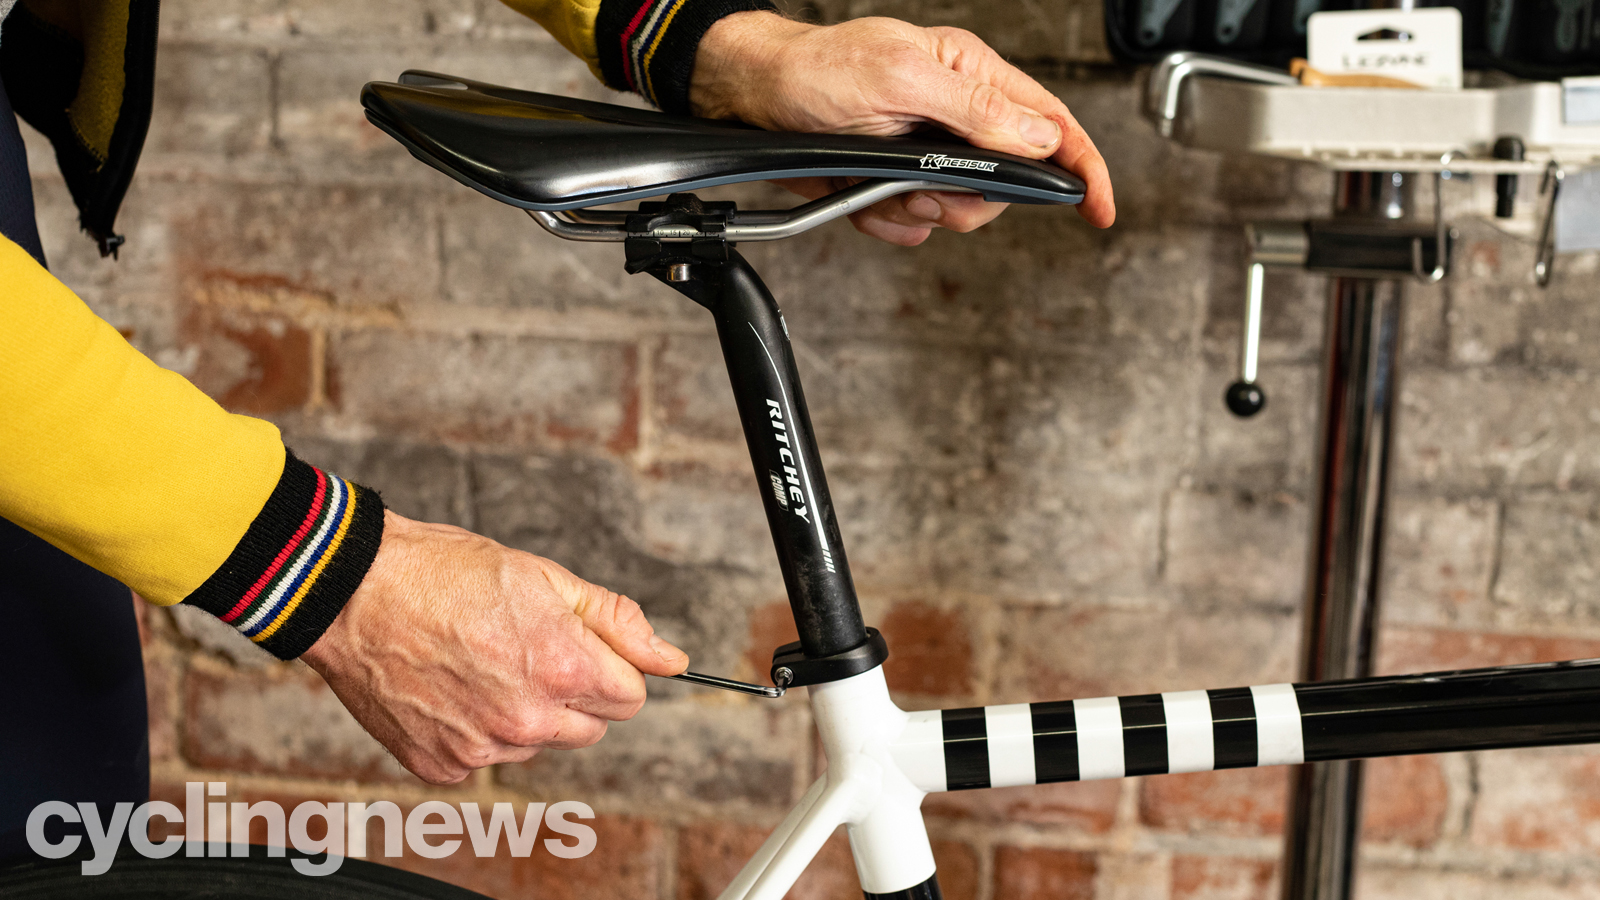
1. Loosen the seat clamp
Setting your saddle height is simple but take your time to get the best results. First you need to find the seatpost clamp on the frame. More traditional bikes use a separate collar around the top of the seat tube of the frame to clamp the post in place. Aero bikes increasingly use internal wedge clamps tightened from above or below the seat tube though.
Now loosen the seat post clamp on the frame enough to move the post without it binding or scratching as you move it. If you’ve got a ‘stunt’ post to use to stop your normal post getting marked then now would be a good time to use it. Also, give a metal post a smear of grease at this point or a carbon one a smear of grip paste at this time.
Get The Leadout Newsletter
The latest race content, interviews, features, reviews and expert buying guides, direct to your inbox!
2. Position the saddle at hip height
Find a place where you can grab something (doorway, table, wall etc.) to help you sit on the bike without wobbling. If you have a long mirror, position it so you can see your leg from the side. Raise or lower it so the saddle is roughly at hip height while you’re standing next to the bike and then retighten the clamp. Now take off your shoes and climb onto the bike, sitting on the saddle as centrally as possible.
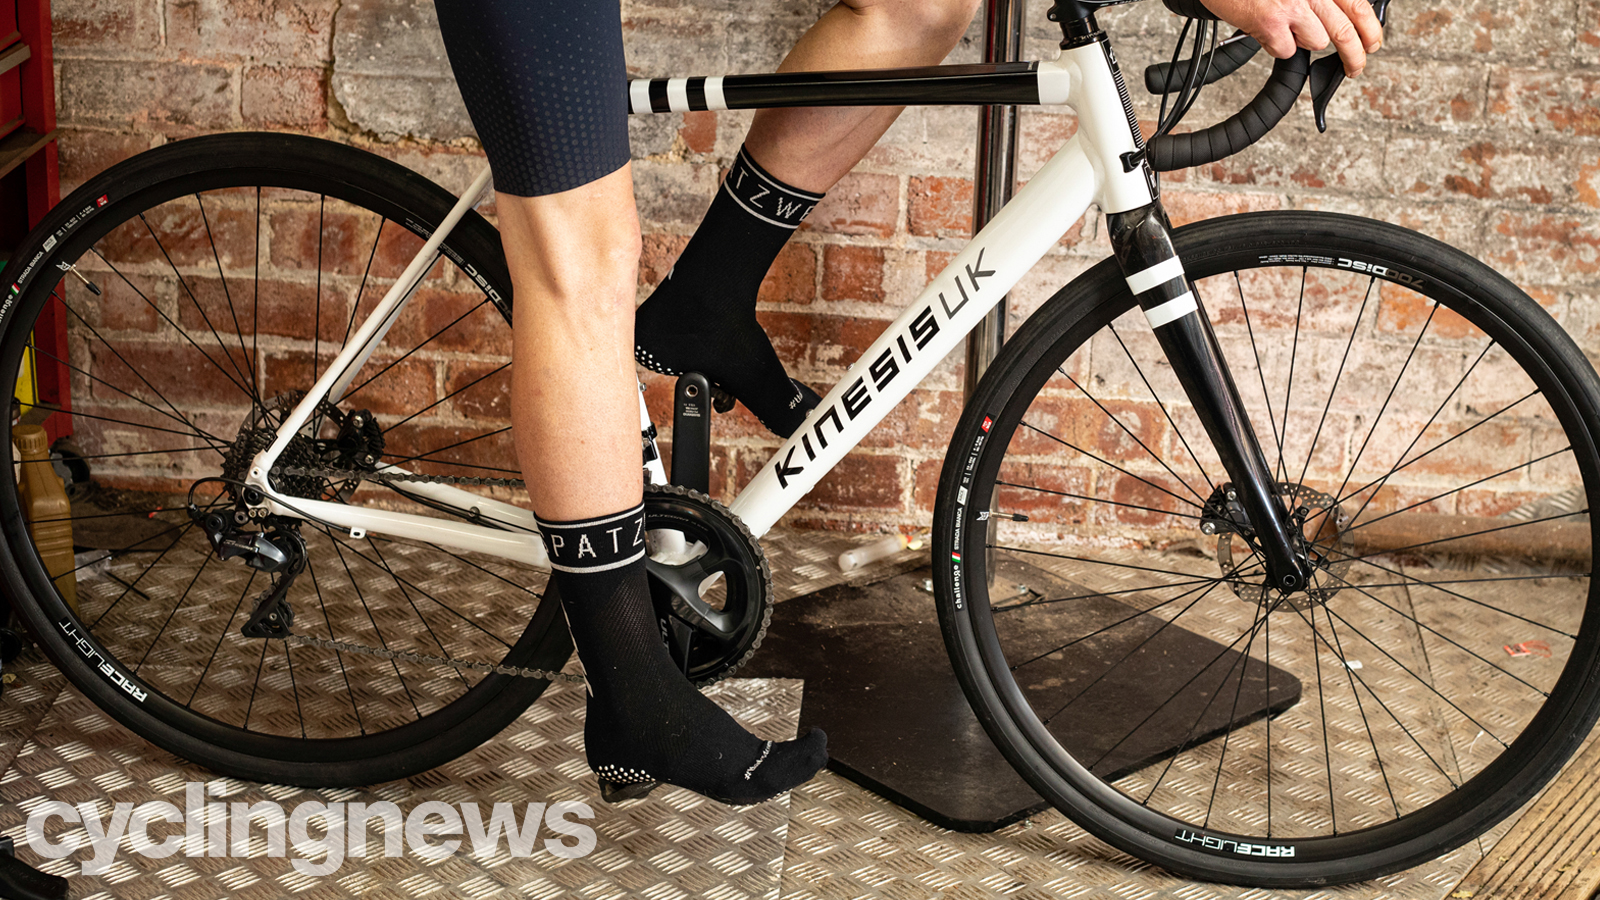
3. Find full leg extension
Now rotate the cranks until one pedal is at the point of the stroke furthest from you. That’s normally slightly further forward than vertically straight down. Put your barefoot heel onto the pedal.
For the ideal starter position, your leg should be dead straight at full extension with your barefoot heel on the pedal. If your leg is bent, loosen the seat post clamp and raise the saddle slightly. If your leg is overextended or your hips are tilted then lower the saddle slightly. Repeat with small adjustments until your saddle height is about right. Use the mirror or friend to help check.
4. Check hip stabilisation
Now position your mirror or friend in front or behind you so you/they can watch your hips as you pedal backwards (still with your barefoot heels on the pedals). There should be no rocking of your hips side to side as you extend down to the bottom of the stroke. Your spine shouldn’t be snaking side to side to compensate either. If it is then you need to lower the saddle height slightly.
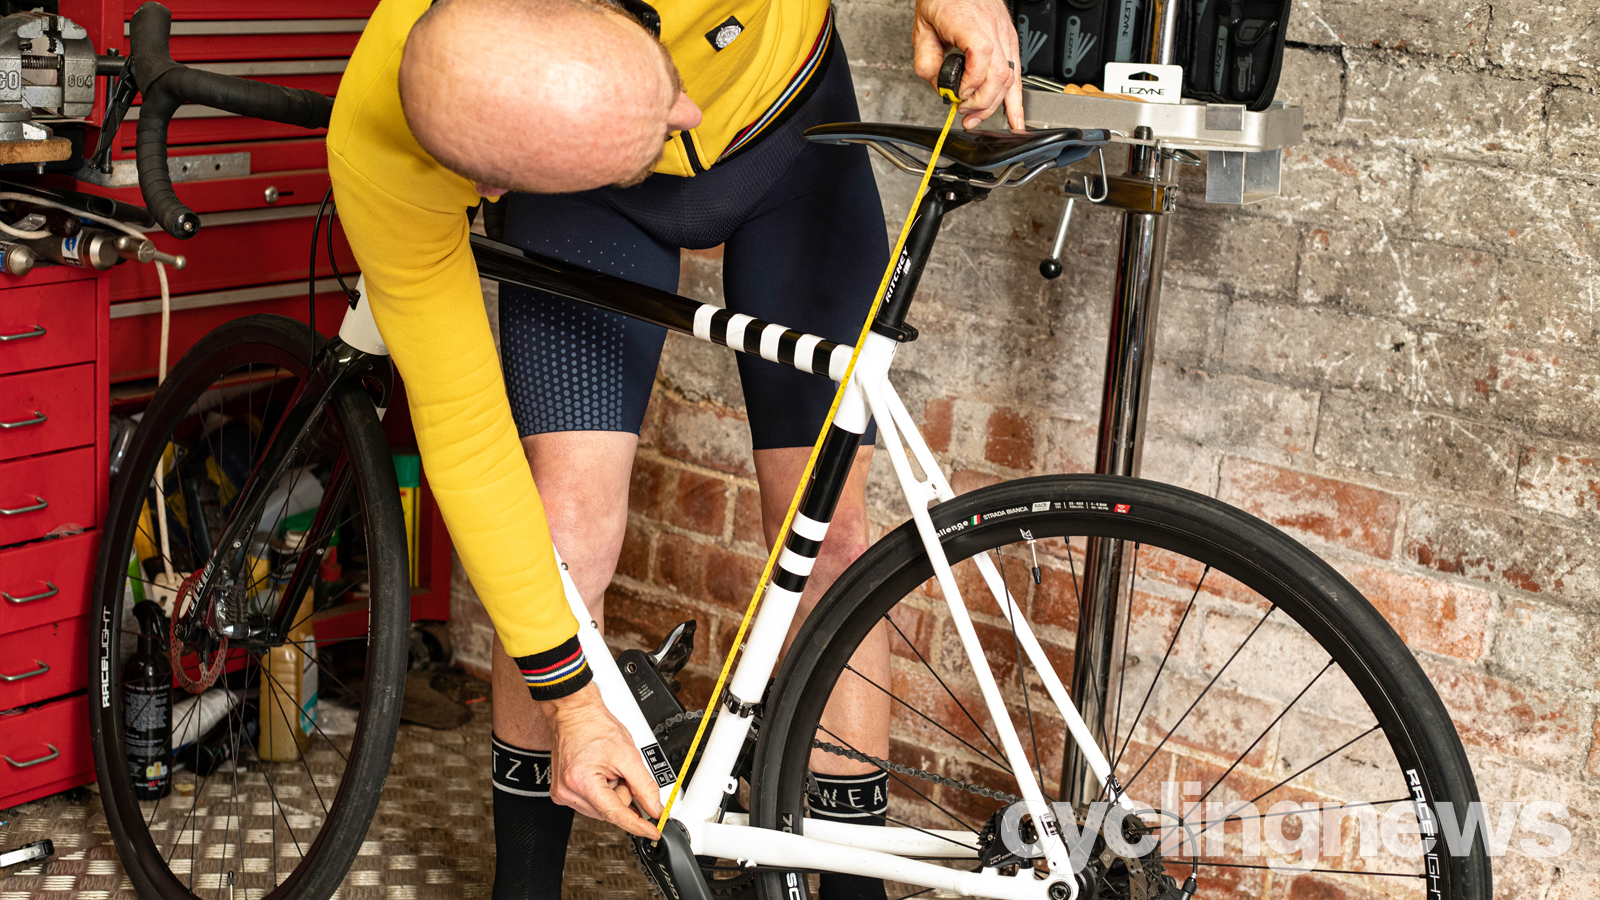
6. Measure and record the saddle height
Once you’re happy with the saddle height. Take the tape measure, check the distance between the centre of the crank axle and the top of the saddle and write it down for future reference. While this method is remarkably effective you might want to make some small adjustments to reflect the equipment you use.
For example, Gravel shoes have a thicker sole between cleat and foot. If you ride mostly on the road/smooth gravel, you might want to raise your saddle slightly to compensate. If you like to test your limits off-road, a slightly lower saddle height can make a big difference to stability and safety so just leave it where it is for now.
Cheaper road shoes will often also use a thicker sole too as the materials they use need more depth to give suitable stiffness and cleats so make sure you consider this when refining your saddle height.
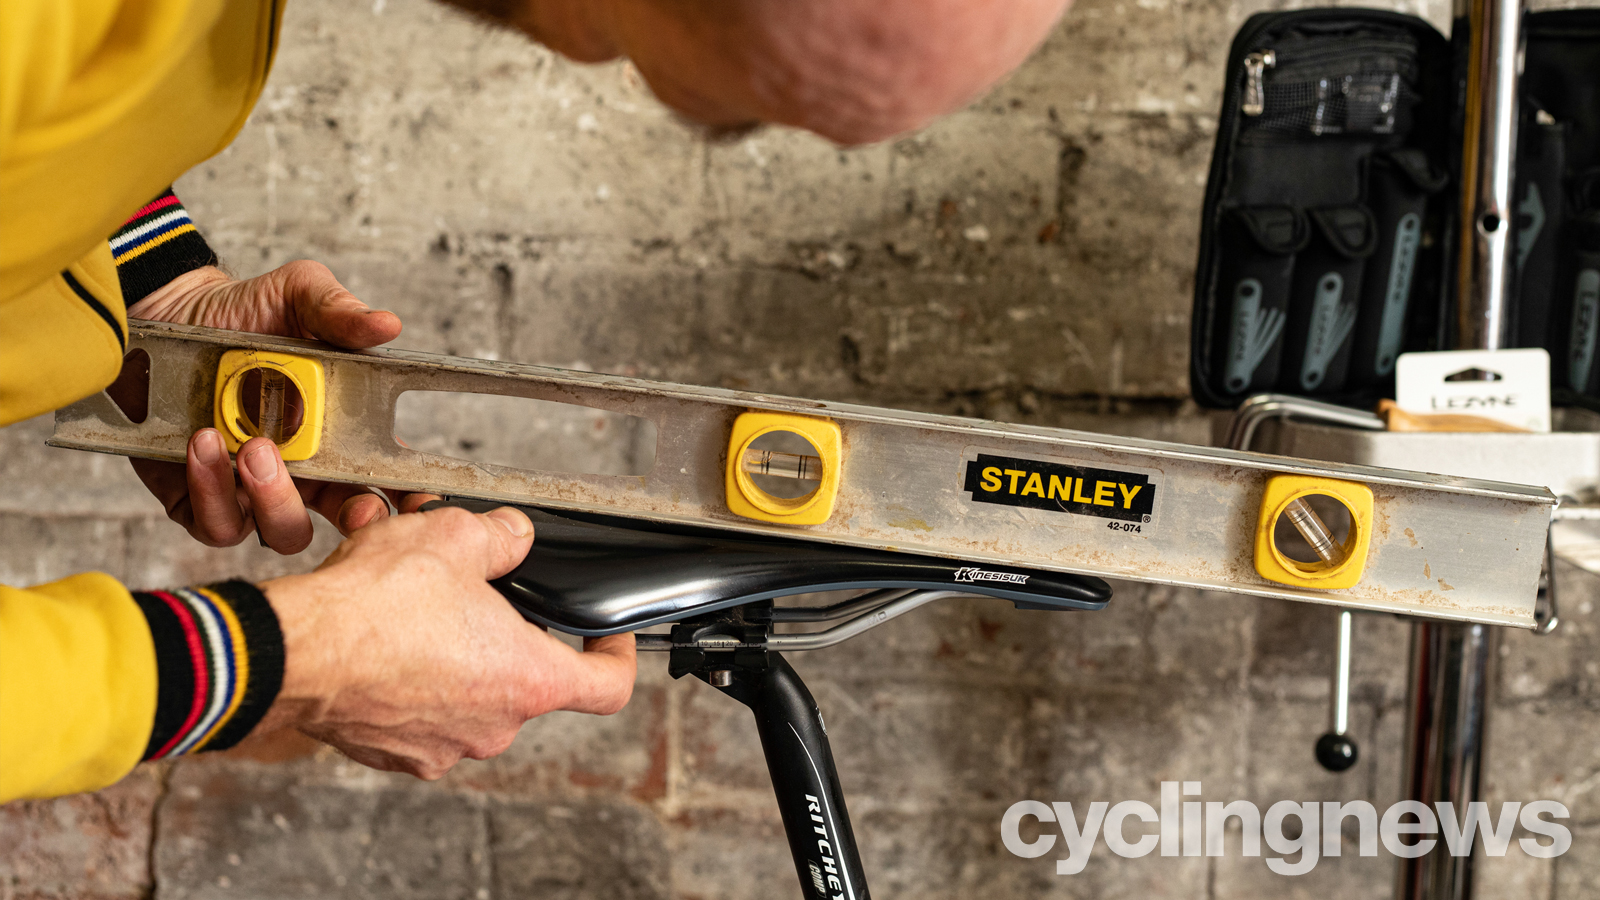
7. Refinement based on riding position
If you’re running a short nose saddle, often ride in an extreme ‘right-angled elbow’ position to get low out of the wind or you use a bolt-on ‘tri-bar’ or ‘aero bar’ extensions you might want to lower the seat about 1cm. This stops your back from being overstretched and lets your pelvis roll forward, opening up the angle between your legs and your body for easier breathing.
Saddle angle also plays a part here, so more forward rolled riders might want to tilt the nose of their saddle down too. Otherwise, we’d always start with the saddle level as the neutral position. Be aware that different saddle profiles can give very different ‘tilt’ results when you lay a spirit level on top of them to check.
- Best cycling shoes: stylish, stiff and comfortable shoes for cyclists
- Best gravel bike shoes: cycling shoes for gravel riding
Saddle setback
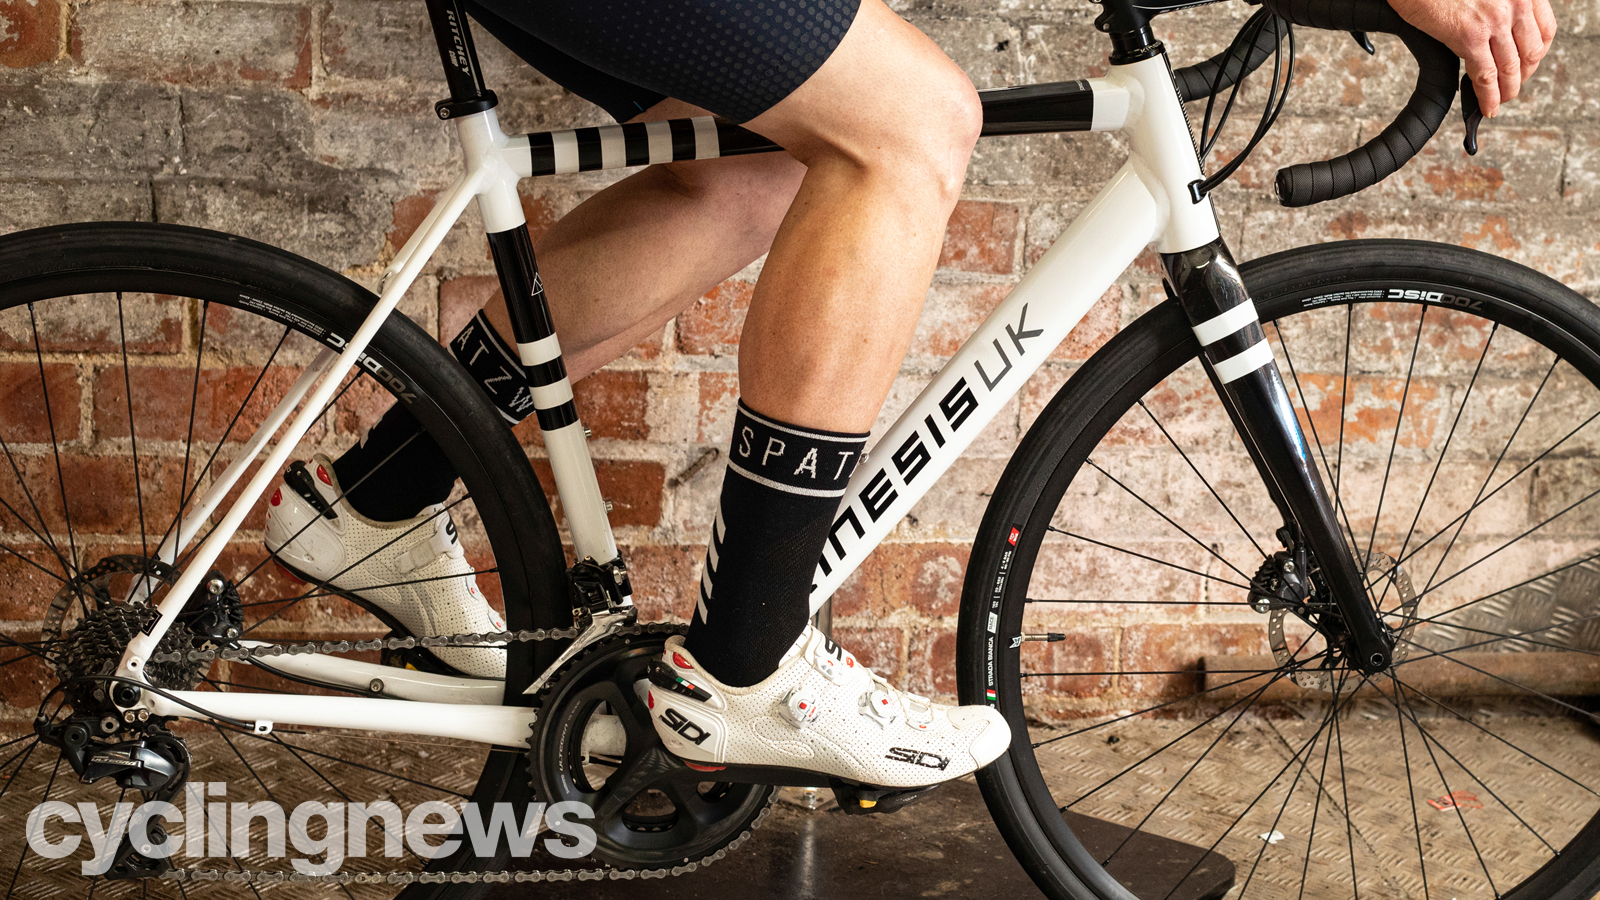
1. Check set back position
As well as the height and angle of your saddle you need to dial in your position in relation to the cranks. To check, sit on the saddle in your natural pedalling position and put the ball of your foot (clip in if you’re using cycling shoes) on the pedal with the crank dead level and pointing forwards. Ideally, you want the centreline of your knee joint to line up with the centre of the pedal axle. This can be checked using a plumb line (a piece of string with a weight at one end).
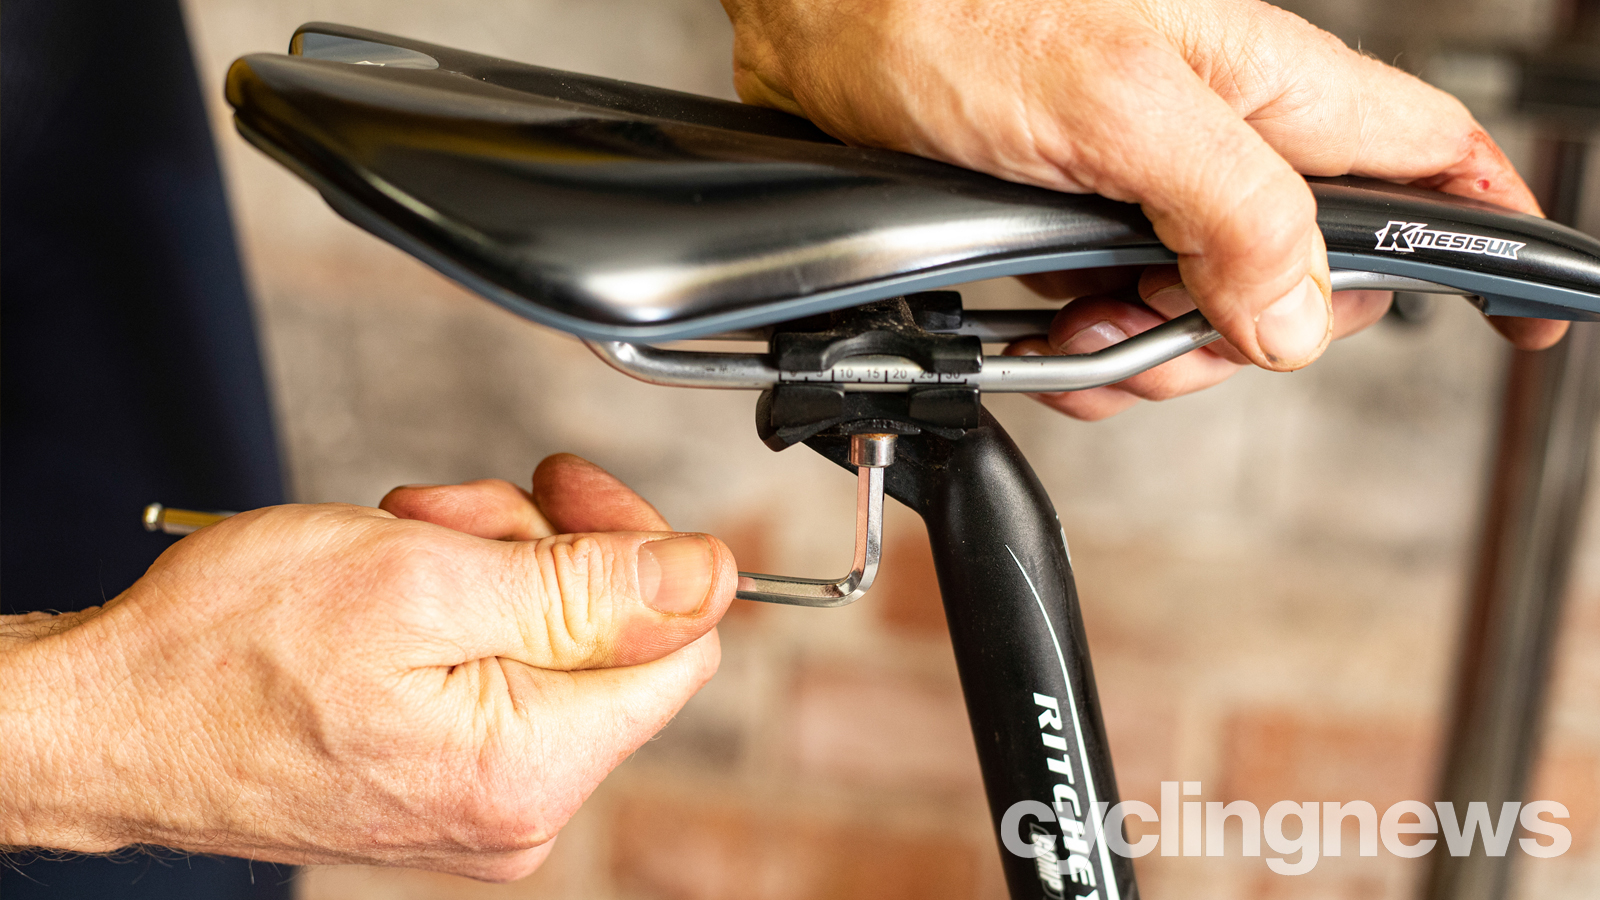
2. Adjust saddle accordingly
If it doesn’t line up with the pedal axle, then undo the saddle clamp and slide the saddle backwards or forwards until it does. Once it’s sorted make sure you check the saddle is level using the spirit level and then tighten the clamp up securely.
3. Test ride
Once you’re happy with the height, tilt and fore/aft position double-check that the saddle is aligned exactly with the top tube and the seat clamp is secure. If you have a torque wrench, use that to ensure that the clamp is tight enough but you’re not damaging the frame/post. You’re now ready to ride but we’d suggest your first ride is a short local solo one so you can make adjustments easily whenever you want. With that in mind be sure to take your tools with you too and remember the methods here are a suggestion to where to start, not a solid guarantee of optimum position, so never be afraid to have a play around to find your own personal sweet spot.
- Best road bike wheels: Our pick of the best wheelset upgrades
- Road bike groupsets: a comprehensive guide
Individuals carrying out the instructions in this guide do so at their own risk and must exercise their independent judgement. There is a risk to safety if the operation described in the instructions is not carried out with the appropriate equipment, skill and diligence and therefore you may wish to consult a bike mechanic. Future Publishing Limited provides the information for this project in good faith and makes no representations as to its completeness or accuracy. To the fullest extent permitted by law, neither Future Publishing Limited, its supplier or any of their employees, agents or subcontractors shall have any liability in connection with the use of this information, provided that nothing shall exclude or limit the liability of any party for personal injury or death caused by negligence or for anything else which cannot be excluded or limited by law.