How to set up tubeless tyres
Once you master setting up tubeless tyres you’ll be able to swap them - almost - as easily as the inner-tube-type derivative
Tyres are one of the biggest factors in determining how a bike feels and behaves. Not only do they make a huge difference when it comes to performance, changing tyres is an inexpensive upgrade. The right tyres can mean more comfort, more speed, and more puncture protection, and tubeless tyres take that concept even further. Switching to the best tubeless road tyres can result in lower rolling resistance, fewer punctures, and the ability to run lower pressures for more comfort. It also means learning a new skill and figuring out how to set up tubeless tyres.
With the right tools and an understanding of what to expect, setting up tubeless tyres doesn't have to be hard. Keep reading to learn the tips and tricks to setting up tubeless tyres. Pretty soon you'll be swapping tyres just as easily as a traditional inner-tube setup.
If you are looking for more helpful maintenance advice, Cyclingnews is bringing you a series of guides so that you can learn how to perform basic bike maintenance tasks yourself. Check out the other guides that are available.
- How to change a bike tyre
- How to fit a bike wheel
- How to repair an inner tube on your bike
- How to remove and fit bike pedals
- How to adjust disc brakes on a bike
- How to remove and fit a bike chain
- How to adjust bike gears
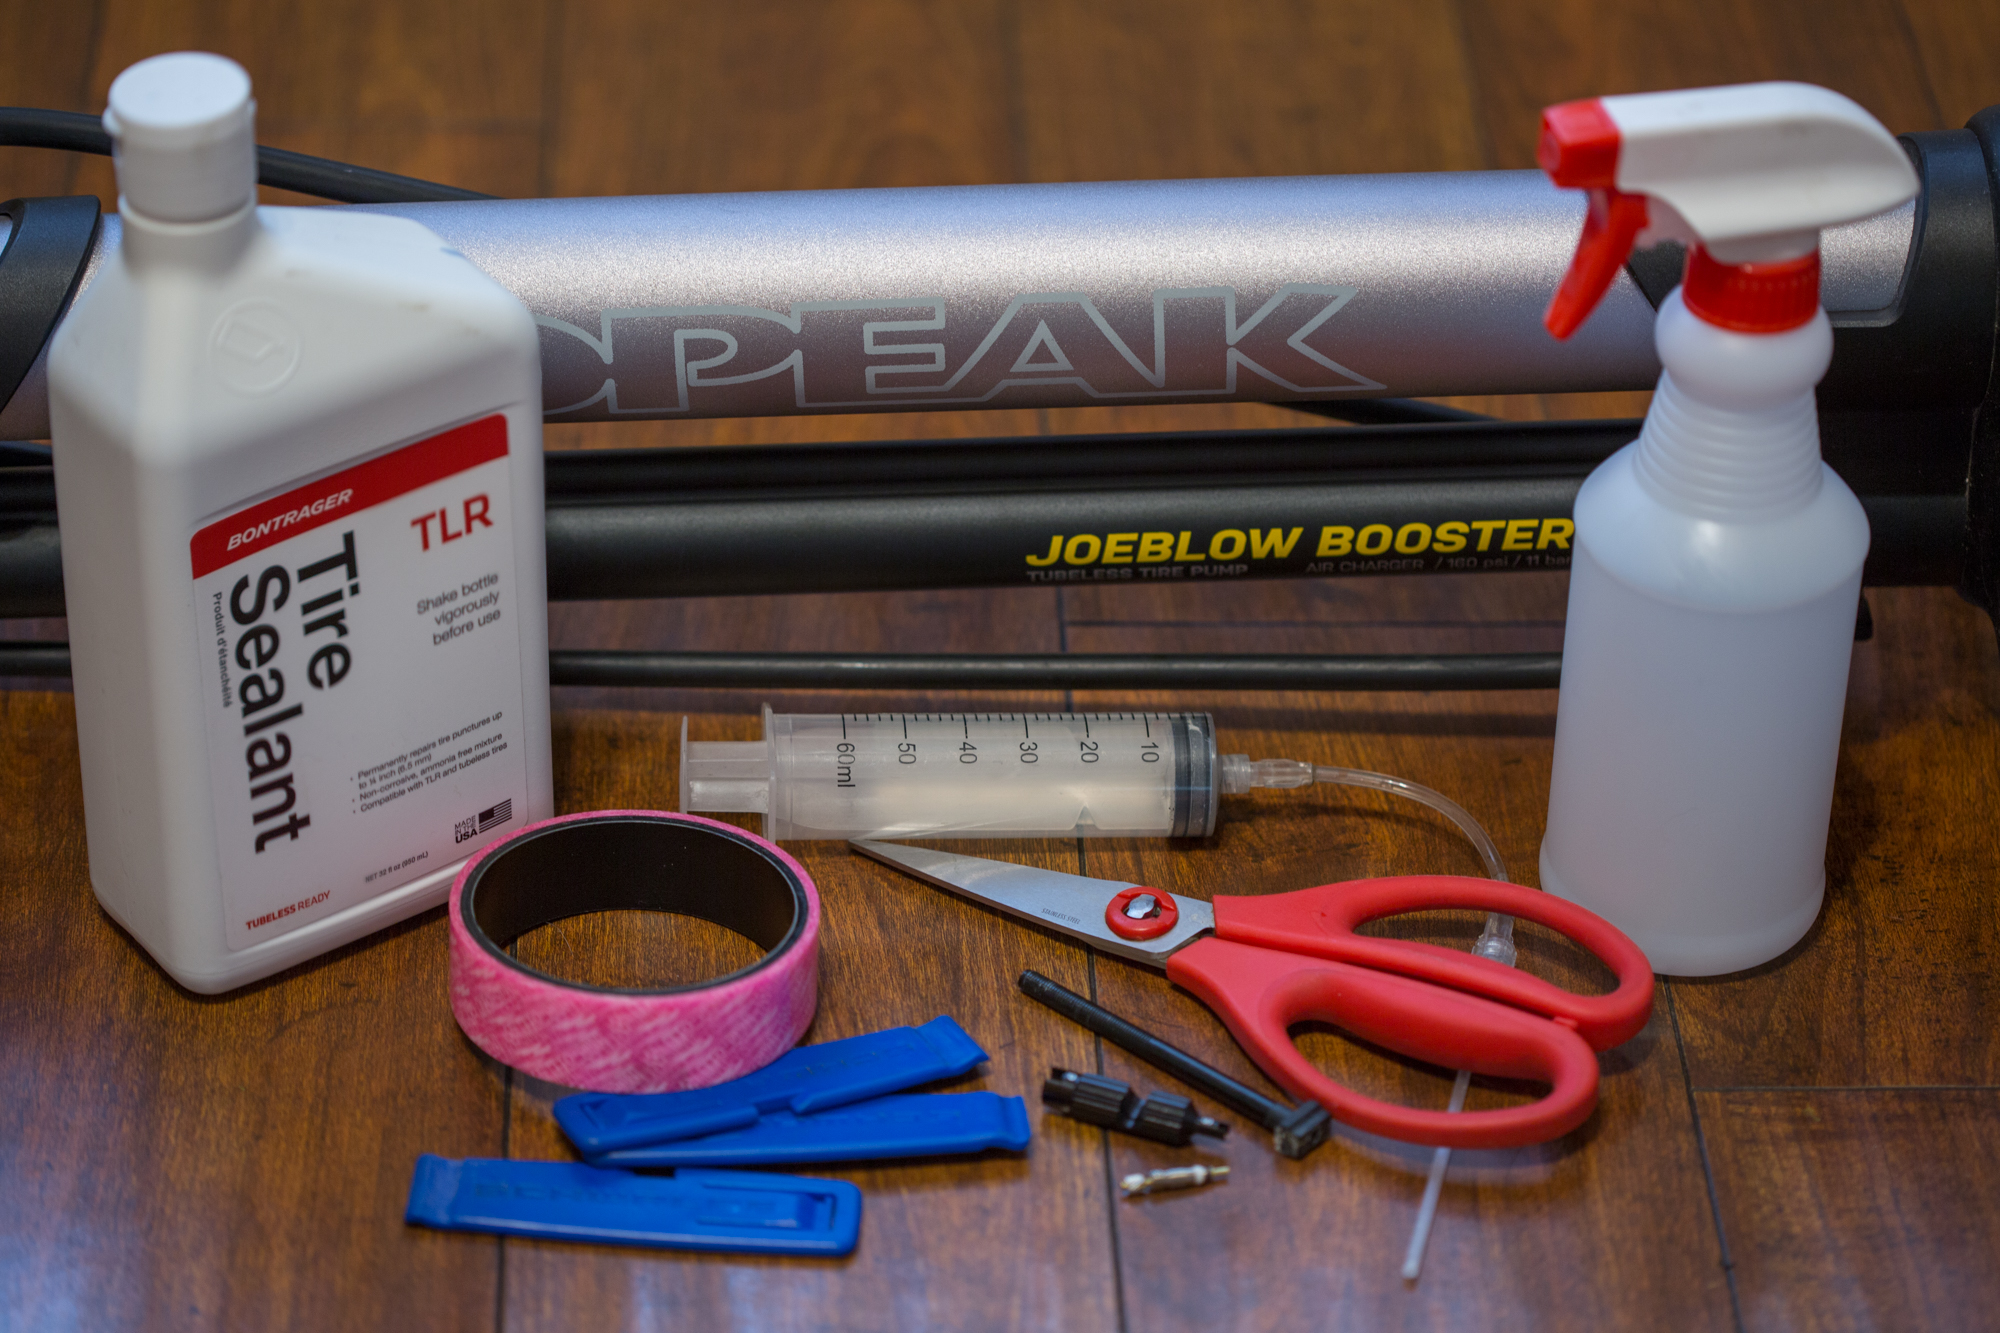
Handy tools you'll need before getting started
When it comes to setting up your tubeless tyres, you'll need supplies and tools.
When it comes to the tools, there's good news and bad news. The good news is that you might not need all of those that we've listed below; as time goes on and tubeless tyres become more commonplace, they are getting better and easier to fit. Better quality wheels along with the best tubeless road tyres will often inflate immediately with a track pump, whereas others might require something with a little more oomph.
However, the bad news is that you won't really know until you try a particular tyre and rim combination so, for that reason, it's useful to have the right tools at hand.
Tyre levers
Get The Leadout Newsletter
The latest race content, interviews, features, reviews and expert buying guides, direct to your inbox!
Tubeless tyres possess a very tight bead that's designed not to stretch which makes them difficult to seat onto the rim in some instances. When shopping for levers you want to make sure you get something that's thin but strong enough to work with the tyre/rim interface. Look for rounded edges which will prevent rim damage - some tyre levers are reinforced with a steel core, which helps with strength.
Tubeless charger pump
What you are looking for is a way to get a lot of air into a tyre quickly to get it to 'seat' onto the rim correctly. If you win, the pressure will build and the tyre will seat properly. The way to make this easier is a floor pump that has a tubeless charging tank built-in. Firstly, you'll close off the charging tank before pumping, which will compress air into the tank. Then you'll release all the newly pressurised air at once into the tyre.
If you are shopping for a new pump, get one that integrates a pump and a tank. If you already have a pump you love, there are also options for buying tanks separately. Another option is an air compressor, which is the most convenient route when you need to use it, but keep in mind that most inexpensive electric pumps, without a reservoir, will not work as they don't move enough air fast enough.
Tubeless tape
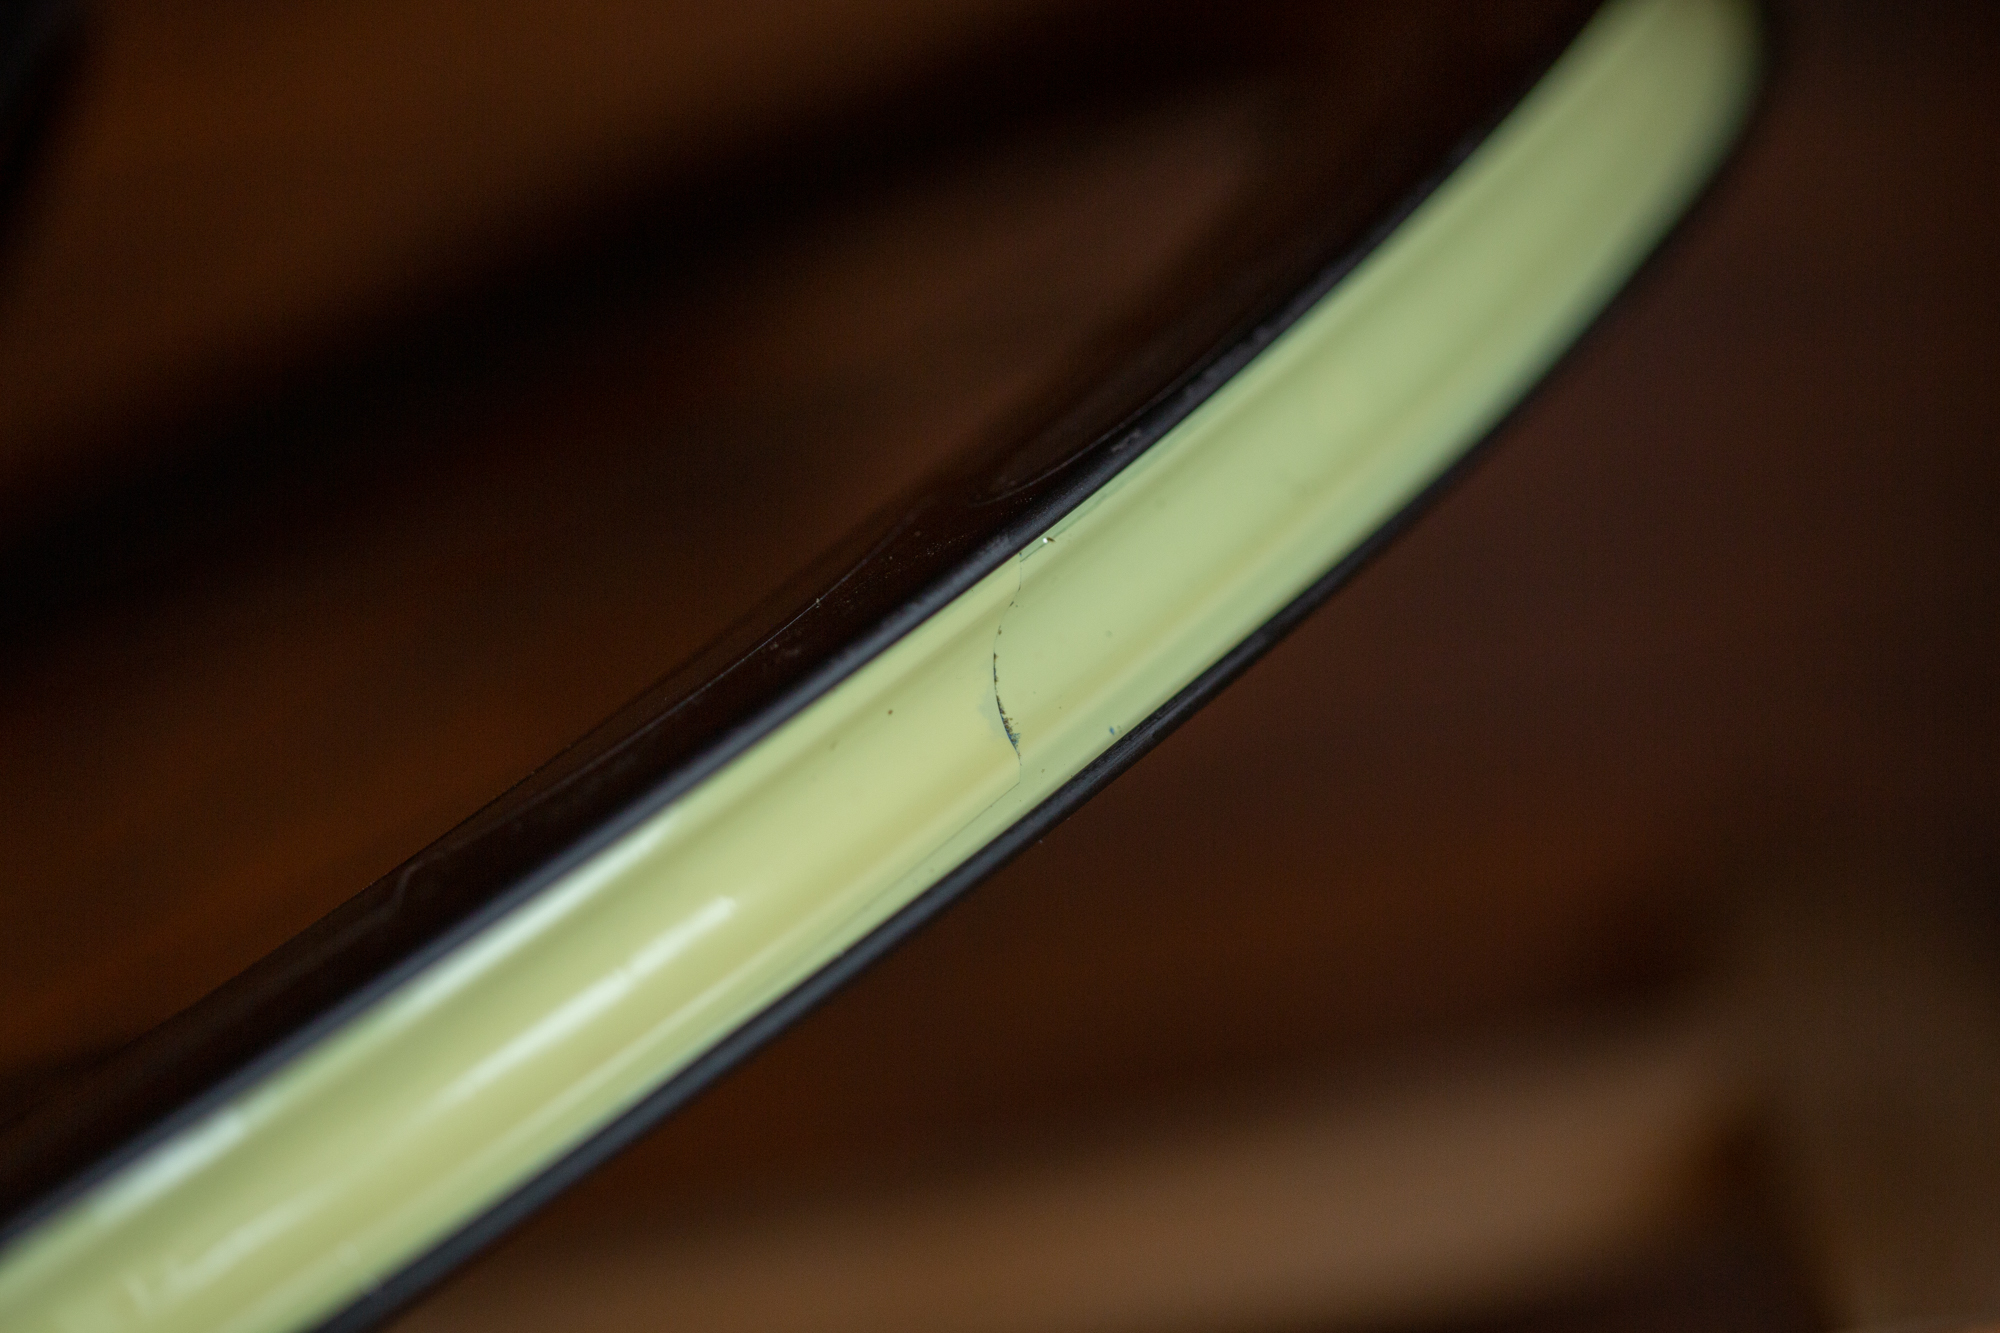
Most of the time brand new wheels come pre-taped but that's not always the case. If you have trouble with your tubeless setup, it is almost always because of an issue with the tape. To solve this, we recommend re-taping the inner rim from scratch.
Also, keep in mind that tape comes in different widths so ensure you order the correct option - it's always better to use the correct rim tape size as doubling up a smaller width tape isn't always a smart idea. A semi-transparent tape will make it easier to get the hole for the valve in the right place.
Tubeless valve stem
Once again, these will often come with new wheels but not always. Make sure you get something long enough that it goes through the rim and leaves space to attach a pump. A little extra length doesn't hurt so if you can't find the perfect length don't be afraid to go longer.
Valve core removal tool
You can get by with a pair of pliers but it's not worth the hassle. The correct tool is inexpensive and makes life a lot easier. It's a good idea to carry an extra one in your on-bike emergency kit too, as valve cores can get clogged over time and you might need to fix one with a slow leak during a ride.
Sealant syringe
Again, you can get by without this but it's much easier if you have the correct tool. You might see directions to pour sealant into a tyre then try to set the bead, which can work, but it can also be incredibly messy. Instead, use a syringe and inject the sealant through the valve stem. Some sealant comes with its own applicator tube, but if you find yourself without, we recommend adding one to your toolkit. The syringe will usually come in a package with the valve core tool and extra valve cores, too. It's also a convenient way to use the correct amount of sealant.
Common household tools
You probably already have this stuff but it's good to get it ready. You'll need scissors to cut the rim tape. A small towel is helpful when taping the rim. Soapy water in a spray bottle makes life easier when setting the bead. A small screwdriver or a pen is helpful for punching a hole in the rim tape to get the valve stem through.
How to set up tubeless tyres: A step-by-step guide
1. Tape the rim
The first thing you need to do is tape the rim. If the rim is already taped you don't have to retape it but if you find you're having trouble getting a tyre to seal, don't bother wasting your time troubleshooting for hours - just retape it.
Each time you move things around there's a chance you will open up a leak in the tubeless tape. It's also common to do a perfect job taping a wheel then make an invisible mistake when putting the valve core through the tape. When in doubt, re-tape it out.
Start the tape about an inch before the valve hole in the wheel. You want enough space so that there's a solid seal between the rim and the tape before getting to the valve hole. Hold the tape against the rim with one hand then pull the tape out a bit. Go only as far as you can comfortably hold the tape tight then smoothly bring it down to the rim surface. You need to pull the tape taut, and it's better to go a little at a time rather than try and do the whole rim in one fell swoop.
Once you have brought the tape to the rim surface, hold it there. The tape isn't that strong so it will come away from the rim if not held in place. Use a cloth, or gloves, so that the hand you used to hold the beginning of the tape can slide along the rim tape. Press hard against the rim to help the glue stick and to move any air bubbles to the end of the taped section.
When your two hands are together you are going to repeat what you did from the beginning. Holding the tape against the rim with one hand you are going to pull out more tape from the roll. Stretch it tight away from the rim then smoothly bring it back and repeat the process again. Continue these two steps until you make your way fully around the wheel. When you get back to where you started, you want to overlap the tape over the valve hole about the same amount as when you started the tape. Then simply cut the tape.
Some people, and most bike shops, will do two layers of tape. If your tape isn't wide enough this will be necessary to fully seal the space between the tyre beads. Even if your tape is wide enough the reason to do this is to increase the circumference of the wheel and create a tighter seal between the tyre and rim, but modern tyres and rims are being manufactured to tighter tolerances so often this is unnecessary. It can also make seating the tyre harder because the tyre is so tight. This is one of those things that's impossible to know until you try. If you'd rather be safe than sorry, go ahead and do it.
2. Put the valve stem in place
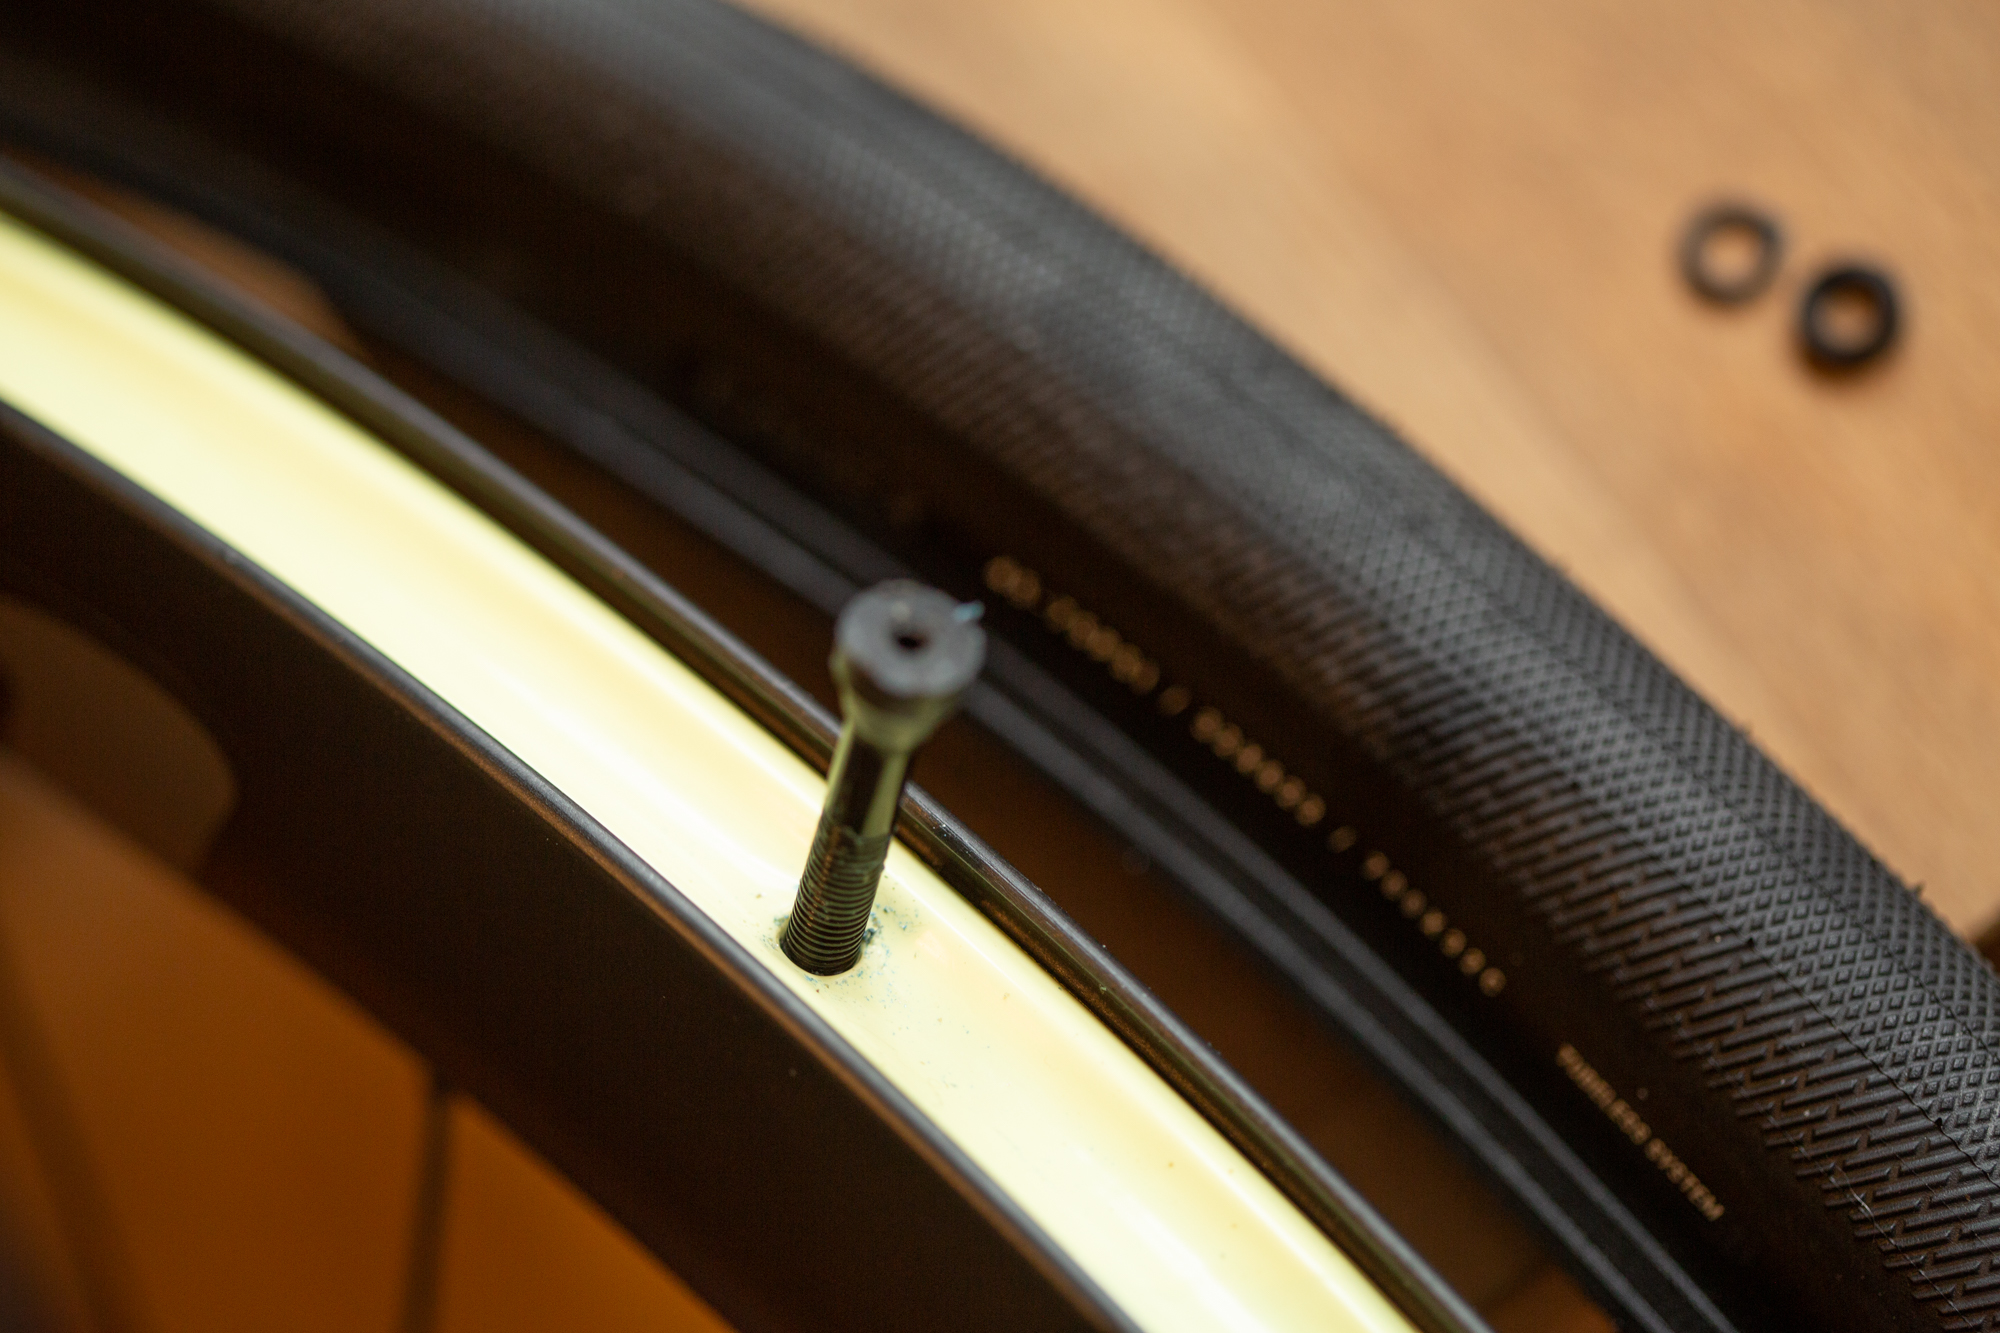
Start by locating the valve hole in the rim. This will be easier if you can see through the rim tape but it's possible even if you can't by finding the hole on the inner edge of the rim. Once you know where it is, push on it with your fingers and you should be able to make a small mark that outlines the edge of the hole.
Once you know where it is you are going to puncture a small hole through the tape. You can use whatever you have that will work. Hex keys, small screwdrivers, a pen, even the pointy end of the valve stem itself.
Keep in mind that you want this hole to be as central and as small as possible and you don't want to damage the wheel. Whatever sharp thing you are using could cause damage so be careful. That goes hand in hand with the fact that you aren't trying to fully open the hole, you're simply opening it up for the valve stem, and once the hole is there, let the valve stem stretch it out.
Once you have the hole punctured, push the valve stem into place. There should be some kind of rubber seal at the base of the valve stem that presses into the hole you just punched and, with enough pressure, it will seal. On the inner edge of the rim, where the valve is now protruding from, you'll want to fit the rubber grommet and then the nut, both of which will have come with the valve stem. There's no need to tighten everything up right now as you may need to push the rubber seal inside the tyre away from the rim as you get the tyre seated.
3. Put the tyre on
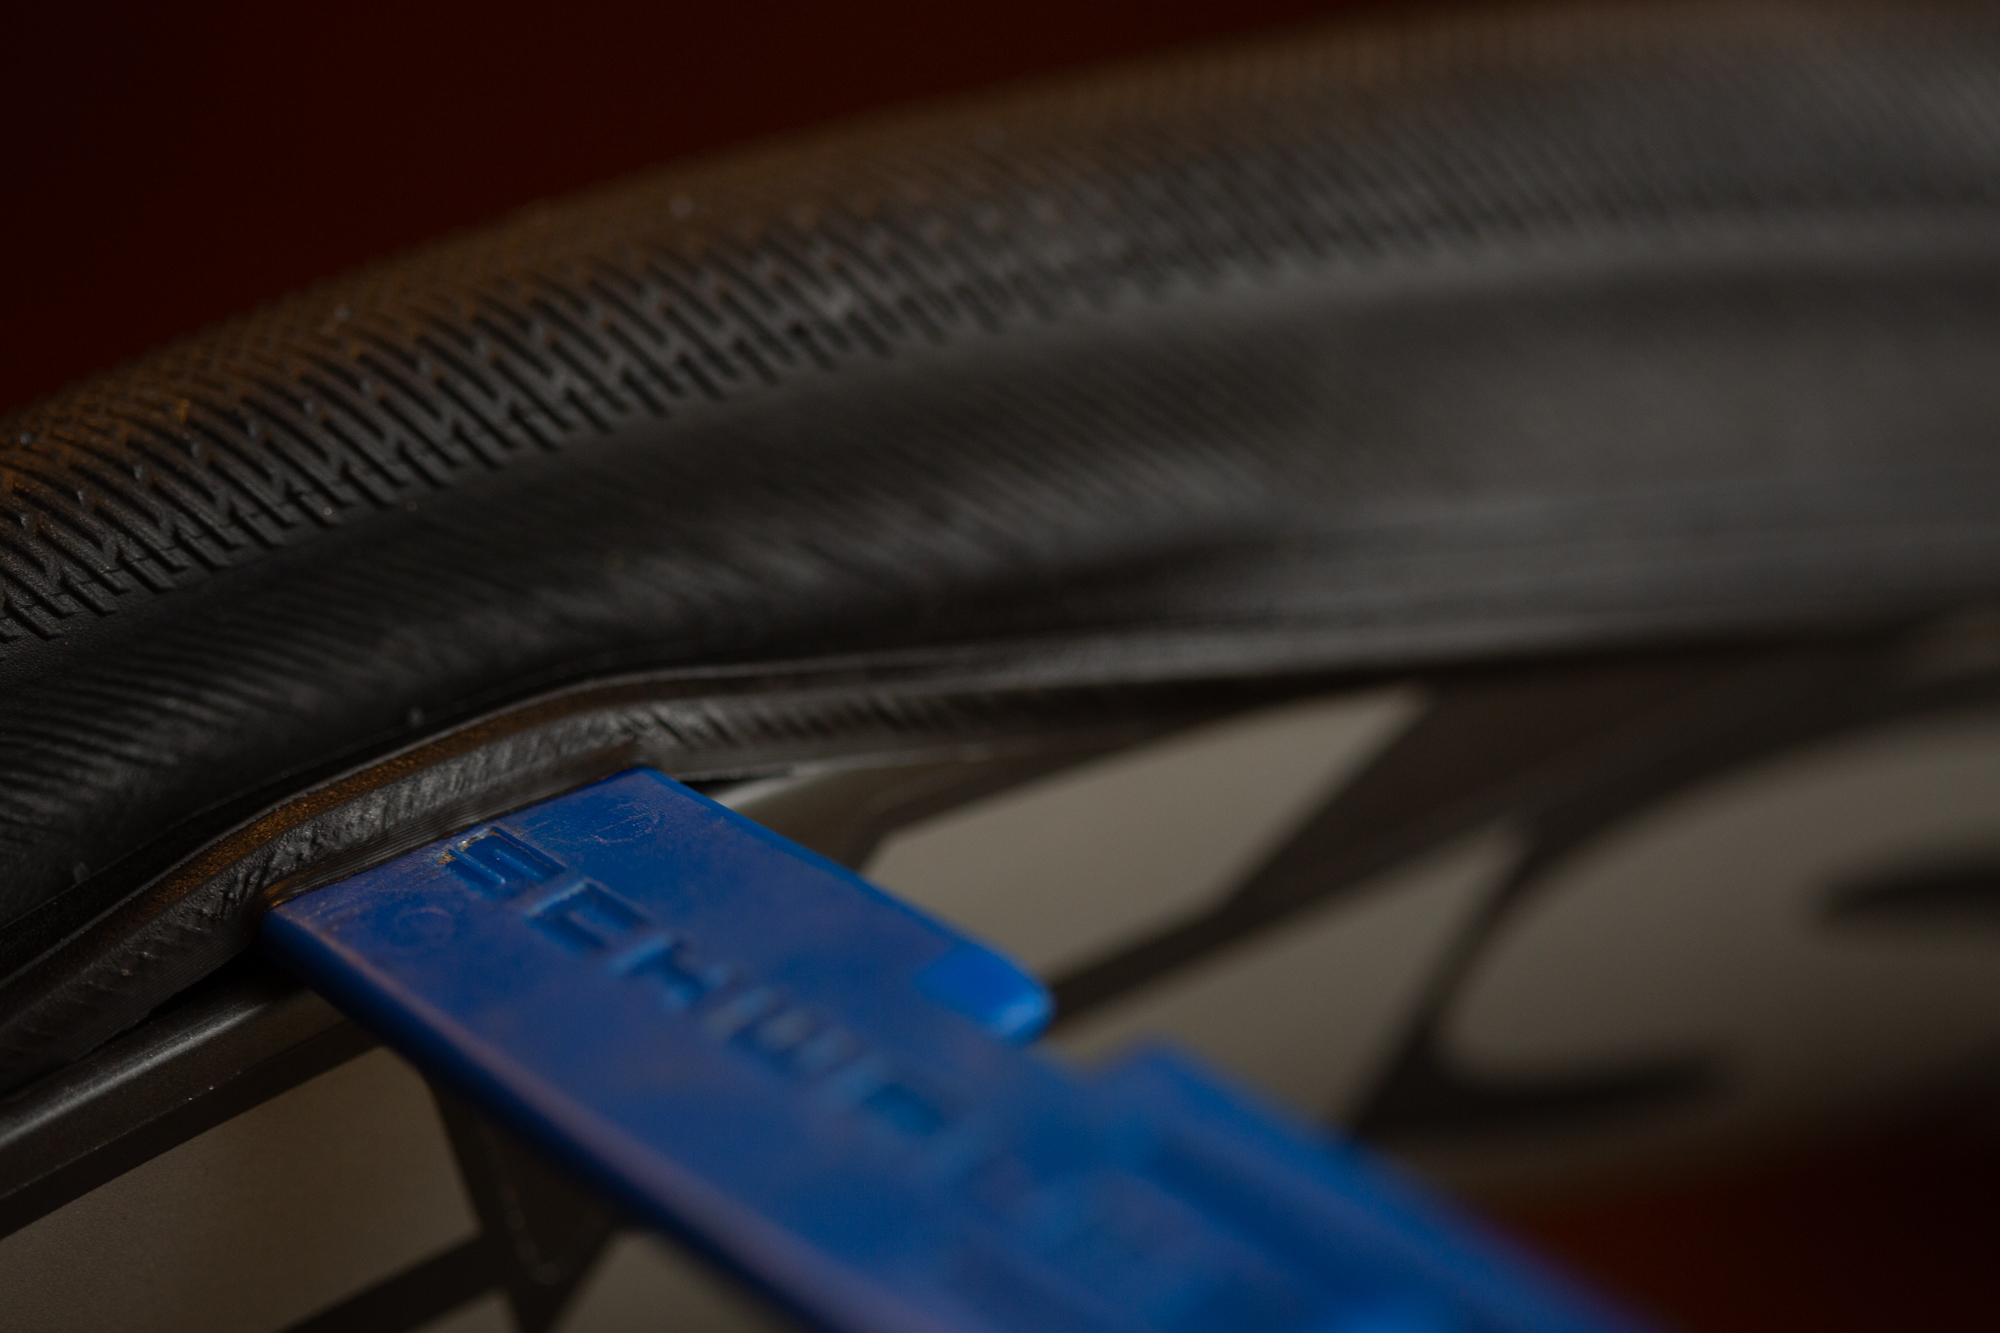
This process is the same as a tyre with a tube. Don't forget to check if the tyre is directional and remember it's fashionable to line up the logo and name so that the valve falls in the middle (it also helps find the valve when it comes to pumping them up).
Start where the valve is and get the bead into the space between the valve and the side of the wheel. First one side, then the other. As you get to the other side, opposite the valve, things will get tougher.
The difference with a tubeless tyre and wheel is that it's going to be a tighter fit. Getting each side of the tyre on the wheel is often a struggle and using your tyre levers is likely a necessity. To help with how tight everything is, get the bead of the tire wet with soapy water.
The soapy water will help everything slide. The bead will more easily slide down the tyre lever into place and the tyre lever will more easily slide between the bead and the rim. Once the tyre is in place the soapy water will also help to create a seal for the first inflation.

4. Get the tyre in the right spot
The idea is to get the tyre seated into the center of the rim bed. The less the tyre goes up and down from the edges the better. It will need to be up on the edges near the valve stem though.
The reality is that there's not a whole lot you can do at this point. Just look for obvious issues and do your best to get it fixed. A good way to get things where they should be is to roll the uninflated wheel, with the tyre, on a carpeted floor while pushing it down. The pressure helps the tyre sit in the channel like it should.
Once you’ve got the tyre where it should be, make sure the valve stem nut is tight and the valve stem is where it should be.
6. Inflate the tyre
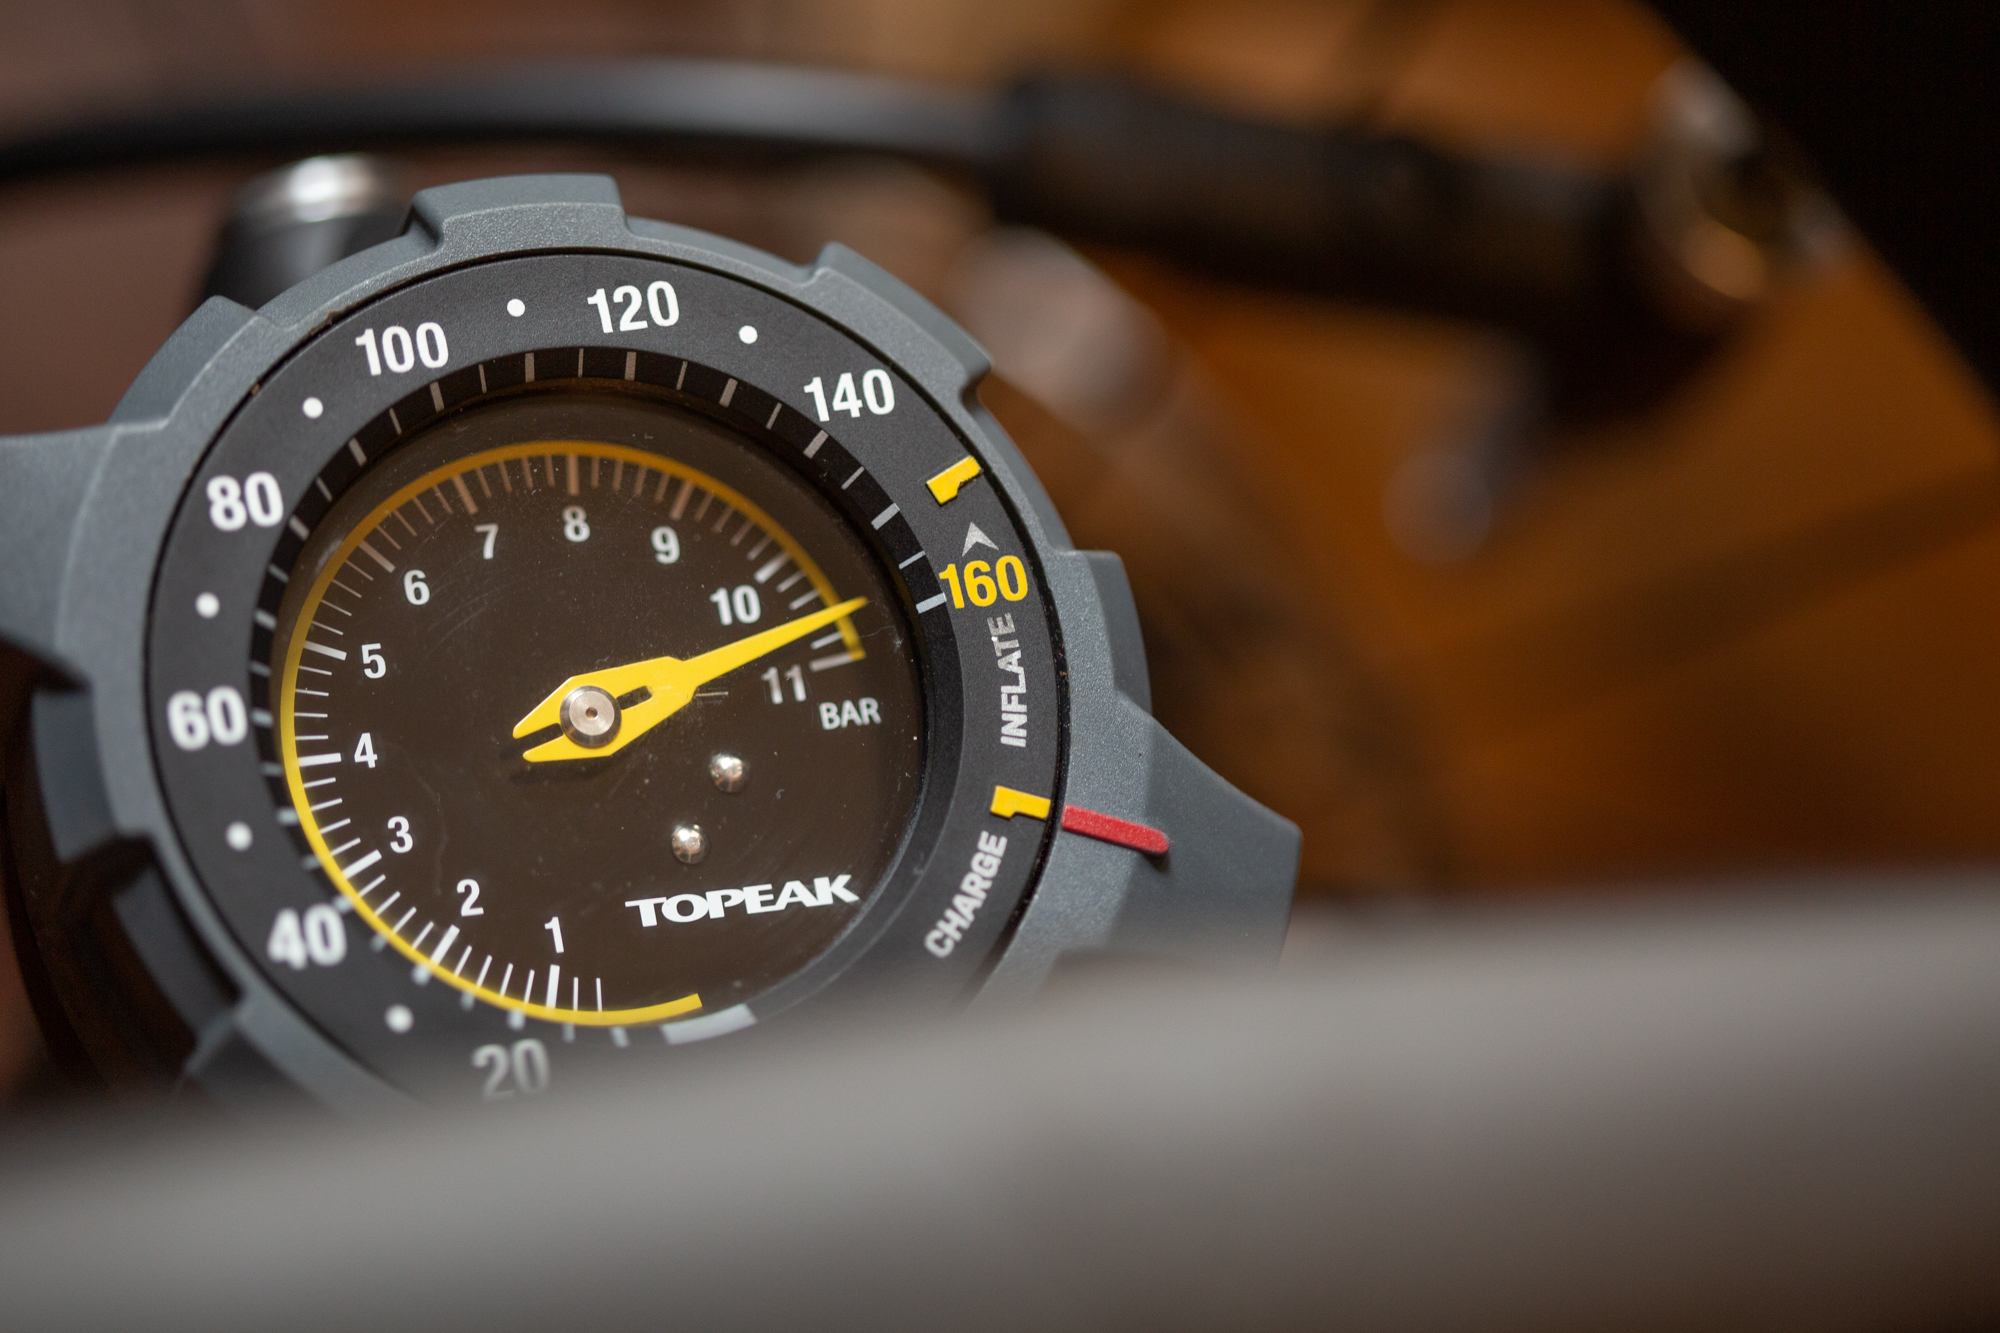
If you are using a standard pump you are going to need to pump quickly. If you are using a burst pump then pressurise the tank before releasing the air in one shot. It's a good idea to overinflate the tyre, but be careful with how much because tubeless tyres and carbon wheels often have lower max pressures than you might expect.
You might hear pops as the bead snaps into place but you might not. It helps if the bead is wet and able to slide with ease but even then, you might not hear anything. It's a satisfying sound when the beads pops into place but if you don't hear it that doesn't mean it hasn't worked.
It can be helpful to remove the valve core for the initial inflation. It's not always possible though, because depending on the pump you have, they don't always attach effectively when there's no valve core.
- Best road bike tyres: fast-rolling, ultra-grippy tyres for training and racing
- Best tubeless road tyres: Our pick of the top tubeless road tyres
7. Add sealant
If you have the time to let the tyre sit, it's a good idea. The sealant shouldn't be necessary for the tyre to hold air. If you have time to let the tyre sit with air in it you can judge if it's losing it at a rate that makes sense. If you leave a tubeless tyre inflated overnight and come back to a flat tyre the next morning then you need to troubleshoot the setup. That almost always means new rim tape and it's a lot easier - and cleaner - when there's no sealant. You can also check for leaks with soapy water.
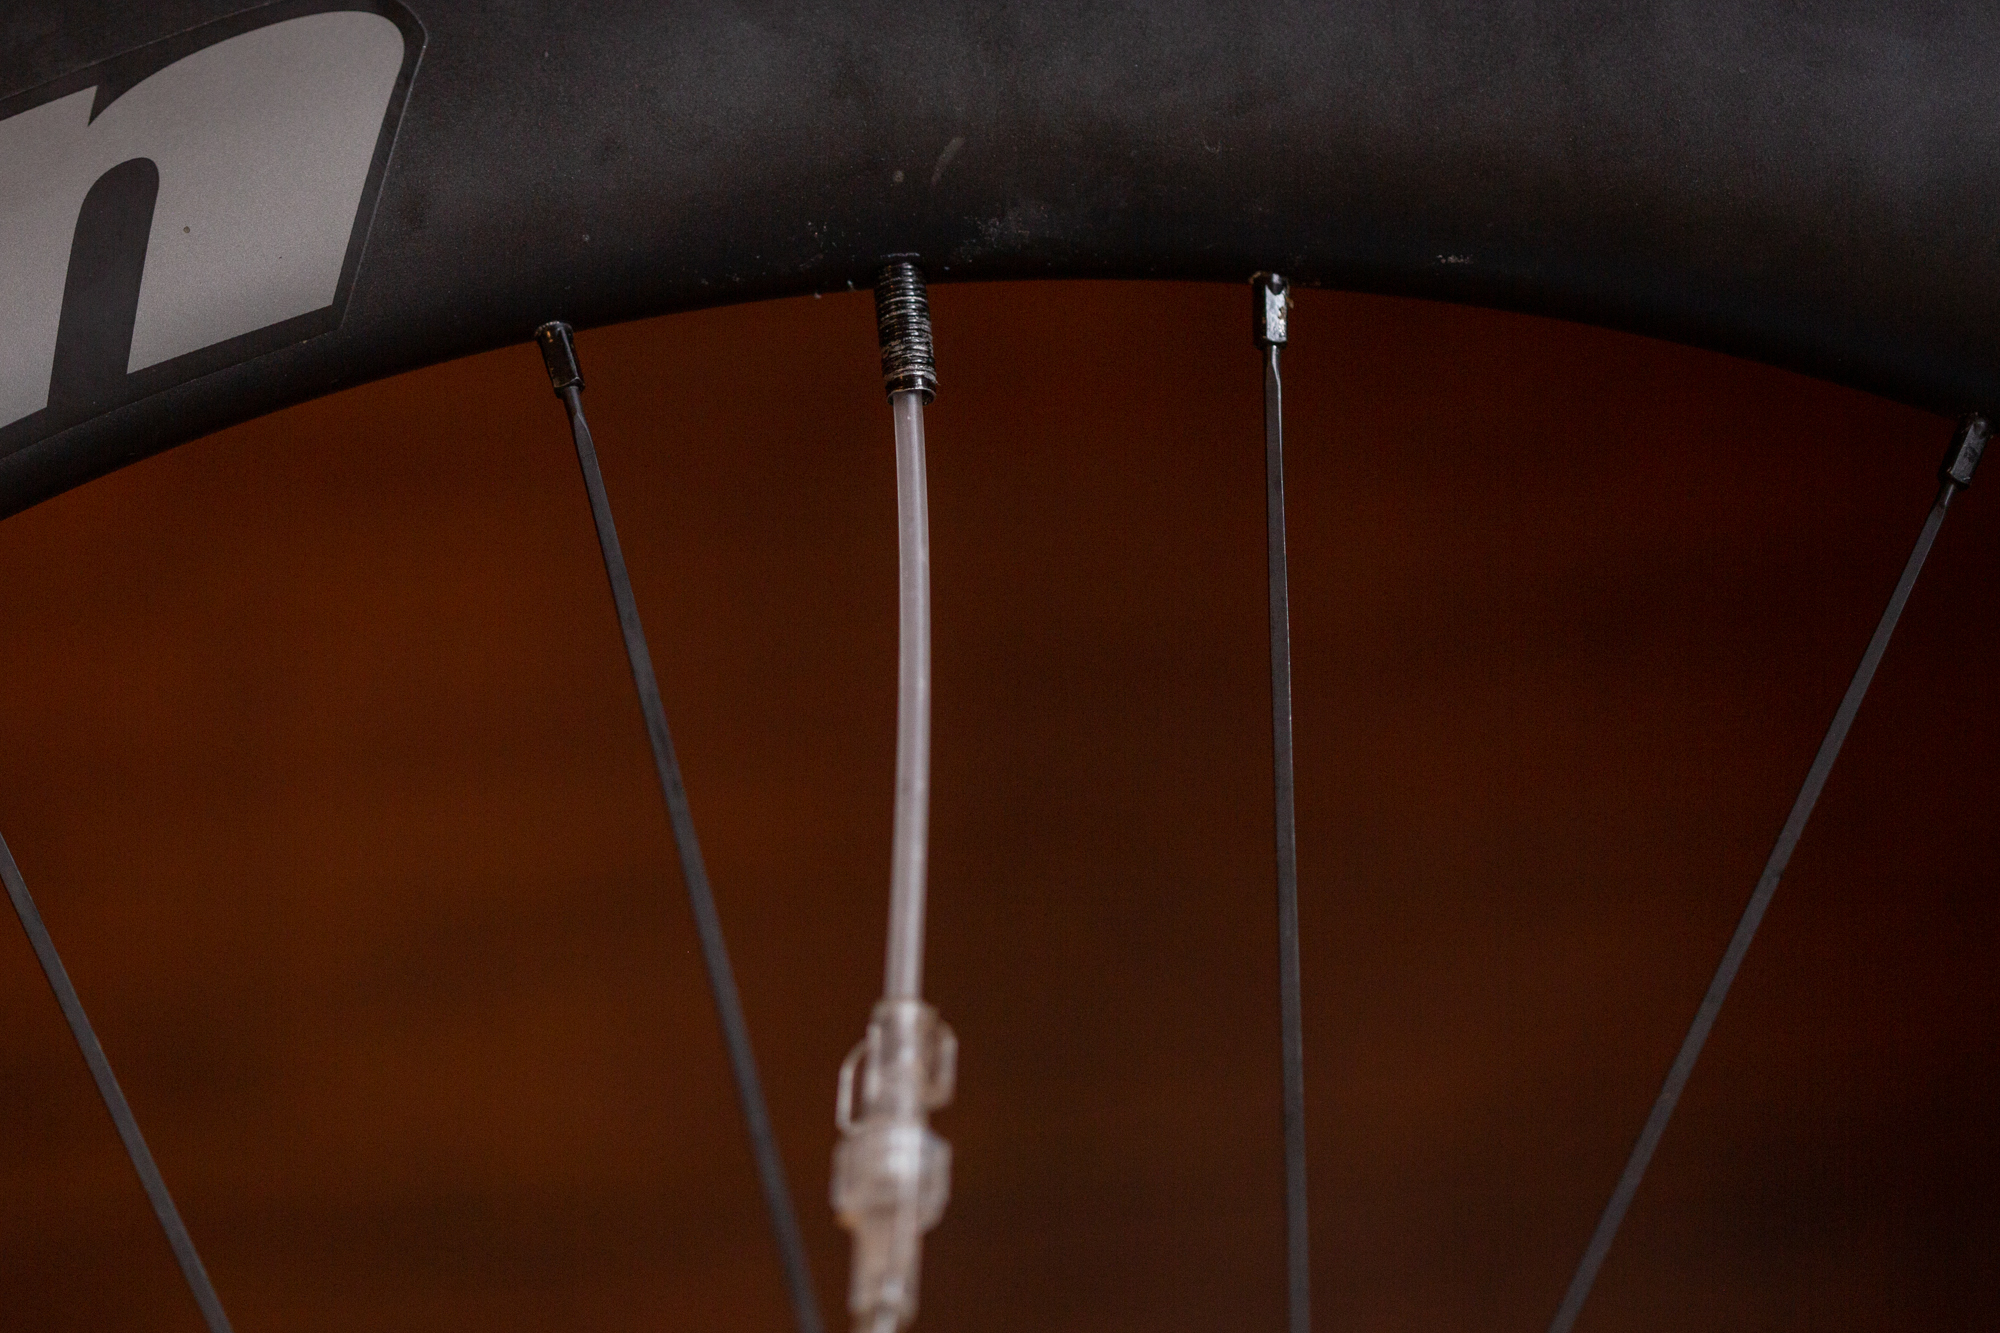
Once you are sure the tyre is correctly set up, it's time to add sealant. Let the air out of your tyre, and then unscrew the valve core.
Get some sealant in your injector, and turn your tyre so the valve is somewhere other than the very bottom or the very top of the wheel. At the top it can run out of the valve and at the bottom the flattened tyre leaves no room for the sealant. Inject the sealant and reinstall the valve core. Inflate the tyre to your desired pressure and remove the pump. Spin the tyre and shake it so that the sealant coats as much of the inside of the tyre as possible.
Congratulations you now have a tubeless tyre installed.
- Best road bike wheels: Our pick of the best wheelset upgrades
- Road bike groupsets: a comprehensive guide
Individuals carrying out the instructions in this guide do so at their own risk and must exercise their independent judgement. There is a risk to safety if the operation described in the instructions is not carried out with the appropriate equipment, skill and diligence and therefore you may wish to consult a bike mechanic. Future Publishing Limited provides the information for this project in good faith and makes no representations as to its completeness or accuracy. To the fullest extent permitted by law, neither Future Publishing Limited, its supplier or any of their employees, agents or subcontractors shall have any liability in connection with the use of this information, provided that nothing shall exclude or limit the liability of any party for personal injury or death caused by negligence or for anything else which cannot be excluded or limited by law.
Josh hails from the Pacific Northwest of the United States but would prefer riding through the desert than the rain. He will happily talk for hours about the minutiae of cycling tech but also has an understanding that most people just want things to work. He is a road cyclist at heart and doesn't care much if those roads are paved, dirt, or digital. Although he rarely races, if you ask him to ride from sunrise to sunset the answer will be yes. Height: 5'9" Weight: 140 lb. Rides: Salsa Warbird, Cannondale CAAD9, Enve Melee, Look 795 Blade RS, Priority Continuum Onyx
