How to set up tubeless road tyres on non-tubeless ready rims
You don’t actually need ‘tubeless ready’ rims to convert your wheels to tubeless - it can be done on regular rims, and here’s how
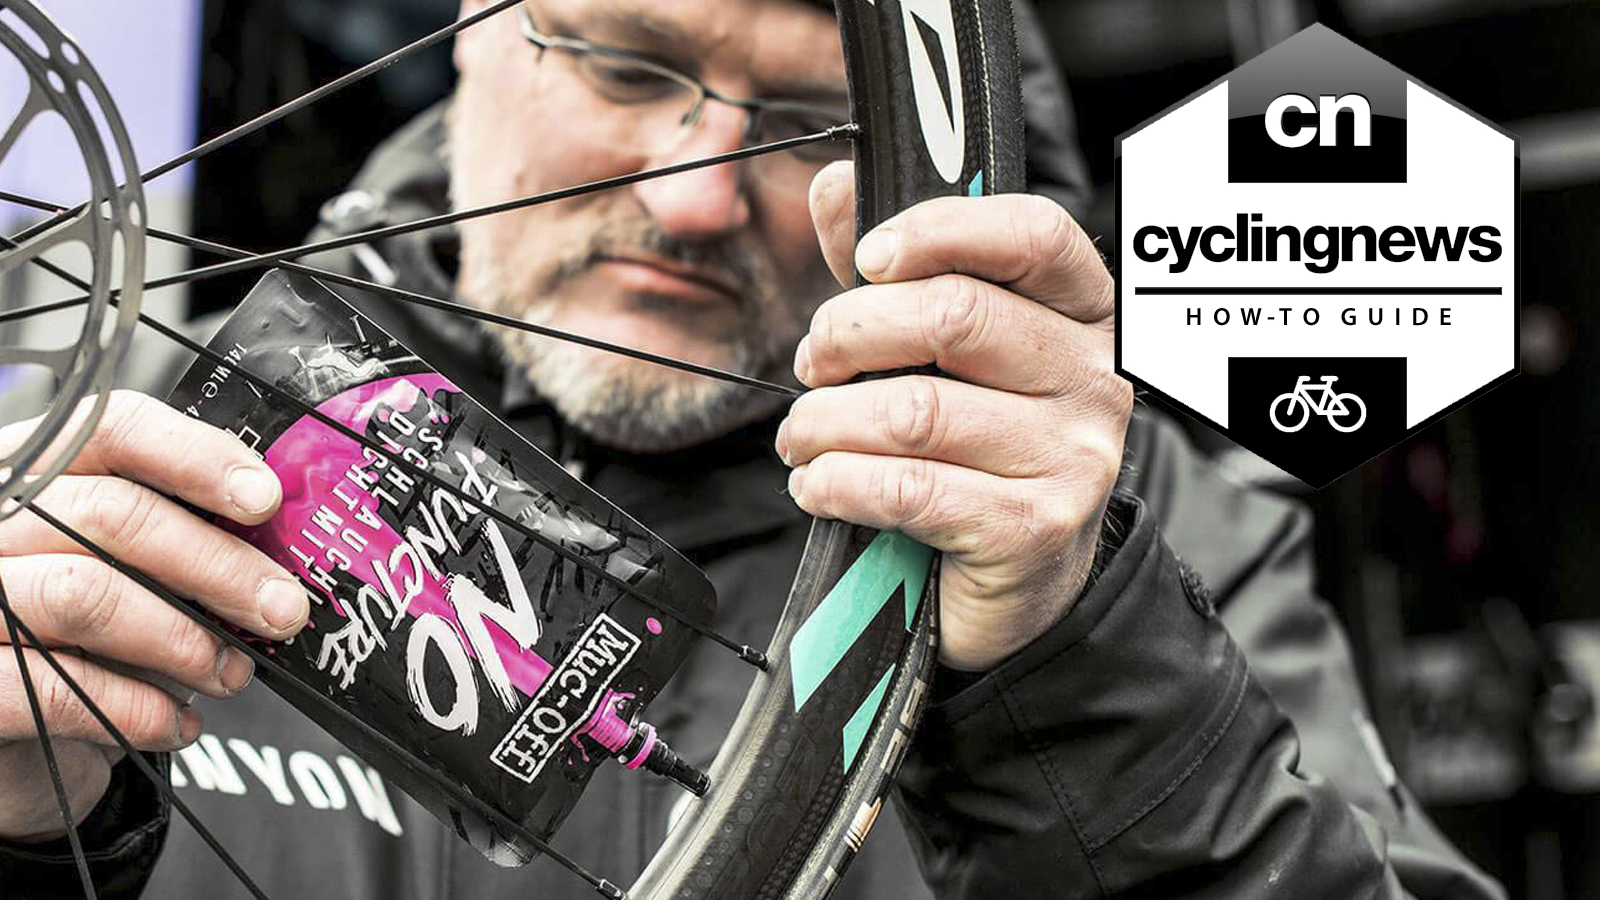
Mountain bike riders have been enjoying the benefits of tubeless tyres for many years now - that is, simplified puncture management, more comfort, less weight, and (allegedly) lower rolling resistance, but road riders have been a bit slow on the uptake. This is mostly down to the lack of tubeless support for road bikes. But in the last year, the availability of tubeless kit has rocketed, with tubeless tyres available from major players such as Continental, Specialized and many more.
Most, if not all, tyre manufacturers will tell you that you need your rims to be labelled ‘tubeless ready’ in order to fit tubeless tyres and, while this makes it easy to assure that they will definitely fit, tubeless road tyres can be fitted to wheels that don’t have the official seal of approval. That said, it certainly depends on the type of rim you’re fitting them to - the H Plus Son Archetype rims in this guide have a rim design that is said to be ‘tubeless friendly’, but we obviously can’t vouch for all types of rim. YMMV, and all that.
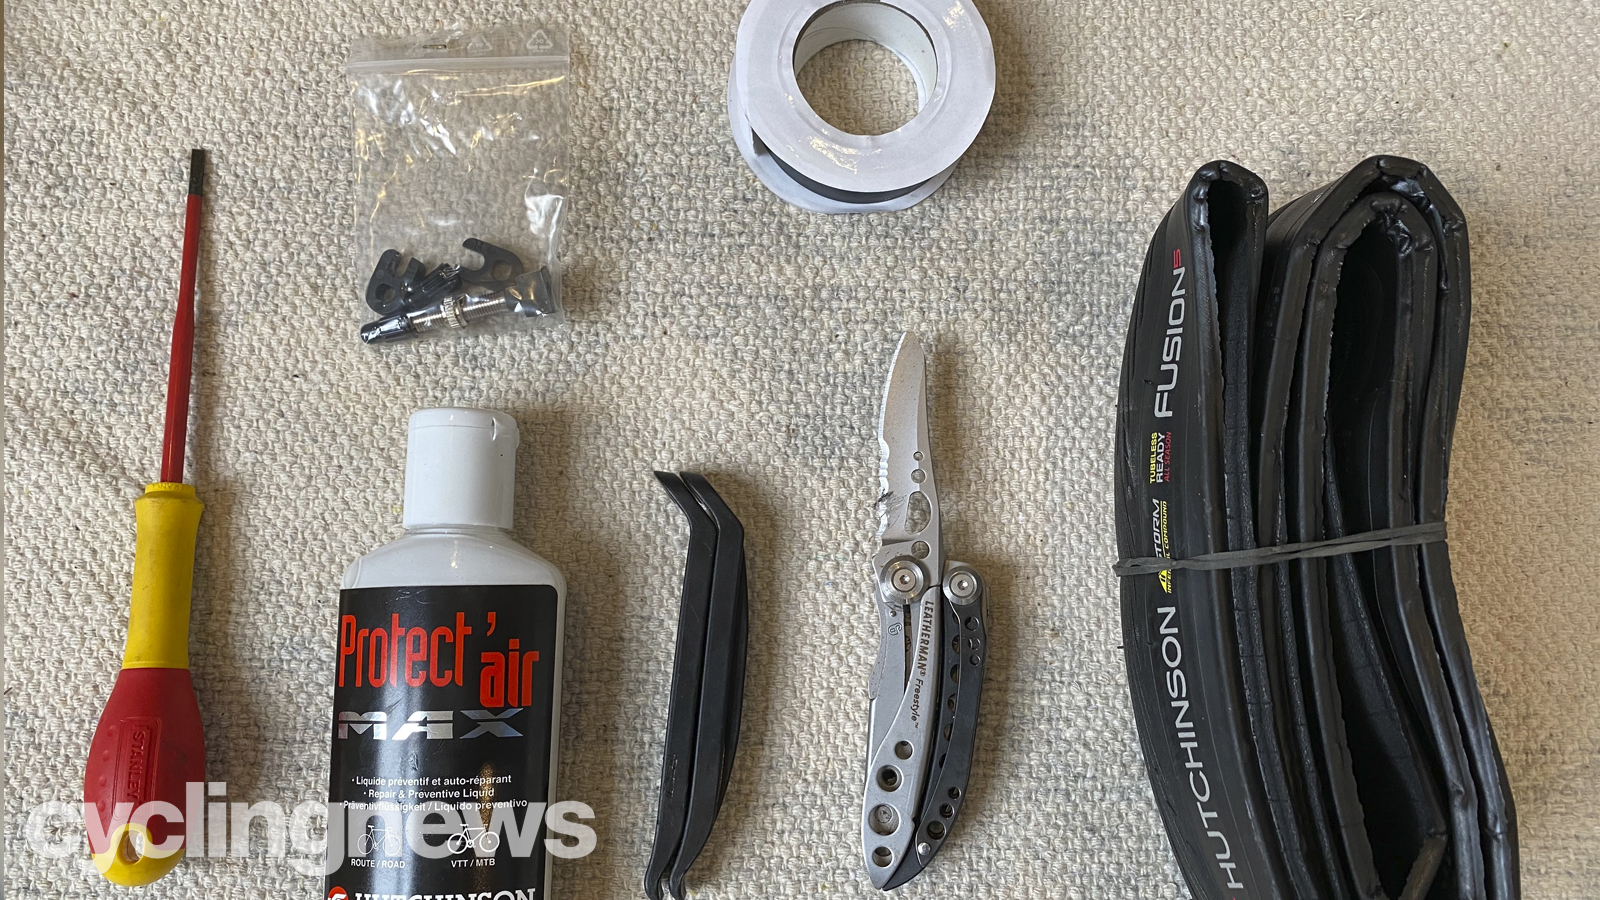
To fit tubeless tyres, you do need ‘tubeless ready’ tyres, along with rim tape, sealant and tubeless valves. You can either buy all these things separately from different sources, or you can do as we did and get a kit which gives you everything you need in one box, such as the Hutchinson Fusion 5 All Season Tubeless Tyre Kit (£99.95) we used in this guide.
1. Preparation
Before you start, you’ll need a few things to help you get the job done, including some all-purpose cleaner/degreaser, paper towels, a small knife or scissors, a thin screwdriver and some tyre levers (just in case).
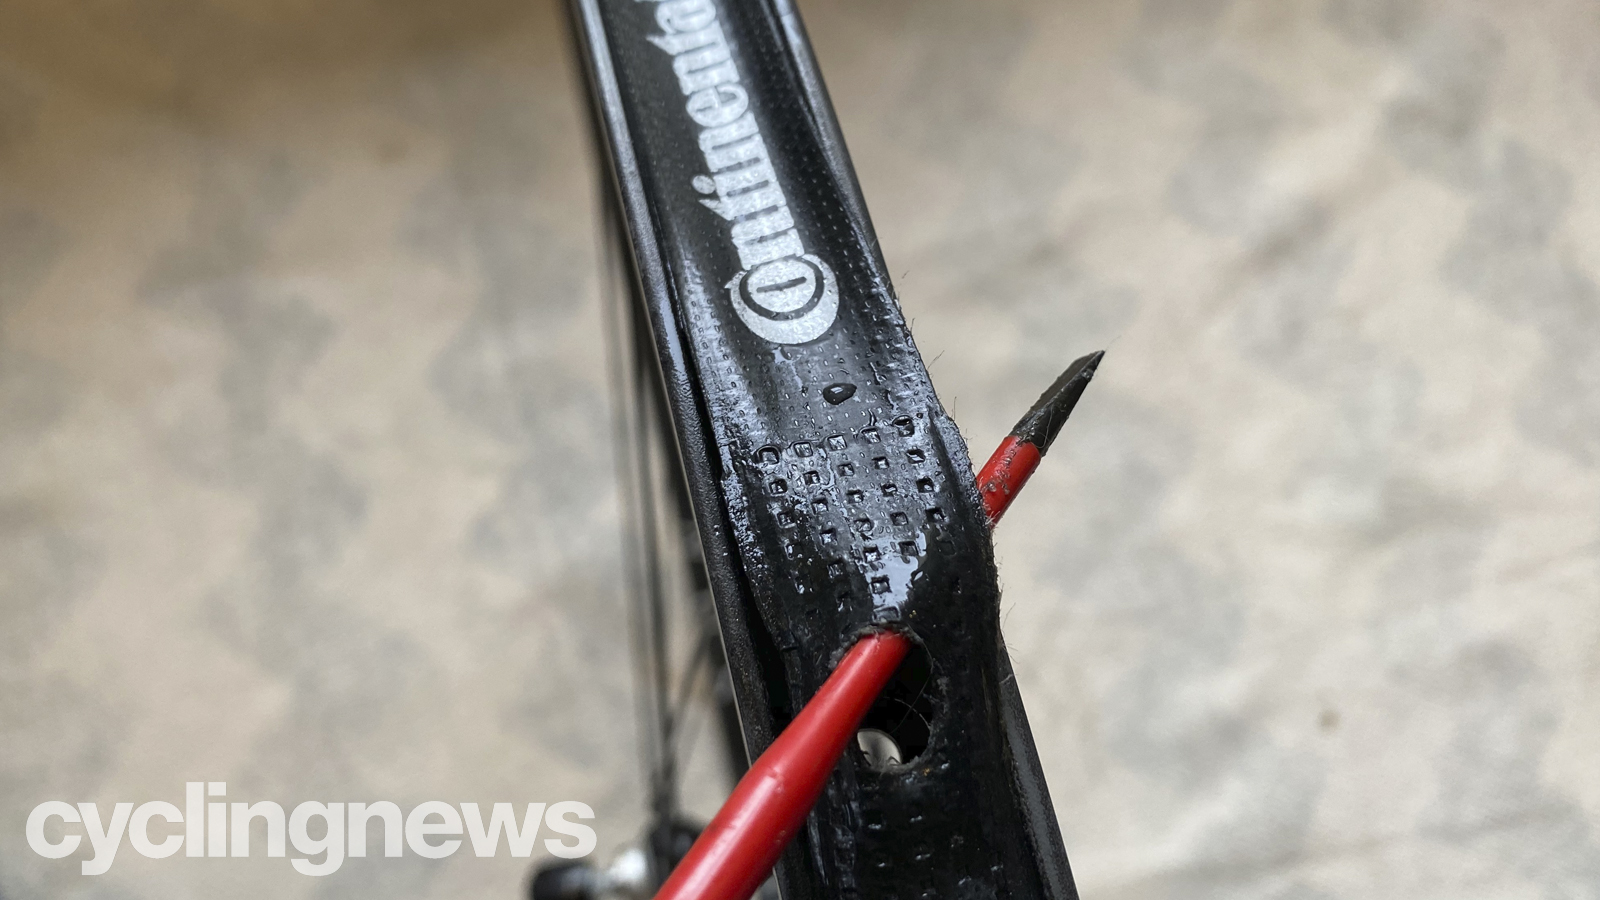
Once you’ve removed the original tyres and tubes, you can go ahead and remove the old rim tape. The easy way to do this is to hook your screwdriver through the valve hole and underneath the rim tape, and this way you can just lift it off to remove. The rim underneath will no doubt be a bit grimy, with leftover adhesive in place, so using your all-purpose cleaner and some paper towel, give the rim bed a thorough clean and make sure it’s completely dry.
2. Install rim tape and valve
The Hutchinson rim tape included is about 20mm wide, which luckily for us, was a perfect match for our chosen rim, but make sure the width is right for yours before installing. It’s usual to choose a tape which is a couple of mm wider than the rim bed. Now grab the new rim tape. You want to start applying the tape a few inches after the valve hole, and when you come back around, finish just after the original starting point - this will give you a double layer of tape over the valve hole, which helps with seating the new valve.
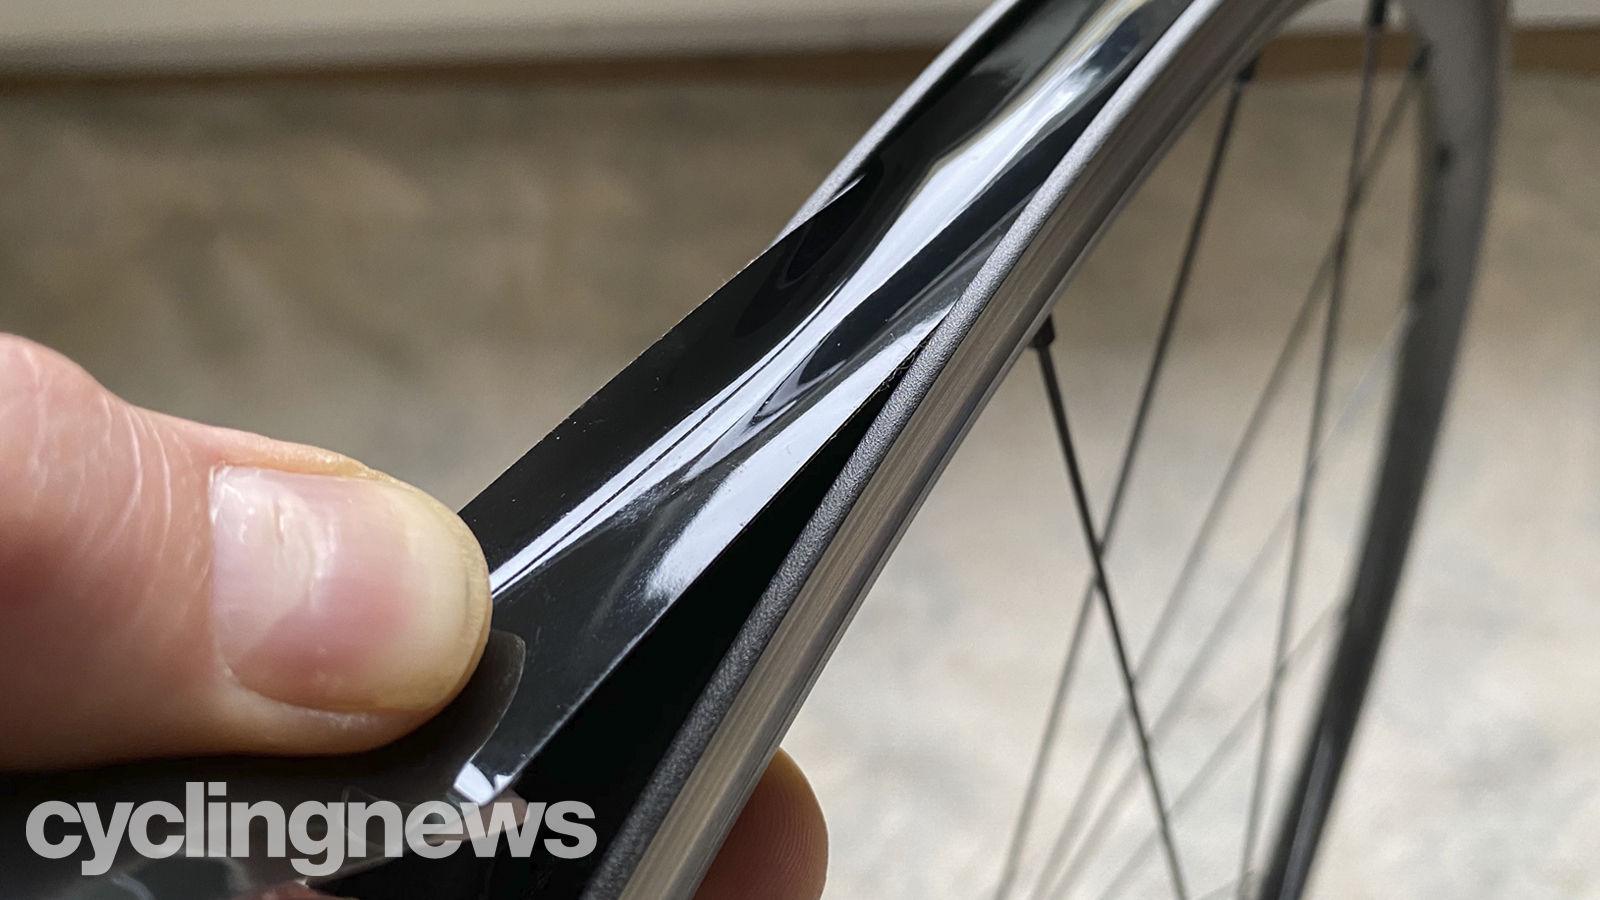
Start applying the tape to the rim bed, pulling it taught as you go to help the tape suck itself into the rim bed, using your thumb to press it firmly in place as you go. We found that putting the wheel in the dropouts (with the bike upside down) made it easy to apply it all the way round without needing an extra pair of hands.
Get The Leadout Newsletter
The latest race content, interviews, features, reviews and expert buying guides, direct to your inbox!
Using your thin screwdriver make a small puncture where your valve hole is. Be careful to just make a very small hole, because this helps the valve to seal better with the tape when pushing it through. You can also apply a small amount of sealant around the bottom of the valve before pushing it all the way through, but be careful with the Hutchinson sealant (if this is what you’re using) as it’s designed to be poured into the valve, so it’ll probably shoot out and go all over your clean rim/floor/feet.
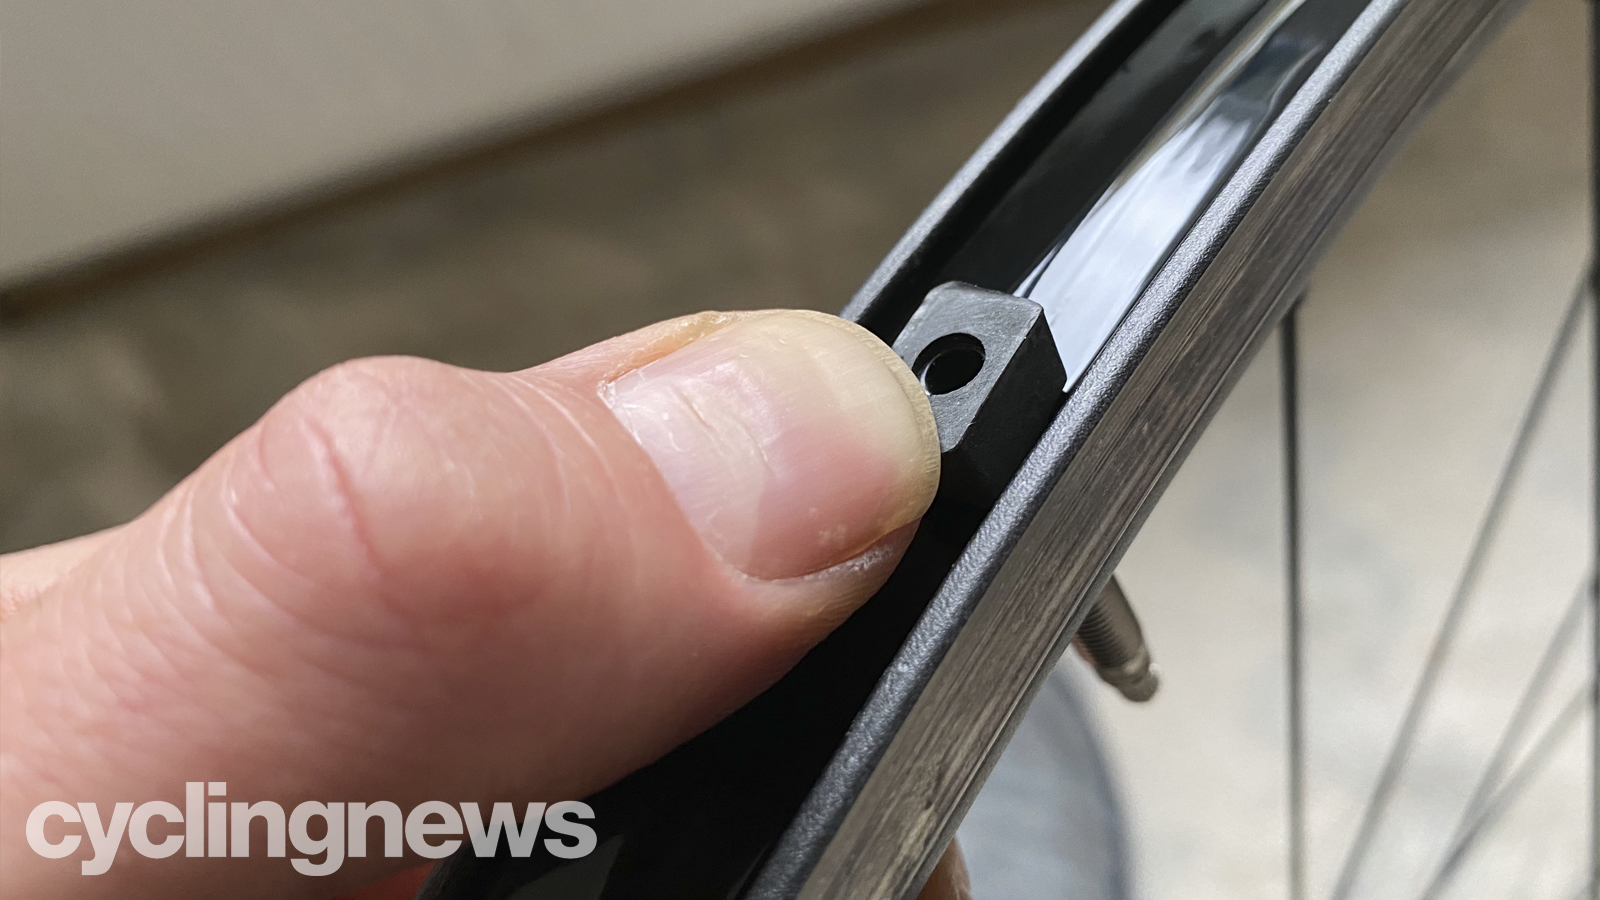
Grab the new valve, but before you try to install it remove the locking collar and screw down the valve stem shut. Carefully push the valve straight through the small hole in the tape, applying the sealant around the hole before pushing it all the way in. Push down on the valve base and install the locking collar, making sure it’s tight.
3. Fit tyres
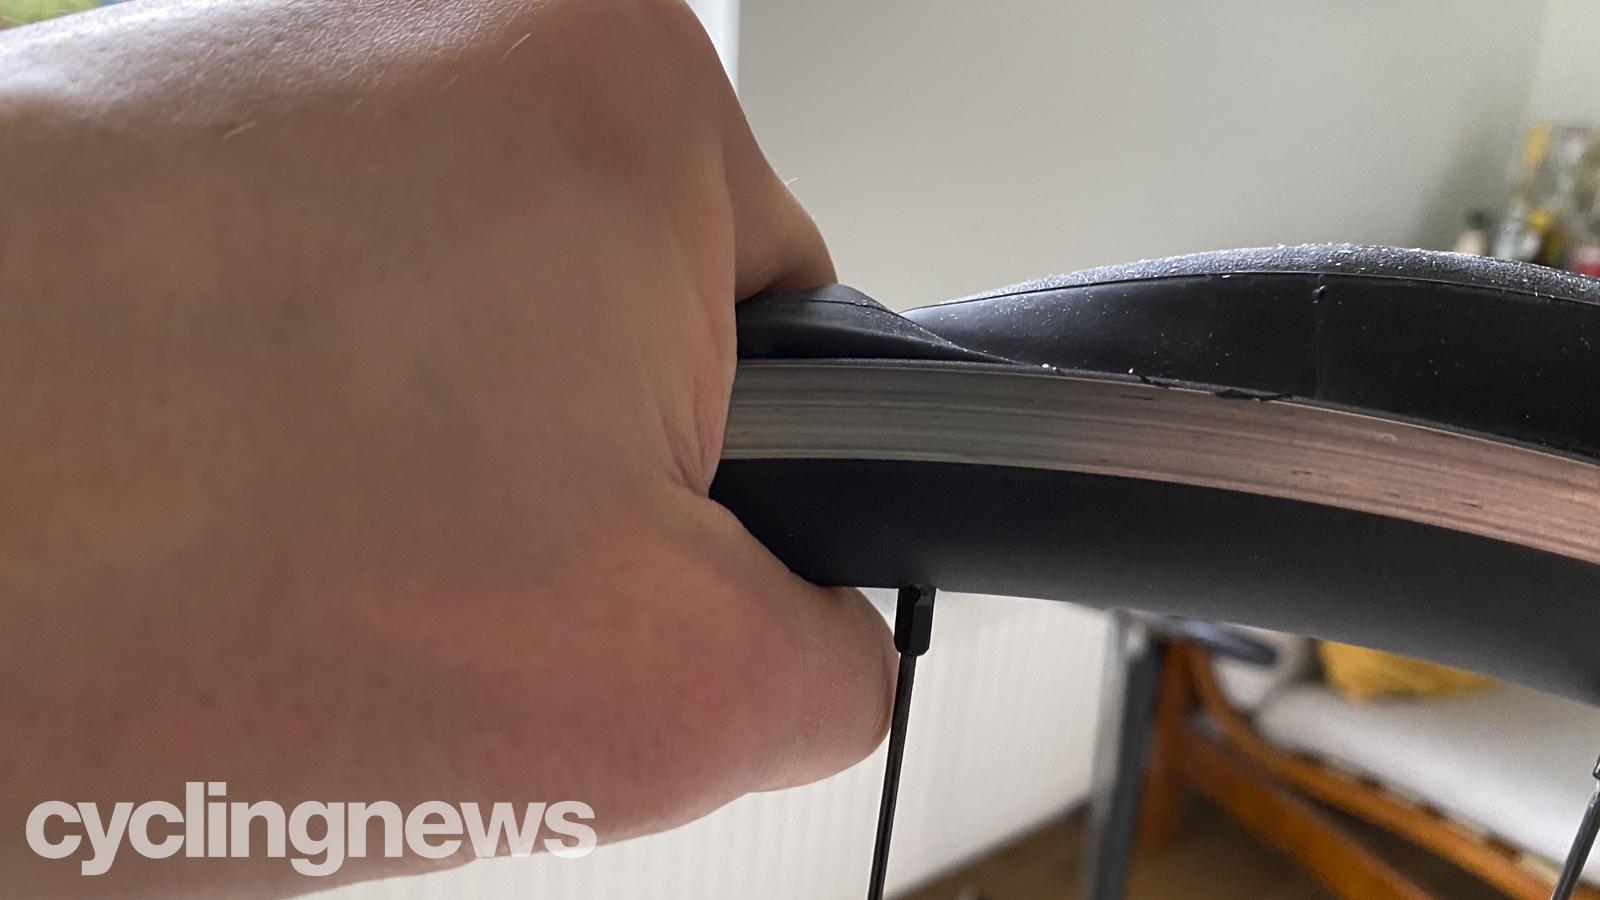
Depending on which brand of tyre you choose to install, this procedure can vary in its difficulty. For us, it was very easy - the Hutchinson tyres proved to be very supple, so we didn’t need to use much effort (nor tyre levers, for that matter).
With your rim in hand, attach the tyre all the way round on both sides, making sure you line up the Hutchinson logo with the valve for neatness. If the tyre is particularly tight at any point, you don’t need to grab for that lever - just grip the tyre with both hands and roll them over the rim to get it to go on.
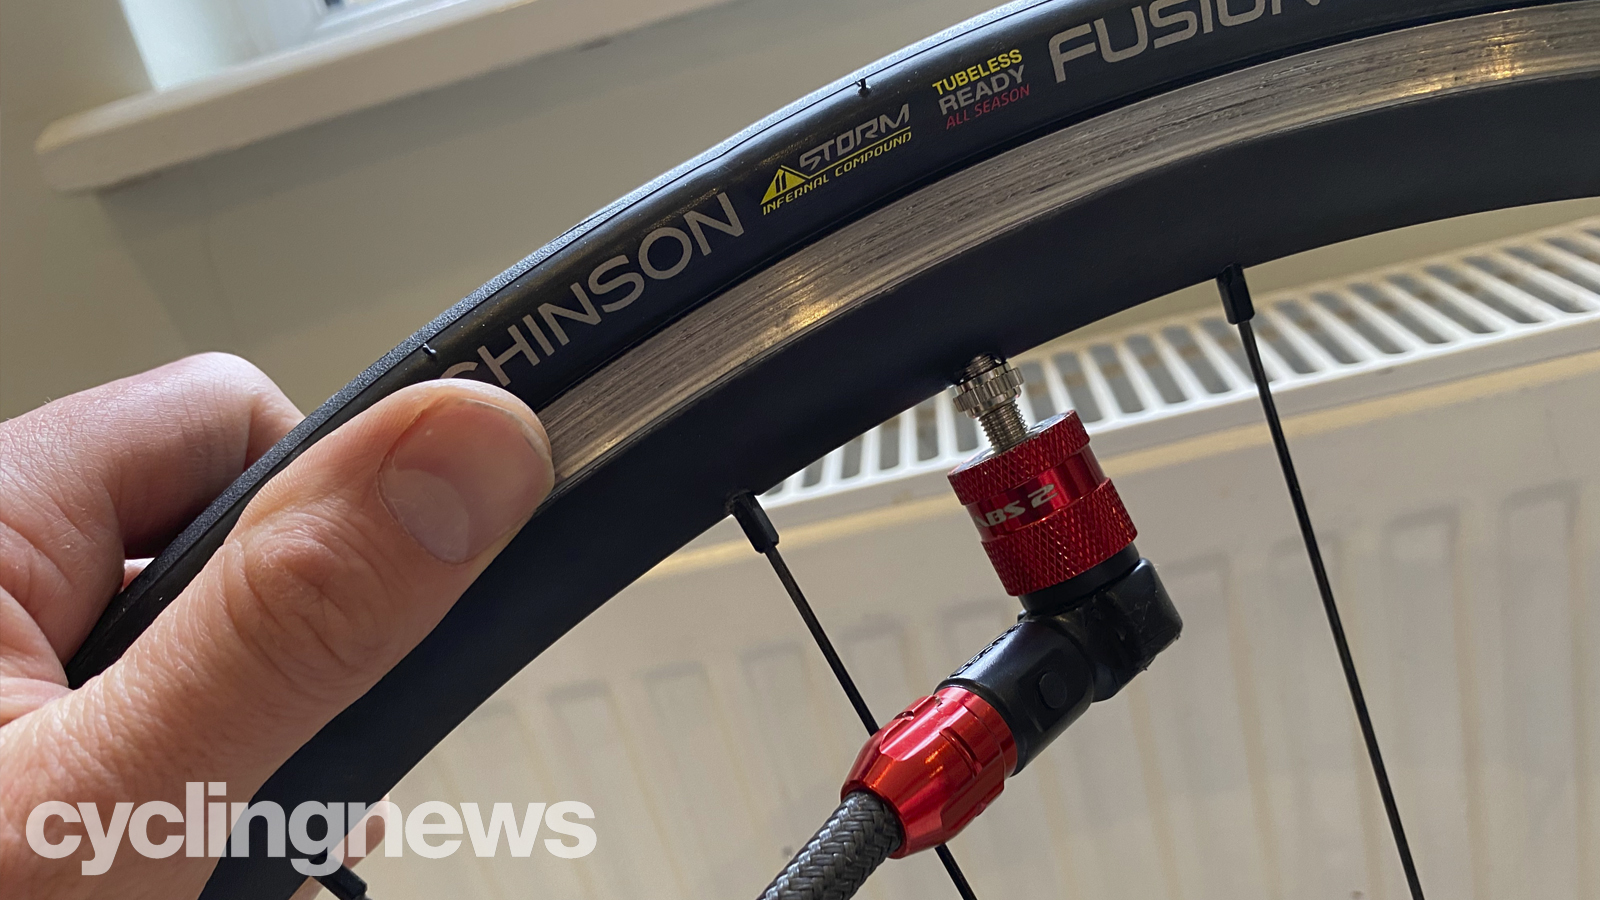
At this stage, you want to inflate the tyre to ensure it’s seated properly before adding the sealant. It’s recommended to use a compressor or a can of CO2 to quickly inflate the tyre to help it pop onto the rim, but it wasn’t necessary with the Hutchinson tyres - we used a regular track pump and some fast pumping, and the tyre seated without any issue.
4. Pour in sealant
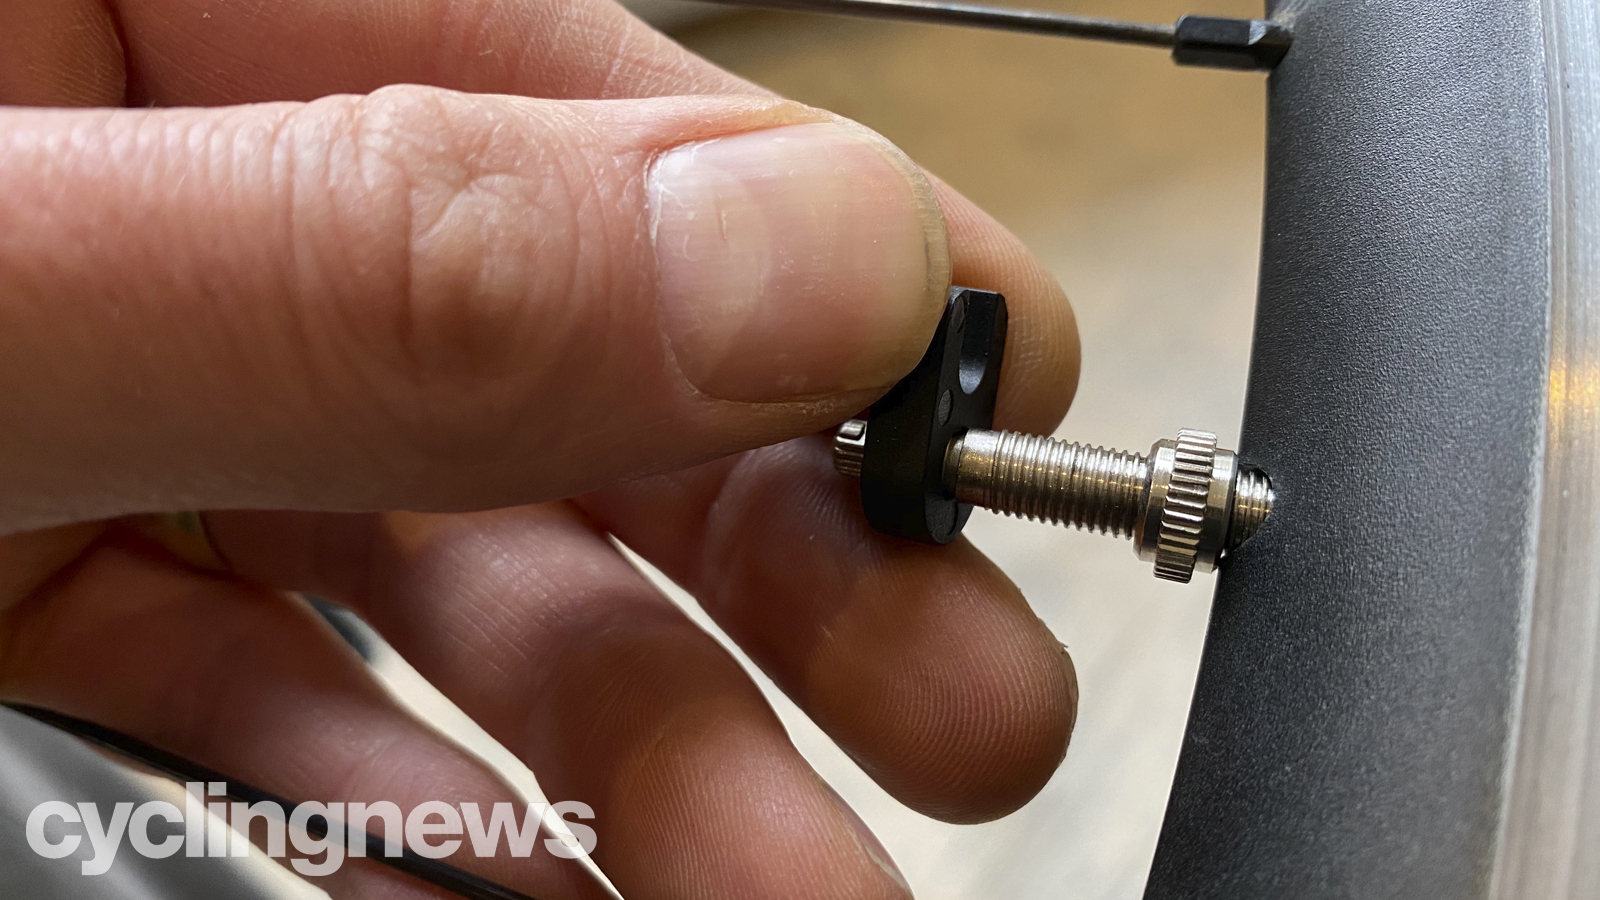
Now comes the fun part - adding the gloopy stuff. With the Hutchinson kit you pour the sealant straight into the valve, which makes the process neat and easy. To do this, first let out the air you just pumped into the tyre, then grab the valve core removal tool included in the kit (or use your own, if you already have one) and unscrew the valve core. Give the sealant bottle a shake before starting, then pop off the lid and press the mouth of the bottle over the valve.
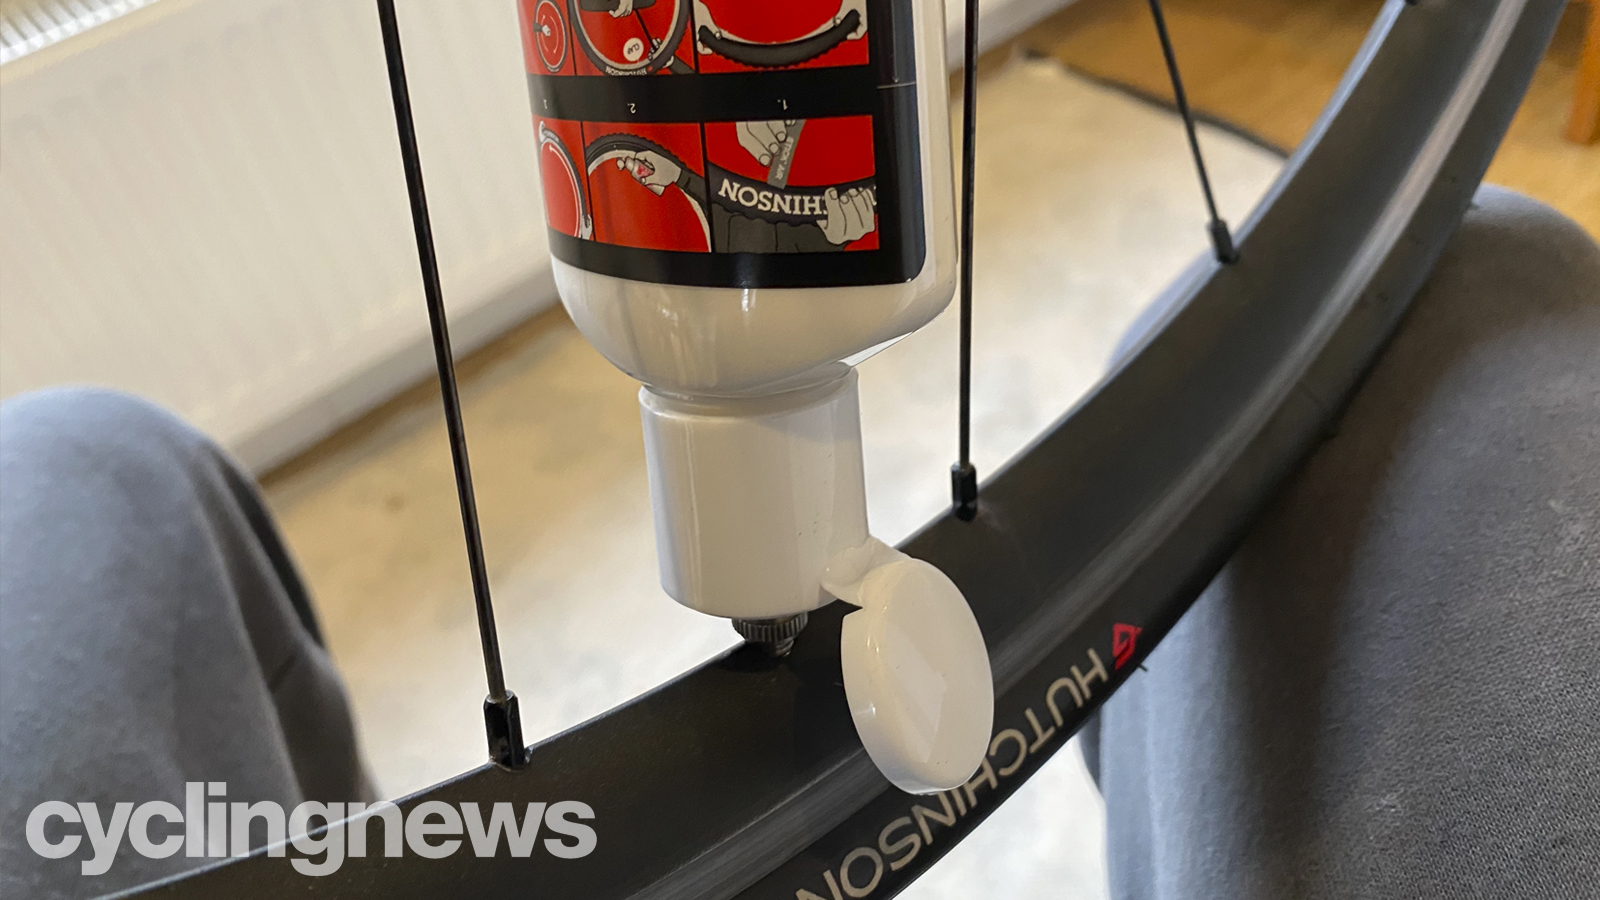
Hutchinson recommends about 30ml of sealant for road tyres, though you might want to use a little bit more for bigger tyres like the 28mm tyres we fitted - a 30ml marker on the side of the bottle helps you to gauge how much to put in. Squeeze the bottle gently, adding a little at a time so you don’t overdo it. Screw the valve core back into place, being careful not to over tighten it.
5. Inflate the tyres
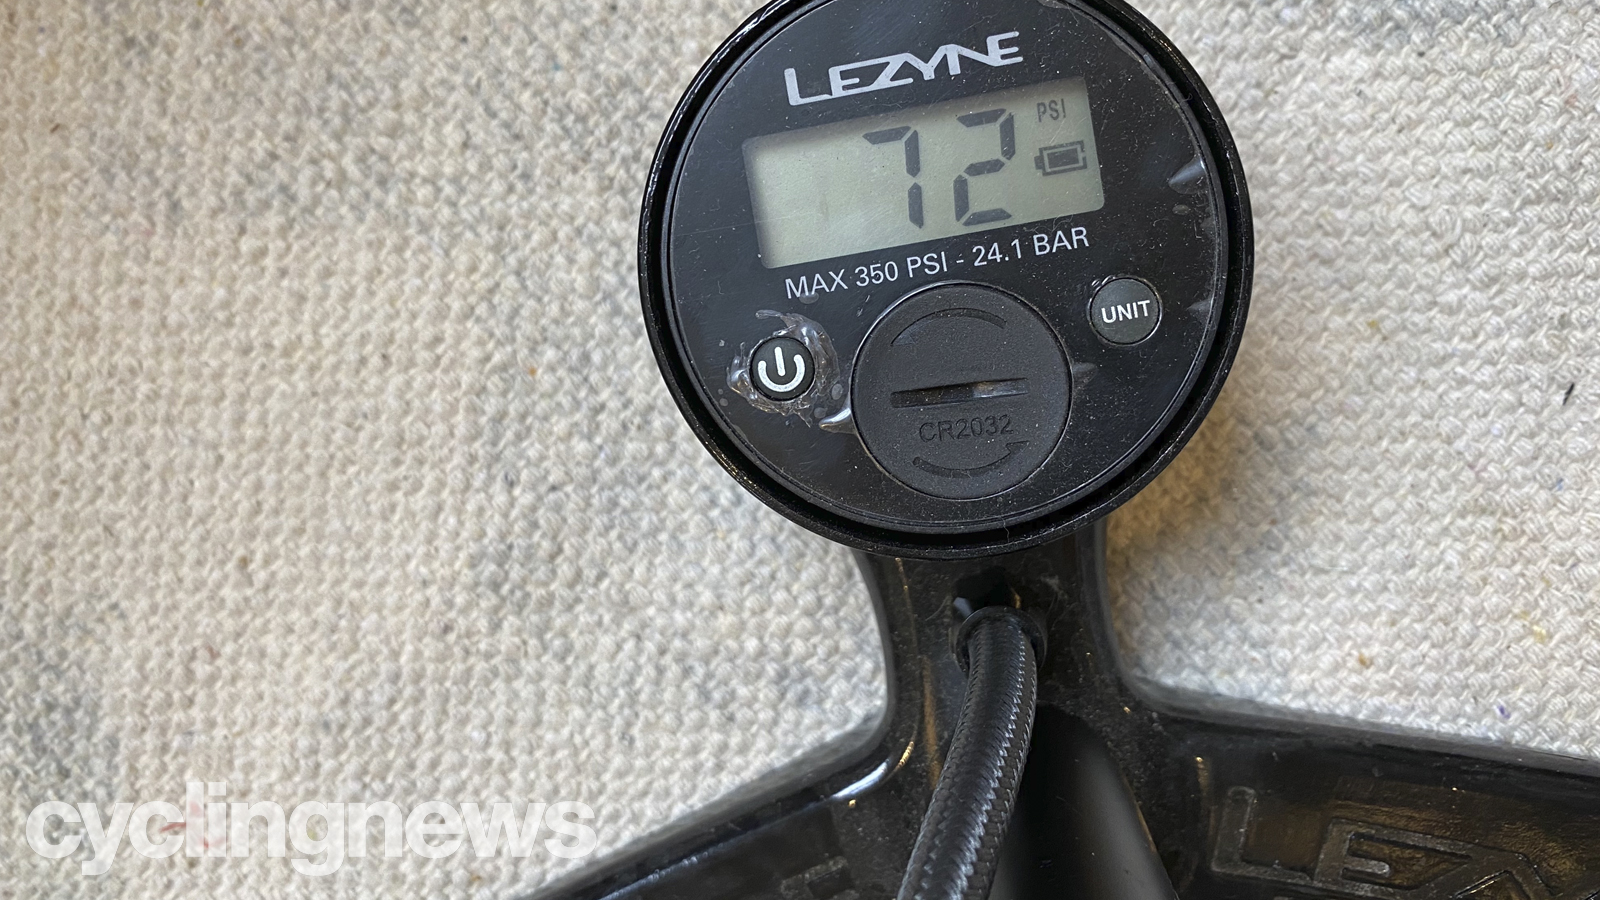
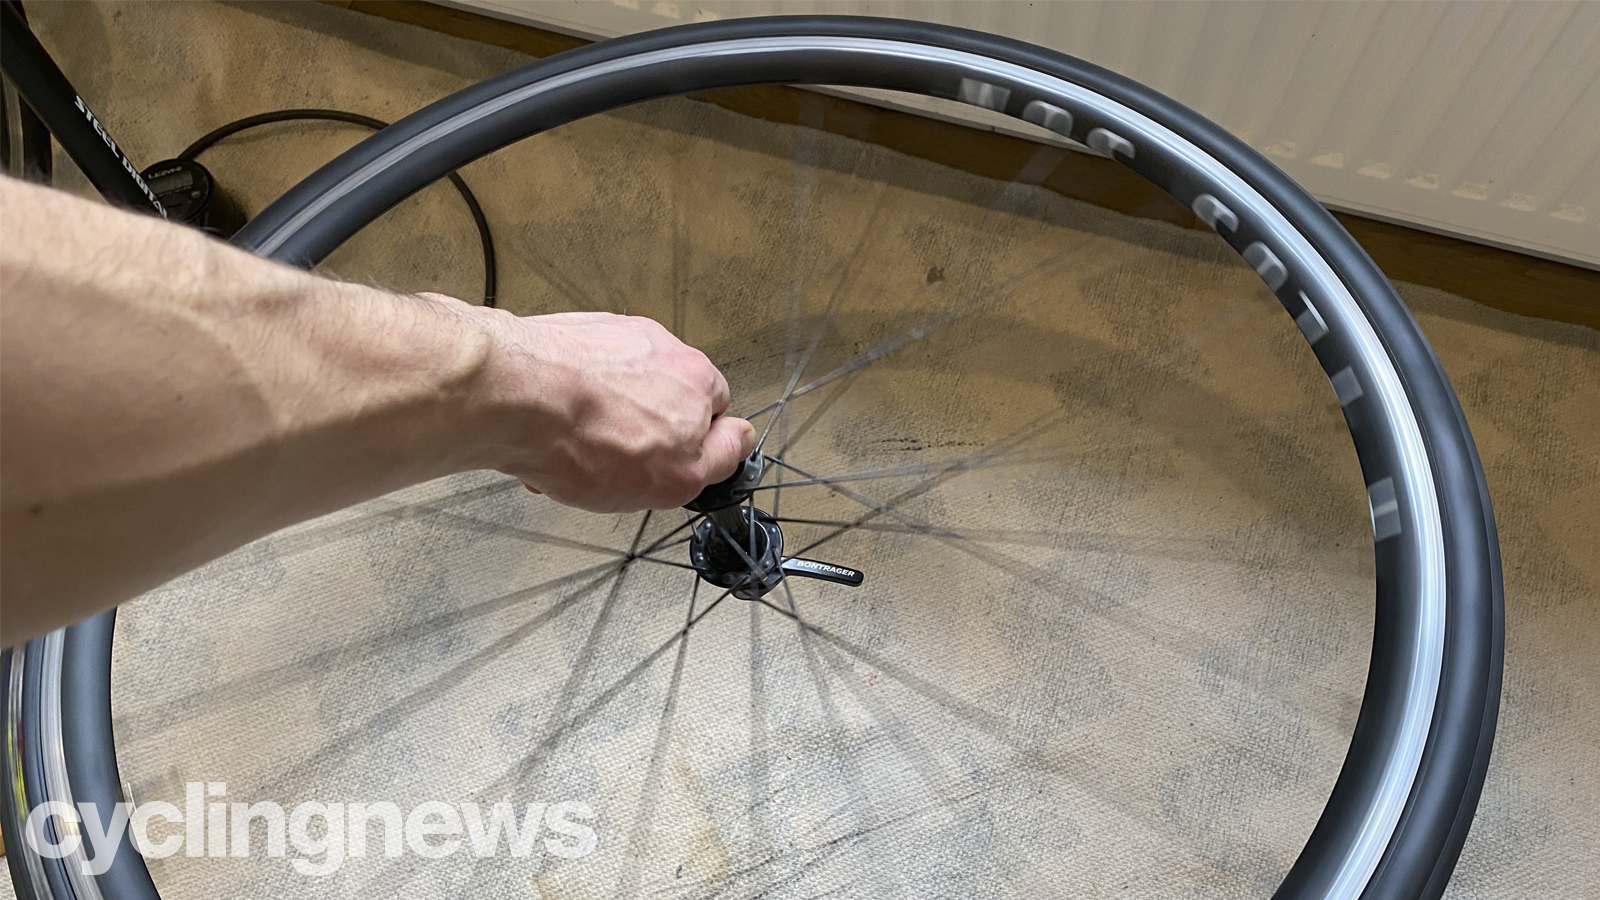
Once again, pump up the tyres to the recommended tyre pressure (you might want to go lower, for now though, until the tyre is definitely free of any major leaks). Now, spin the wheel for a minute or so, turning it on each side to allow the sealant to work its way around the entire inside of the tyre. Check that the tyre looks like it’s seated properly as it spins.
Leave the tyre to sit for about 24 hours and check the pressure to see if you have any leaks. We pumped up the tyres to about 70 psi and lost about 8psi - after another 24 hours, the pressure had stabilised. Before you go out on a long ride, do a quick road check to make sure there are no leaks with your weight on the bike. After a 25-mile test ride, we were able to maintain a consistent pressure - obviously, we’ll be keeping an eye on the pressures long term to see how often they need pumping up, but in our experience, tubeless tyres do need more frequent top-ups compared to traditional butyl tubes, but still fewer than latex tubes.
Before you head out on a ride, remember that any small cuts on the tyre should be dealt with by the sealant, but larger cuts may need something more substantial to plug the leak - you can get tubeless repair kits for just this job, which are worth taking with you, though some also prefer to bring along an inner tube as well. Oh, and we’re now teaching you to suck eggs, but don’t forget to take a CO2 inflator or pump along.
Individuals carrying out the instructions in this guide do so at their own risk and must exercise their independent judgement. There is a risk to safety if the operation described in the instructions is not carried out with the appropriate equipment, skill and diligence and therefore you may wish to consult a bike mechanic. Future Publishing Limited provides the information for this project in good faith and makes no representations as to its completeness or accuracy. To the fullest extent permitted by law, neither Future Publishing Limited, its supplier or any of their employees, agents or subcontractors shall have any liability in connection with the use of this information, provided that nothing shall exclude or limit the liability of any party for personal injury or death caused by negligence or for anything else which cannot be excluded or limited by law.