How to remove and refit the cassette on your bike
How to get your bike’s gear cassette off and back on again quickly and easily
Knowing how to remove and install the cassette on your rear wheel is essential if you’re swapping wheels or gear ratios and it also makes a proper wheel clean and service a lot easier. With some insider knowledge and the right tools it only takes a few minutes.
If you are looking for more helpful maintenance advice, Cyclingnews is bringing you a series of guides so that you can learn how to perform basic bike maintenance tasks yourself. Check out the other guides that are available.
- How to fit a bike wheel
- How to change a bike tyre
- How to repair an inner tube on your bike
- How to remove and fit bike pedals
- How to adjust disc brakes on a bike
- How to adjust bike gears
- How to remove and fit a bike chain
Tools needed
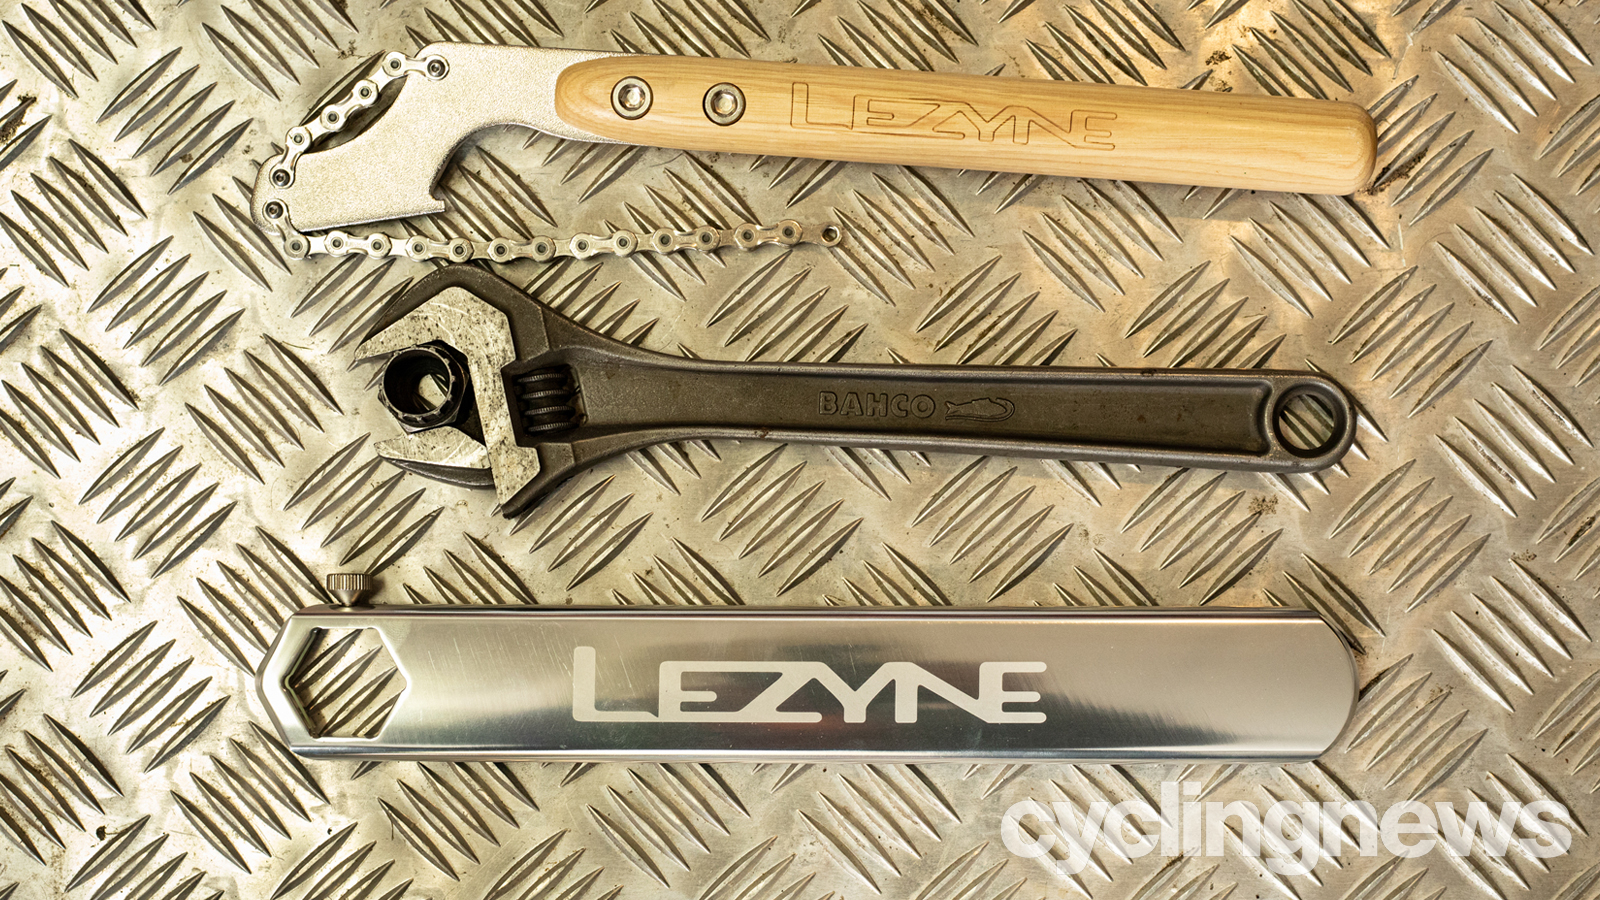
There are a couple of specific tools that are required when fitting or changing a cassette. You will require the right cassette lockring tool for the cassette you have, which will most likely be a Shimano, SRAM, or SunRace cassette lockring, or a Campagnolo fit. They use a different spline pattern so make sure you have the right one. You will also need the appropriately sized spanner, wrench or bar that fits it.
You will also require a chain whip to hold the cassette in place, one that is compatible with the number of speeds of gears on your cassette so that it grips it securely. Degreaser and a rag are useful for cleaning too.
Removing the cassette
1. Remove the rear wheel
First you’ll need to remove your back wheel. Make things easy by shifting into the smallest cog on the cassette. If you have rim brakes then you may need to open them up to clear the tyre too. Now loosen and remove the axle or undo the quick release lever to let the wheel come out. Pulling back the body of the rear mech will help if you find the chain is catching and getting in the way.
2. Insert the lockring tool
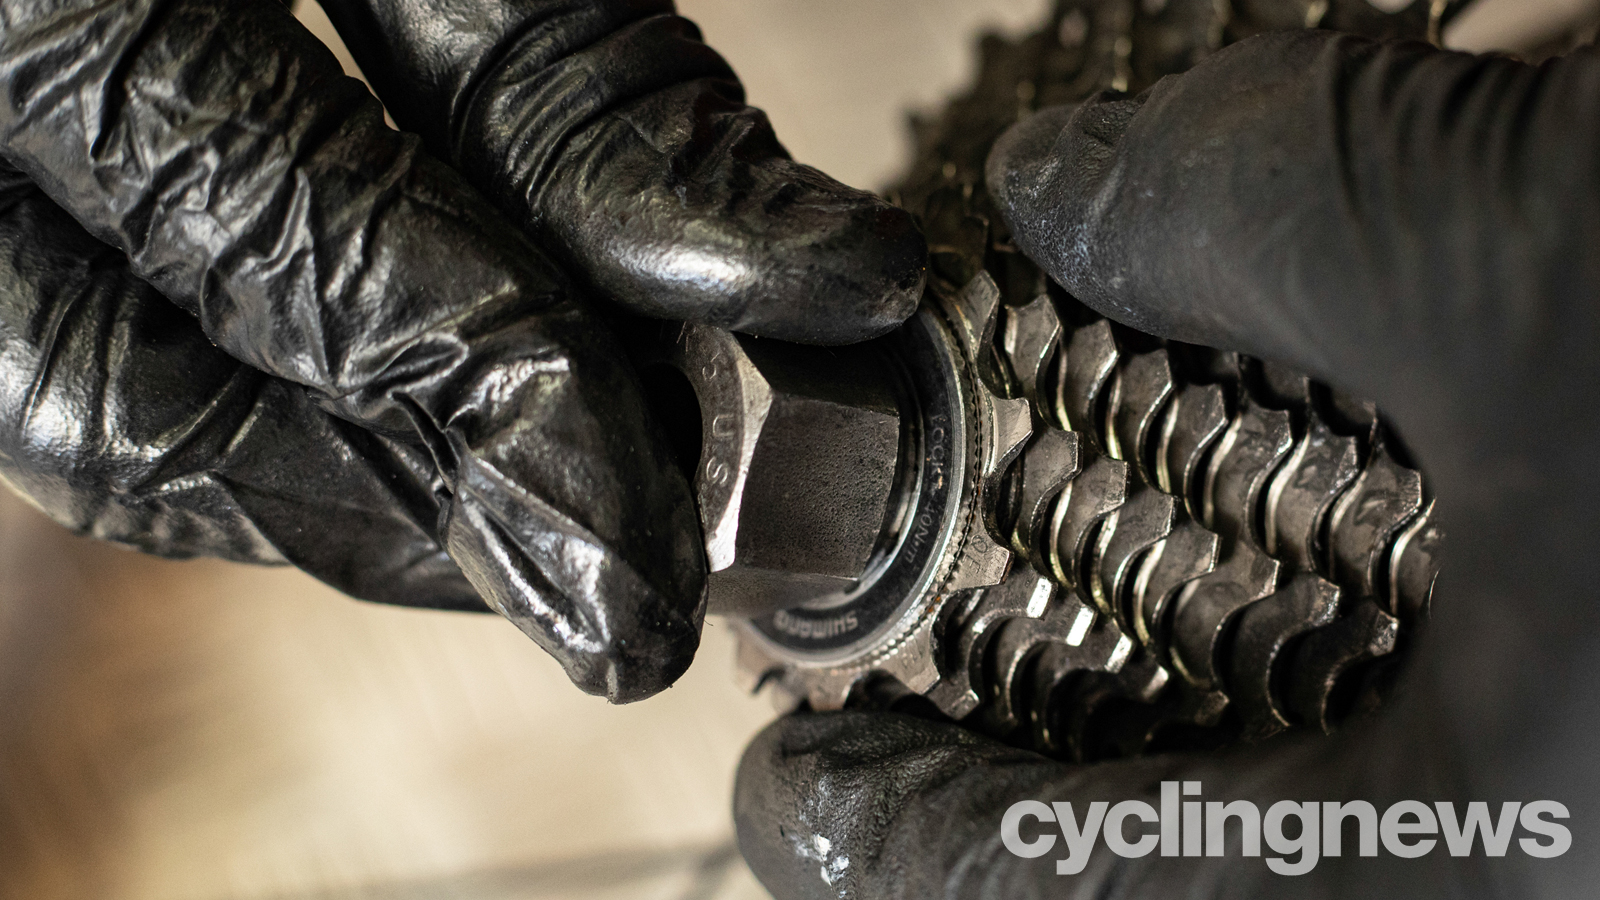
With the wheel out of the bike fully, remove the quick release skewer or axle so you can slide the cassette lockring tool into the lockring that holds the cassette onto the freehub (the barrel that spins as you freewheel). Make sure that the cassette tool is fully inserted in the lockring so it doesn’t slip and damage the splines.
3. Position the chain whip
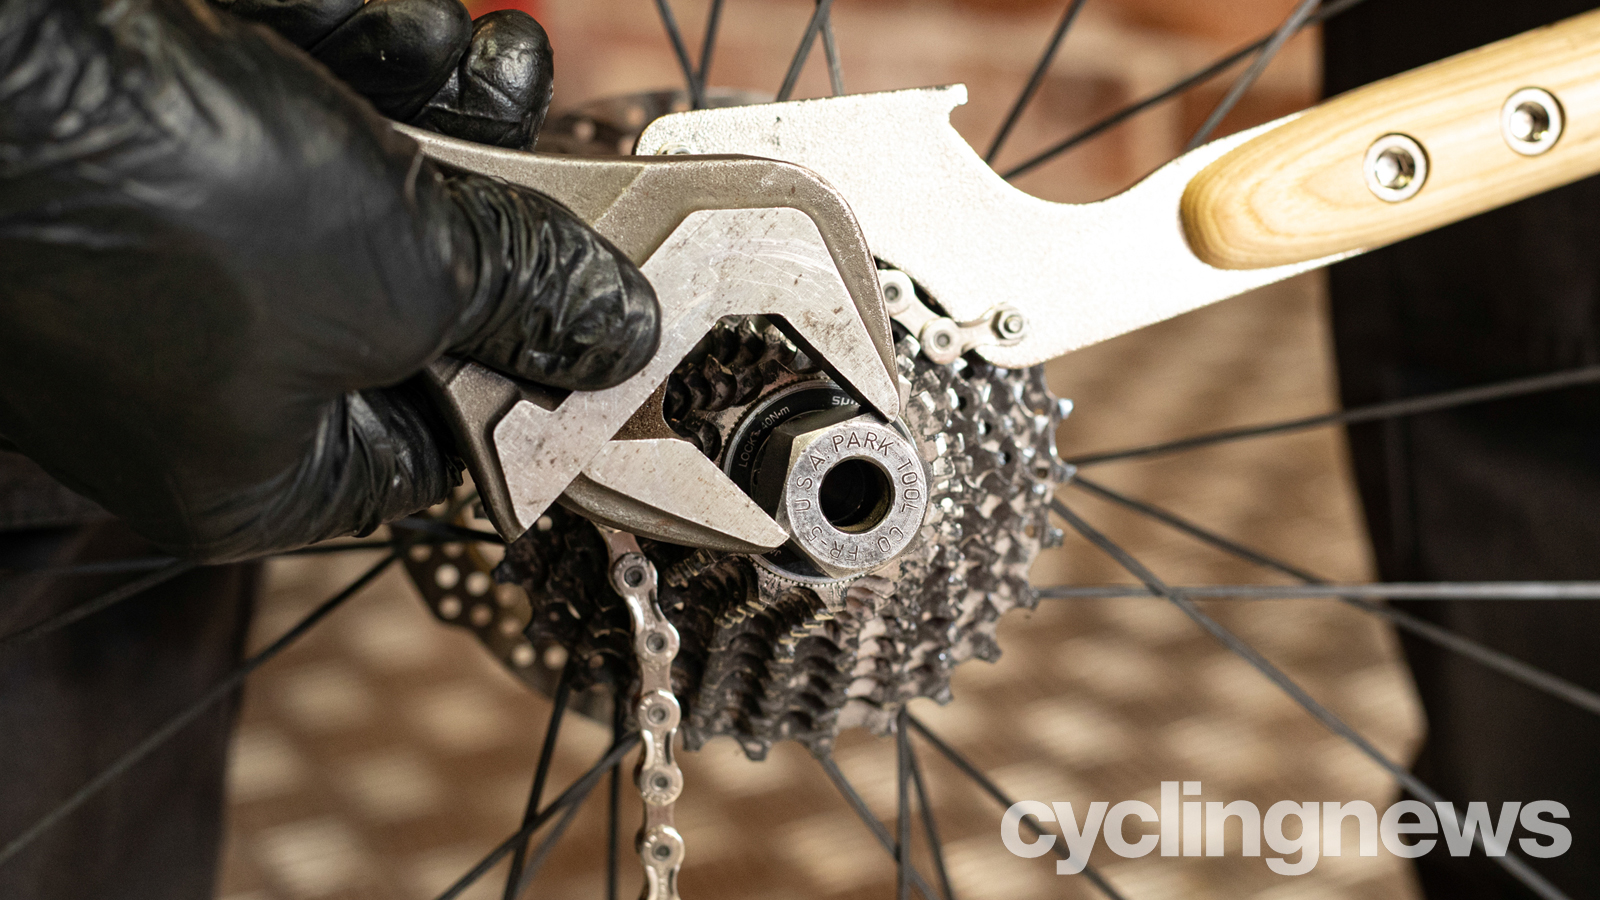
Take the chain whip and drape it around the centre cog of the cassette. Pull the handle around so the section of loose chain braces firmly against the cog to stop the freehub and cassette spinning.
Get The Leadout Newsletter
The latest race content, interviews, features, reviews and expert buying guides, direct to your inbox!
4. Loosen the lockring
Now take the spanner, wrench or bar that you’re using to turn the cassette lockring tool. Make sure it’s securely tight on the tool at a 10 o’clock angle with the chain whip handle in the 2 o’clock position. Press down on both simultaneously to loosen the lockring.
This might need a fair amount of force which is why you need to make sure the spanner/wrench/bar you’re using is secure on the tool and that the chain whip is fully in place too. Otherwise you risk slipping and either damaging the lock ring and/or your knuckles.
5. Remove the cassette
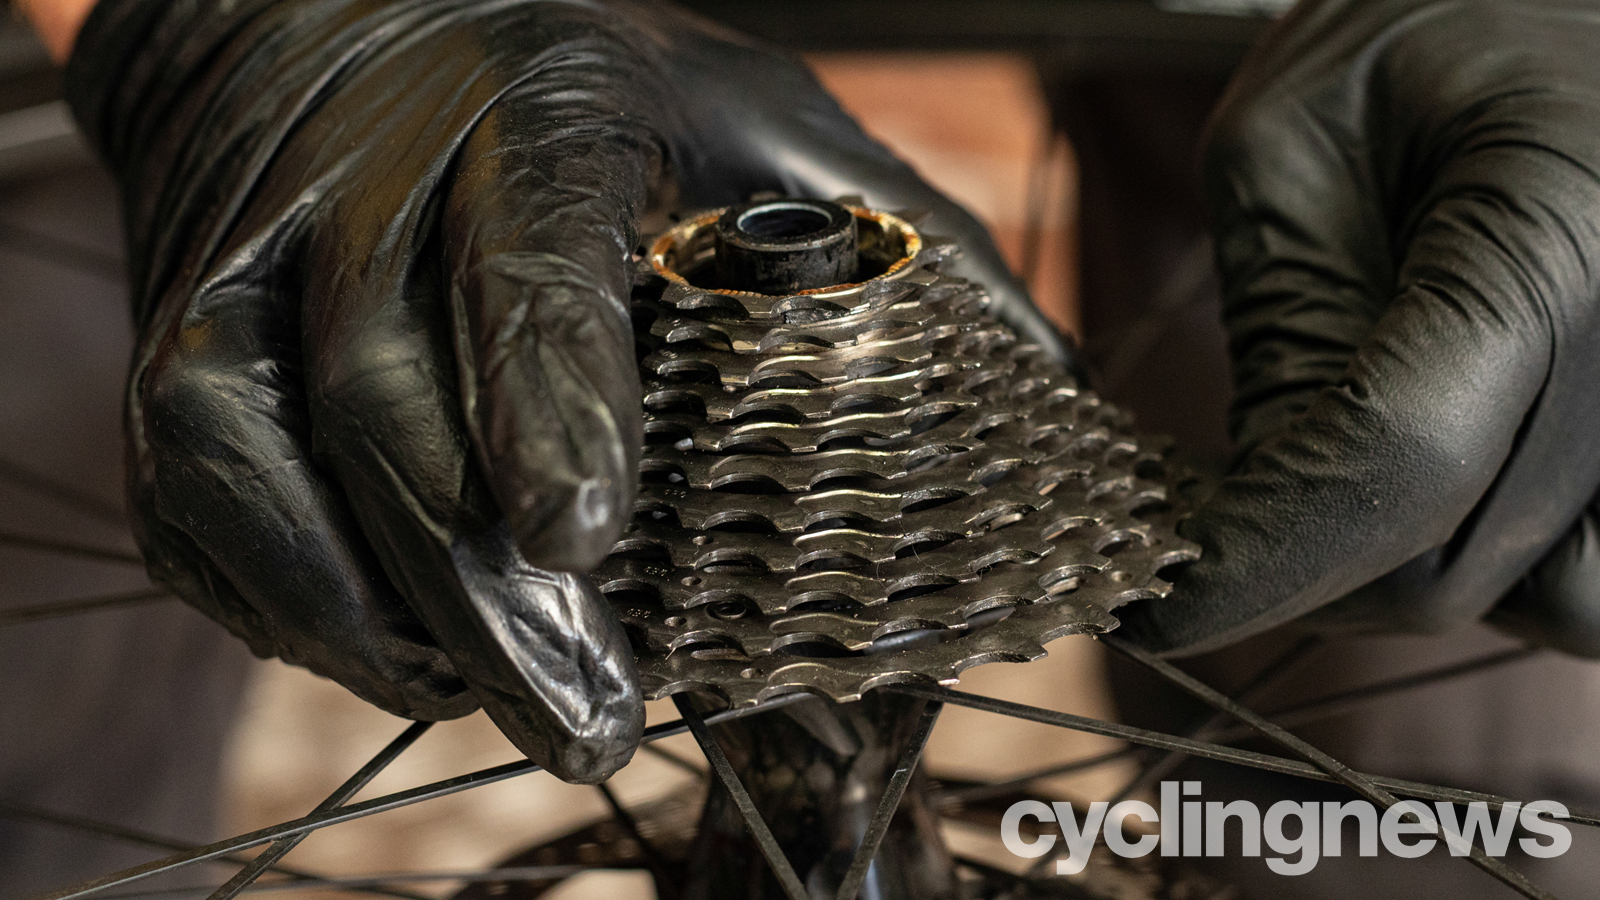
Once the lockring is loosened keep untightening until it unthreads from the freehub. Lay the wheel on its non-driveside so all the cassette cogs stay in place as you remove the lockring. Now carefully lift the whole cassette upwards by pulling gently on the back of the largest cog. Keep it level so the individual cogs and spacers don’t slip out of position and place it carefully on a safe surface.
If you find the cassette won’t move on the freehub it might have gotten stuck in scars gouged into the splines that hold it in place. To loosen it, put the chain whip back on the other way and then rotate the cassette back slightly to ‘unhook’ it. If that doesn’t work you’re going to have to gently pry each cog off the freehub, in turn, using a tyre lever. Make sure you keep all the cogs and spacers in sequence for refitting. 10-speed cassettes will also have a narrow washer at the base of the freehub body so don’t lose that.
With the cassette removed you are now free to clean and service the freehub/wheel or fit the cassette onto another wheel.
Fitting the cassette
1. Line up the cassette
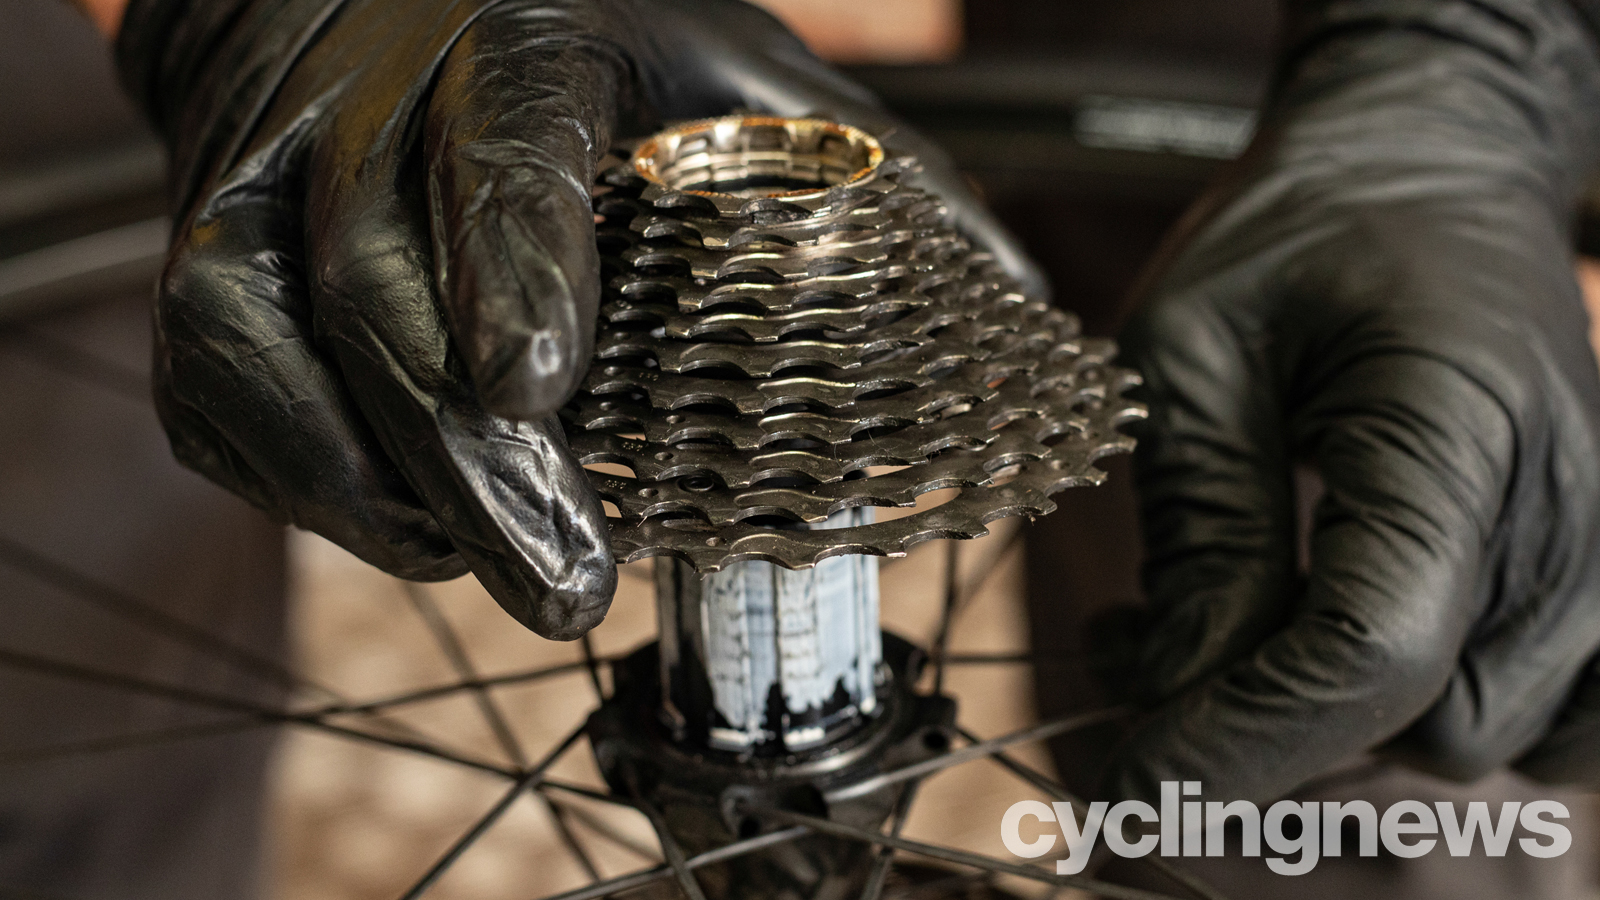
If you look at a conventional Shimano/SRAM freehub you’ll see that the ridges (splines) on the freehub vary slightly, with one narrow spline next to a large gap. Now look at the inside of the cassette cogs and you’ll see a corresponding thin notch followed by a broad tab. You need to align these to slide the cogs into place.
2. Fit the cassette
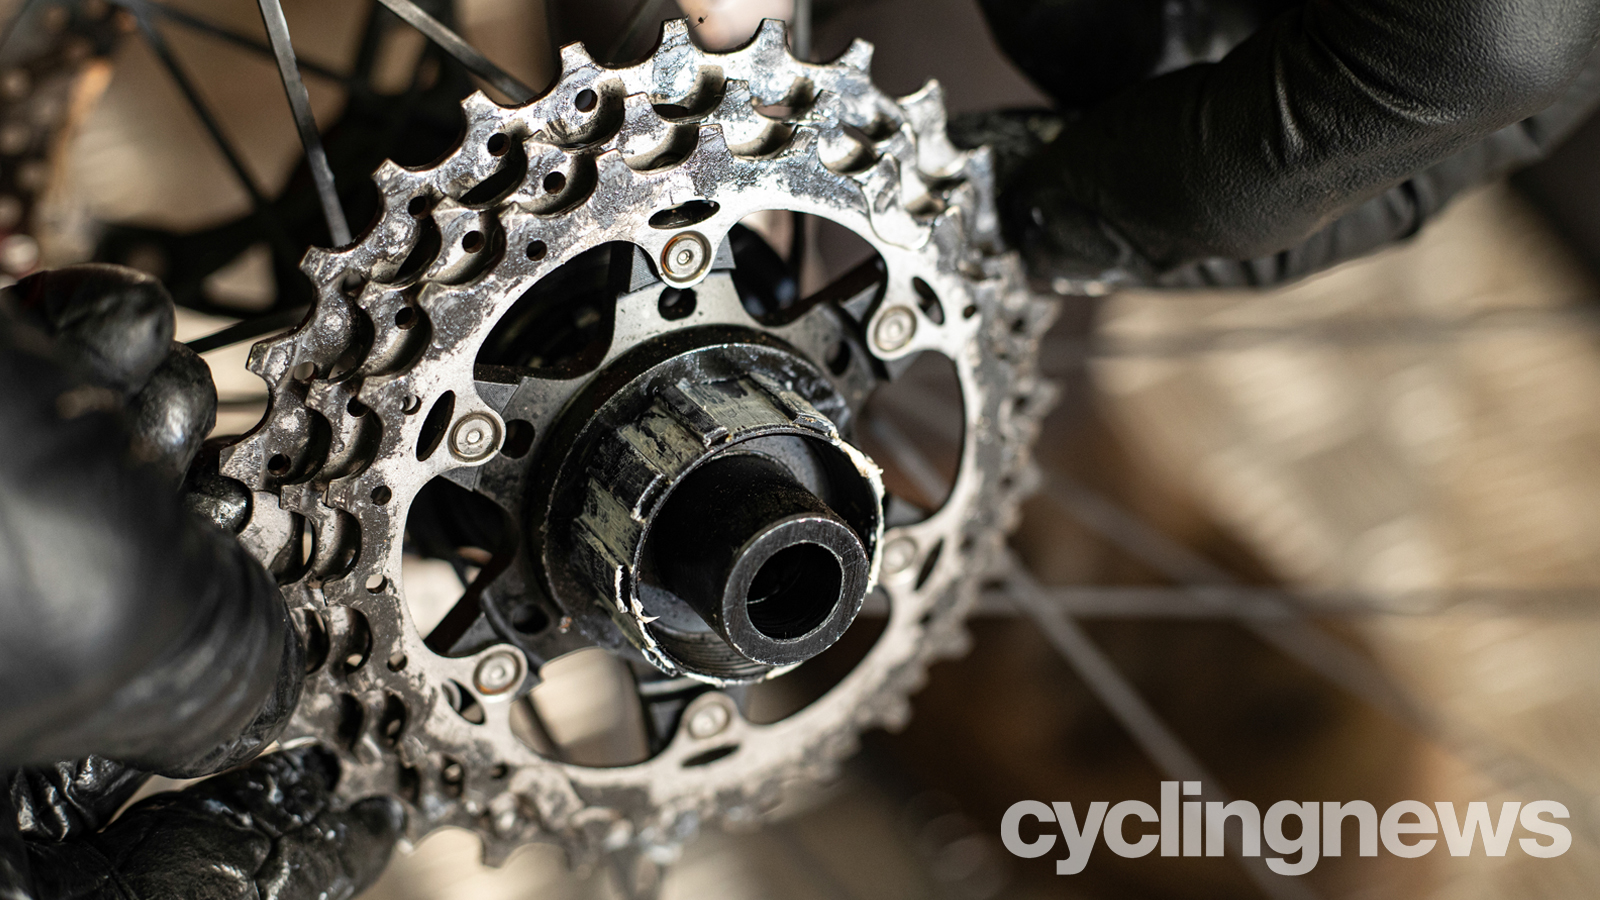
Hold the wheel horizontally on its back with the freehub pointing upwards. If you’re putting a 10-speed block on, slide the slim spacer washer on first. If you’ve managed to remove the cassette you’re refitting in one aligned stack, carefully lift it up by the edges of the largest cog and slide it down onto the freehub.
Some new cassettes come on a plastic ‘caddy’ block that you can align with the freehub splines before sliding the cassette across for a simple fit. If that’s not the case or you’ve not managed to keep things aligned then you’ll just need to slide the cogs and spacers on individually in sequence until all the cogs are in place.
The smallest cog will overlap the freehub end slightly and you’ll also see it has a toothed outer face to engage on the corresponding ratchet teeth of the lockring. Make sure this outer cog is properly aligned with the splines and that all the other cogs are slid fully onto the freehub block.
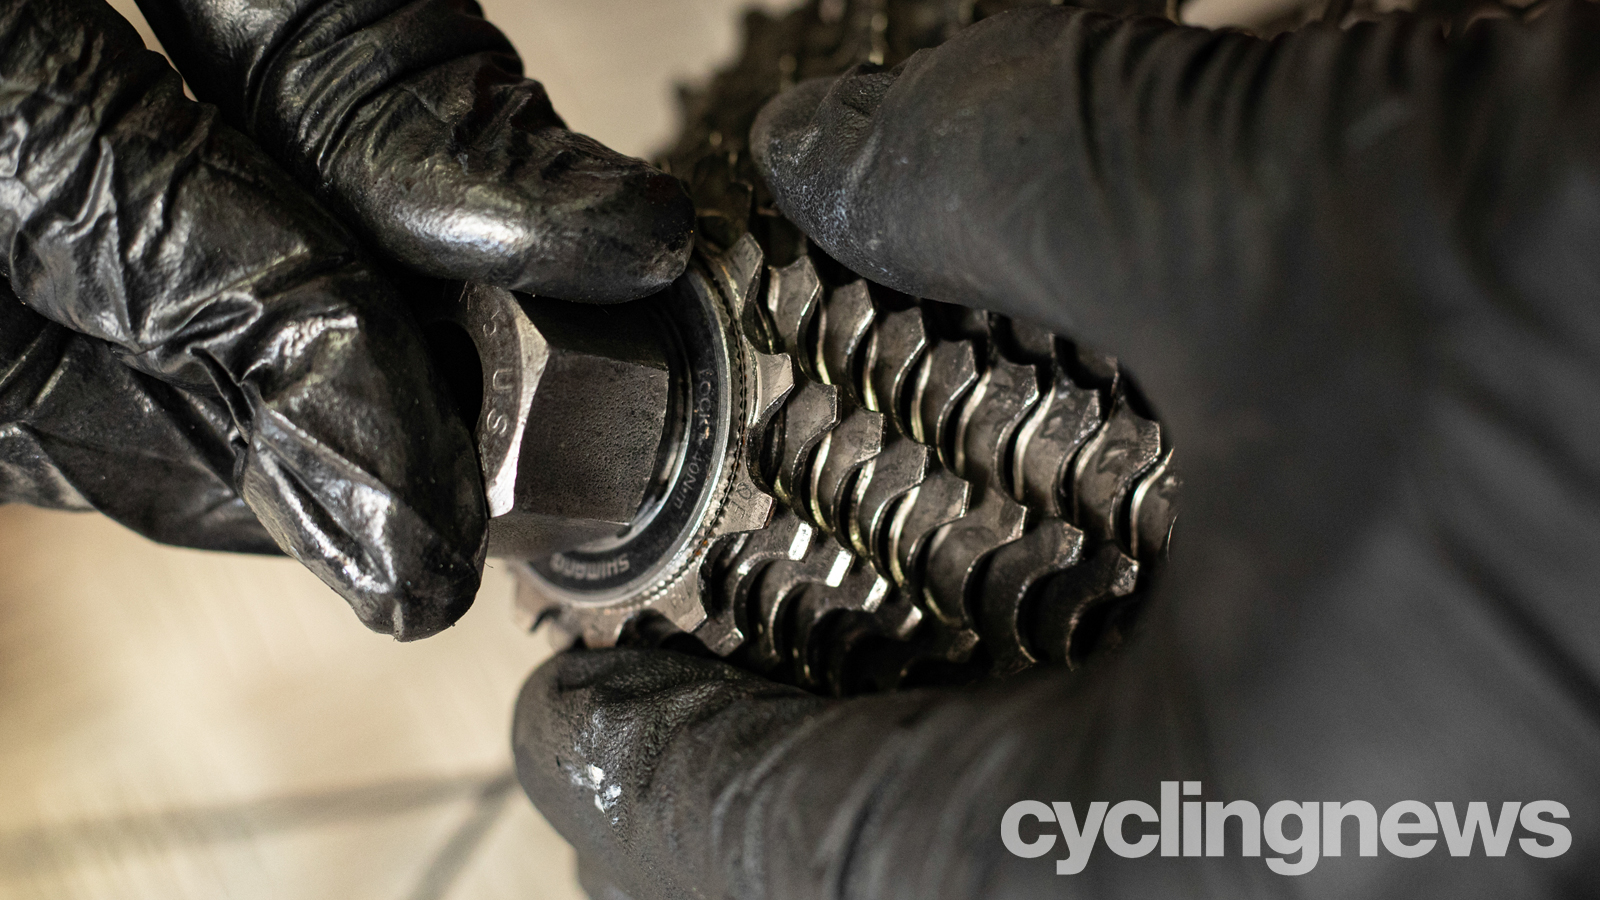
3. Screw in the cassette lockring
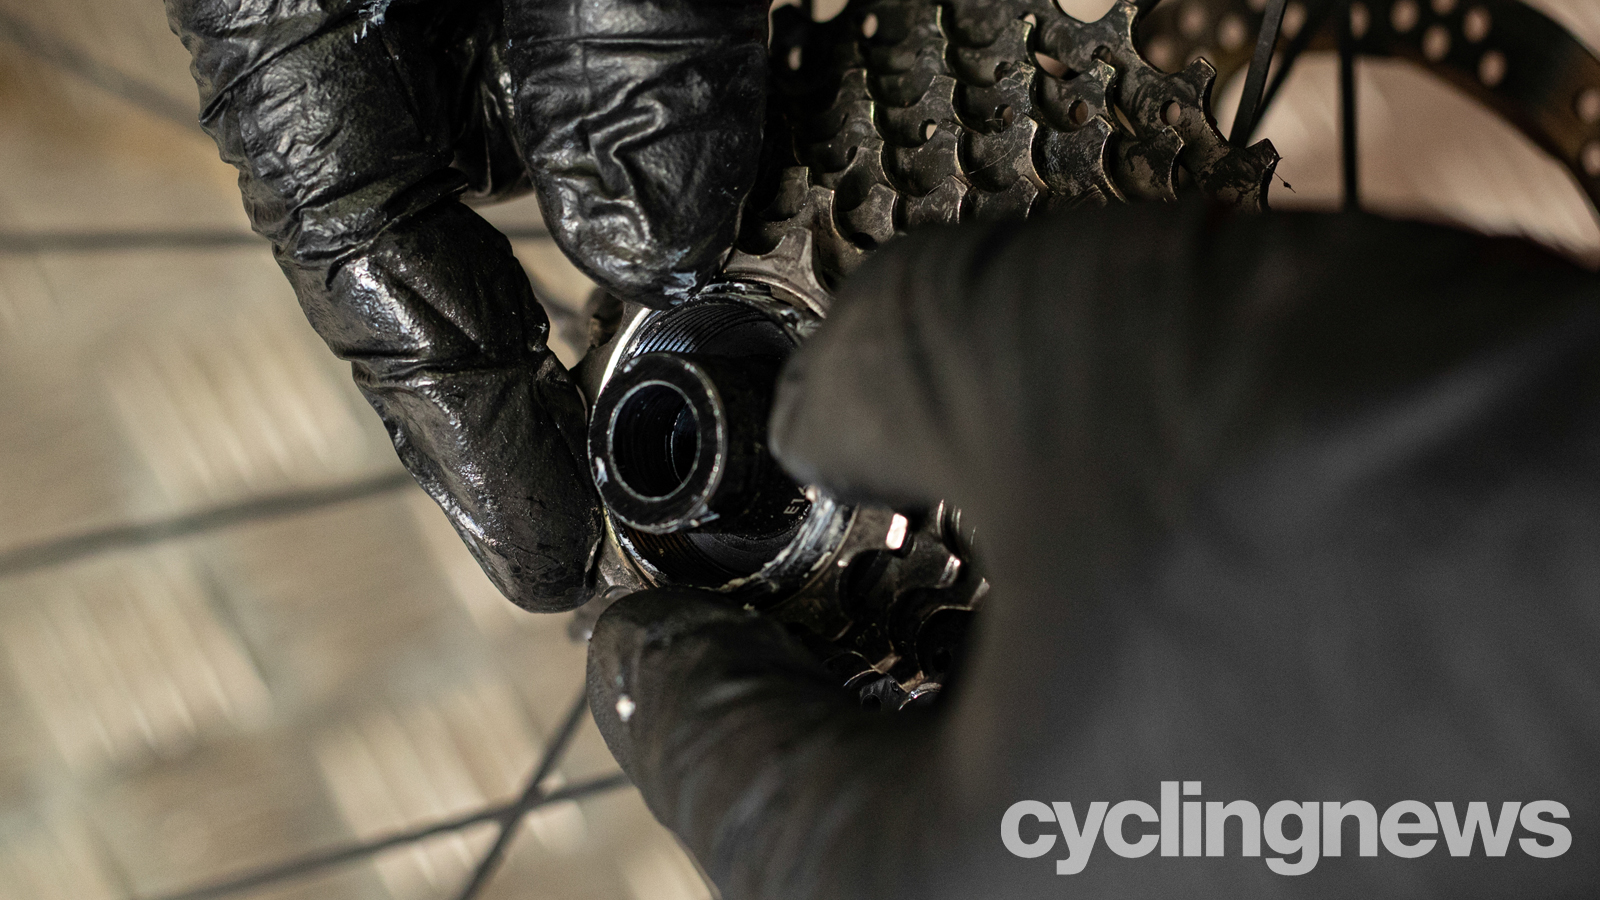
Thread the lockring carefully onto the freehub, starting by hand to ensure accurate alignment. If the threads don’t engage cleanly or it’s hard to turn then the cogs are probably slightly out of place. Remove the lockring, resettle the cogs and try again.
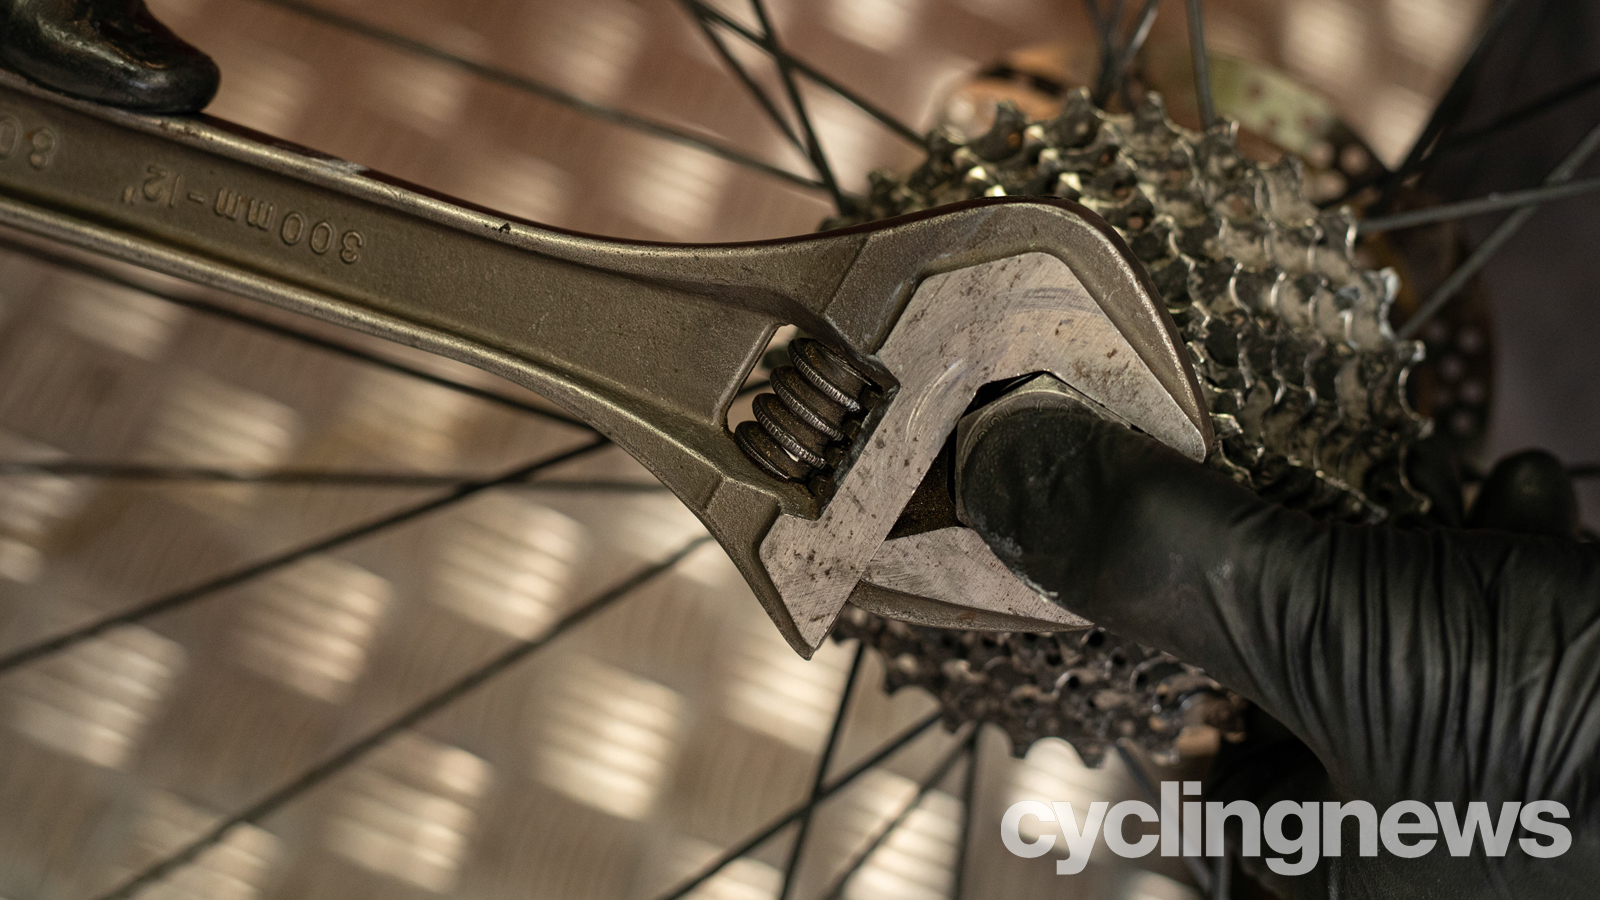
4. Tighten the lockring
Once you're comfortable everything is screwing on smoothly with correct alignment then you can use the cassette lockring tool to tighten the block on properly. This requires a decent amount of force so again be very sure that the tool is firmly in place in the lockring and that the spanner/wrench or bar you’re using to turn it is very secure too.
As the lockring tightens fully you’ll feel and hear a slight grind or vibration as the two ratchet faces on the lockring and outer cog bind together - this is normal. Now remove the cassette tool and spin the cassette to check everything is properly aligned. The profiling of the teeth can make things look slightly wonky but they should all be equally spaced and there should be no looseness or rattle when you shake the wheel.
If there is movement or rattle then you must have accidentally missed out a spacer or misaligned the outer cog so the cassette has not compressed properly. Work out what’s missing or out of line and then remove and refit the cassette.
5. Refit the rear wheel
Once you’re happy everything is correctly in place, refit the quick release skewer if the wheel has one. Now fit the rear wheel back into your bike, making sure to drape the chain around the smallest cog as it goes back in, or you won’t be going anywhere. Check the hub is fully home in the dropouts and correctly aligned with the frame and then tighten the axle/quick release. Put the bike onto the ground, and double-check for alignment and looseness. All good? Great, you’re ready to ride.
- Best chains for mountain bike, gravel and road
- Road bike groupsets: a comprehensive guide
Individuals carrying out the instructions in this guide do so at their own risk and must exercise their independent judgement. There is a risk to safety if the operation described in the instructions is not carried out with the appropriate equipment, skill and diligence and therefore you may wish to consult a bike mechanic. Future Publishing Limited provides the information for this project in good faith and makes no representations as to its completeness or accuracy. To the fullest extent permitted by law, neither Future Publishing Limited, its supplier or any of their employees, agents or subcontractors shall have any liability in connection with the use of this information, provided that nothing shall exclude or limit the liability of any party for personal injury or death caused by negligence or for anything else which cannot be excluded or limited by law.