How to remove and fit bike pedals
Get your new bike ready to go or switch your pedals quickly and easily by following our detailed how-to guide
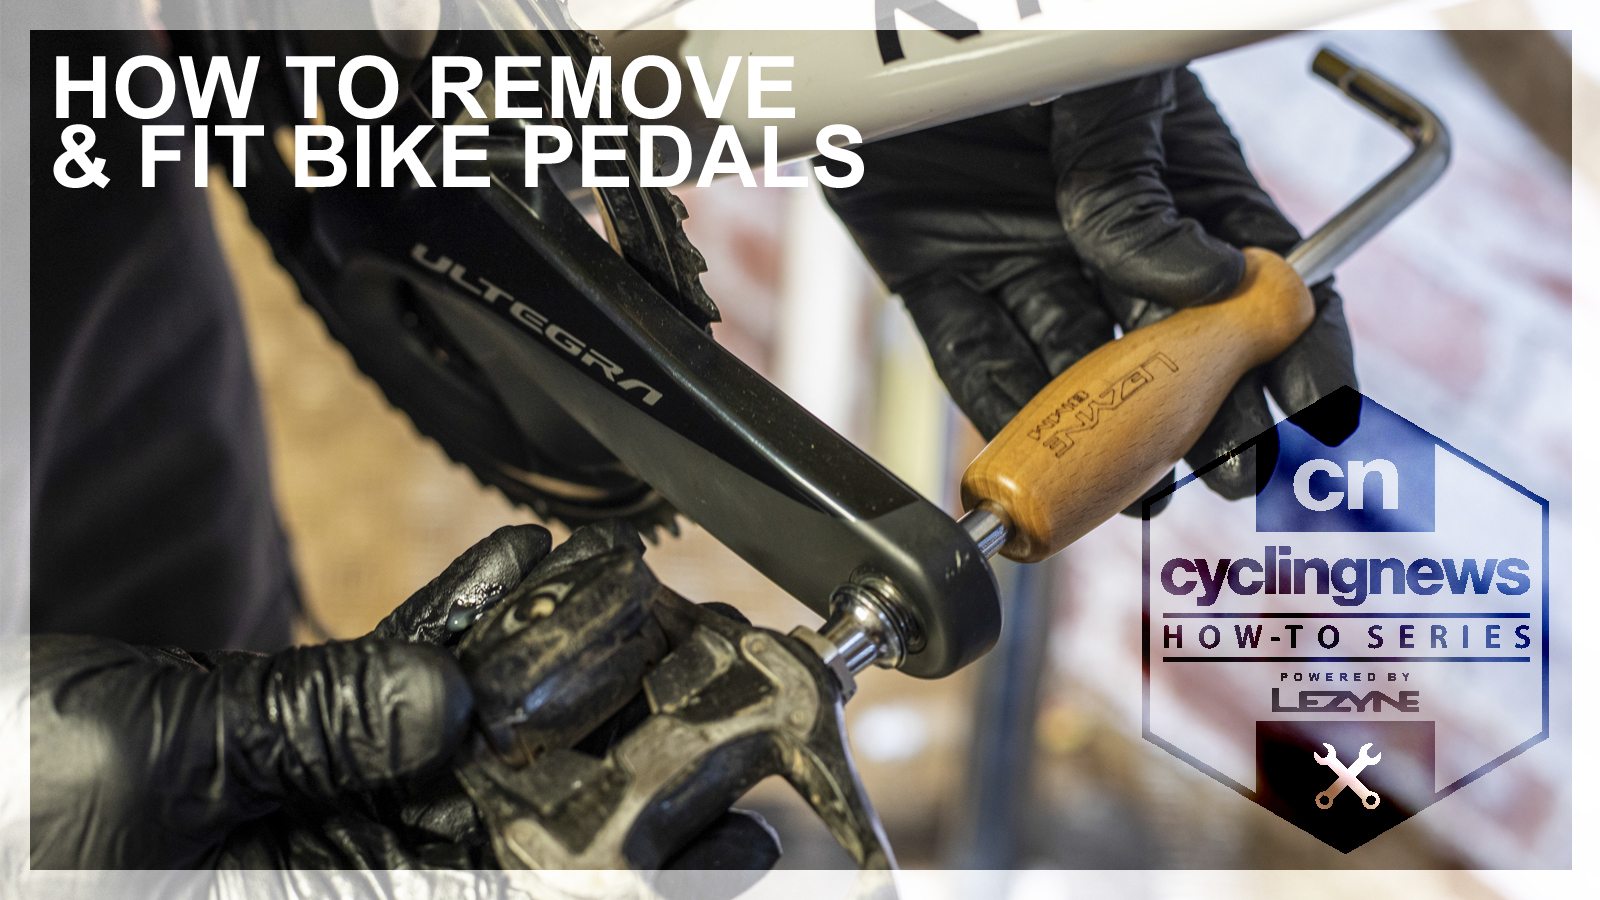
With more and more bikes being delivered in boxes or being sold by shops without proper pedals, you need to know how to fit some before you can start riding properly. Happily, it’s a super simple job as long as you take care with the basics.
If you are looking for more helpful maintenance advice, Cyclingnews is bringing you a series of guides so that you can learn how to perform basic bike maintenance tasks yourself. Check out the other guides that are available.
- How to fit a bike wheel
- How to change a bike tyre
- How to repair an inner tube on your bike
- How to adjust disc brakes on a bike
- How to remove and fit a bike chain
- How to adjust bike gears
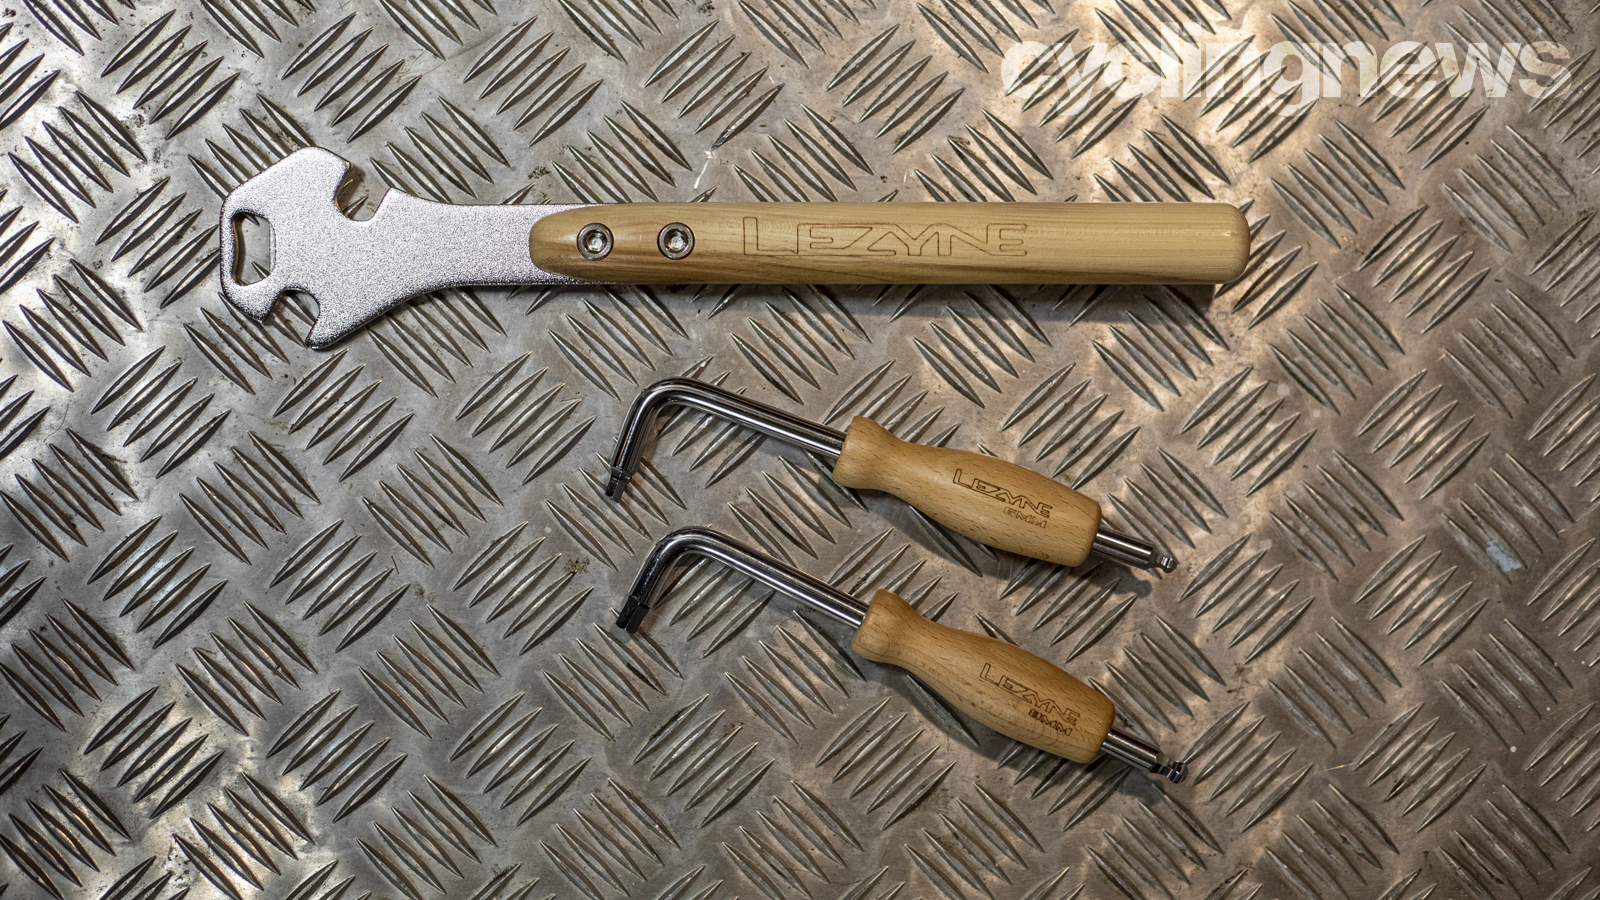
Tools needed
Depending what pedals you use, you’ll either need a 15mm open-ended wrench (pedal spanner), a 6mm Allen key, or an 8mm Allen key. Whatever the required tool, a long-handled version of it will mean extra leverage for extra security and easier removal.
You’ll also need some grease for the threads and the protective washers that come with some cranks.
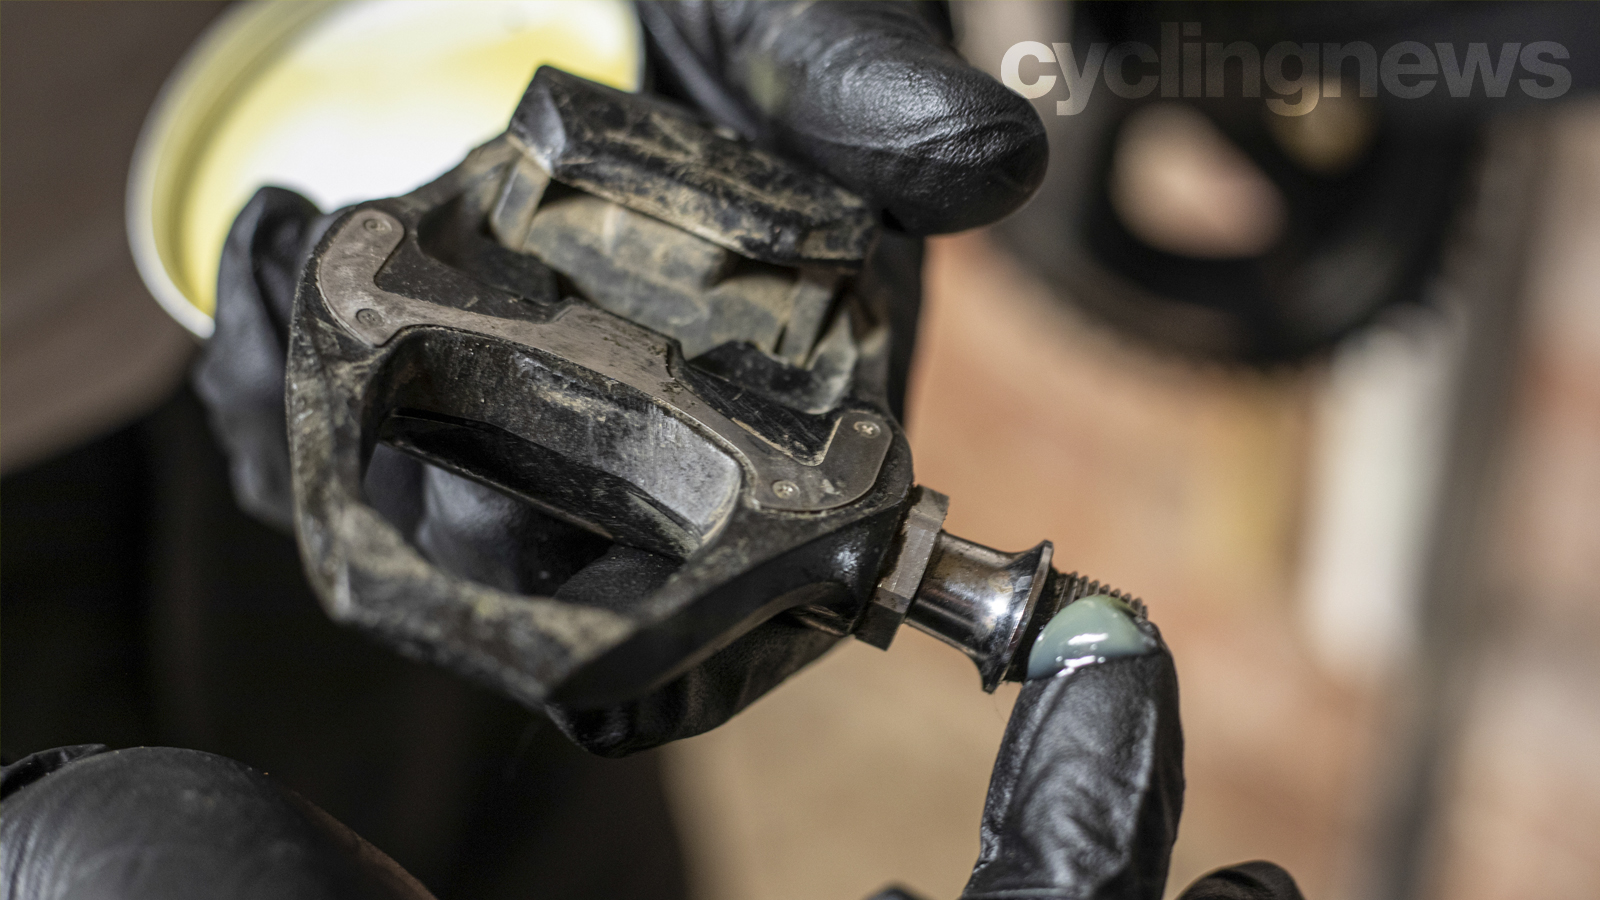
1. Pedal inspection
First, work out which pedal is which. With Look and Shimano SPD-SL pedals, this is easy as the rounded part goes at the front and the blunt end is at the back. On Speedplay, MTB-style SPD or Crankbrothers pedals the axles will be marked with left and right.
This is important, because while the right (drive-side) pedal threads clockwise, the left (non drive-side) pedal is threaded anti-clockwise.
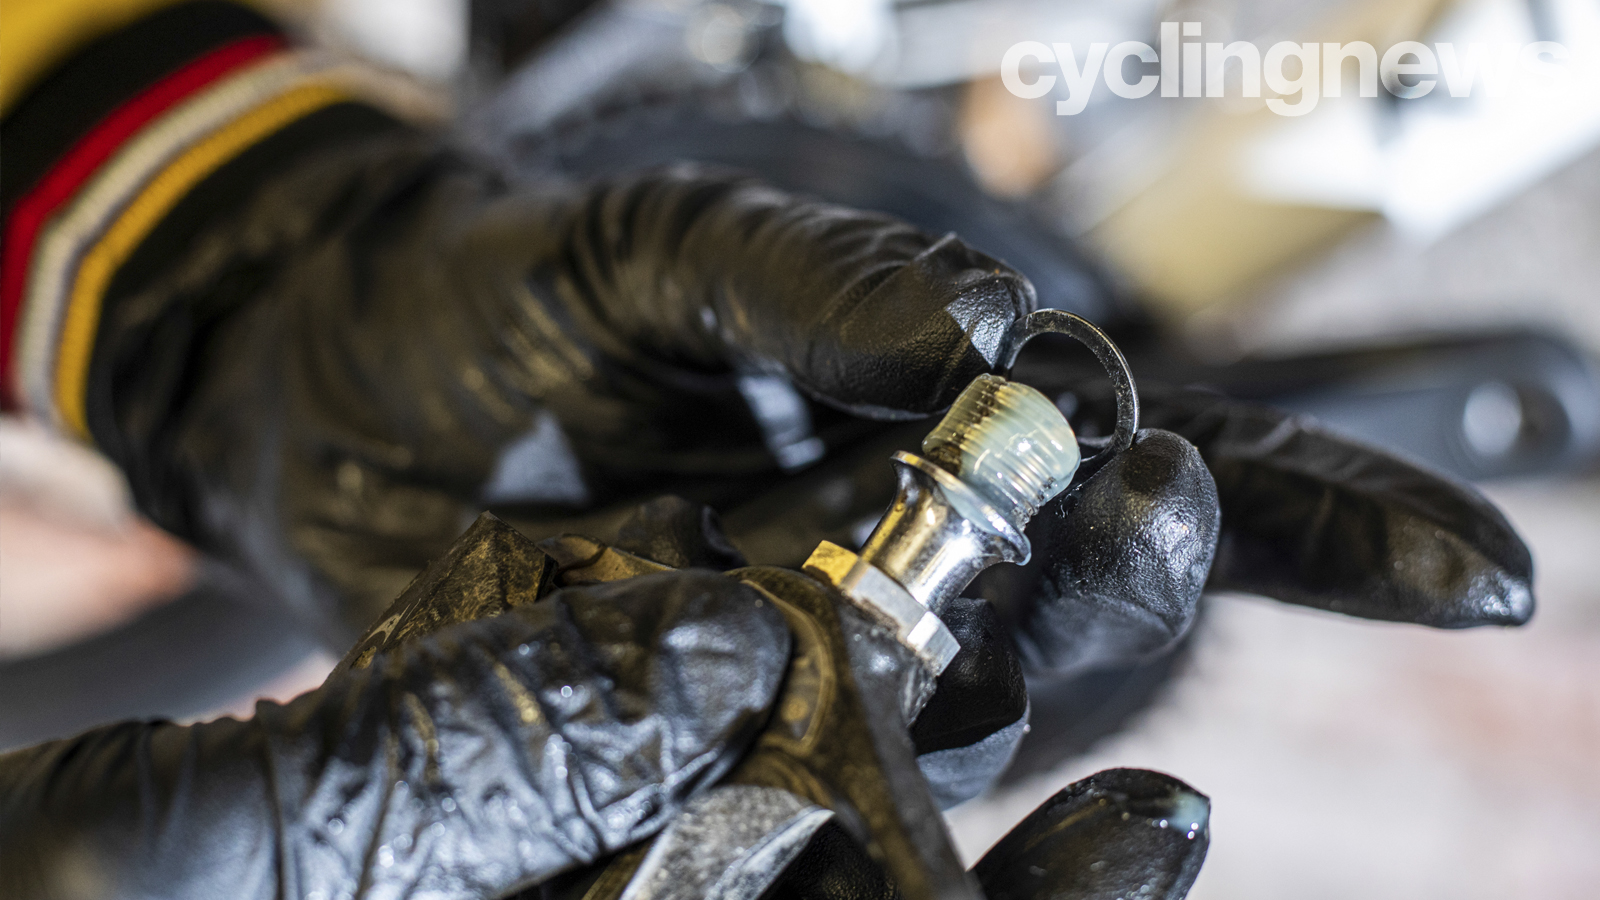
2. Grease and preparation
Fit the crank protection washers onto the pedal axle and then wipe a dab of grease onto the threads to help them screw in and out smoothly.
Get The Leadout Newsletter
The latest race content, interviews, features, reviews and expert buying guides, direct to your inbox!
Starting with the right-hand drive-side pedal, thread the pedal carefully into the crank by turning the axle clockwise. That means turning it towards the front of the bike if you’re stood looking at it from the drive side and that visual check applies to both sides and stops the pedals loosening as you pedal.
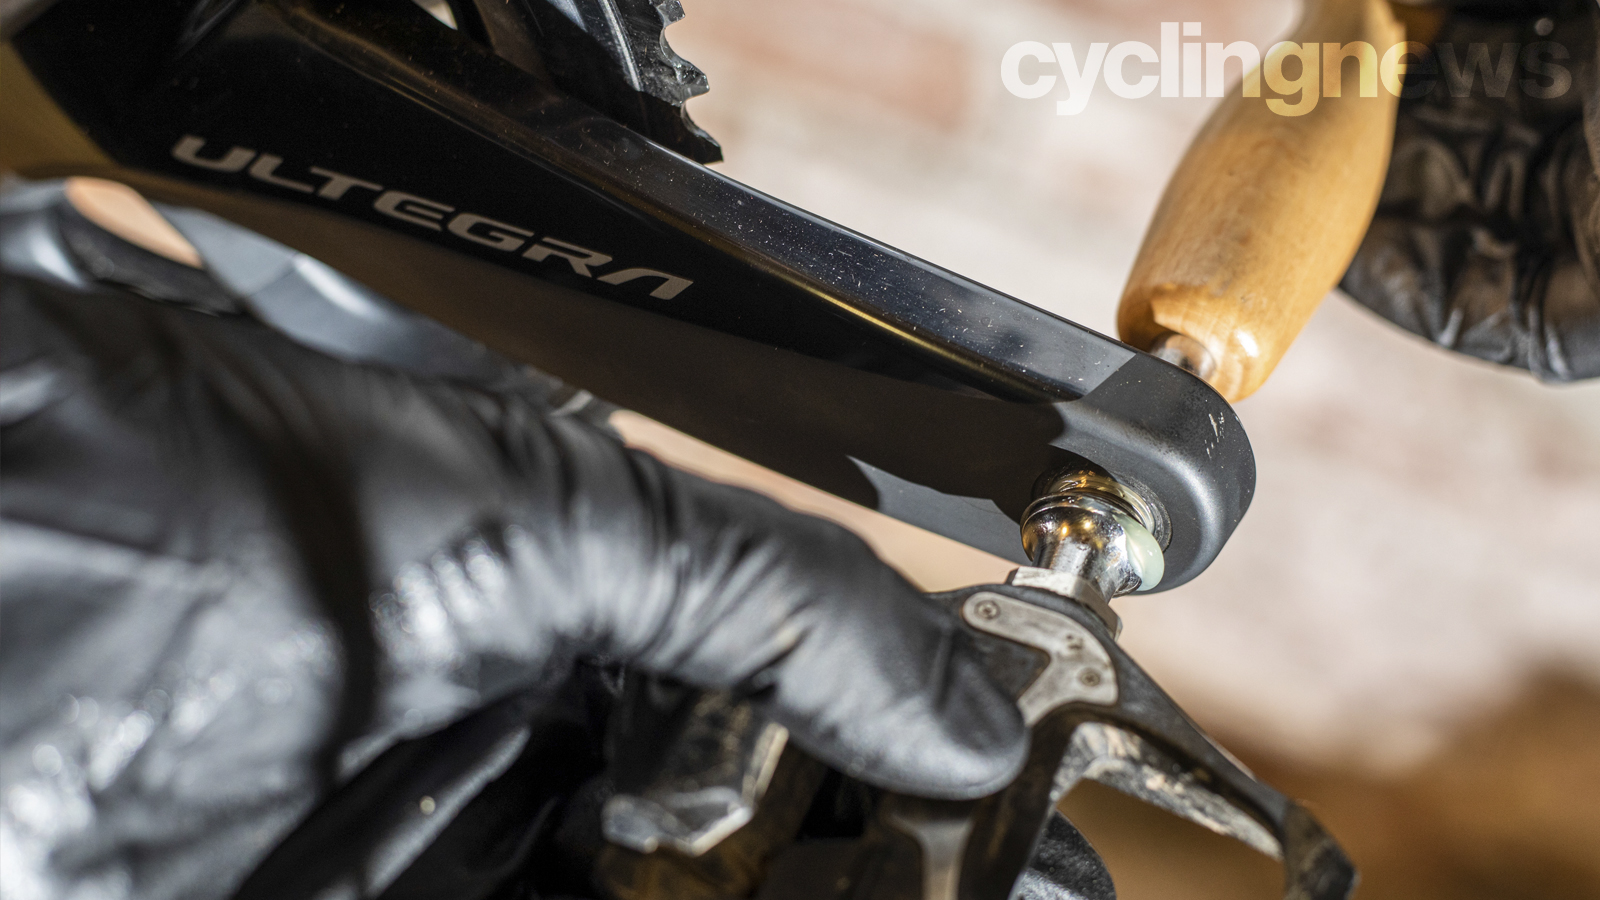
3. Avoid crossthreading
As the thread connects, check from all angles to be sure it’s going in straight. Now take your spanner or Allen key and insert it very securely into the socket or onto the spanner flats. You’re going to put a lot of torque through it so you don’t want it slipping.
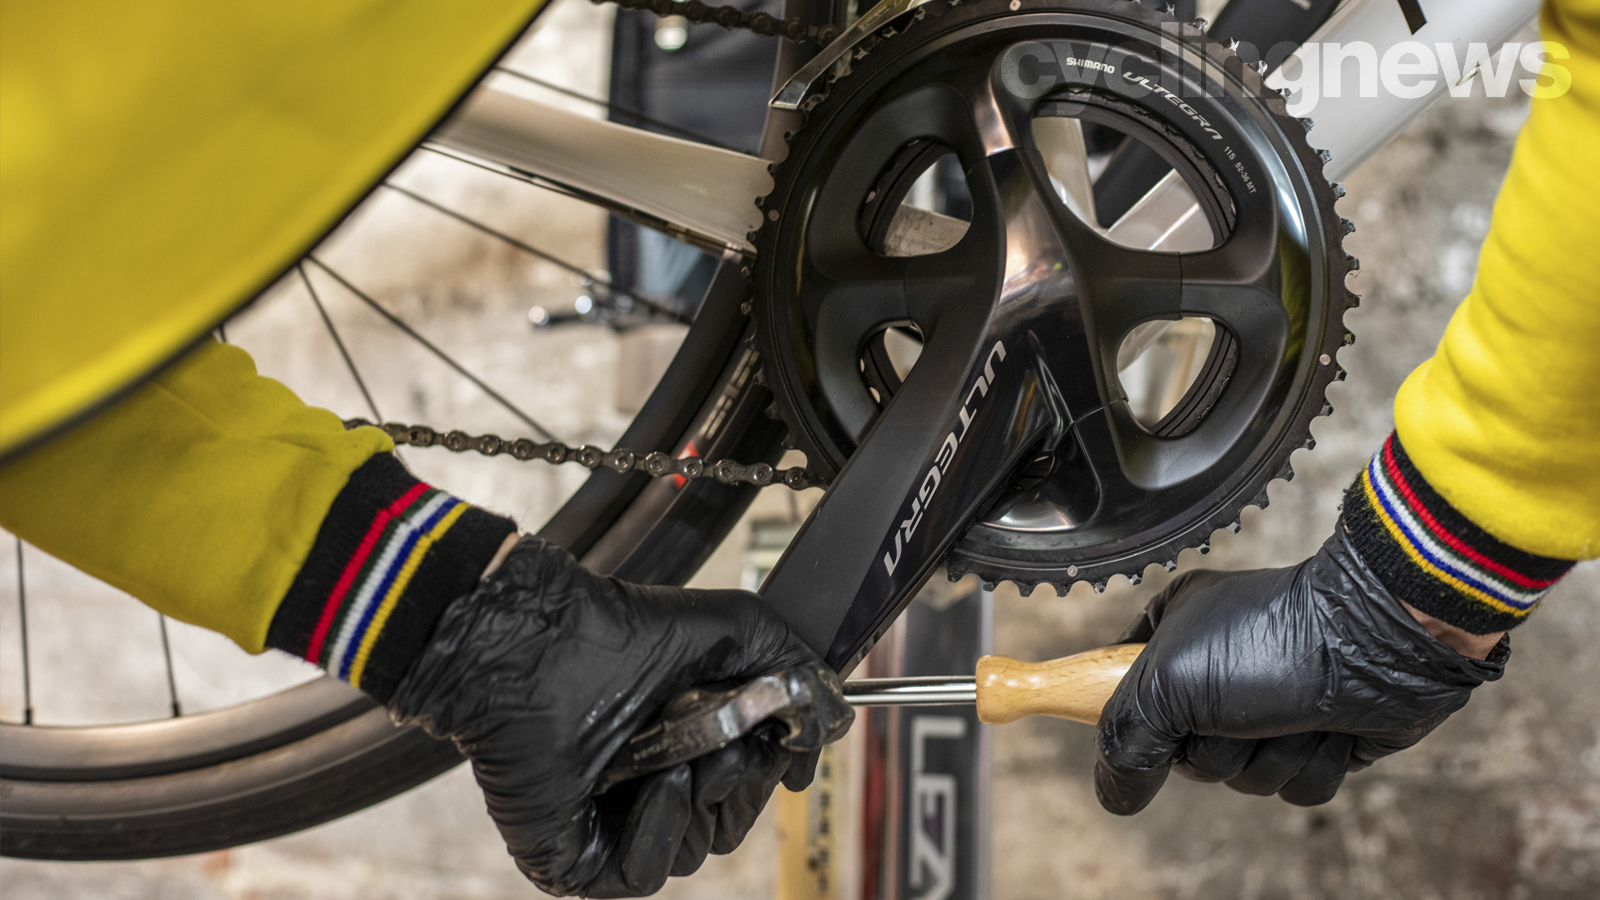
4. Tighten the pedals
Now tighten the pedal until the axle flange is snug against the crank arm. You don’t need to crank it up crazy tight as it will naturally tighten slightly as you pedal. If you find the threads starting to stick or tighten before the pedal is fully home then check the axle alignment from all sides. If that’s fine then the threads in the crank might be damaged. Sometimes you can ‘chase them through’ and make them work smoothly again by threading the pedal in from the inboard side of the cranks. If the threads are too damaged though, it’s new crank time.
Assuming the first pedal fits fine, follow the procedure for the offside pedal, remembering to tighten it anti-clockwise. Now you’re good to go.
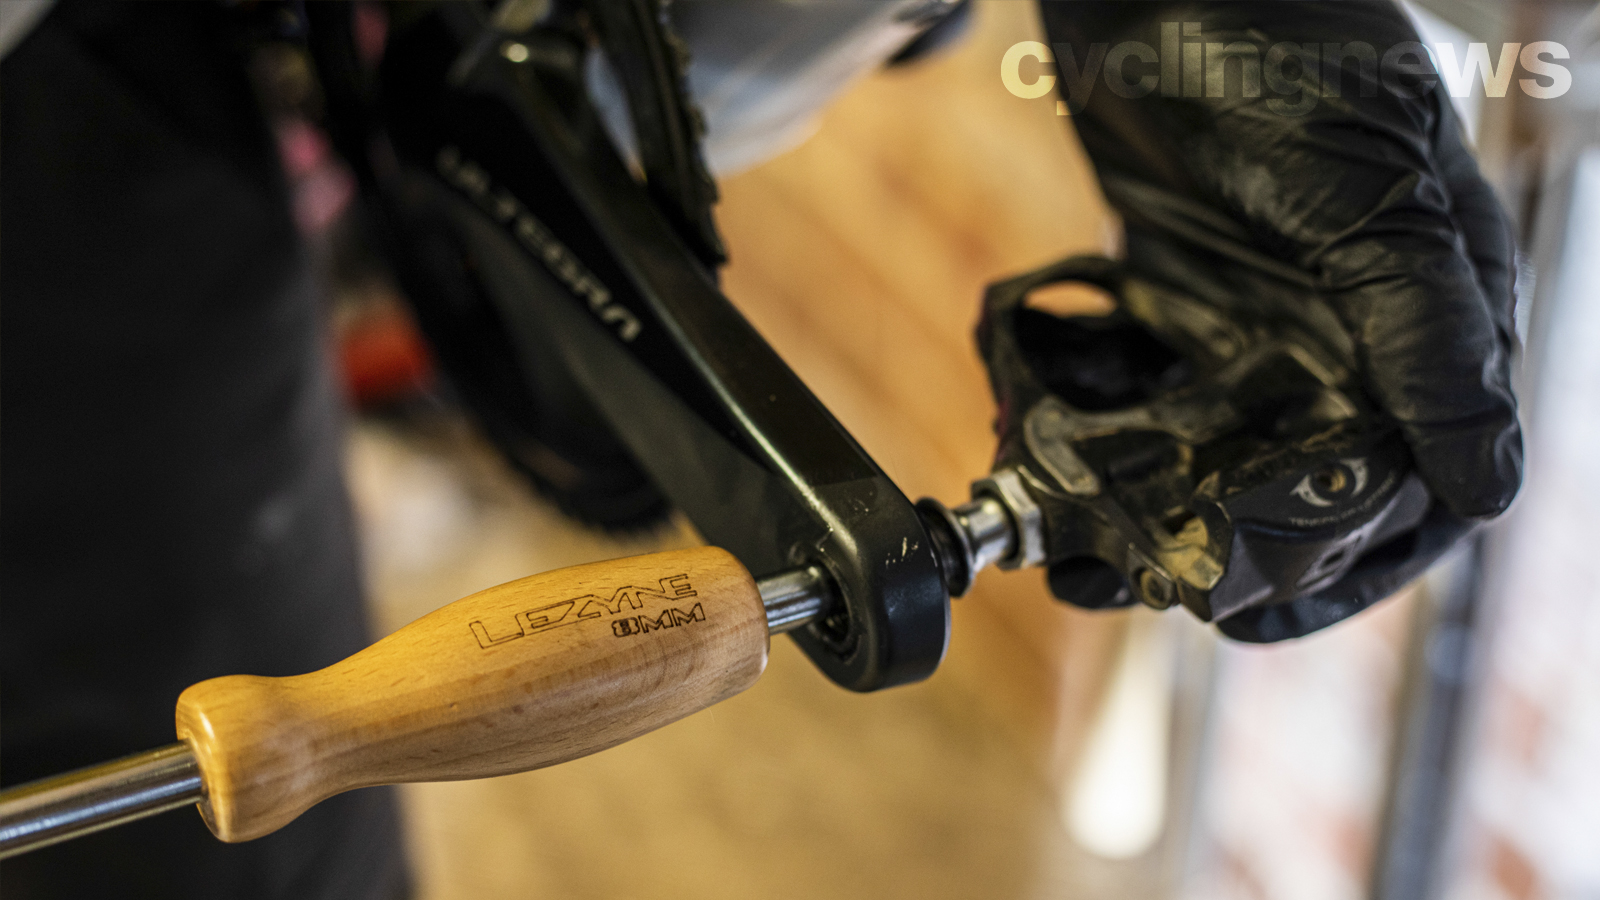
5. Removing the pedals
Removing a pedal seems simple but there are some tips that will really help. First, remember that drive-side pedals loosen anti-clockwise, but offside pedals loosen clockwise. Be double sure that the tool you’re using is good quality with a good fit onto the pedal too. Otherwise, a slip can damage the tool, the pedal and your knuckles if you accidentally punch the chainrings.
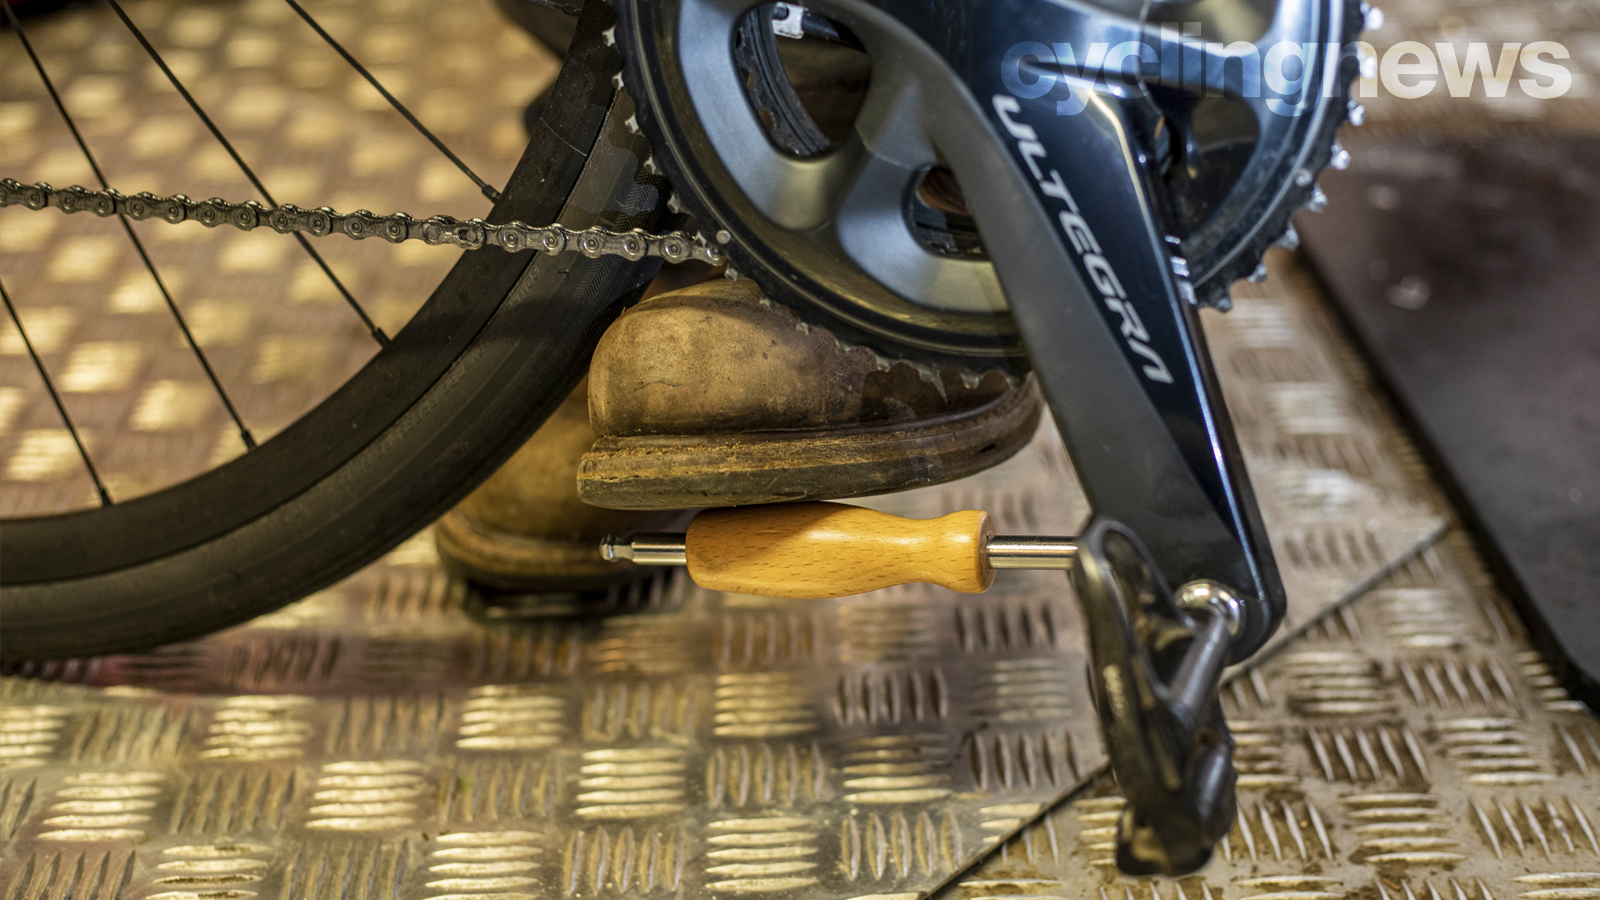
6. Gently apply force
The need for plenty of force and the desire to dodge a chainring punch means we often place the crank at a 5 O’Clock position, the tool at 3 O’Clock and then carefully use a foot to apply the pressure. Don’t do that in road bike shoes though as the soles will just slip.
While you’ve got the pedals out, give them a good clean. Grab the pedal axles and give them a twist and a waggle to check the bearings are still spinning smooth and not tight or wobbling. Clean your cleats and check them for wear at the same time so you know everything will work properly when you refit them.
- Best road bike pedals: Our pick of the best clipless pedals for road cycling
- Road bike groupsets: a comprehensive guide
Individuals carrying out the instructions in this guide do so at their own risk and must exercise their independent judgement. There is a risk to safety if the operation described in the instructions is not carried out with the appropriate equipment, skill and diligence and therefore you may wish to consult a bike mechanic. Future Publishing Limited provides the information for this project in good faith and makes no representations as to its completeness or accuracy. To the fullest extent permitted by law, neither Future Publishing Limited, its supplier or any of their employees, agents or subcontractors shall have any liability in connection with the use of this information, provided that nothing shall exclude or limit the liability of any party for personal injury or death caused by negligence or for anything else which cannot be excluded or limited by law.