How to look after your bike during winter - Maintenance advice from a professional mechanic
Winter riding will take a toll on your bike, here are some tips and maintenance ideas to help you save money in the long run
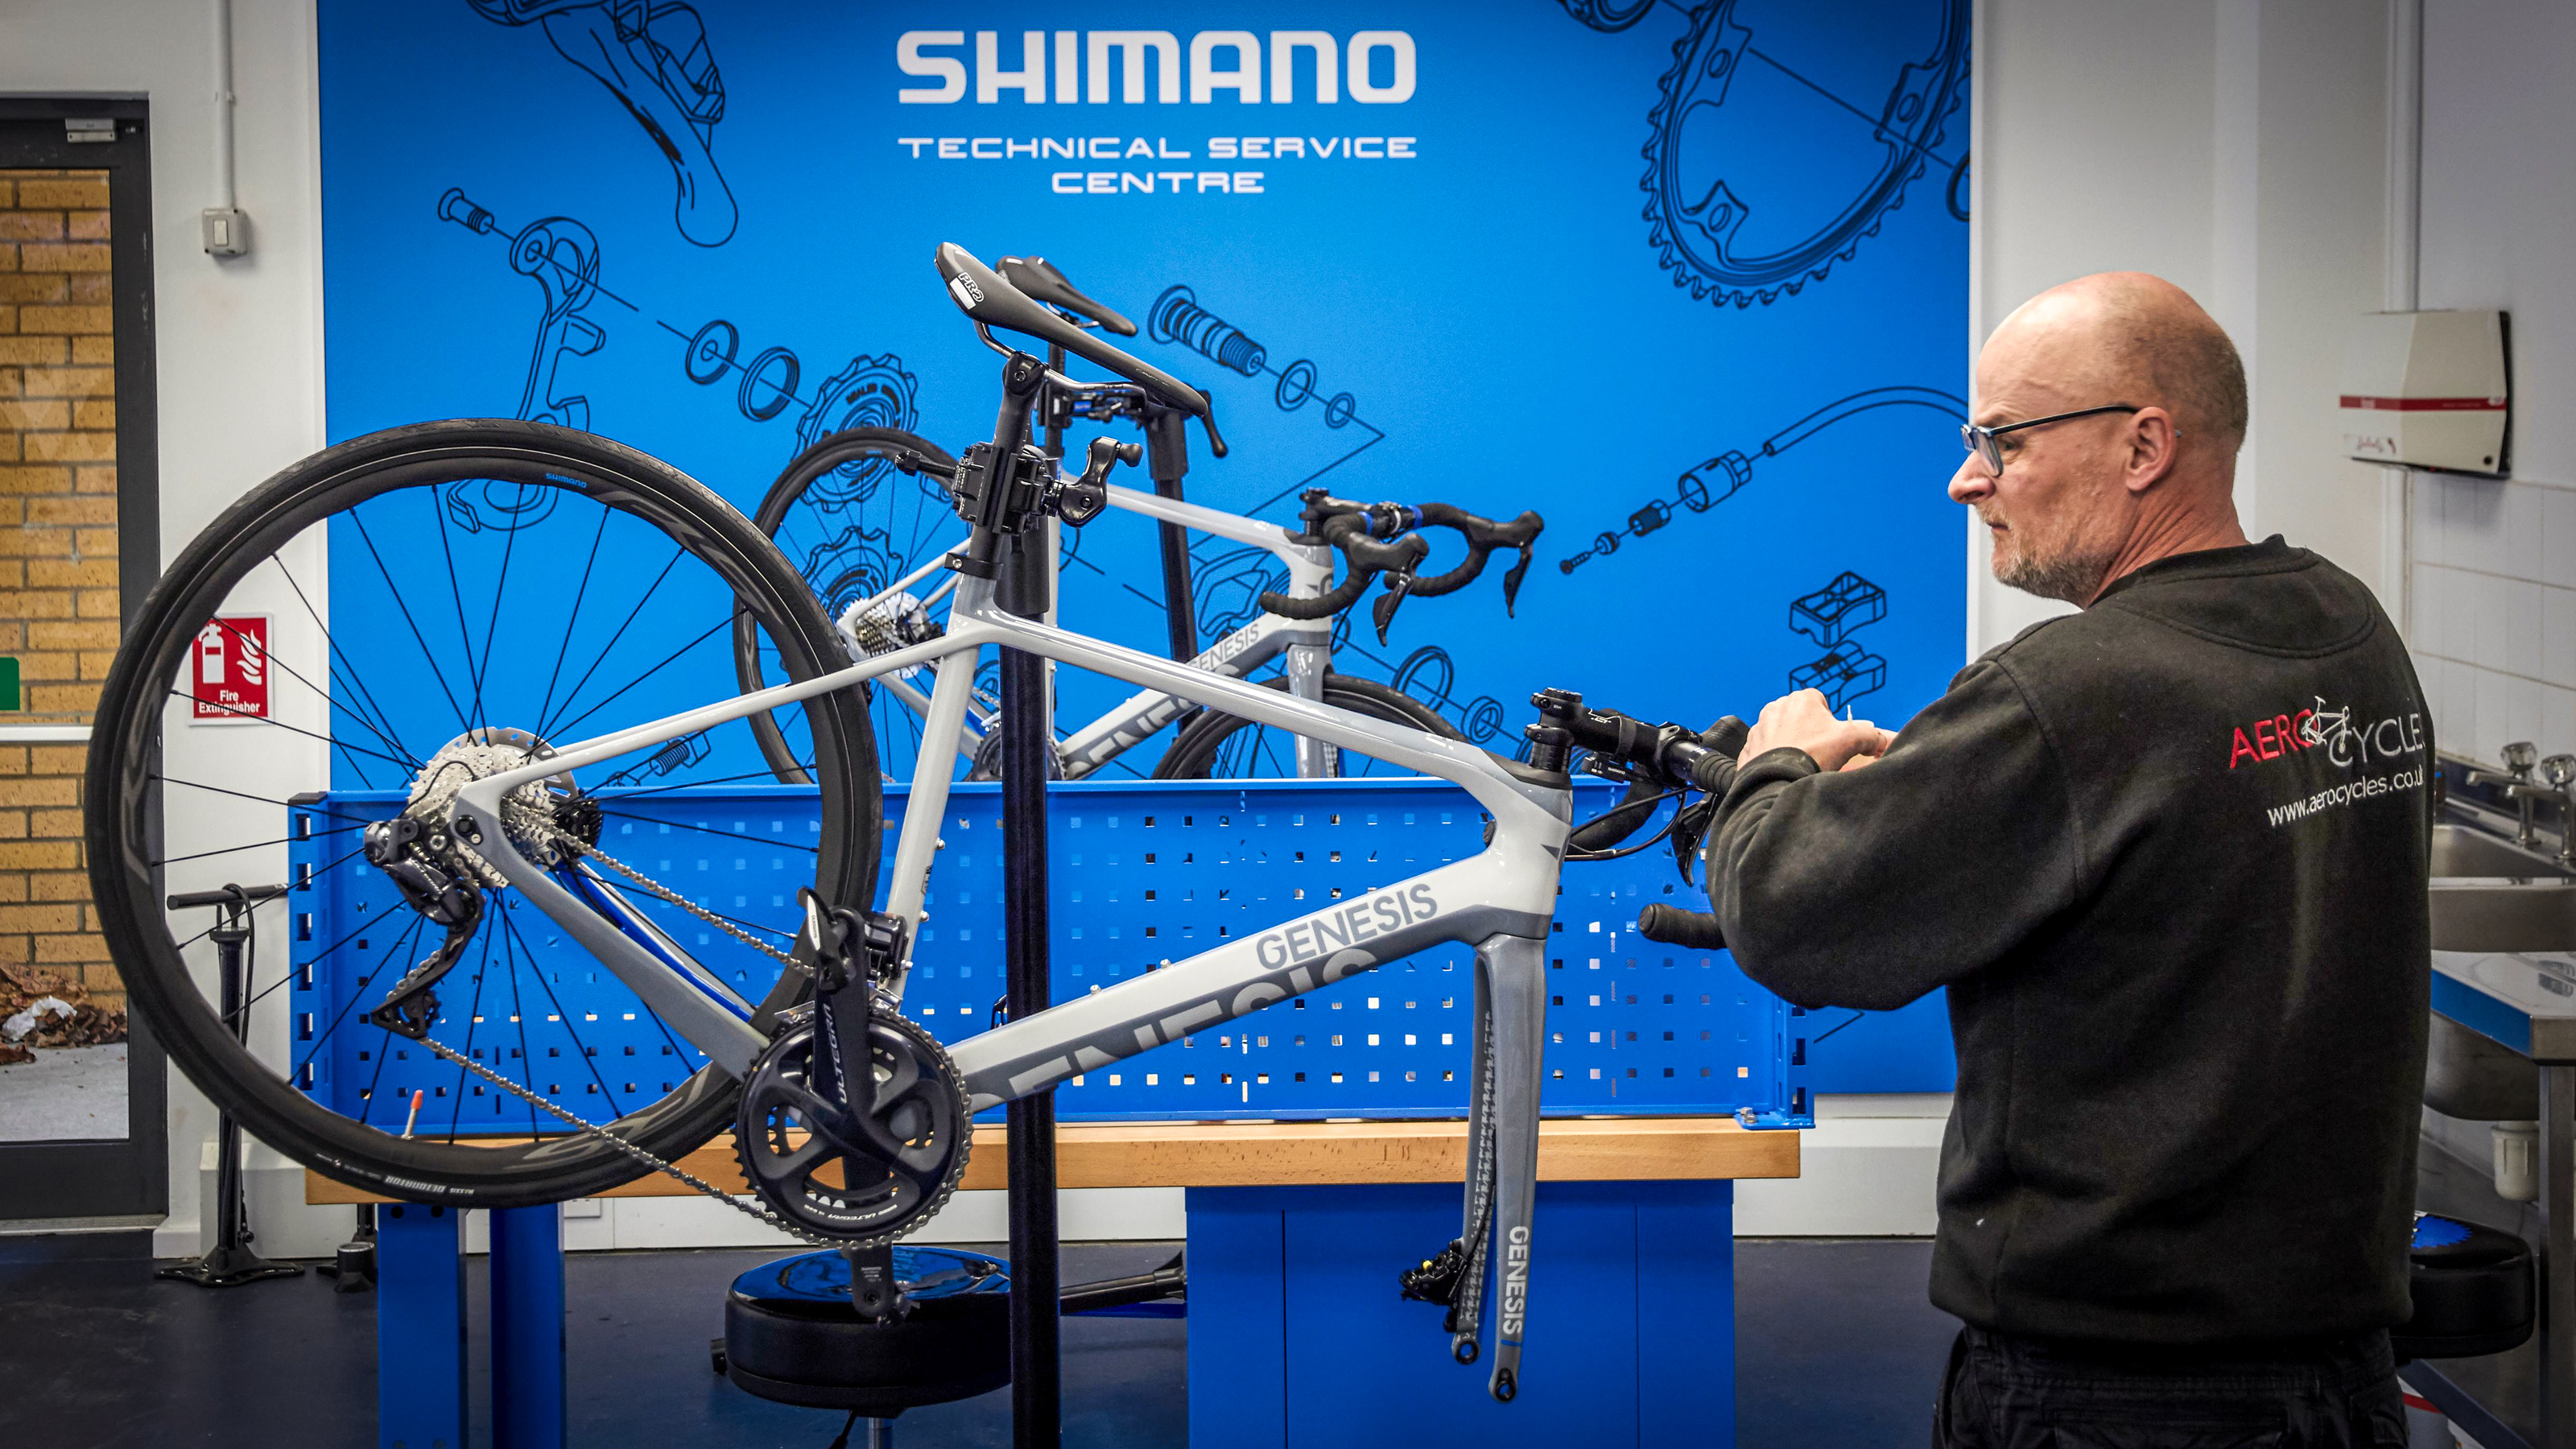
Winter cycling and training can place a testing range of demands on your bike and equipment. Ride in poor winter conditions for just a few rides in a row without doing any kind of maintenance and it will quickly start to feel worse for wear and go downhill.
As a qualified mechanic and workshop manager for several years, I’ve seen and worked on my fair share of bikes in the winter in dire need of some TLC, or bikes that have been dragged out of the garage kicking and screaming in the autumn in a state of disrepair from the previous winter.
Not all of us have a dedicated winter bike, and that's completely fine. Now that most road bikes have disc brakes and can accommodate wider tyres, more riders are able to ride one bike all year round, this may be an advantage in a way as owners are more inclined to service and maintain their one bike. Riders with winter bikes seem to either look after them and keep them ready for the demands of winter or ride them into the ground slowly until spring comes and they can put them away.
Either way, the fact remains that it’s important to look after our bikes. Here at Cyclingnews, we have put together a feature to help get your bike ready for winter cycling with some key mechanic tips as well as some well-chosen products and tools. We've pulled together a few useful, pro tips to incorporate into your maintenance schedule that will keep your bike happier through the testing winter months and help improve your own maintenance skills and confidence.
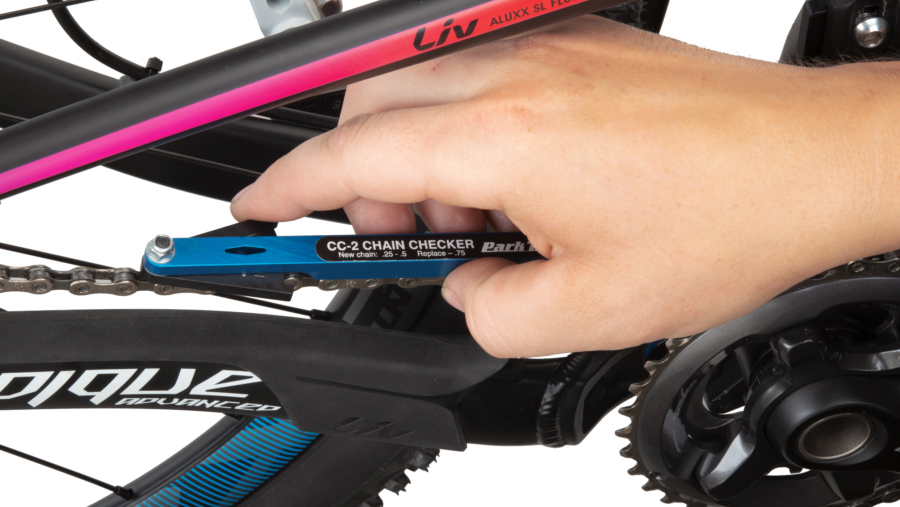
1. Monitor your chain wear to save watts and money
The chain does an incredible amount of work on each ride and is often overlooked or seen as a component that should automatically last years. It’s important to stay on top of chain wear at all times, but it's especially key in winter when extra rain, salt and muck are on the roads. This can mean more contamination entering the chain more quickly and accelerating wear.
Long story short it’s very easy to burn through chains in winter if you are not careful. How to degrease and lubricate your chain is a complex topic and I won't go into a full rundown here. Once a chain moves past a certain point of wear it can rapidly start to wear other drivetrain components and cause more damage in a few hundred miles than it has in the previous several thousand. Avoiding getting to this point is crucial in staying on top of chain wear and ensuring the chain - not to mention your own effort - isn't actively wearing out your cassette and chainrings.
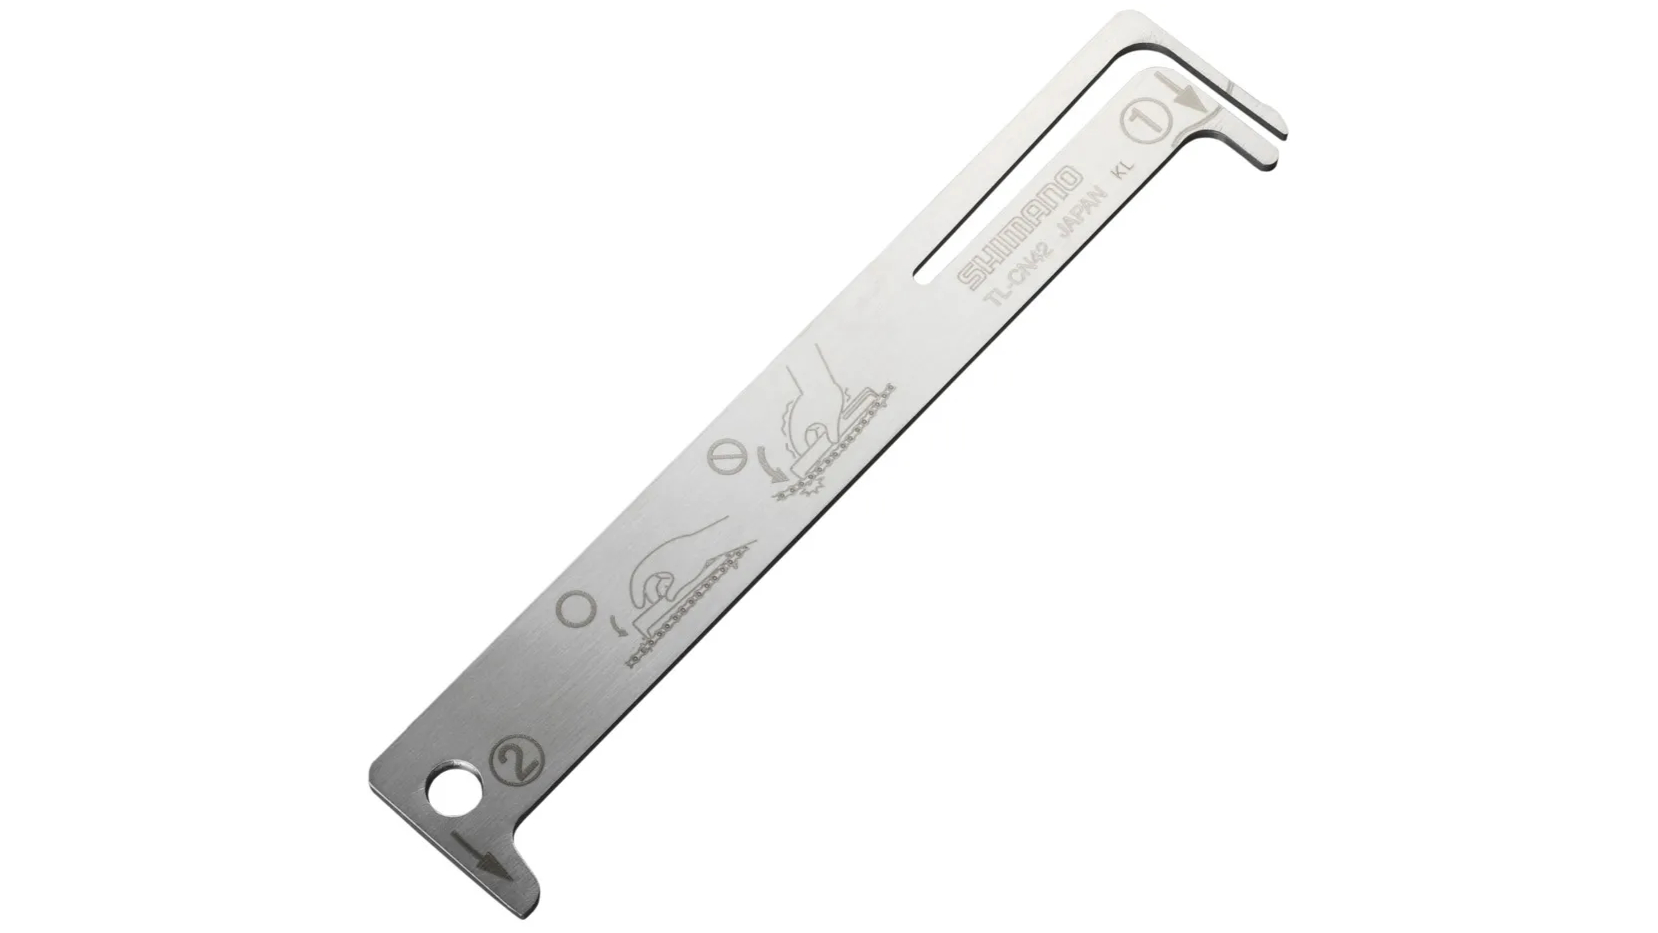
Not all chain checkers are created equal, with many cheap units being inaccurately manufactured with different versions of the same model giving differing wear readings. We recommend the Shimano TL-CN42 chain checker, this tool is highly accurate and is laser cut from heat-treated stainless steel, it will give accurate and consistent chain wear readings and is easy to use. Use it to check your chain wear regularly in several different places on the chain, and change your chain as required. It will save you time, money and watts.
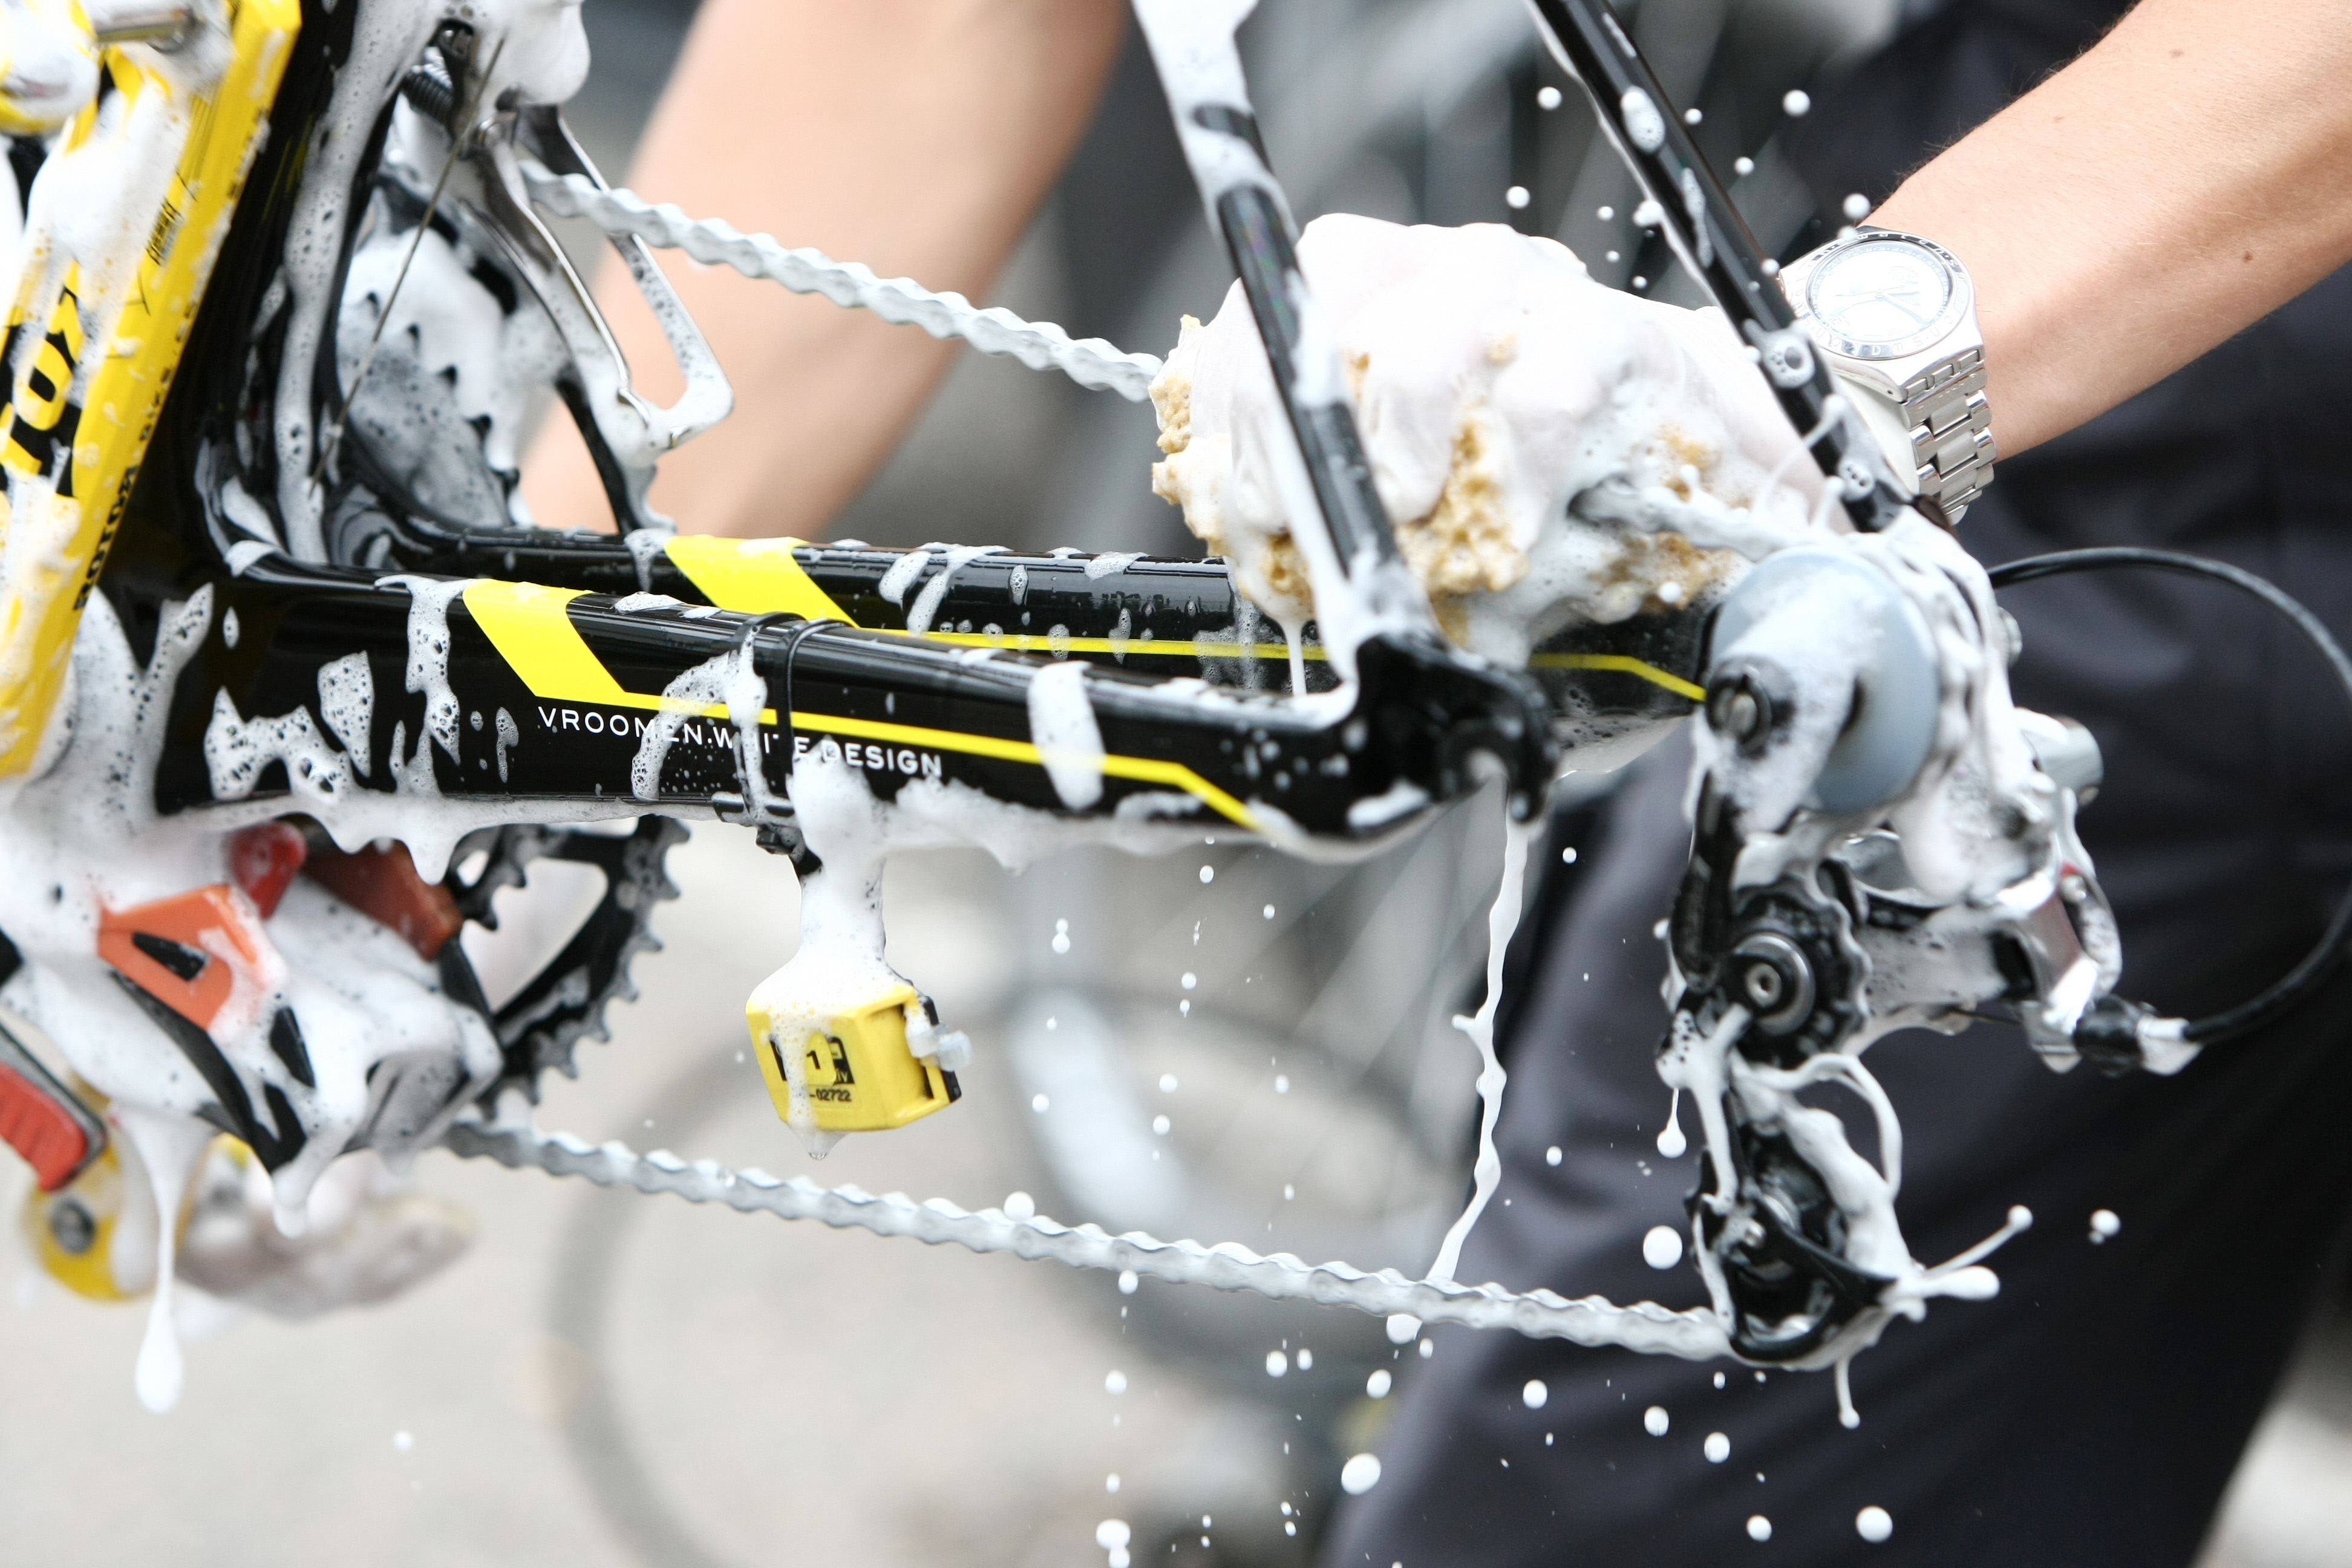
2. Clean your chain and cassette off the bike
You are never really going to get your chain and cassette properly cleaned without first removing it from the bike. If you are interested in home maintenance and keeping your bike in the best possible condition, removing your chain and cassette is a really good move in the battle against winter crud. You only need to invest in a few inexpensive tools to do this, and with the money you'll save in wear and tear, they will pay for themselves in the long run.
I’ve seen countless ruined hub and freehub body bearings from overwashing and degreaser spraying in that area. Removing the cassette to clean it is also easier than trying to get a cloth between the closely-spaced sprockets, and will protect other nearby components too. The same goes for the chain.
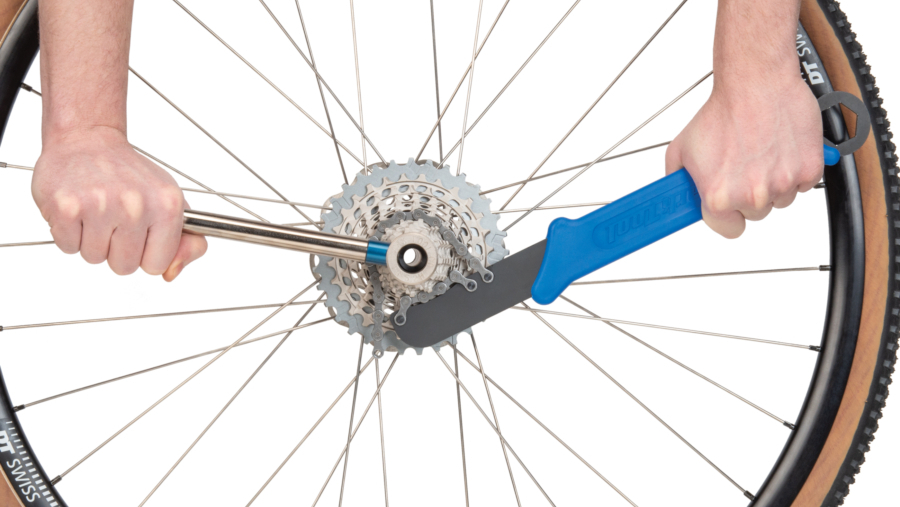
Three tools to invest in here for this job are the Park Tool FR-5.2H lockring tool which is the tool needed to unscrew your cassette lockring (Campagnolo riders make sure you get the FR-11) The Park Tool SR-12.2 chain whip to hold the cassette captive whilst you undo the lockring and finally the Park Tool MLP-1.2 Master Link Pliers to easily disconnect and reconnect your chain link master or power link.
3. Invest in expert knowledge
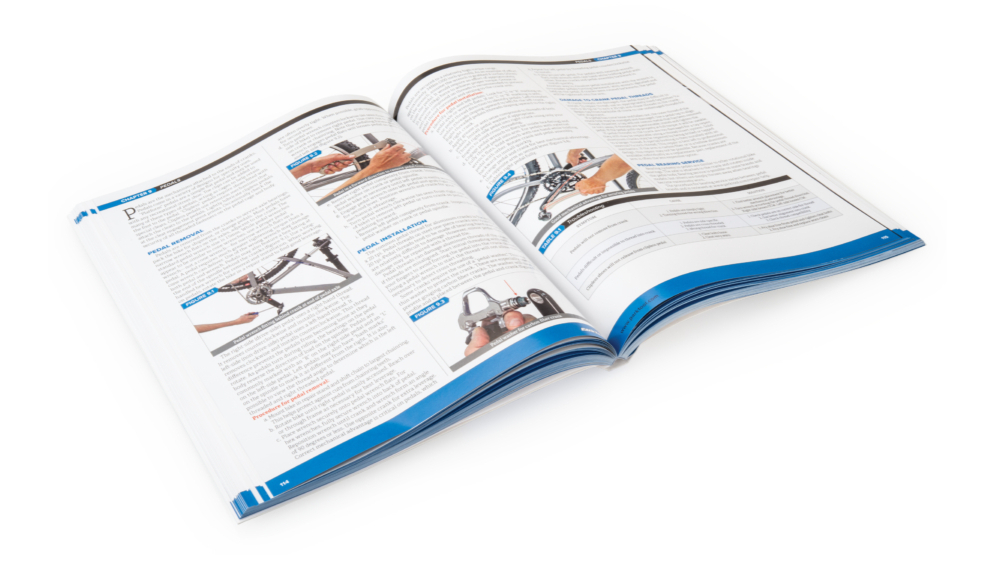
A lot of maintenance information is available on the internet and from different sources, though it isn't all expert advice. The Park Tool big blue book of bicycle repair makes an excellent investment if you want to learn more about how your bikes are put together and to further your maintenance knowledge.
It can provide you with a wealth of knowledge from industry expert mechanics and tool manufacturer Park Tool. The latest edition features comprehensive torque spec charts and 12-speed and electronic technology so is bang up-to-date.
4. Invest in some grease and use it
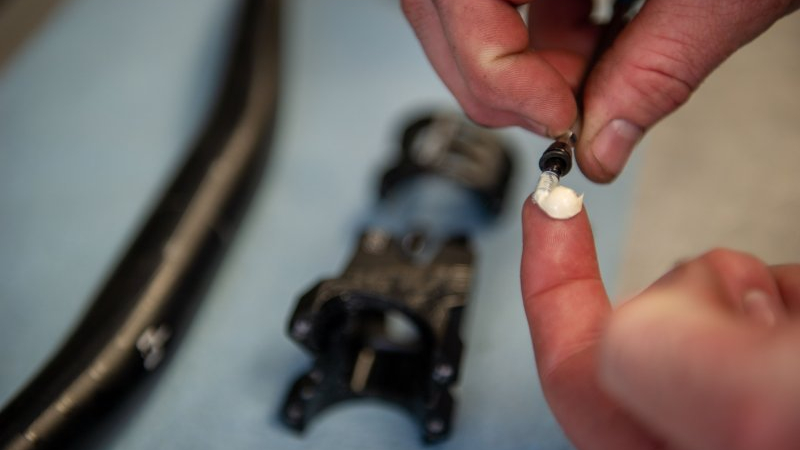
If you don't already have a tub of grease and/or carbon fibre assembly paste at home, it’s a great idea to buy some and keep it handy. Various types of corrosion can occur over the cold, wet months and a seized bolt or fastener can result in some of the biggest workshop labour charges.
If a mechanic has to spend four hours drilling out a seized bolt or caliper brake pin you're going to know about it when you get the bill. Some really useful servicing points can be ticked off at home by keeping a tub of grease/carbon paste lying around. Cleaning and greasing things like seatposts, frame thru-axles, pedal axle threads, bottle cage bolts, brake pins, and any and all relevant fasteners can minimise the chance of a range of creaks and noises occurring. It will also potentially save you from some of the biggest workshop labour charges if something does corrode and seize, which is more relevant during wet, cold winter months.
Investing in some Finish Line premium grease or Fiber Grip carbon assembly compound is a small investment when compared to the problems caused by a single seized bolt. You could also invest in the Finish Line grease gun which can make for a cleaner job. If you are unsure what to use on your bike, always check with your bike manufacturer about the correct assembly compounds to use.
5. Invest in some good quality Allen keys
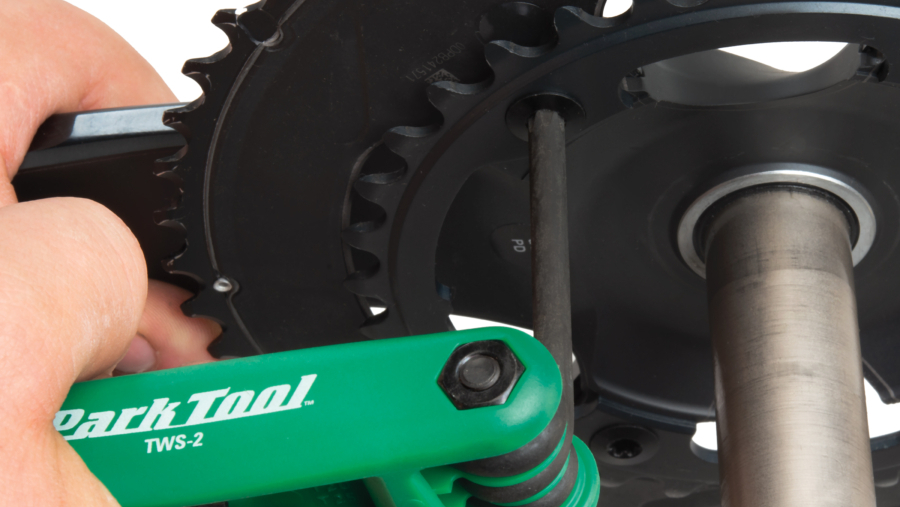
Investing in a good quality set of Allen keys or multi-tool is an excellent way of keeping the bolts on your bike in good condition. Lightweight bolts and fasteners are easily damaged and these days, they are in increasingly harder-to-reach spots (think hidden seat post clamp or integrated handlebars).
Poor quality Allen keys are often not manufactured accurately which increases the risk of the home mechanic rounding off bolt heads, potentially resulting in large bills at the bike shop. A quality set of Allen / Torx keys, and ball-end Allen keys are a sound investment to protect your pride and joy.
Park Tool Allen keys are used by mechanics worldwide and are made with chamfered tips to offer a good fit and are manufactured from hardened steel. The Park Tool HXS - 1.2 Professional Allen key set is a great choice, as is the AWS - 10 multi-tool and if your bike uses any Torx fasteners I really like the TSW-2 Torx multi-tool and use mine for all sorts of jobs away from the bike too.
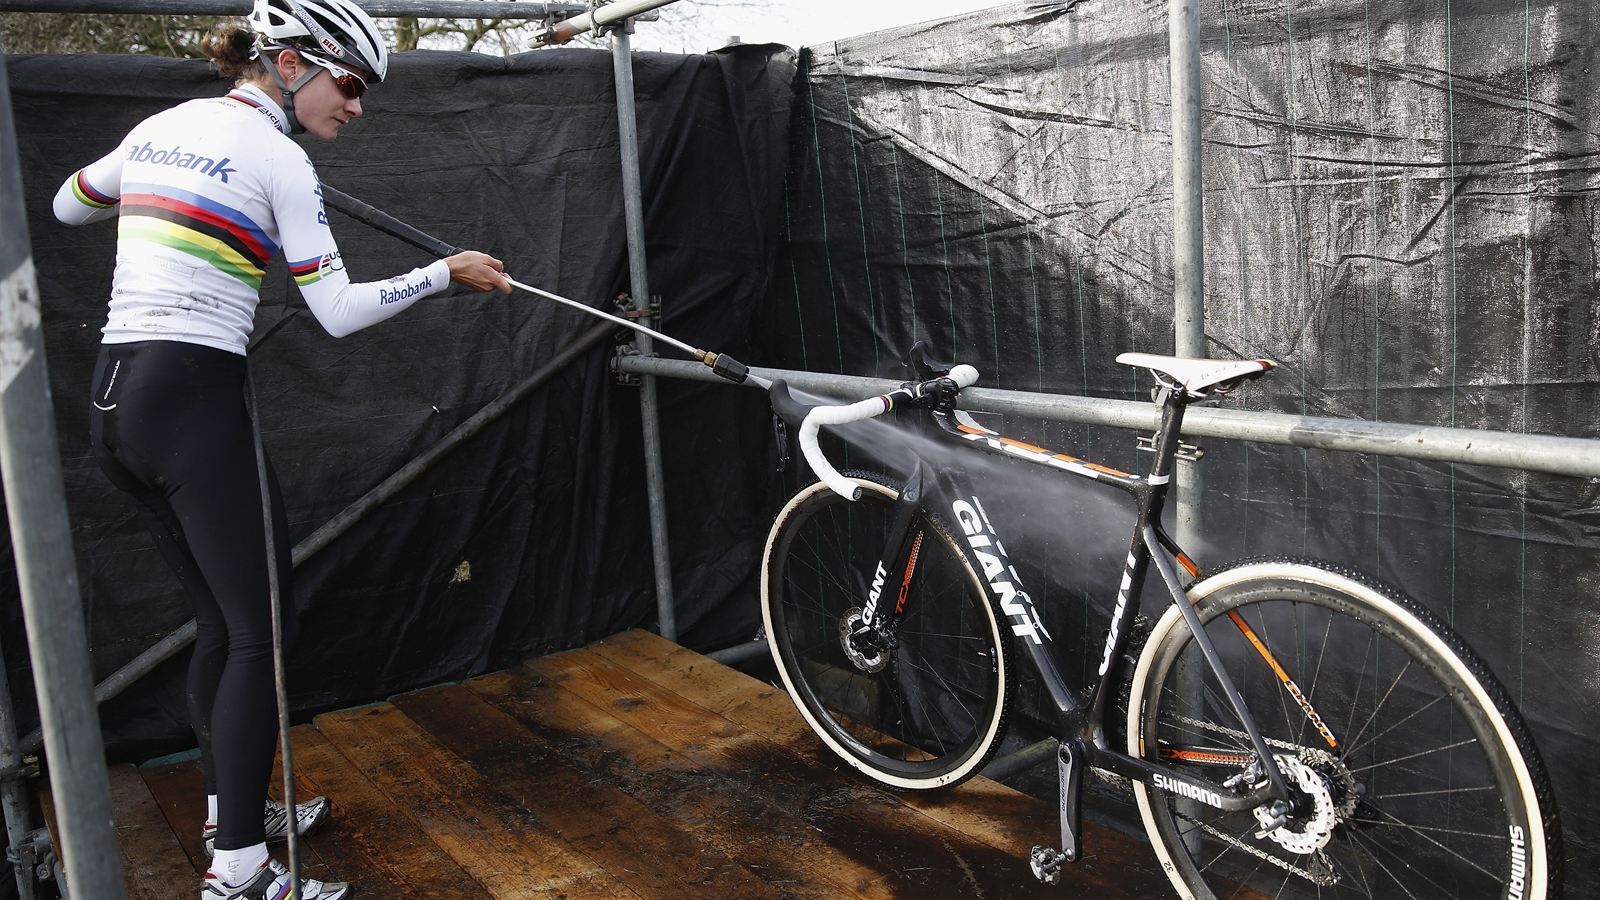
6. Look after your bike, don't pressure wash it
These days most of us know that using a high-powered pressure washer on our bikes isn't good for them and blasting away at sensitive areas of the bike can ruin bearings very quickly and leave traces of water inside your frame where it will accelerate wear and corrosion.
I’ve replaced tonnes of seized bearings from sparkling, over-washed bikes. Unless your bike is in a horrendous state, save the pressure washer for the garden patio and fill a trigger bottle with some bike wash. Finish Line Super Bike Wash is a great option to shift grime and dirt, pair it with a microfibre for maximum care, you can also dilute it with water if you want to.
You can also use the Finish Line Absorb-It Mat to catch any run-off or grease and oil if you are cleaning indoors and want to protect the floor, and to protect your newly pressure-washed patio!
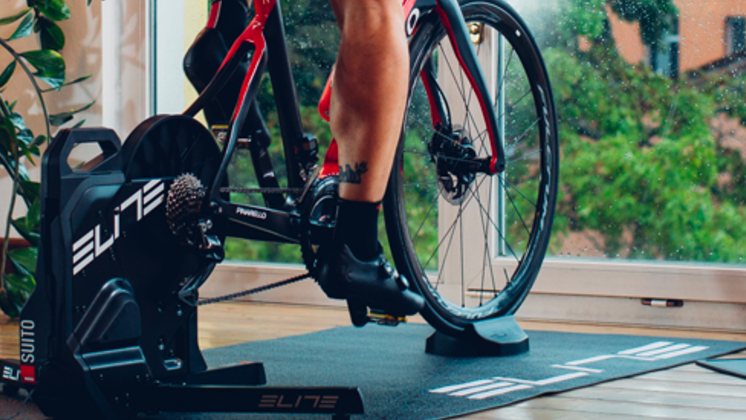
7. Don't be afraid to ride indoors
One of the best ways to protect against bad weather is to avoid it altogether, and with the upsurge of indoor cycling technology in recent years, it's a more attractive proposition than ever.
What's more, if you are time-crunched, training indoors using a smart trainer will not only save you from needing to wash your bike once you're finished, but can actually provide a more productive workout than outdoors, meaning you can make bigger gains in less riding time. The only thing you will have to monitor is sweat, which is a lot easier than the onslaught of spray from the road on a wet day.
If you are looking for an indoor trainer to escape winter, the Elite Justo Trainer and the Elite Suito T are both great options and can be paired with the Elite Trainer Mat to reduce noise and keep you planted during big sprints.
8. Use the right products for the right conditions
It's a simple point but often overlooked, using the correct equipment and components for the conditions at hand will make life a lot more comfortable. By this we mean winter tyres for winter conditions to save yourself money and ensure your rolling on durable, puncture-resistant rubber. It's no good puncturing every other ride on summer tyres. The Maxxis Re-Fuse is a great winter option here.
A wet chain lube such as Finish Line Wet Chain Lube if it's raining so your lightweight summer lubricant isn't washed away in the blink of an eye. Elsewhere, some clip-on or full-length mudguards like the Crud Road Racer MK3 or M Part Quick Fit mudguards will protect your bike (and you) from spray and water.
Useful service intervals
We have drawn up a useful servicing interval table here for you to use to help you stay on top of certain checks. Use this as a guide depending on how much you ride, but preventative maintenance is always better than leaving something until it becomes a problem.
Your bike will work and feel better in the meantime and you won't be faced with a large servicing bill or risk being stranded at the side of the road when something goes bang.
| How often should I clean my bike? | Once a week and after every dirty ride |
| How often should I regrease key fasteners? | Once a month during winter |
| How often should I check tyre wear? | Once a week for cuts and slits |
| How often should I check tubeless sealant? | Refresh every 4-6 months / Fresh install every 10-12 months |
| How often should I check chain wear? | Fortnightly - this will help you get a feel for wear rates. |
| How often should I check brake pad wear? | Check brake pads once a week - this is a key check |
| How often should I check bearing condition? | Check for roughness and or play in headset / bottom bracket and hubs every month in winter |
Get The Leadout Newsletter
The latest race content, interviews, features, reviews and expert buying guides, direct to your inbox!
Cyclingnews is the world's leader in English-language coverage of professional cycling. Started in 1995 by University of Newcastle professor Bill Mitchell, the site was one of the first to provide breaking news and results over the internet in English. The site was purchased by Knapp Communications in 1999, and owner Gerard Knapp built it into the definitive voice of pro cycling. Since then, major publishing house Future PLC has owned the site and expanded it to include top features, news, results, photos and tech reporting. The site continues to be the most comprehensive and authoritative English voice in professional cycling.
