How to fit a bike wheel
Whether it’s fixing a puncture or putting it into a car/carry case removing and refitting your wheel safely is a vital skill
The latest race content, interviews, features, reviews and expert buying guides, direct to your inbox!
You are now subscribed
Your newsletter sign-up was successful
Getting the wheels off your bike is essential for compact packing and for repairing inner tubes, changing cassettes, adjusting bearings and other maintenance tasks. Things used to be relatively simple and tool-free when road bikes only ran quick-release axles in open dropouts (the tips of the fork and frame the wheel slides into) and brakes just clamped your rims.
Now bolt through axles have made the bike to wheel connection much more secure and disc brakes have added all-weather stopping safety but they do make removal and refitting slightly harder.
It’s still a pretty simple and trauma-free process if you follow our step by step guide and we’ve even included the technique for classic QR levers and rim brakes so everyone can whip their wheels out easily.
If you are looking for more helpful maintenance advice, Cyclingnews is bringing you a series of guides so that you can learn how to perform basic bike maintenance tasks yourself. Check out the other guides that are available.
- How to change a bike tyre
- How to repair an inner tube on your bike
- How to remove and fit bike pedals
- How to adjust disc brakes on a bike
- How to remove and fit a bike chain
- How to adjust bike gears
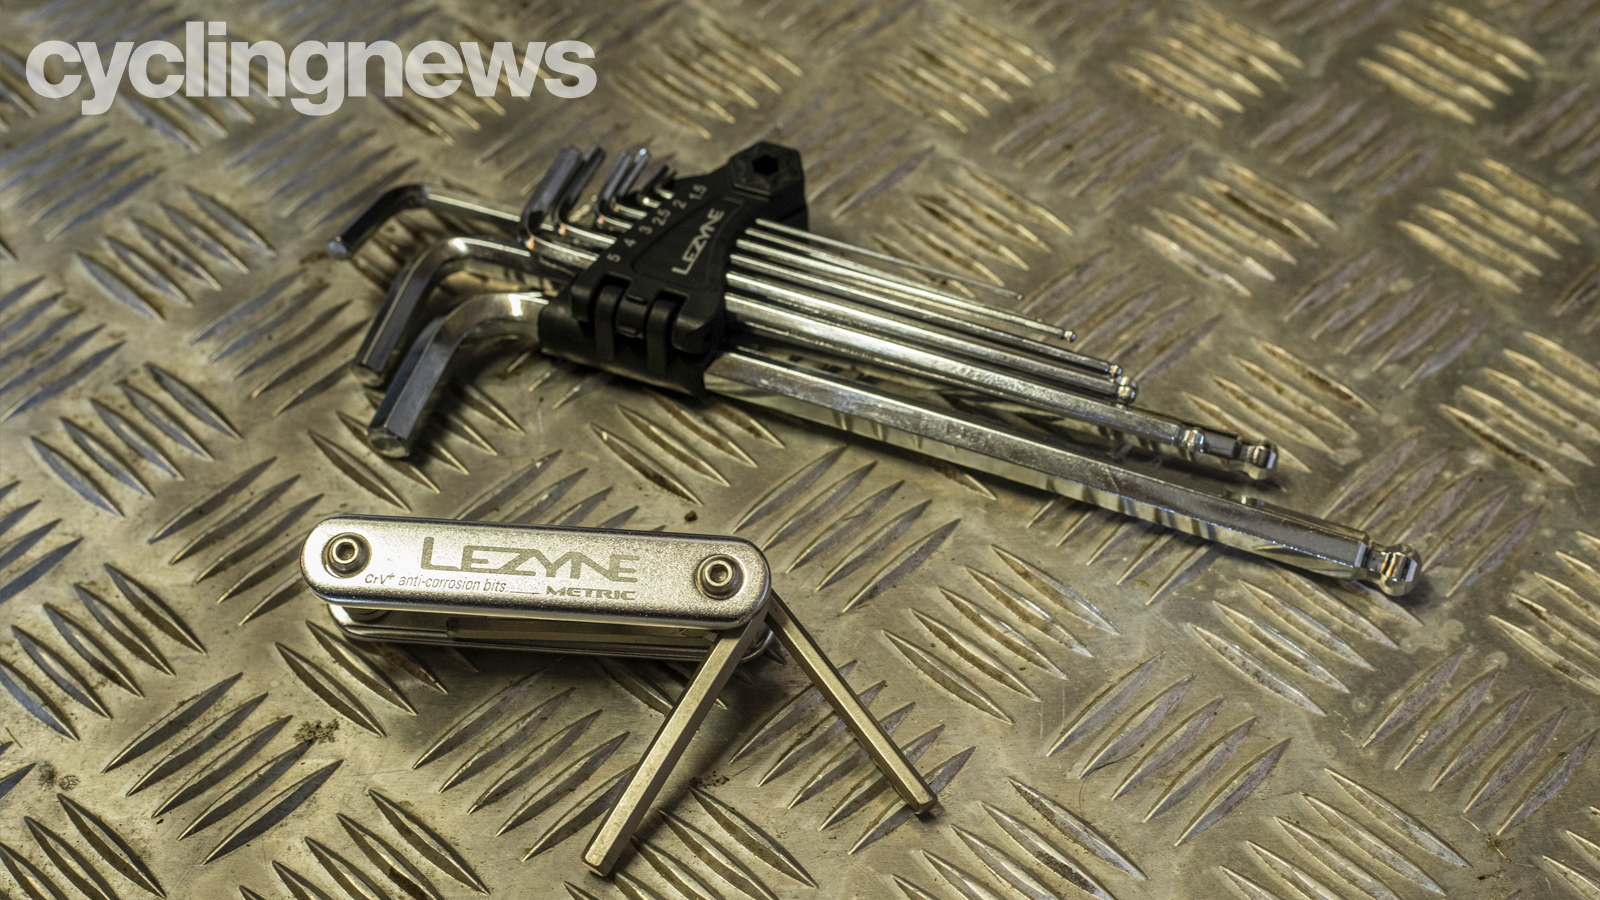
Tools needed
If you have a bike with a bolt through axle you’ll need a 5 or 6mm Allen key. Nutted axles will need the appropriate spanner (normally a 15mm). Quick-release axles don’t need any tools at all.
It’s definitely worth having a workshop rag or some paper towel so you can hold the chain and rear mech without getting oil and grease everywhere.
The latest race content, interviews, features, reviews and expert buying guides, direct to your inbox!
Latex gloves will help protect your hands too.
A bike repair stand to hold the bike securely off the floor is a massive help as well.
1. Prepare to remove a wheel
First place the bike in the repair stand if you have one. Alternatively, try and have something handy to hang the bike off (normally by the saddle) while the rear wheel is removed. Don’t hang the bike loosely off something while removing the rear wheel though as it’s likely to become unbalanced or get knocked off.
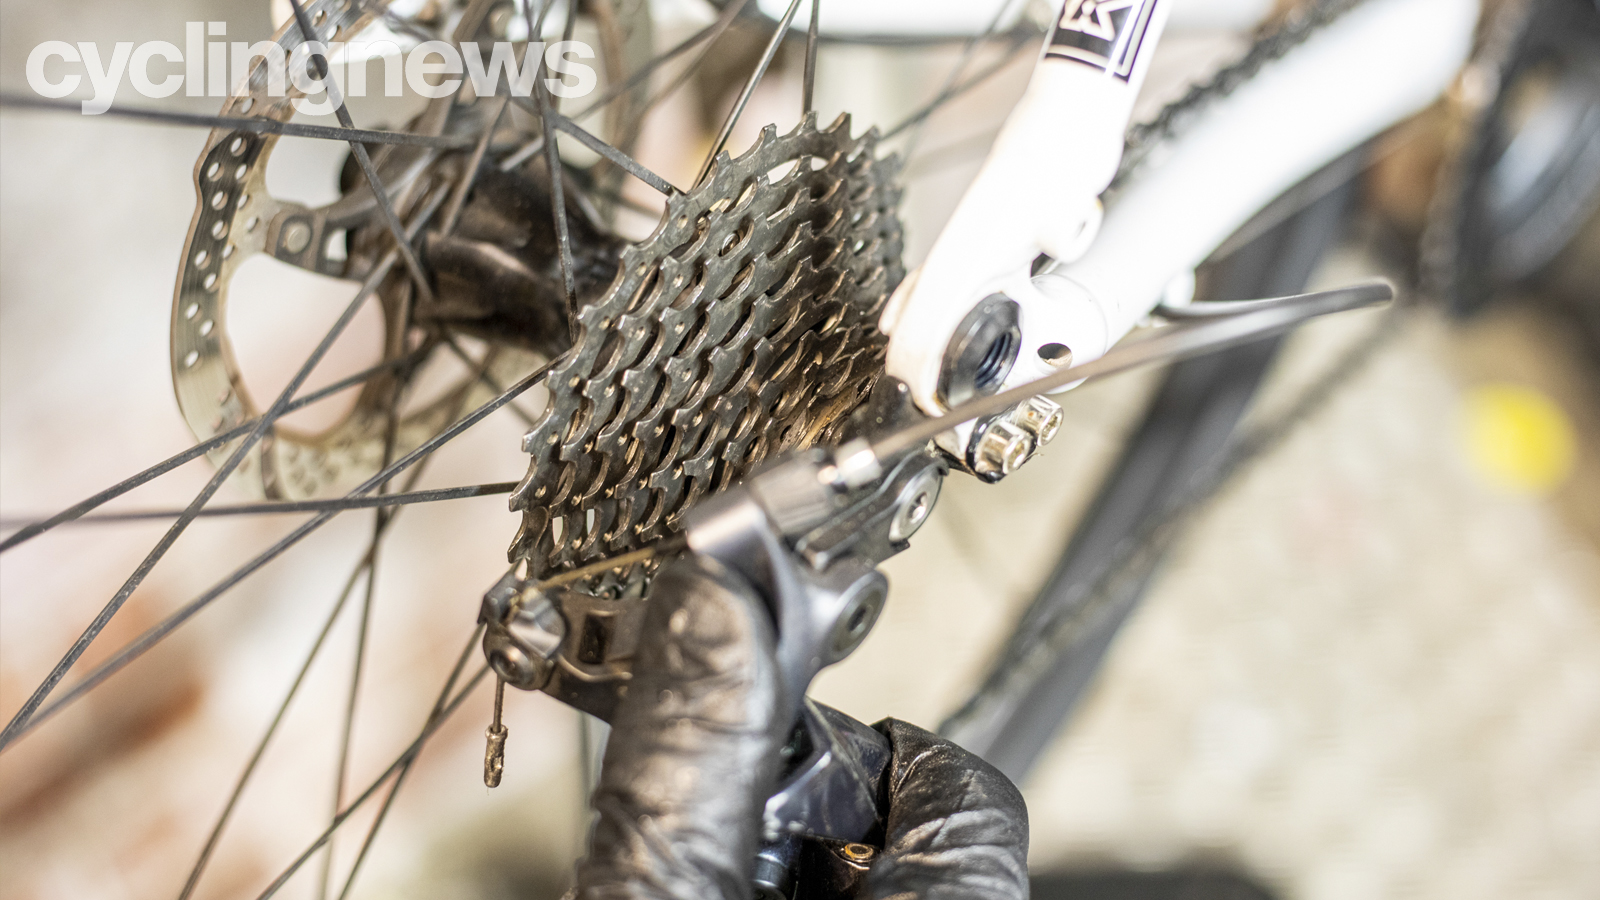
If you’re removing the rear wheel, shift the gears into the smallest cog as that makes it much easier for you to wiggle the wheel out past the chain.
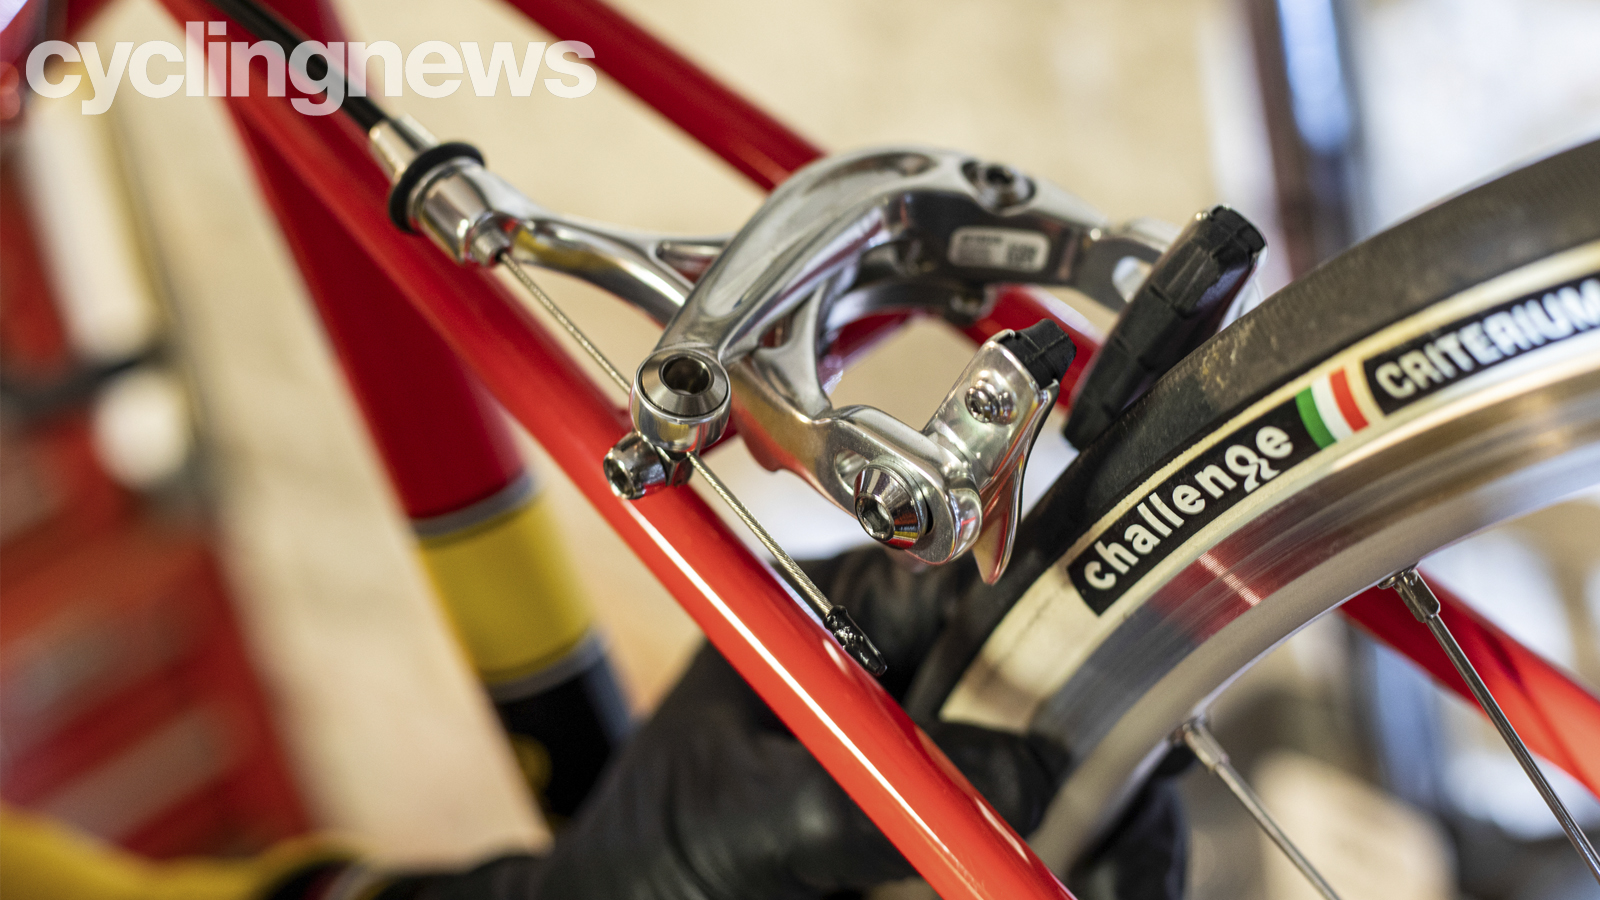
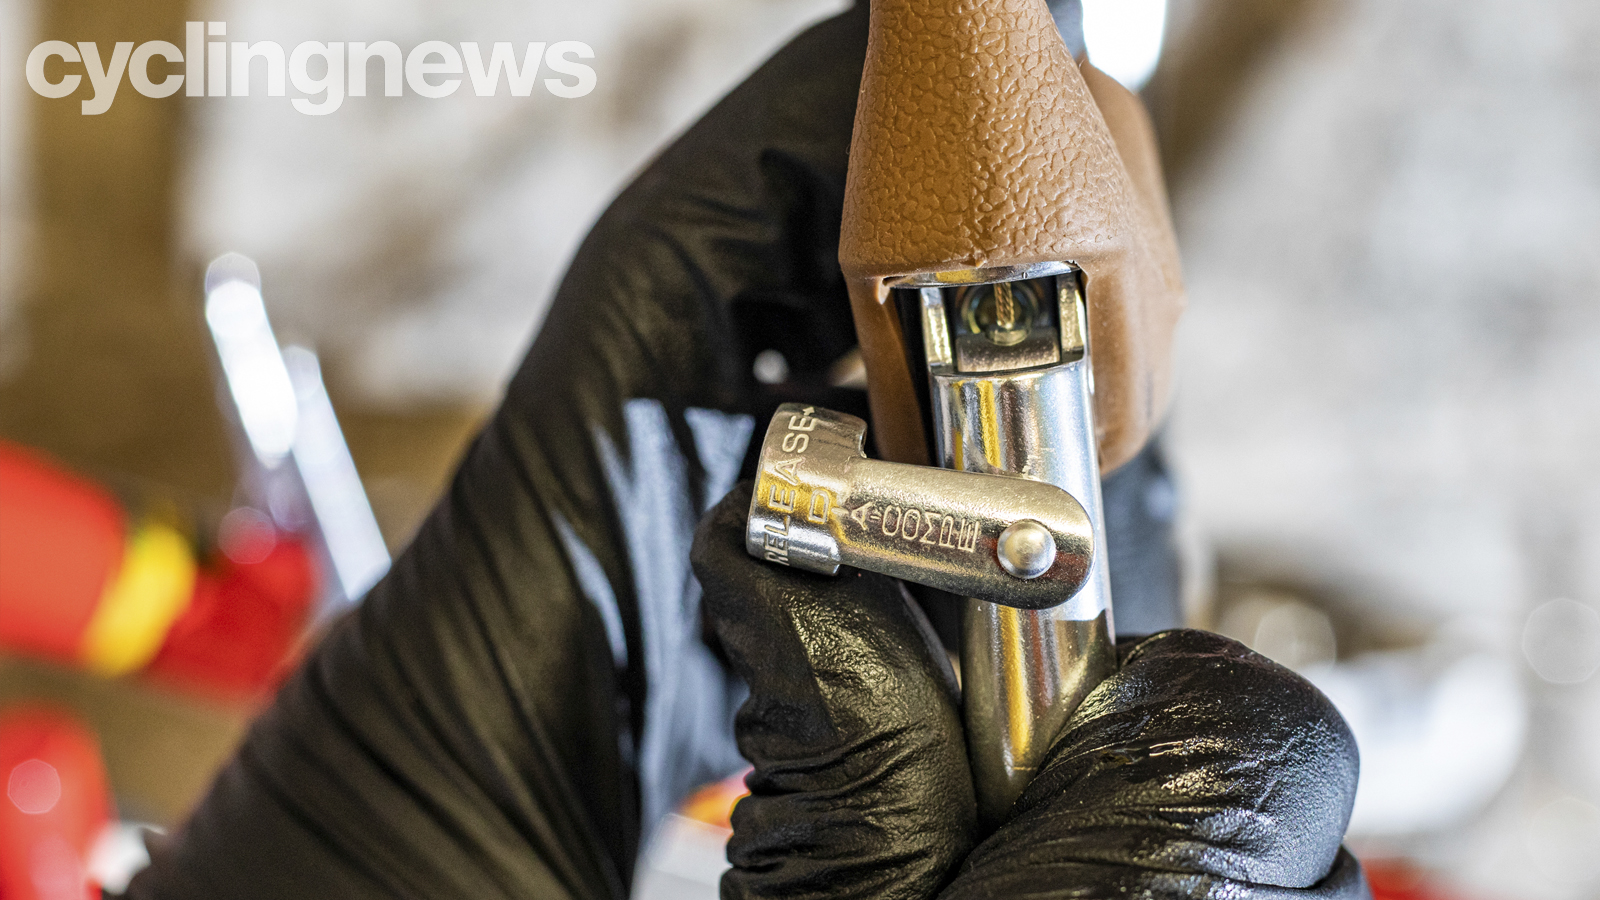
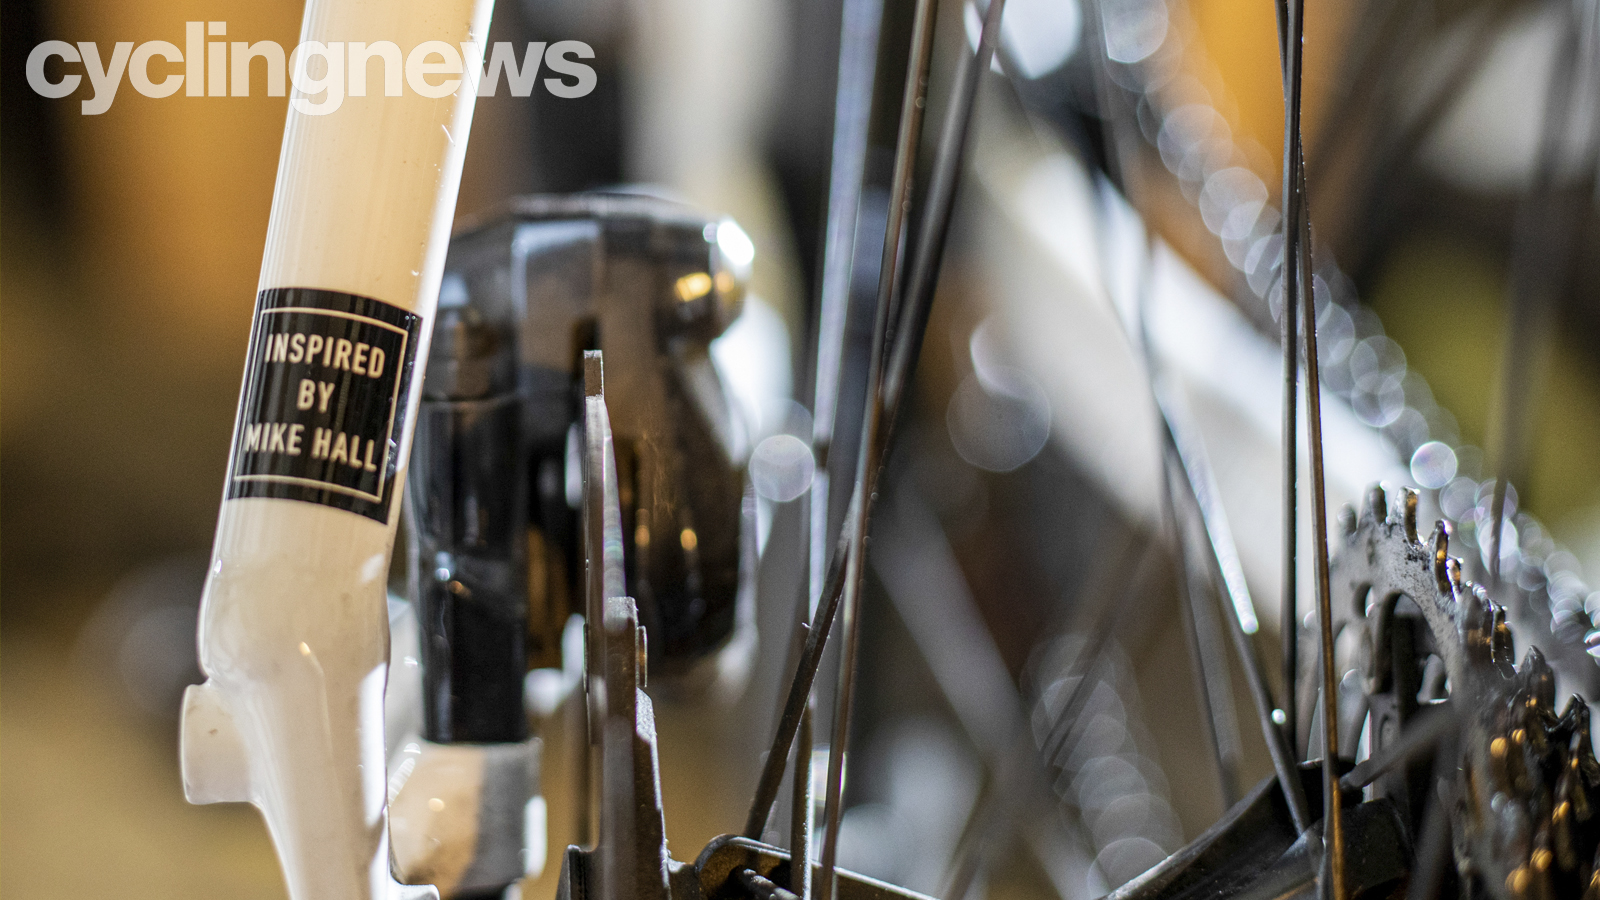
2. Open brake calipers
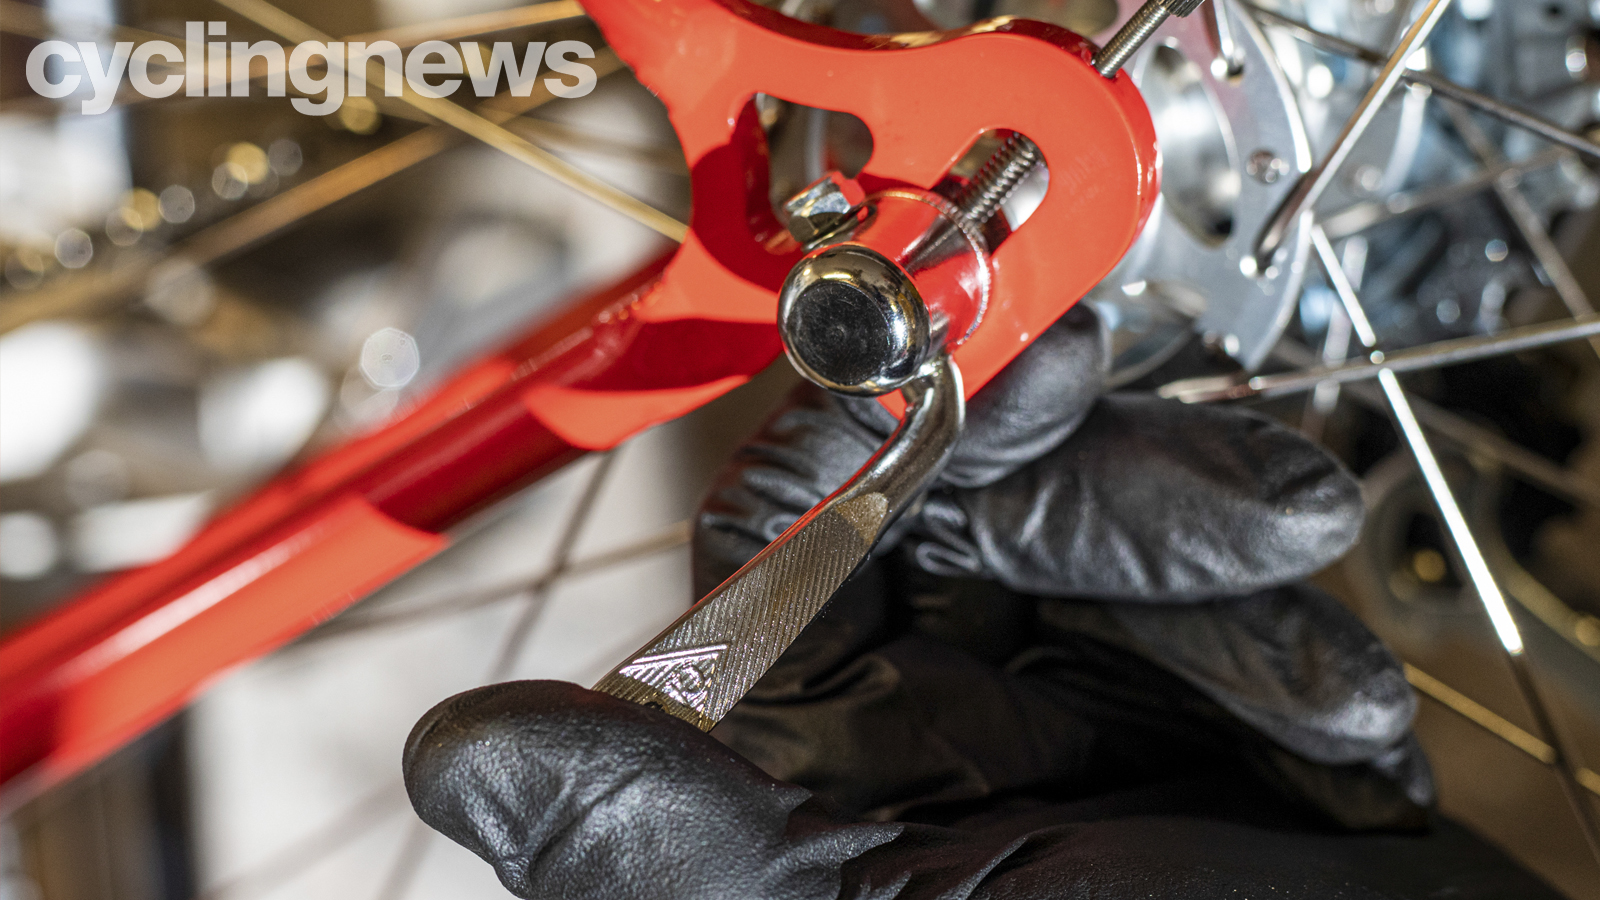
If you’re taking out a rim brake wheel then open the quick-release on the brakes. You’ll find this on the brake calliper itself on Shimano and SRAM brakes but it’s built into the lever on Campagnolo brakes and the retro DiaCompe levers we’re using here.
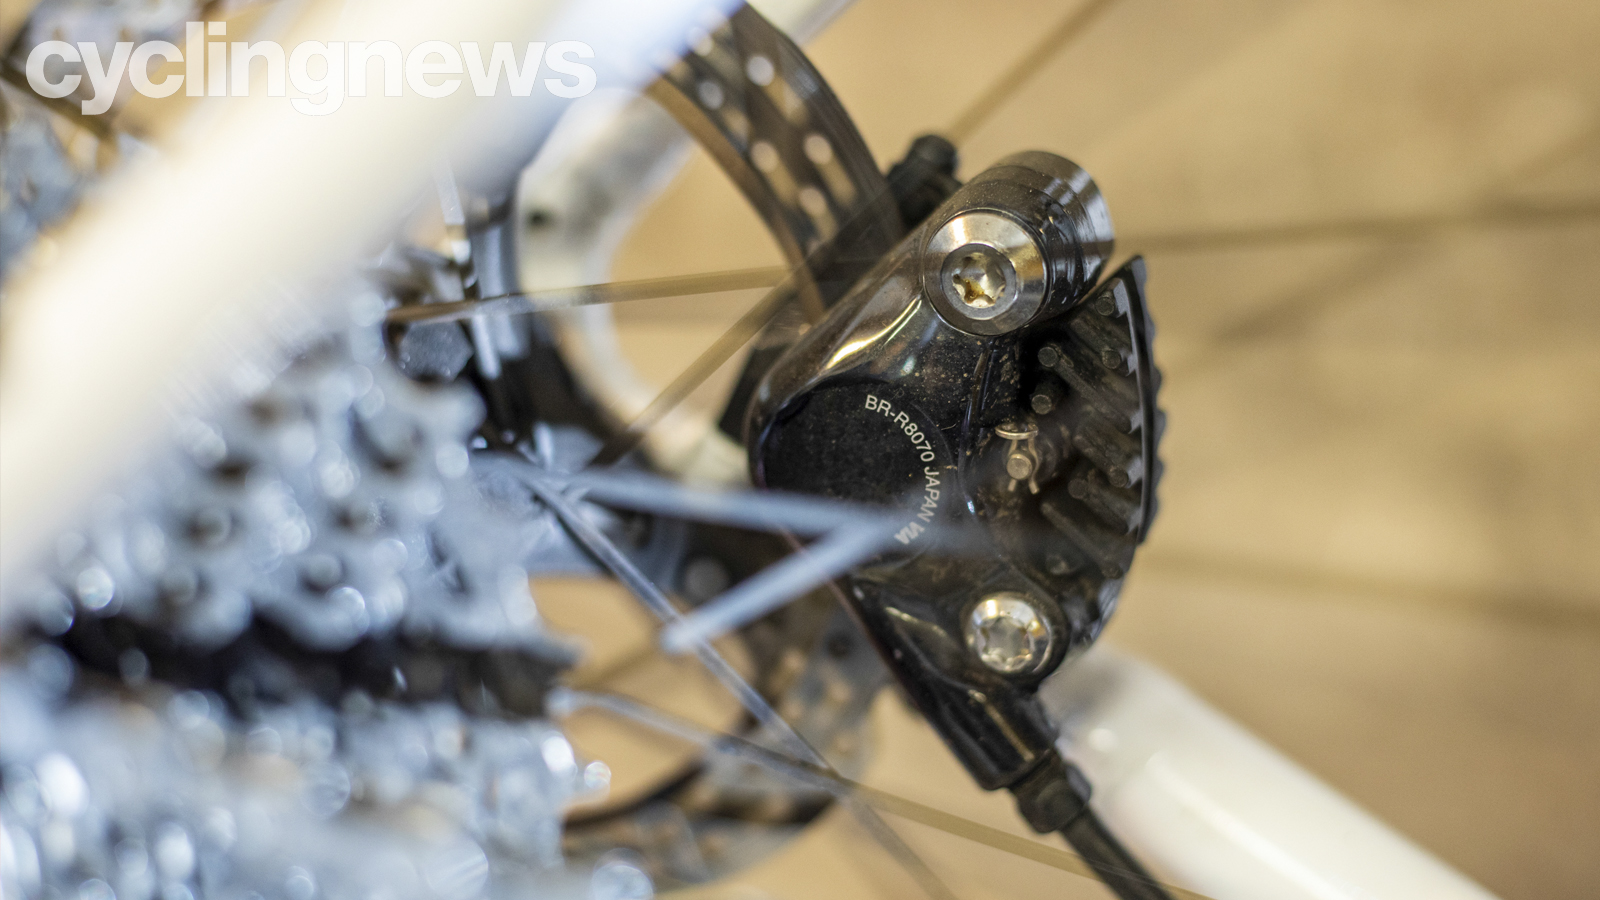
If the bike is fitted with disk brakes there are no adjustments that need to be made to the calliper to remove the wheel as the disk will simply slide out from between the pads.
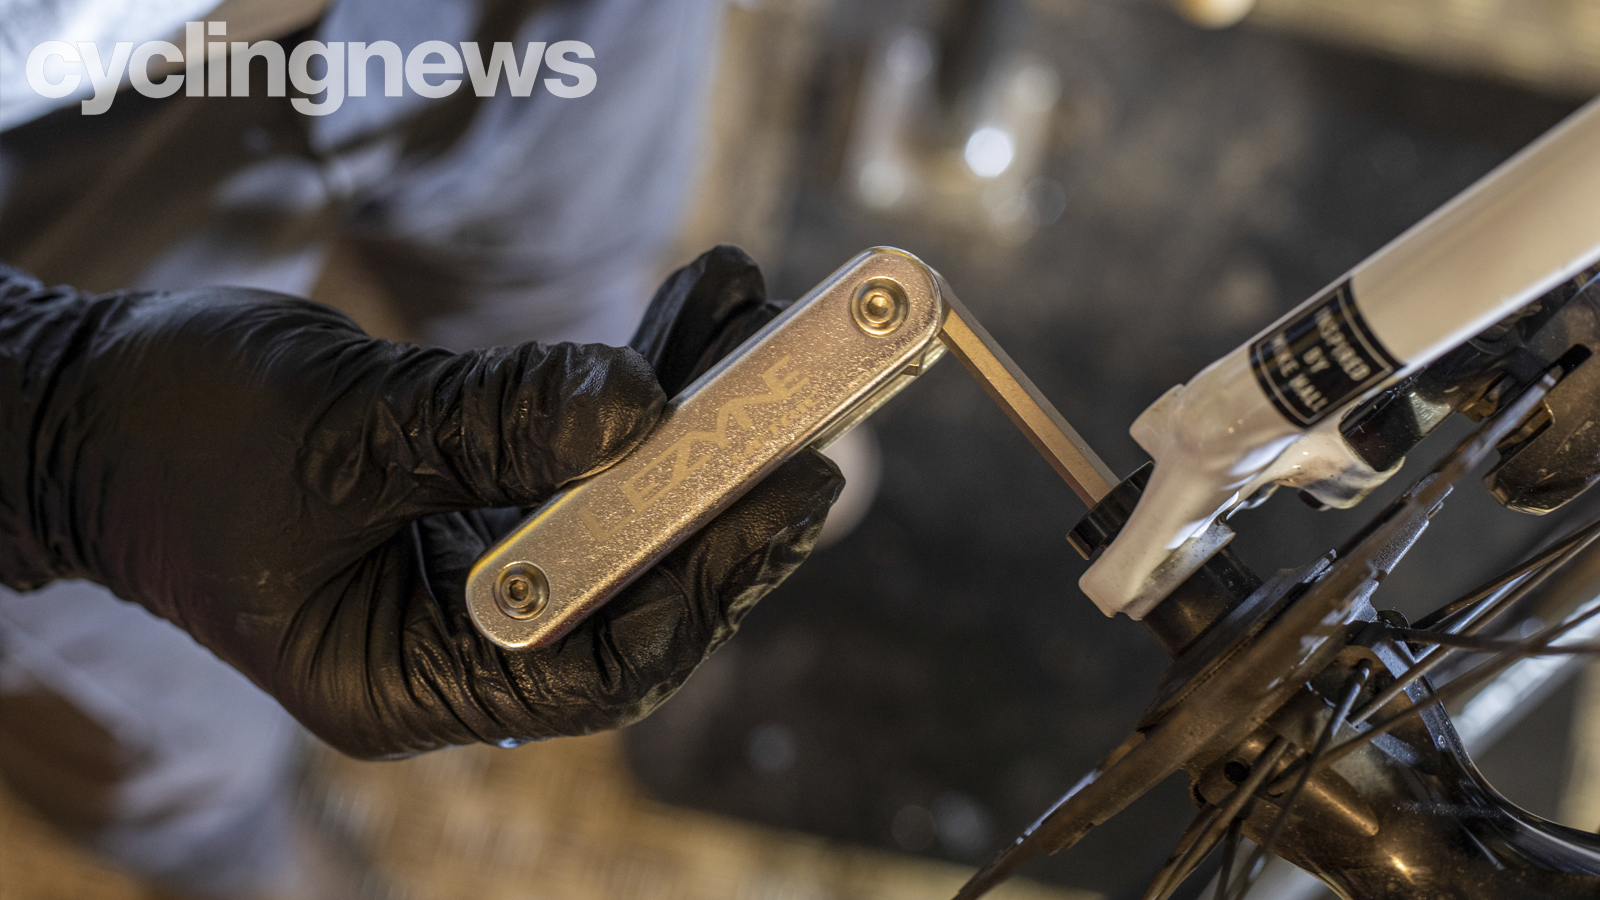
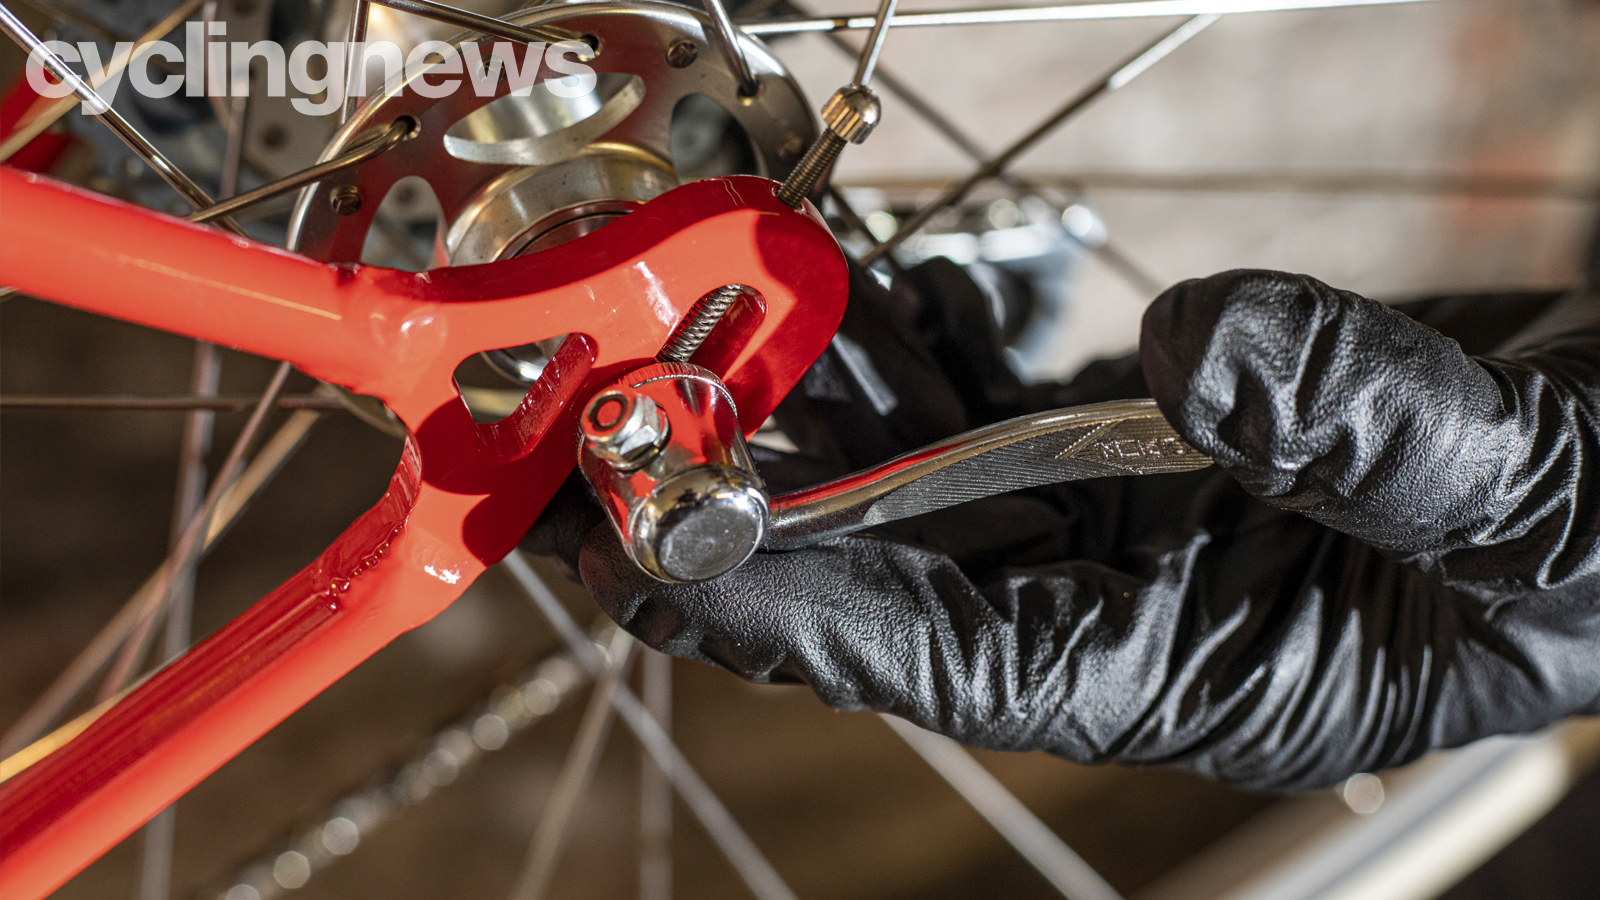
3. Releasing the wheel
If you’re working with a bolt through axle push the 6 or 5mm Allen key as deep as you can into the axle end to secure the best connection. You might need some extra leverage here so long allen keys or a multitool you can fold out are very useful.
If you’re using a nutted axle then make sure you use an accurately sized spanner as you’ll be in a lot of trouble if it slips and rounds off the nut.
QR axles are very simple as releasing the wheel is just a case of opening the lever and loosening the axle. The QR skewer does not require to be removed, although the front wheel QR will need to be loosened enough to clear the safety lips on the front drop-outs.
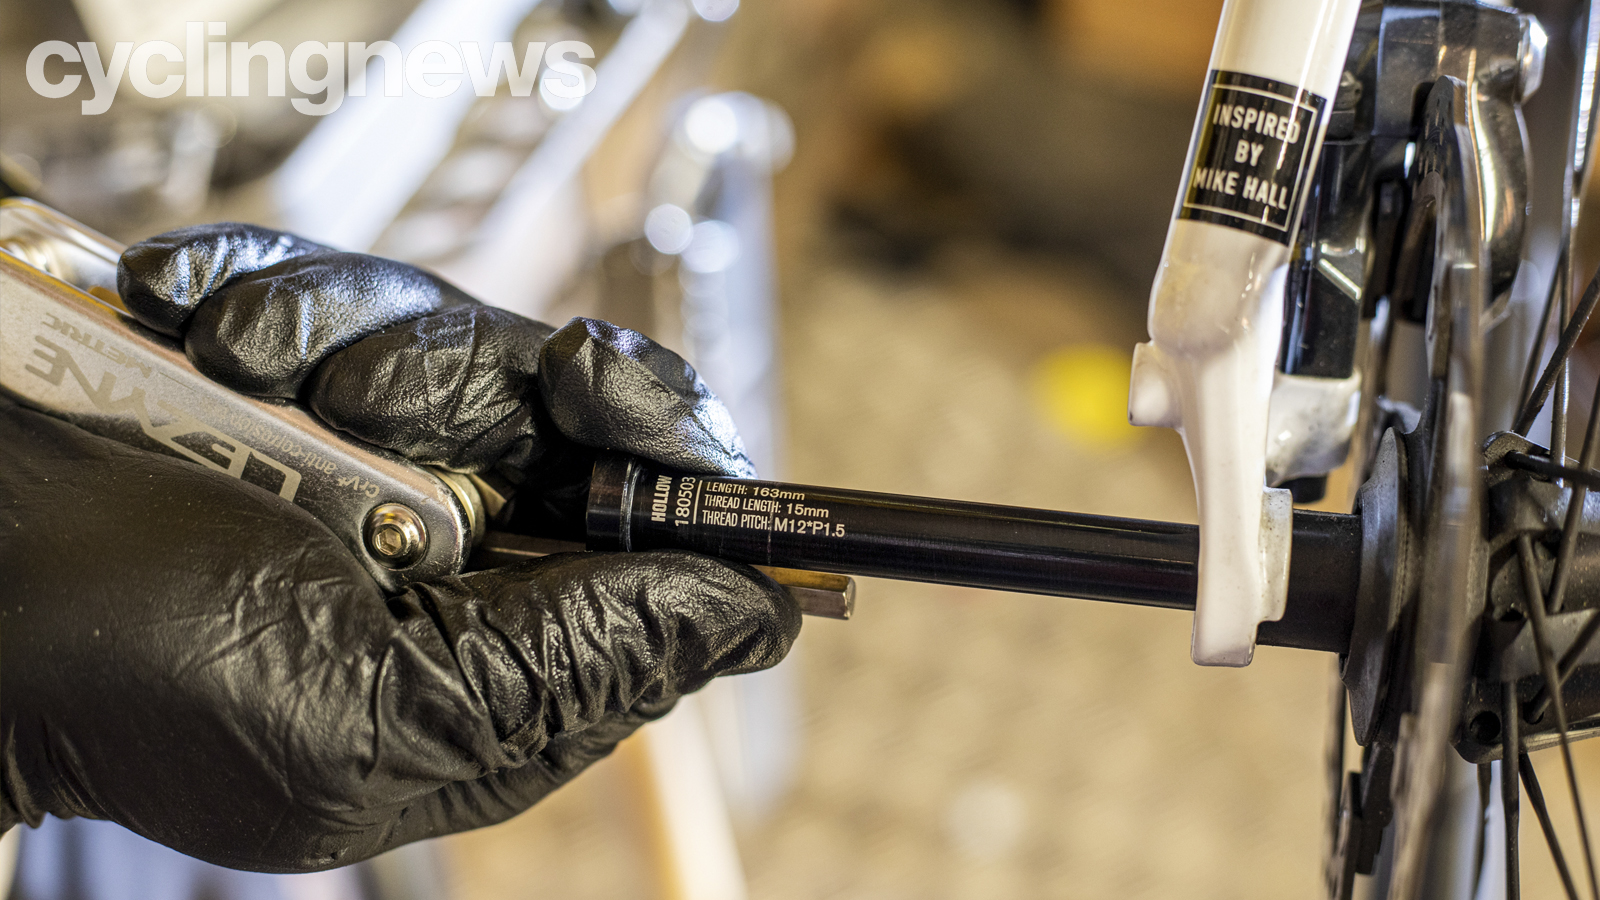
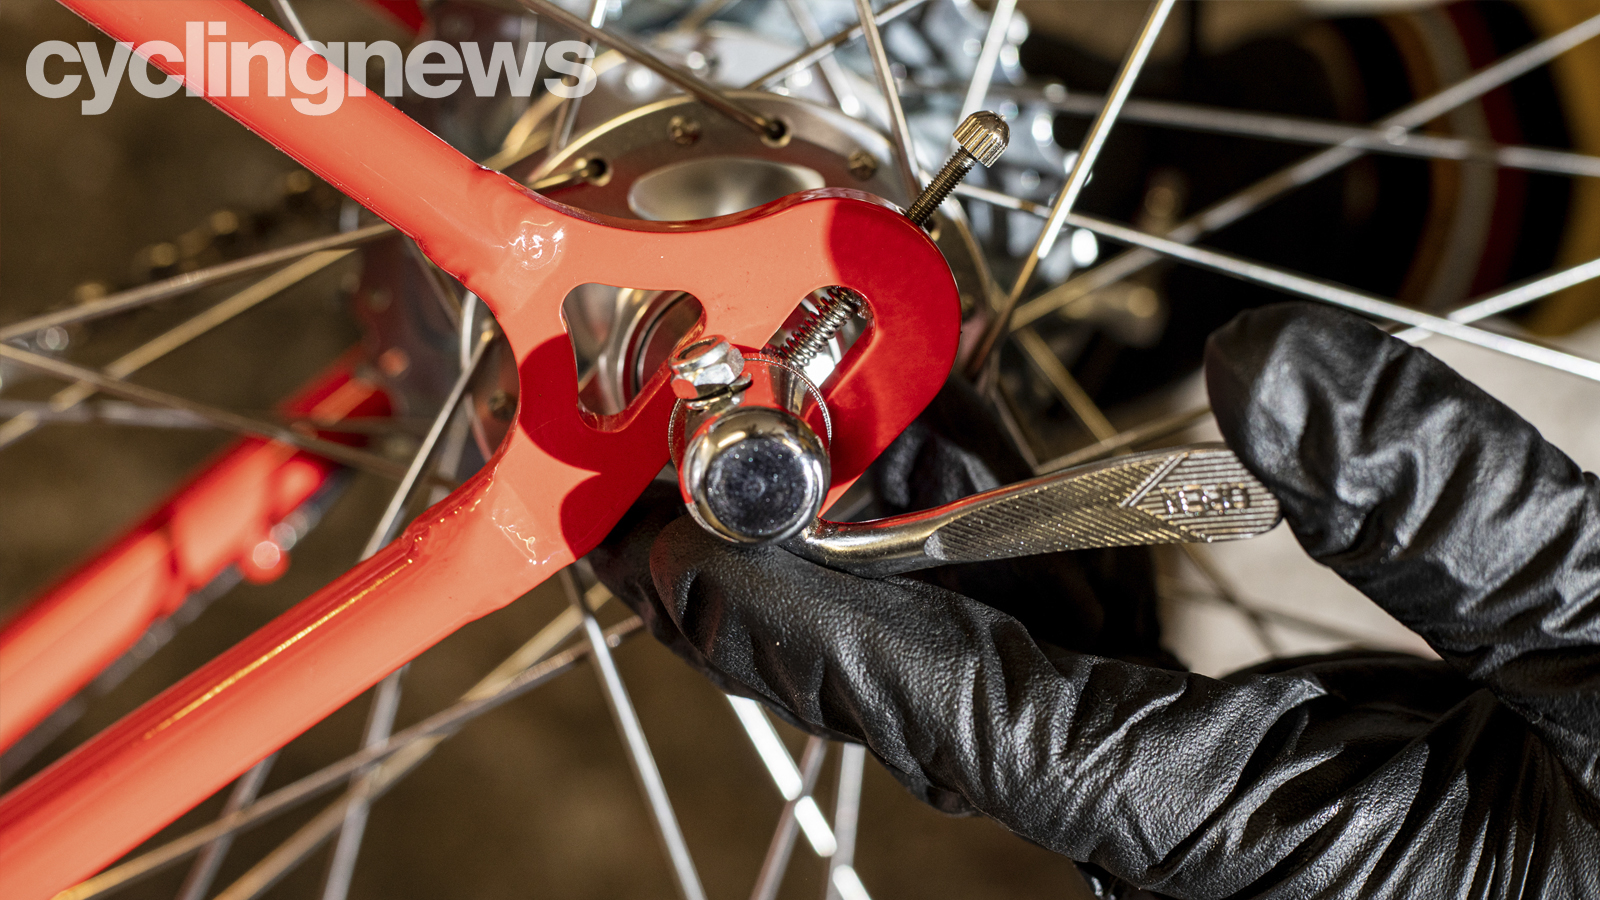
4. Remove the wheel
Loosen the axle and then - supporting the wheel in place with your other hand or your knee - slide the axle out. If it’s a QR lever pull it open. If it’s bolted, unbolt it both sides. With the wheel loose, pull the rear mech back to reduce the chain wrap on the cassette and then drop the wheel out of the bike. On some close clearance aero bikes you might find the tyre jams against the frame so be prepared to let the air out to get it past.
If you need to remove the front wheel the process is the same, but without the complication of moving the rear derailleur out of the way.
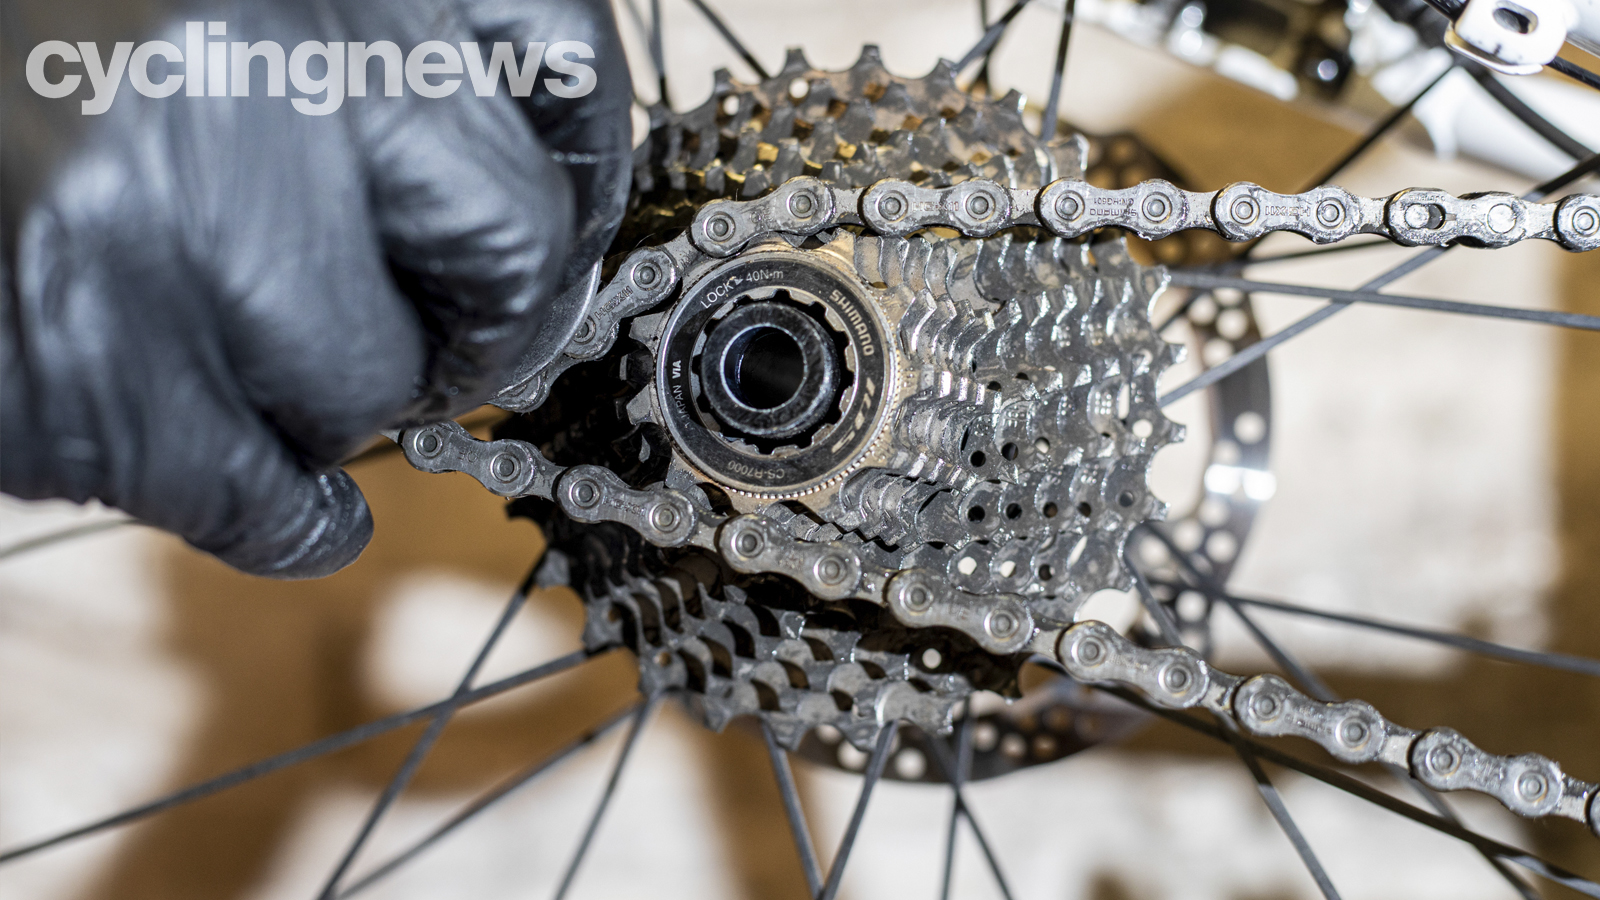
5. Check the wheel
While the wheel is out, now is a good time for a quick tyre and rim check for any splits or signs of excess wear. Give the cassette a quick degrease and clean while it’s easy to get to as well. If you’re working on a gravel or cross bike, get into the cog gaps on the cassette with the hook of a spare spoke or anything else that fits into the gap to clear any dirt that might have collected inside the cassette.
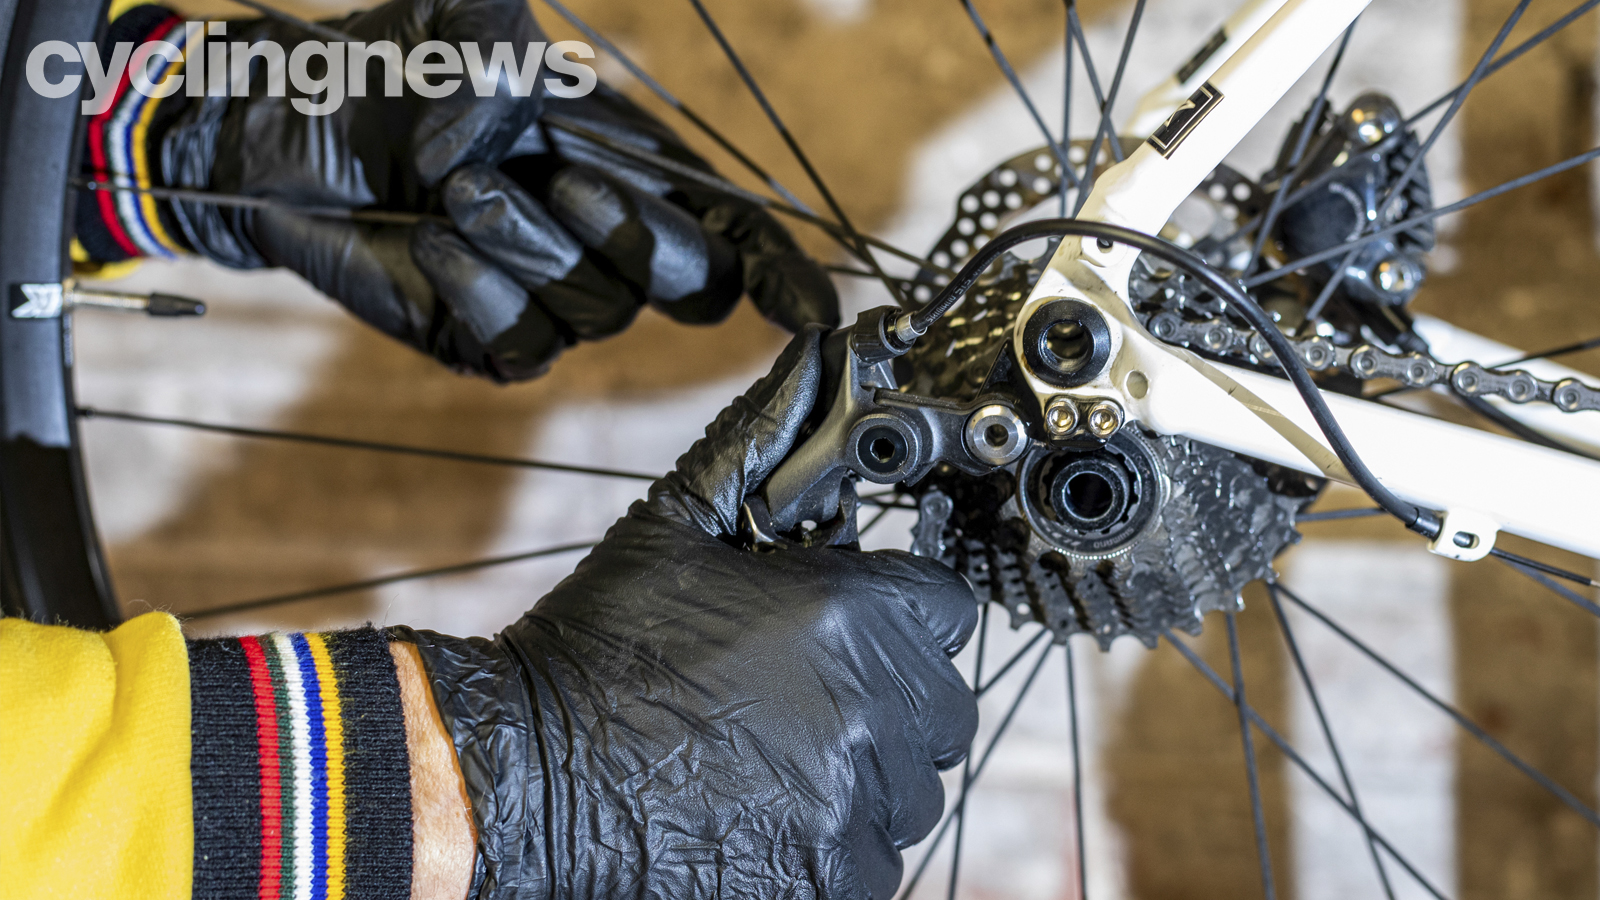
6. Re-fitting the wheel
Re-fitting the wheel is effectively a reverse of the removal process. Again pulling the rear derailleur backwards to help hook the chain around the block is a big help. Standing behind the bike (rear wheel) so you can visually guide the disc rotor into the pad gap helps a lot too. Once the wheel is in place, support it with your knee/stomach/hand until you can slide the axle into place. Tighten the axle and then spin the wheel by slowly turning the cranks to make sure everything works fine.
If you’re fitting a quick-release or bolted wheel with open dropout make sure it has slid fully into the dropouts. Placing the bike on the ground so that its weight pushes the wheel into place can really help here. Now close the quick-release lever firmly and give the wheel a quick waggle to check nothing is loose. The quick-release should be tight but not so tight that it is difficult to open again. Close the QR cams on the brakes and spin the wheel to check everything is lined up and working fine.
- Best road bike wheels: Our pick of the best wheelset upgrades
- Road bike groupsets: a comprehensive guide
Individuals carrying out the instructions in this guide do so at their own risk and must exercise their independent judgement. There is a risk to safety if the operation described in the instructions is not carried out with the appropriate equipment, skill and diligence and therefore you may wish to consult a bike mechanic. Future Publishing Limited provides the information for this project in good faith and makes no representations as to its completeness or accuracy. To the fullest extent permitted by law, neither Future Publishing Limited, its supplier or any of their employees, agents or subcontractors shall have any liability in connection with the use of this information, provided that nothing shall exclude or limit the liability of any party for personal injury or death caused by negligence or for anything else which cannot be excluded or limited by law.
