How to remove and fit a bike chain
Easy chain removal to make servicing and repair a cinch
The latest race content, interviews, features, reviews and expert buying guides, direct to your inbox!
You are now subscribed
Your newsletter sign-up was successful
Without a chain your bike is just an expensive scooter, so here’s how to fit and remove your chain with a quick link - or without one - to make repair or servicing super simple.
If you are looking for more helpful maintenance advice, Cyclingnews is bringing you a series of guides so that you can learn how to perform basic bike maintenance tasks yourself. Check out the other guides that are available.
- How to fit a bike wheel
- How to change a bike tyre
- How to repair an inner tube on your bike
- How to remove and fit bike pedals
- How to adjust disc brakes on a bike
- How to adjust bike gears
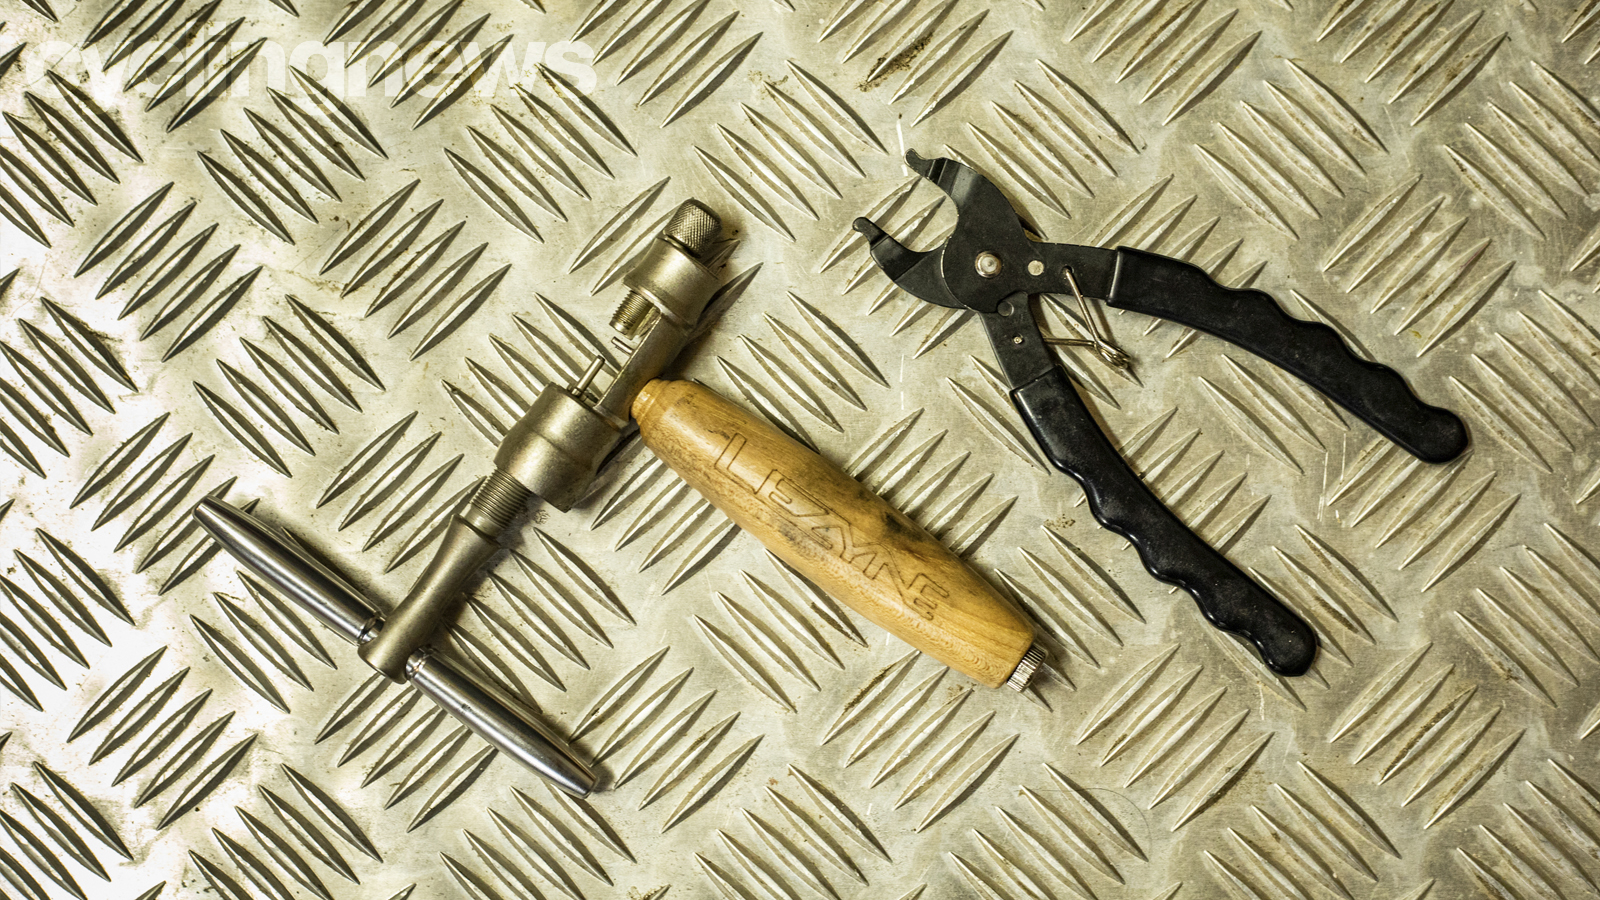
Tools needed
For shortening a chain or repairing it without a quick link you definitely need a chain tool. The best bike multi-tools may include a chain tool which is usually okay but using a proper workshop chain tool makes things much easier.
If you’re using a quick link it’s theoretically possible to remove your chain by hand, but a pair of link pliers make it a whole lot easier. Fitting it shouldn’t be a problem with a quick link though.
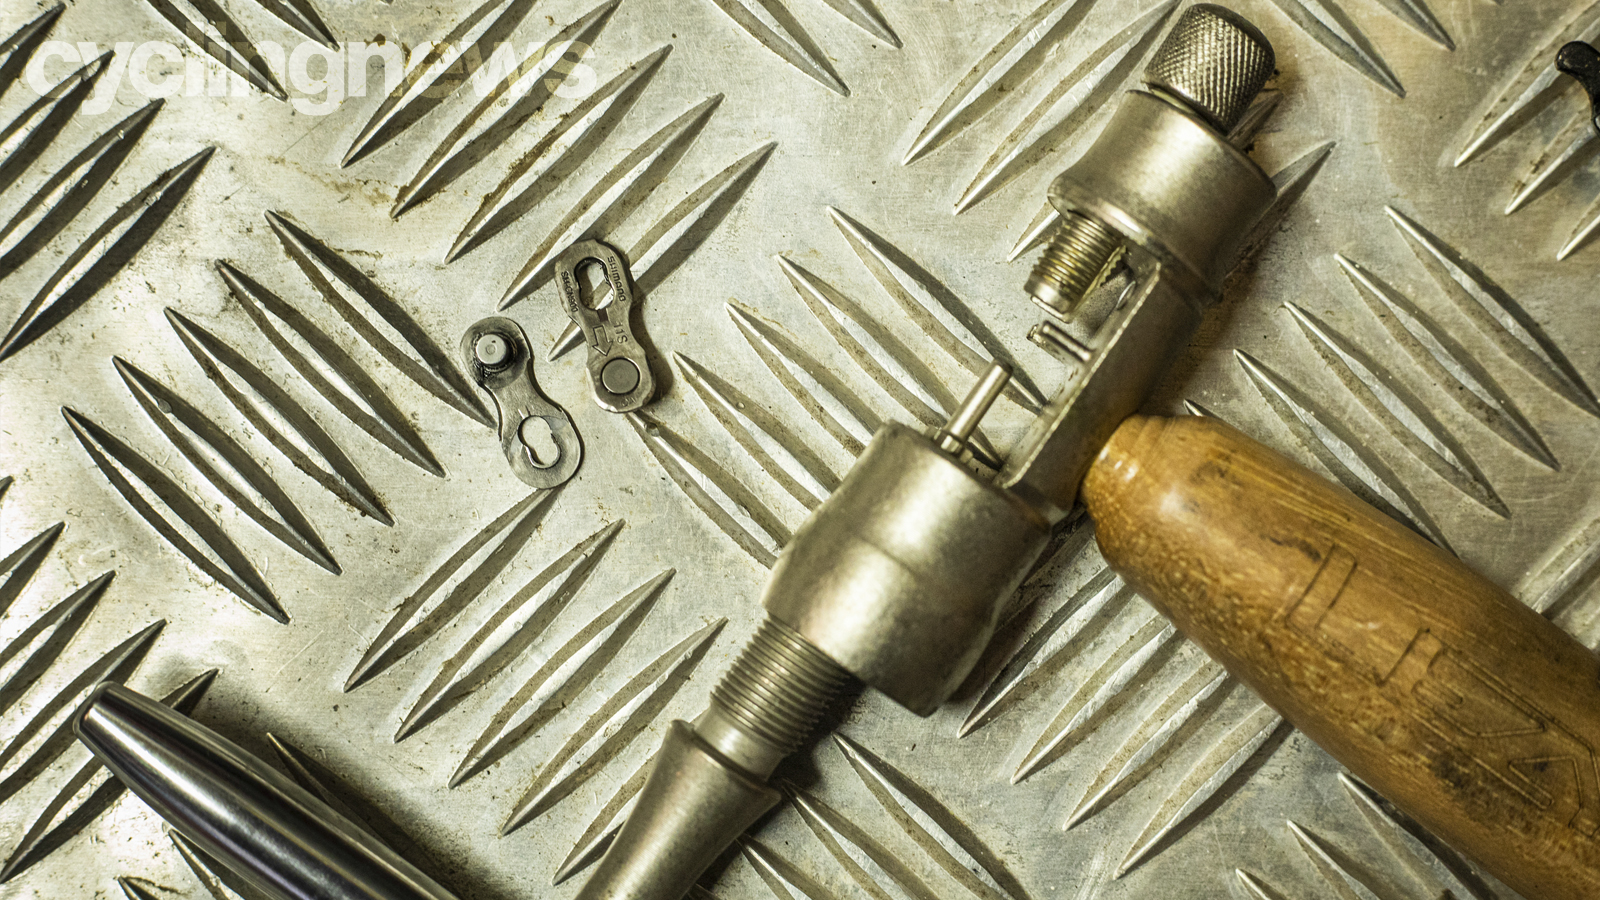
What are quick links?
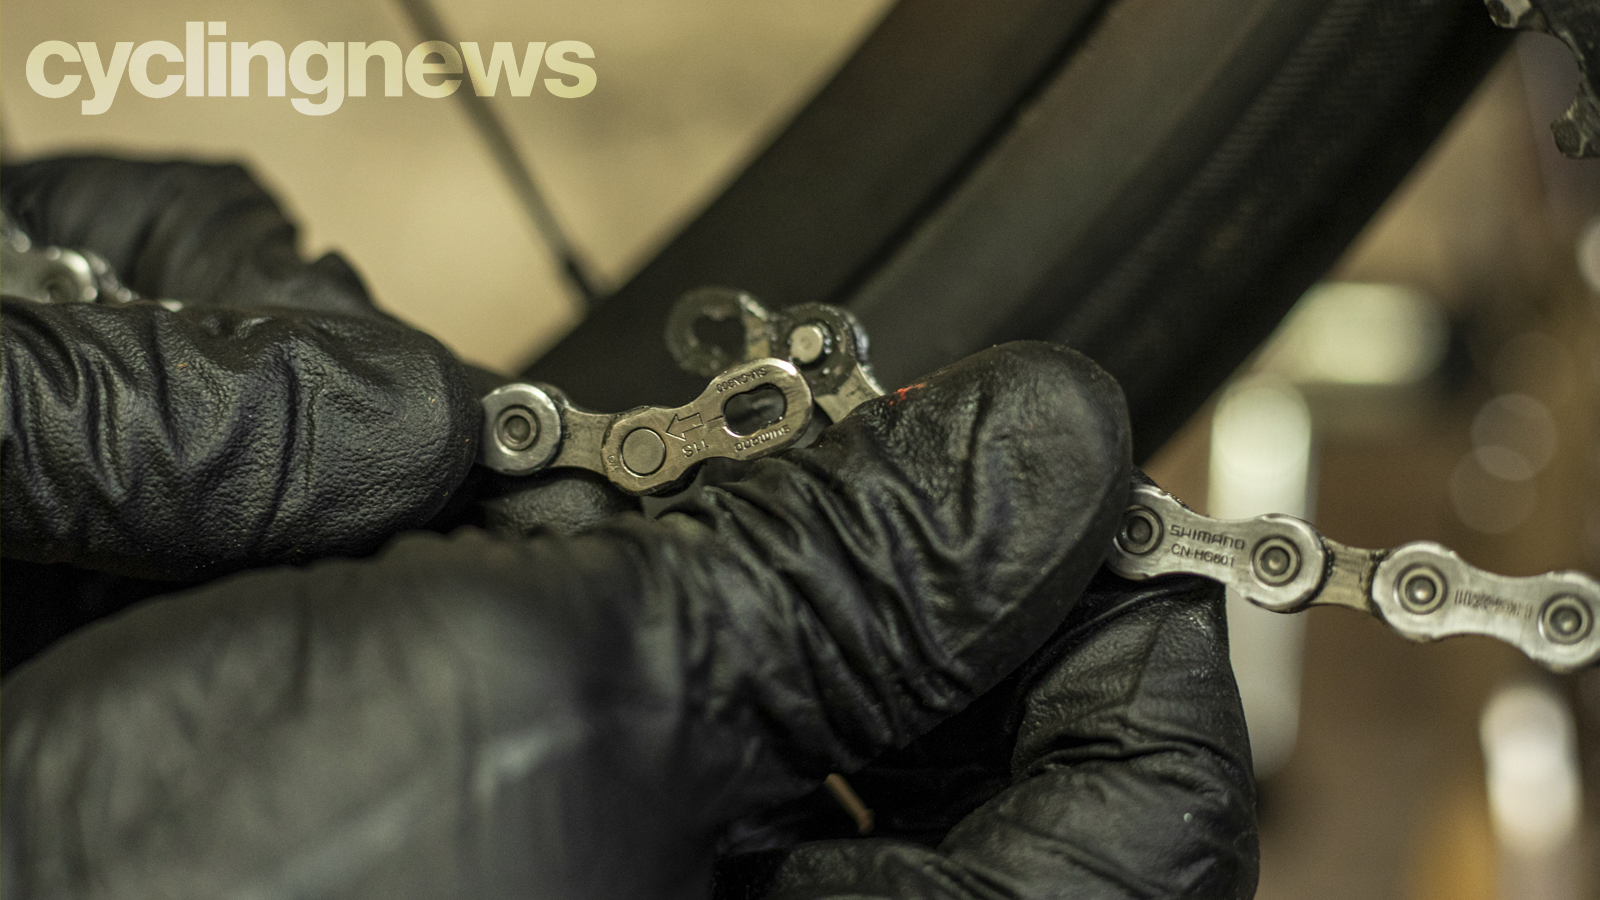
Quick links/split links/power links - whatever you want to call them - are special links that have the cross rivet permanently mounted to a link plate with a figure of eight connector hole. They work by hooking the rivet end through the large end of the figure of eight on the opposing plate. The tension of the chain then pulls the rivets into the narrower end of the figure of eight and locks them into place.
Removing a chain
1. Check the chain
First, make sure you clean your chain so you don’t get everything filthy when you’re working on it. Have a clear, clean area to put it down once you’ve removed it, too.
Check the chain for wear with a chain checker. If it’s too stretched then replace it before it starts to wear out more expensive parts of the transmission such as the cassette and chainrings. Removing the rear wheel also makes removing the chain easier.
The latest race content, interviews, features, reviews and expert buying guides, direct to your inbox!
2. Find the split link
If you have a split link in the chain then you need to find the split link and then rotate the chain until it’s at the bottom of the run (between the rear mech and chainrings). This will mean the chain ends just hang down when you split it, rather than unravelling in both directions at once if you split it at the top.
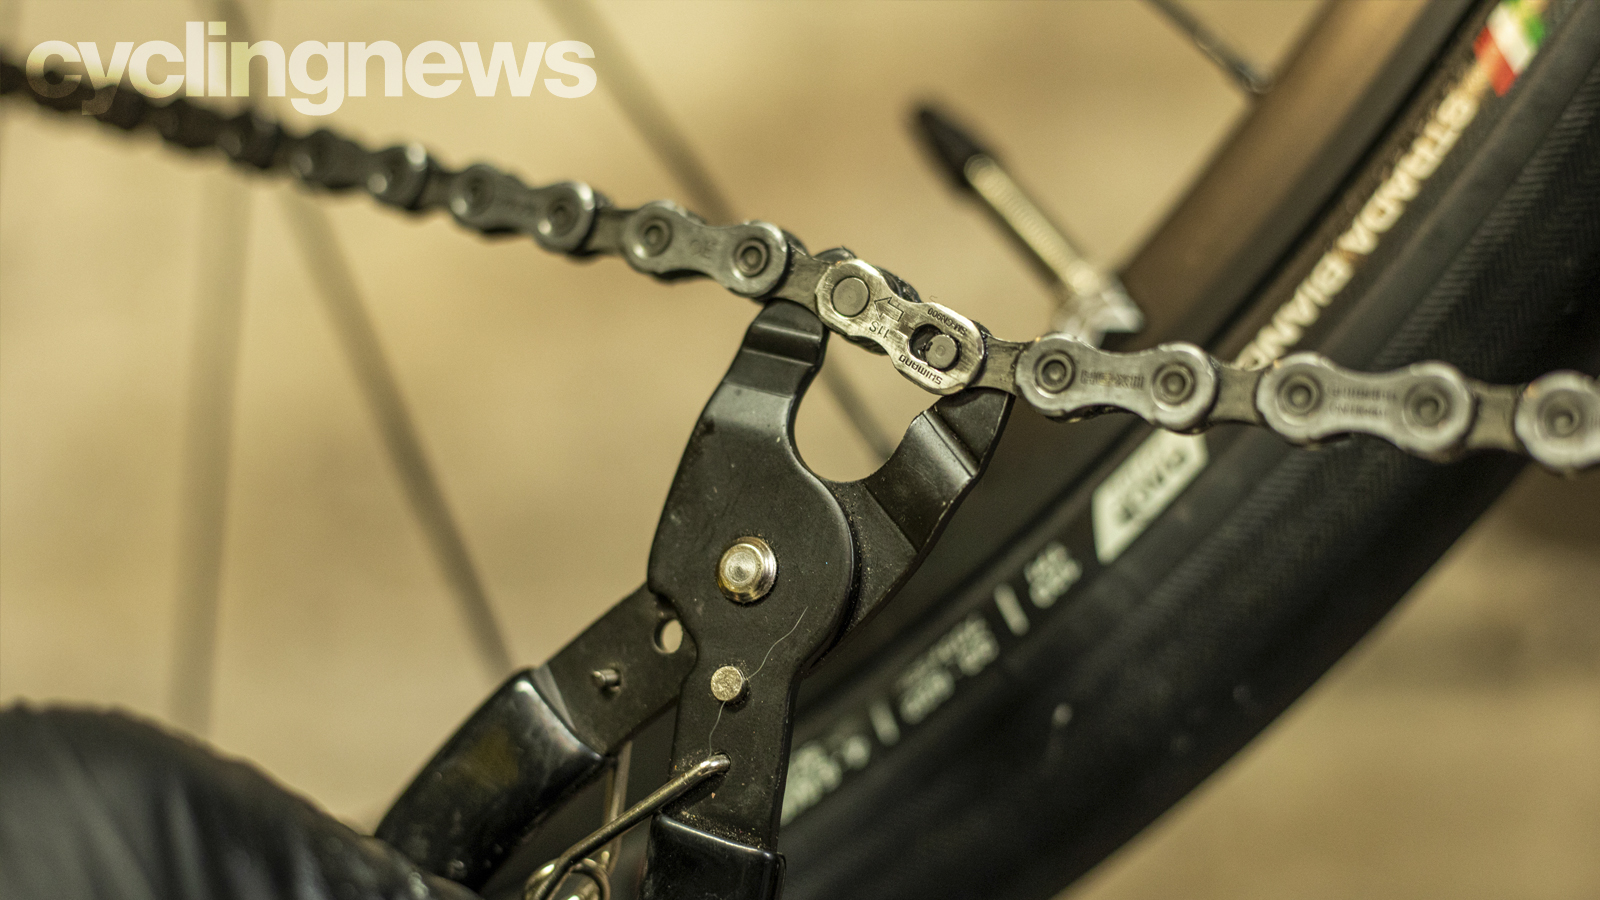
3. Release the split link
Now release the split link by pushing the rivets at the end of the chain-link towards each other so they can be unhooked. This is easy with chain pliers but if you’ve been riding hard for a while it can be a right fight without them. Flexing the chain sideways can help release them slightly but persevere and they will unhook eventually.
When the link releases, unhook it fully and put the two halves of the split link somewhere safe. Don’t be tempted to leave them hooked through the chain as at least one is bound to fall out and potentially get lost.
4. Removing a chain rivet
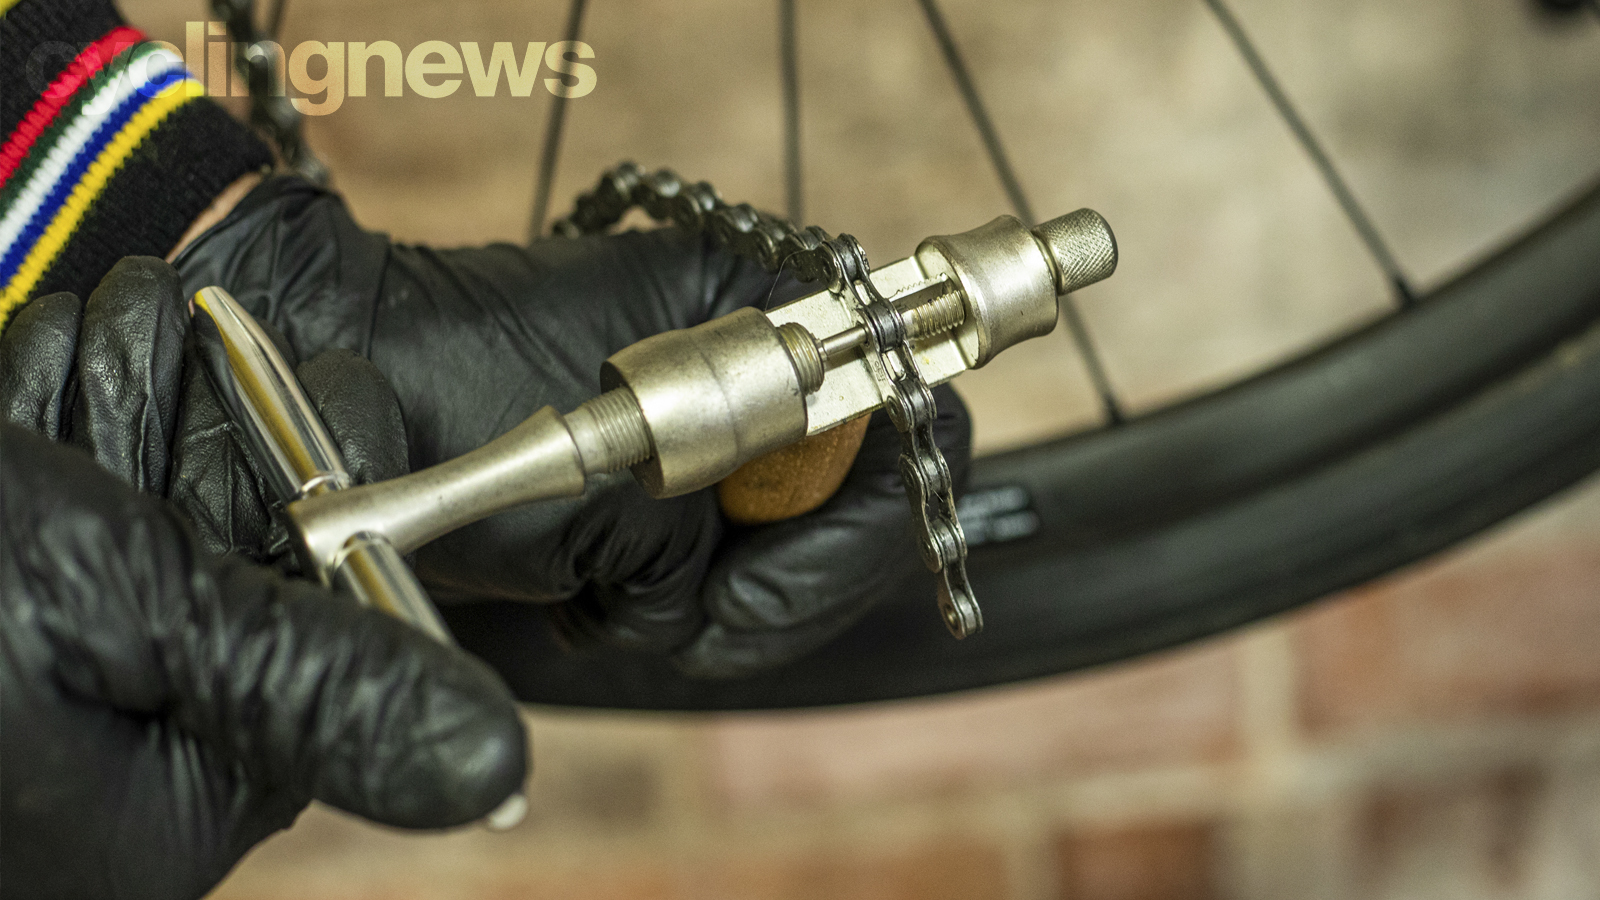
If your chain doesn’t have a split link you need a chain tool to push one of the joining rivets out. Reverse the chain pin out so that you can drape the chain over the holding teeth. Now carefully wind the pin back in until it contacts the head of the chain rivet. A good quality workshop chain tool is a really smart investment as it will locate the link securely and drive the rivet out accurately and easily. If you only have the chain tool from a multi-tool make sure that the chain doesn’t lift up or move as you start to push the rivet through.
Push the rivet through very gradually until it’s 80% of the way through the chain link. You don’t want to push it totally through as you need to be able to push it back in to rejoin the chain. Reverse the pin out of the link and flex the chain slightly sideways to see if the chain links pop apart. If not then push the rivet through a tiny bit further and try again. This might seem irritating but it’s way better than pushing the rivet out of the far link as then you’ll need to shorten the chain by removing another set of links or adding a split link to rejoin it.
5. Remove the chain
If you’ve used a chain tool and still have a protecting rivet make sure you pull the chain so that the non-rivet end is going the long way round. Otherwise, the rivet can get stuck in the front mech or the jockey wheels of the derailleur. The other end will also want to rotate the so it falls off the other way so prepare to catch both ends and then put the chain in your safe place. If you need to fully clean chain or soak it in lube now is the time to do it.
Fitting a chain
1. Measure the new chain
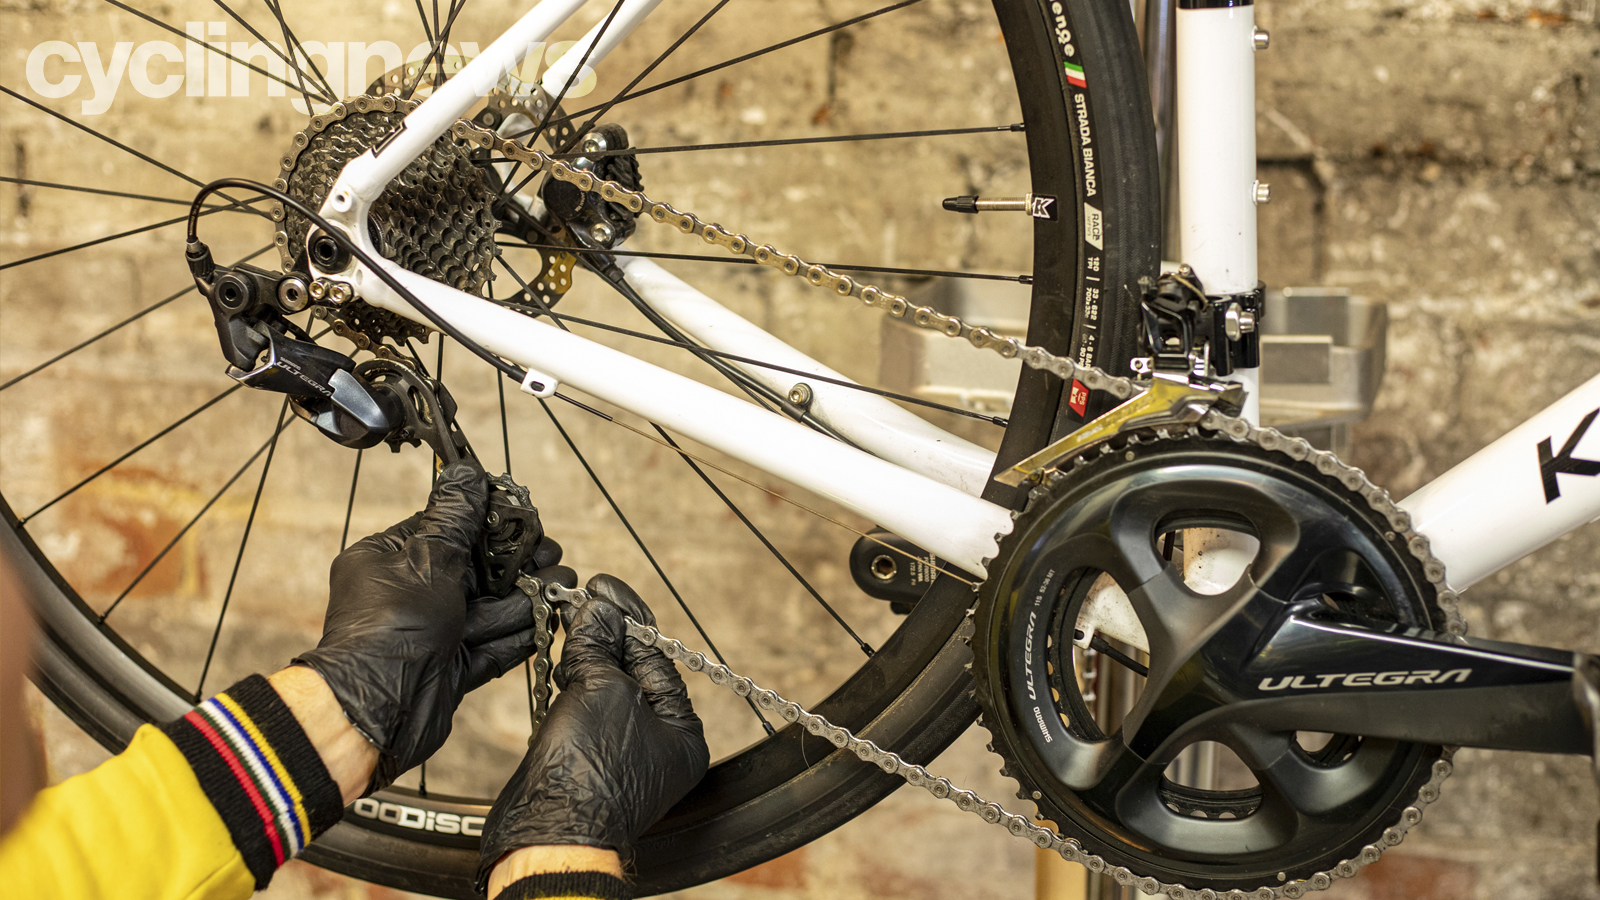
If you’re fitting a fresh chain then you need to get the length right. If you’re replacing an existing chain that was the right length then just measure it against that. Otherwise, wrap the chain around the largest chainring and the largest sprocket of the cassette without passing it through the rear derailleur.
Now find the overlap point where you can join an inner and outer link at the shortest point. If you’re rejoining the chain with its own rivets then add two links to find the trim point. This gives you enough extra chain to wrap around the jockey wheels of the rear mech. Now use the chain tool as described above to push out the chain rivet far enough to flex the chain apart.
2. Remove excess chain
We’d definitely recommend fitting a split link for future convenience and better join security rather than using a chain rivet though. In this case the trim point is one link longer than the overlap point. You can also push the rivet completely through so it falls out of the other side and leaves you two ‘male’ (narrower) ends for the split link to hook into. Now remove the excess chain section and put it to one side in case you need some spare chain links in the future.
3. Fit the chain
Shift the front derailleur into the inner chainring position and the rear derailleur into the smallest sprocket position. Now pass the chain through the front derailleur cage, over the smallest rear sprocket and through the rear derailleur cage over the jockey wheels. Make sure that it doesn’t foul on any guide tabs on the cage. Now you’re ready to rejoin the chain.
4. Rejoin the chain with a rivet
If you’re re-using the chain’s own rivet or using an older Shimano chain with a special joining rivet you need to back the driver pin of the chain tool right out. This gives you the space you need to drape the two ends of the chain over the holding teeth. Carefully centre the driver pin on the end of the rivet and carefully push it back through the end links. Keep pushing the rivet through until the far end just sticks out past the outer plate. If you’re unsure how far we mean use the neighbouring rivets as a guide.
5. Rejoin the chain with a split link
If you’re using a split link then push the rivets into the opposite ends of the chain. Now hook the end of each rivet into the large part of the figure eight hole on the opposite link. If you have chain pliers, use them to push the rivets apart and lock the split link securely. If you don’t have pliers, position the split link at the top of the run (between the cassette and chainrings) and you can just press on the cranks to lock the link.
6. Check the drivetrain runs smoothly
To check you’re ready to ride gradually shift through the gears while turning the cranks. In the smallest chainring and smallest sprocket the rear derailleur should still just be under tension. Shift into the largest chainring and then work up the cassette towards the largest sprocket. You should still have a small kink in the chain around both jockey wheels rather than it pulling straight. Obviously, if there’s not enough chain you’ll need to add a link, but if there’s too much then take a link out. If the chain is stiff at the joining point then flex it gently from side to side to loosen it slightly.
7. Lube the chain
Now lube the chain and run through the gears from top to bottom and back again to check that you’re good to go.
- Best chains for mountain bike, gravel and road
- Road bike groupsets: a comprehensive guide
Individuals carrying out the instructions in this guide do so at their own risk and must exercise their independent judgement. There is a risk to safety if the operation described in the instructions is not carried out with the appropriate equipment, skill and diligence and therefore you may wish to consult a bike mechanic. Future Publishing Limited provides the information for this project in good faith and makes no representations as to its completeness or accuracy. To the fullest extent permitted by law, neither Future Publishing Limited, its supplier or any of their employees, agents or subcontractors shall have any liability in connection with the use of this information, provided that nothing shall exclude or limit the liability of any party for personal injury or death caused by negligence or for anything else which cannot be excluded or limited by law.
