How to clean a bike chain: A clean chain is faster, longer-lasting, and therefore less expensive
Without a chain you're left with nothing but an expensive balance bike. Here's how to keep yours spotless.
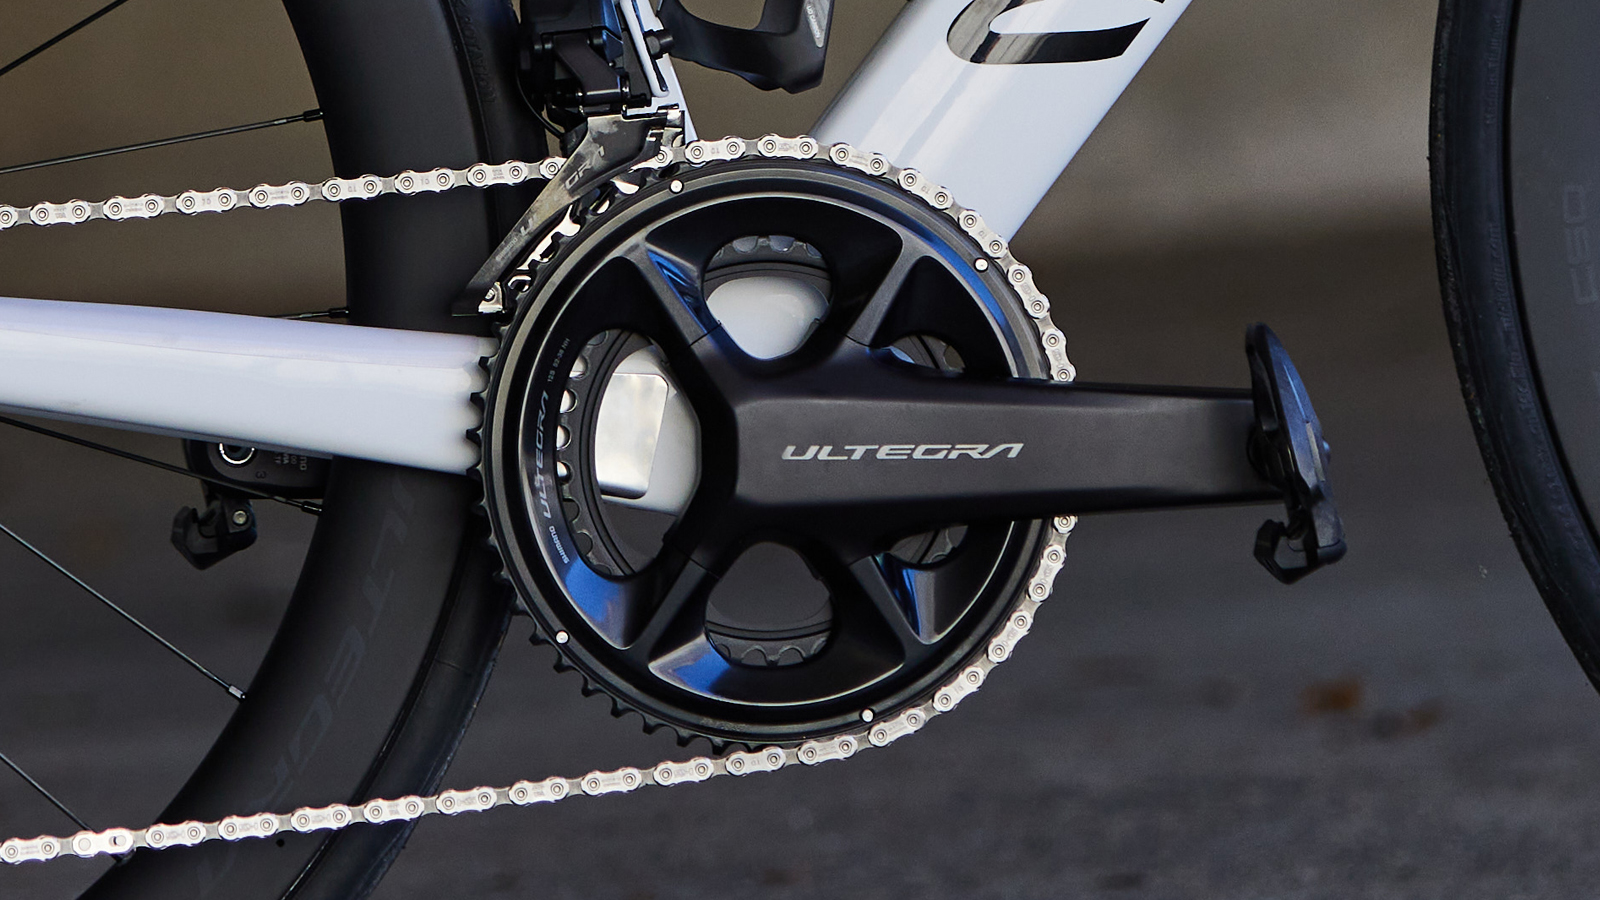
Simply put, a dirty chain is going to slow you down, so it's important that you keep it clean, along with the rest of the best road bike groupsets. Although the best road bike wheels, best cycling jerseys or even the most supple race rubber still offer performance benefits when grubby, your chain is different, and knowing how to keep it clean is an invaluable skill that'll save youy hard-earned watts and hard-earned cash.
In this guide, we’re going to tell you how to clean a bike chain, why you need to do it at all, and what products you can buy to keep that most important part of your drivetrain in showroom condition.
Should you clean your bike chain?
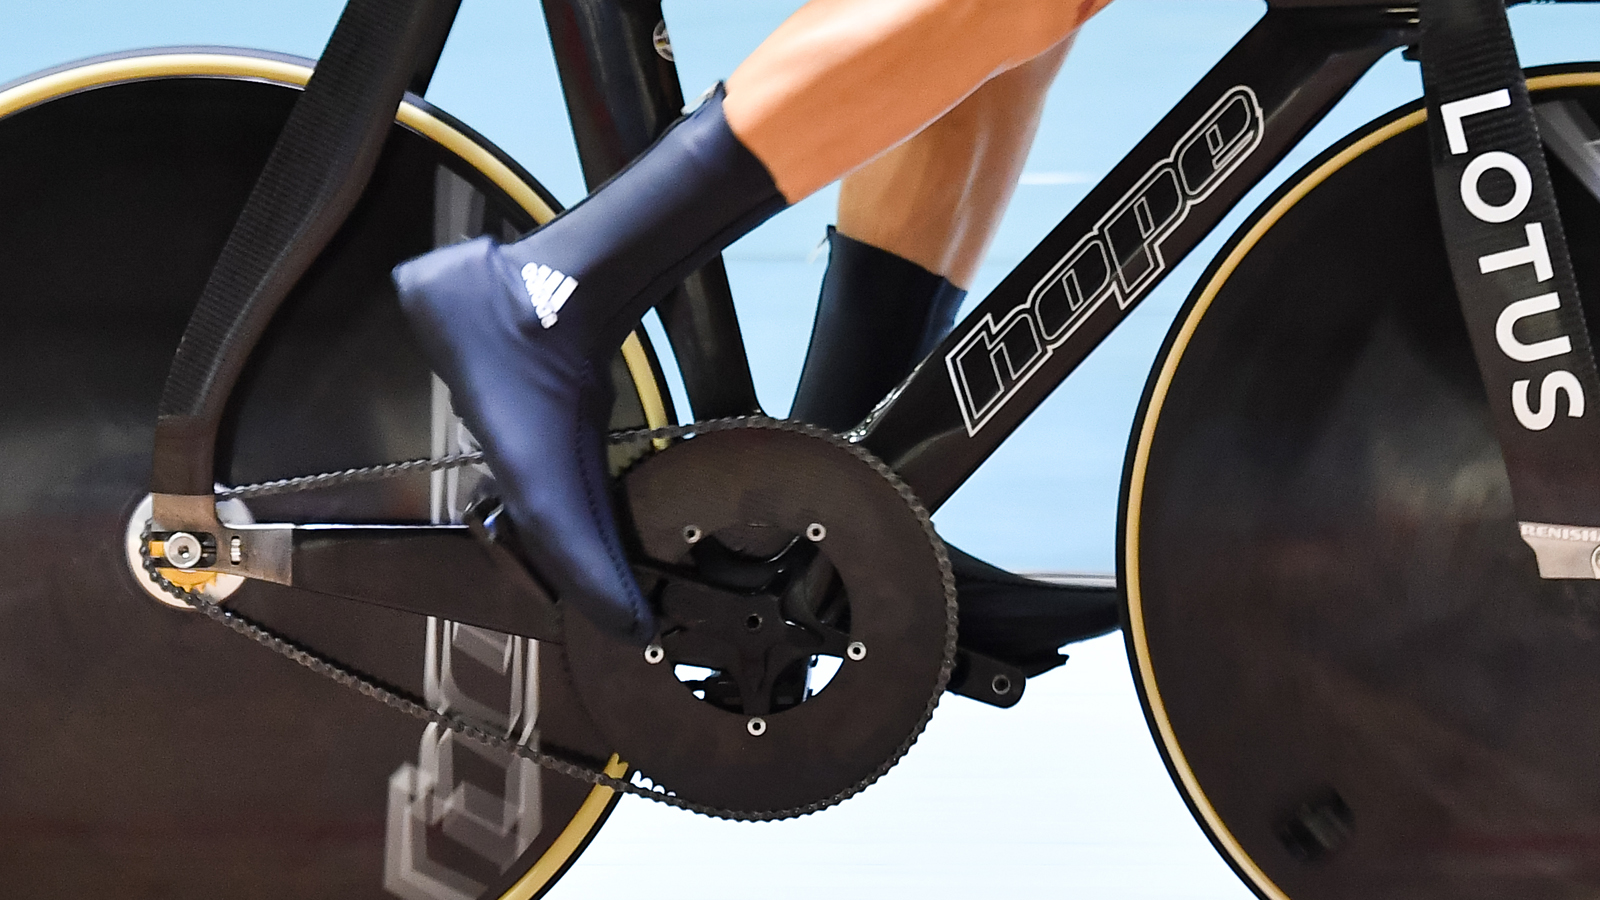
Common sense will tell you that a clean chain is faster than a dirty chain – but exactly how much faster? Depending on the chain and its level of cleanliness, various testing protocols have shown an average loss of one to two per cent in power at a moderate 250w output. Friction losses account for most of the difference, as the dirt and grime can suck up an additional three to five watts compared to a clean chain. And this is after just a few road rides.
Unsurprisingly, the dirtier the chain, the greater the friction and thus, the greater the losses in power output. A chain caked in mud, seen regularly in cyclocross and mountain biking, can rob you of three to five per cent of your total power output.
It is important to remember that your bike chain affects more than just your power output and efficiency. Your chain also snakes through a series of components throughout the drivetrain, including chainrings, chain catchers, cassette sprockets, and derailleur pulleys. A dirty chain can wear down more than just your power readings, it could also ruin your drivetrain, which, given the global bike and component shortage, means staying on top of cleaning is more important than ever.
Hopefully, you’ve now realised that keeping your chain clean is vital to the speed and longevity of your bike and its components. What, then, is the best way to keep it clean?
There are two main ways to clean your bike chain: removing it from the bike, or leaving it in situ.
Get The Leadout Newsletter
The latest race content, interviews, features, reviews and expert buying guides, direct to your inbox!
How to clean your chain by removing it from your bike
If you're going about things this way, having a quick-link will make your life significantly easier than using a chain breaker every time.
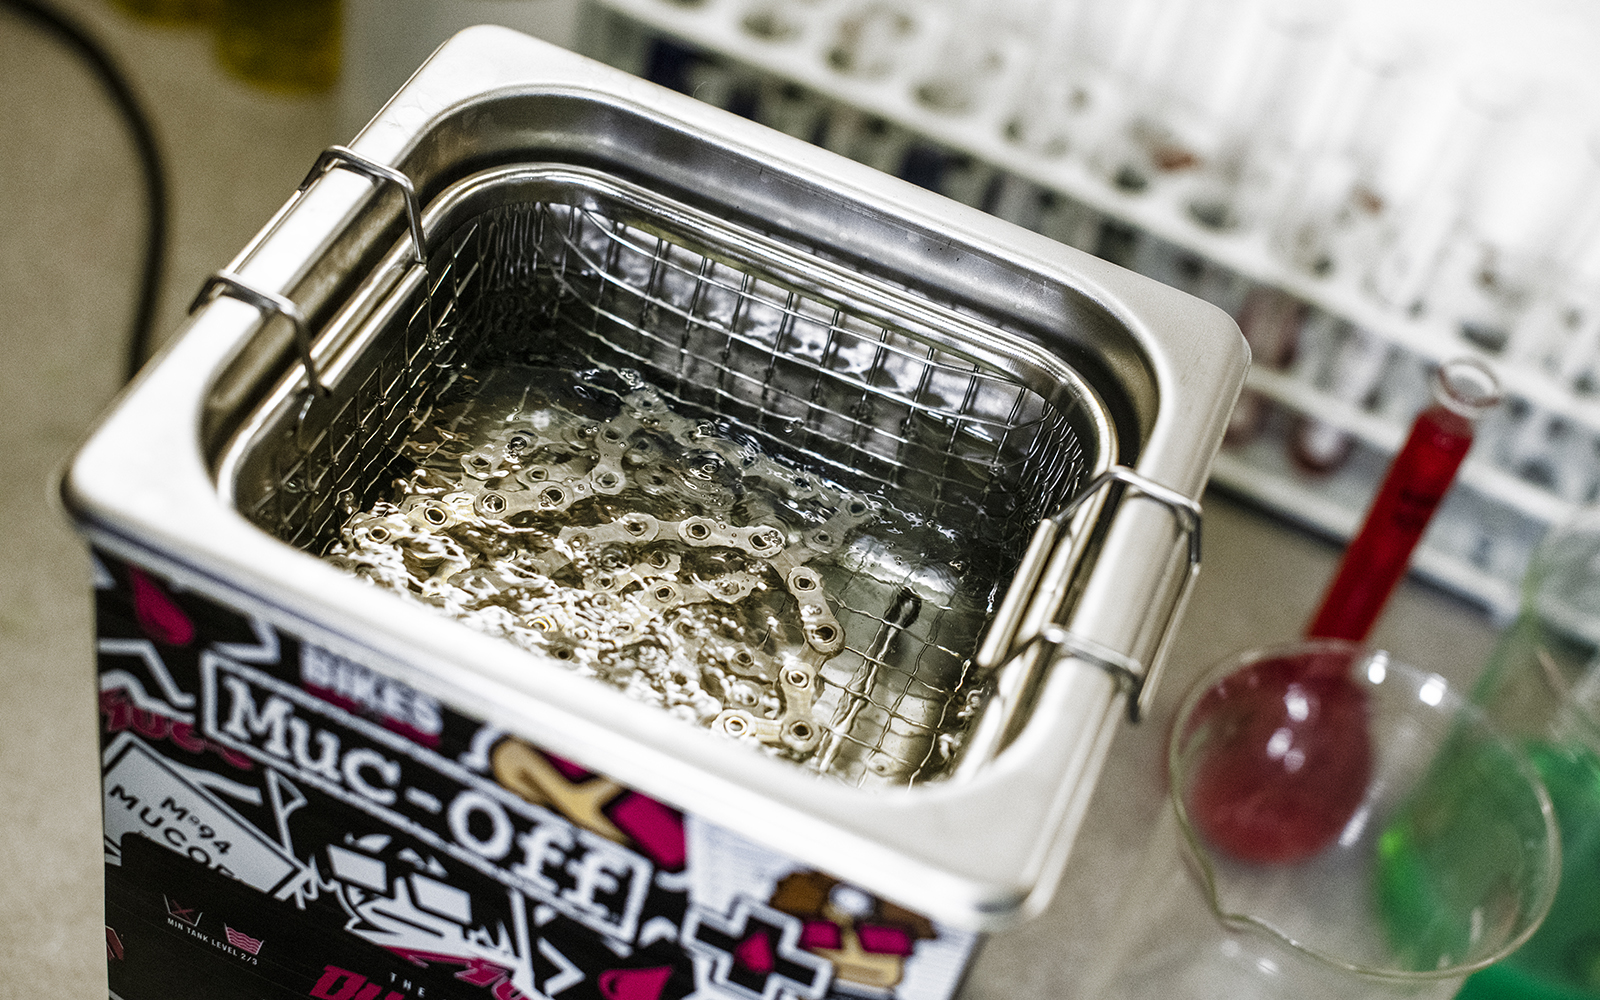
Industry experts recommend using an ultrasonic cleaner to clean your chain once it has been removed from the bike, with a caveat that they're only really effective when used properly. However, these machines can be expensive, usually around £50-100.
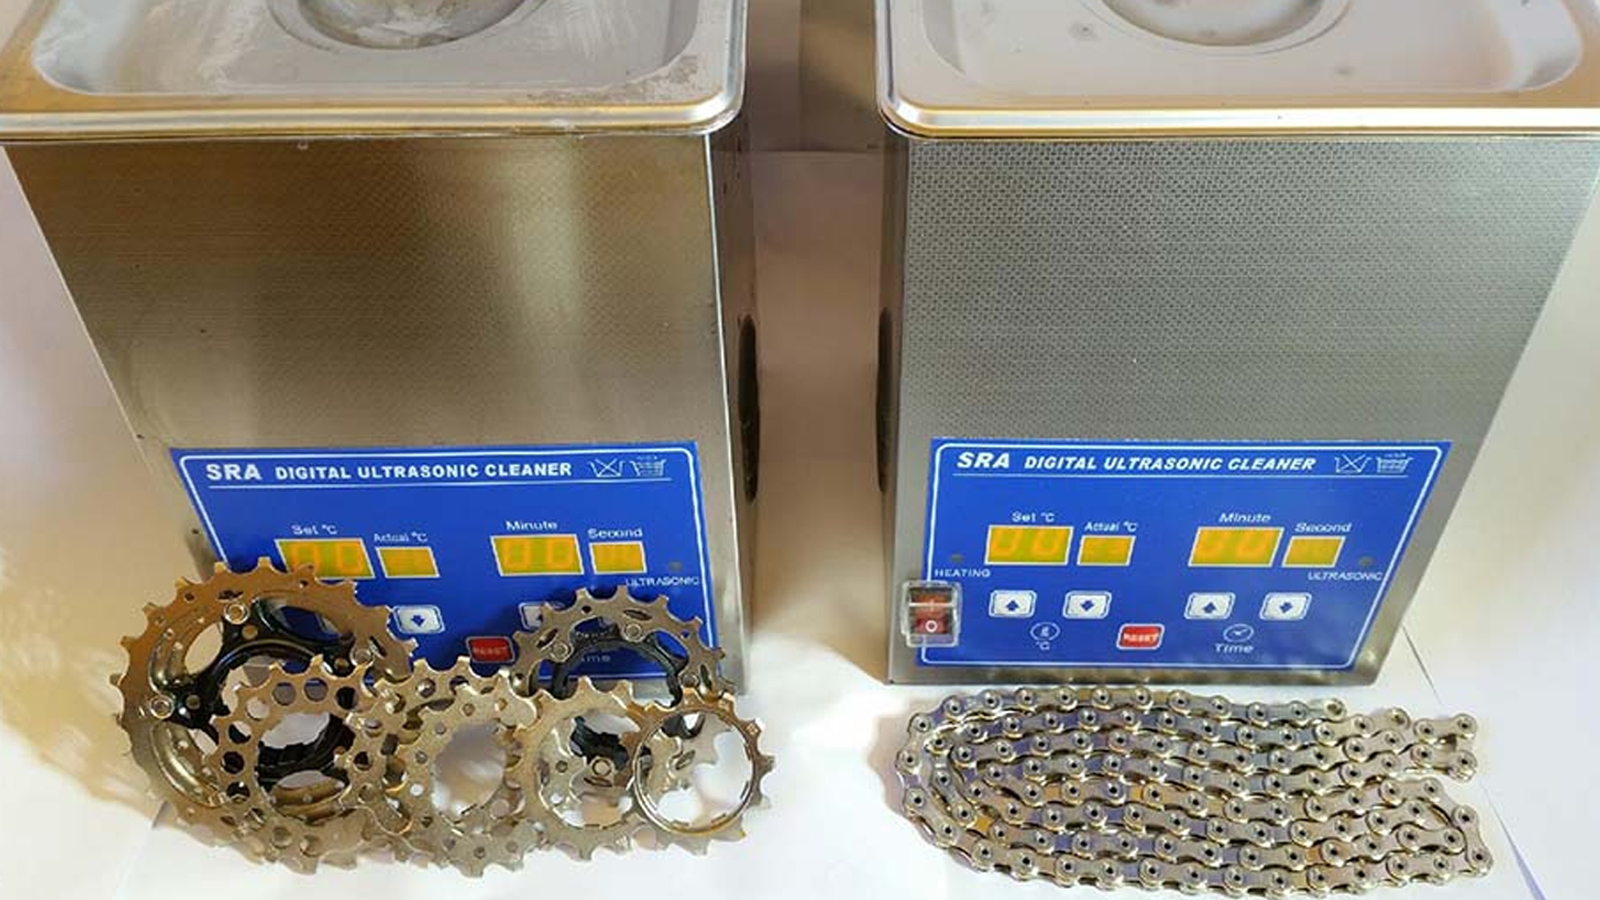
While it may not replace the need for standard cleaning paraphernalia, such as rags, degreaser and sponges, an ultrasonically cleaned chain combined with the best bike chain lube will certainly reduce the frequency of cleaning needed and so some of the costs may be offset.
If you don’t have an ultrasonic machine, you can use a sealed container filled with a cleaning solution like Simple Green to clean your bike chain. Just drop the chain into the container, close it up, and shake vigorously. Of course, this cleaning won’t be as thorough as an ultrasonic machine, but it is certainly cheaper.
If you're still unsure about whether or not you want to make the investment, check out our feature that asks, what is an ultrasonic cleaner and should you buy one?
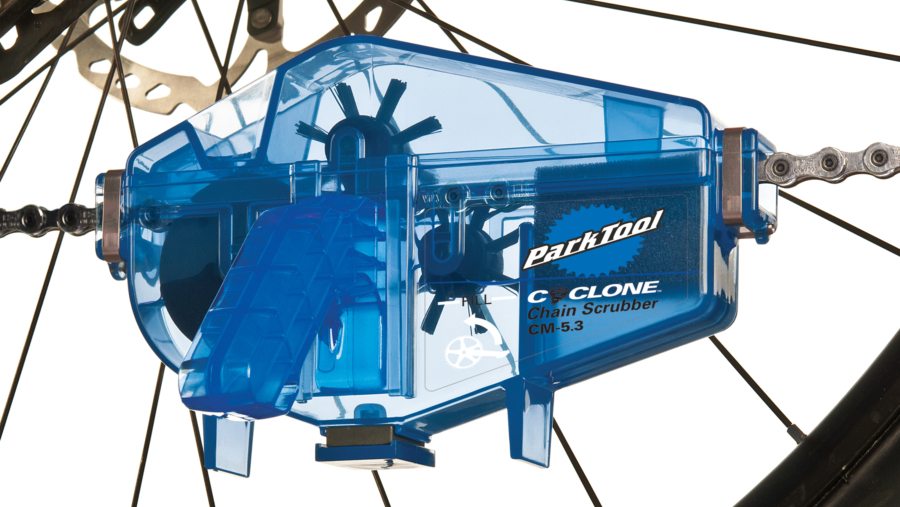
How to keep your chain clean without removing it from your bike
A simple chain-cleaning device is the best solution for cleaning your chain on the bike, and you can find one for around £15/$20. These purpose-made devices house rotating brushes which remove dirt and grime by working degreaser through the inner workings of the chain. Most chain cleaning devices are all the same, and there isn’t a significant difference between the high-end and the low-end; you’ll always end up with a much cleaner chain than what you started with.
When keeping your chain on the bike, you will of course have your chain sitting on the front chainring and rear cassette. If your chain is dirty, then it’s likely that your cassette is dirty as well, so it’s recommended you remove the chain from the cassette for cleaning if possible by using a chain keeper or dummy hub. This will also prevent the degreaser from running into the rear hub and stripping the grease from the bearings and freehub body.
It's also worth noting that if you run disc brakes you should avoid getting degreaser anywhere near your rotors or callipers unless you fancy a high-pitched cacophony on your next ride.
Fill your chosen chain scrubber with degreaser and clamp it around your chain. It is then simply a case of backpedalling 30 revolutions or so until things get silver again. If you aren't fortunate enough to have a chain keeper, this is best done in the little ring up front and halfway up the cassette in the rear.
After a full run-through, remove the chain scrubber, dispose of it in a responsible manner, and then refill it with warm and soapy water. Run the chain through the scrubber again, removing all the excess grit for the final time. It's important to remove all the degreaser from the chain so that when it comes to applying your chosen lubricant it adheres and penetrates properly.
Be aware that this process is all quite dirty, and you will potentially spray black liquid about the place; definitely a job for outside. Power washers are not recommended for cleaning your chain – not only are they not very thorough, but they could also strip grease out of your bearings if you get things badly wrong with your aim.
As a simpler alternative to the chain scrubber, you can clean your chain using a stiff-bristled brush and some degreaser to remove the excess dirt and grime. This process won’t be as thorough as the scrubber, but it will be much simpler and faster.
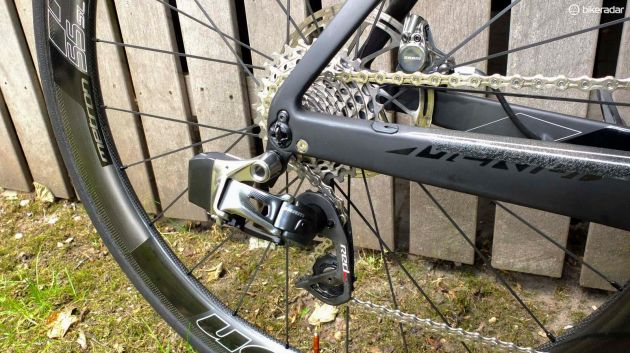
The ultimate chain-cleaning process
If you want a sparkling clean chain that looks good as new, put your chain through a number of cycles in the ultrasonic cleaner in addition to stiff-bristled brush cleaning, and vigorous shaking in a cleaning solution. A few five-minute run-throughs will have your chain looking brand new. Here’s how to do it.
First, scrub the chain with a stiff-bristled brush. Second, put the chain through the ultrasonic cleaner. Third, add the chain to a container filled with Simple Green and shake vigorously. Repeat this process (which should take about five minutes) 2-3 times, and then rinse the chain off thoroughly with water. Finally, let the chain air dry or blast it with a compressor and you will have the shiniest chain on the block.
Chain-waxing has become common practice among the cycling elite, and has been proven to be faster than traditional chain lube. We’ll be putting a full guide to chain-waxing together very soon.
Don’t worry about over-doing it as it’s virtually impossible to have a chain that is too clean. As long as you lube the chain prior to use, there will be no significant damage done to the surface or the internals of the chain.
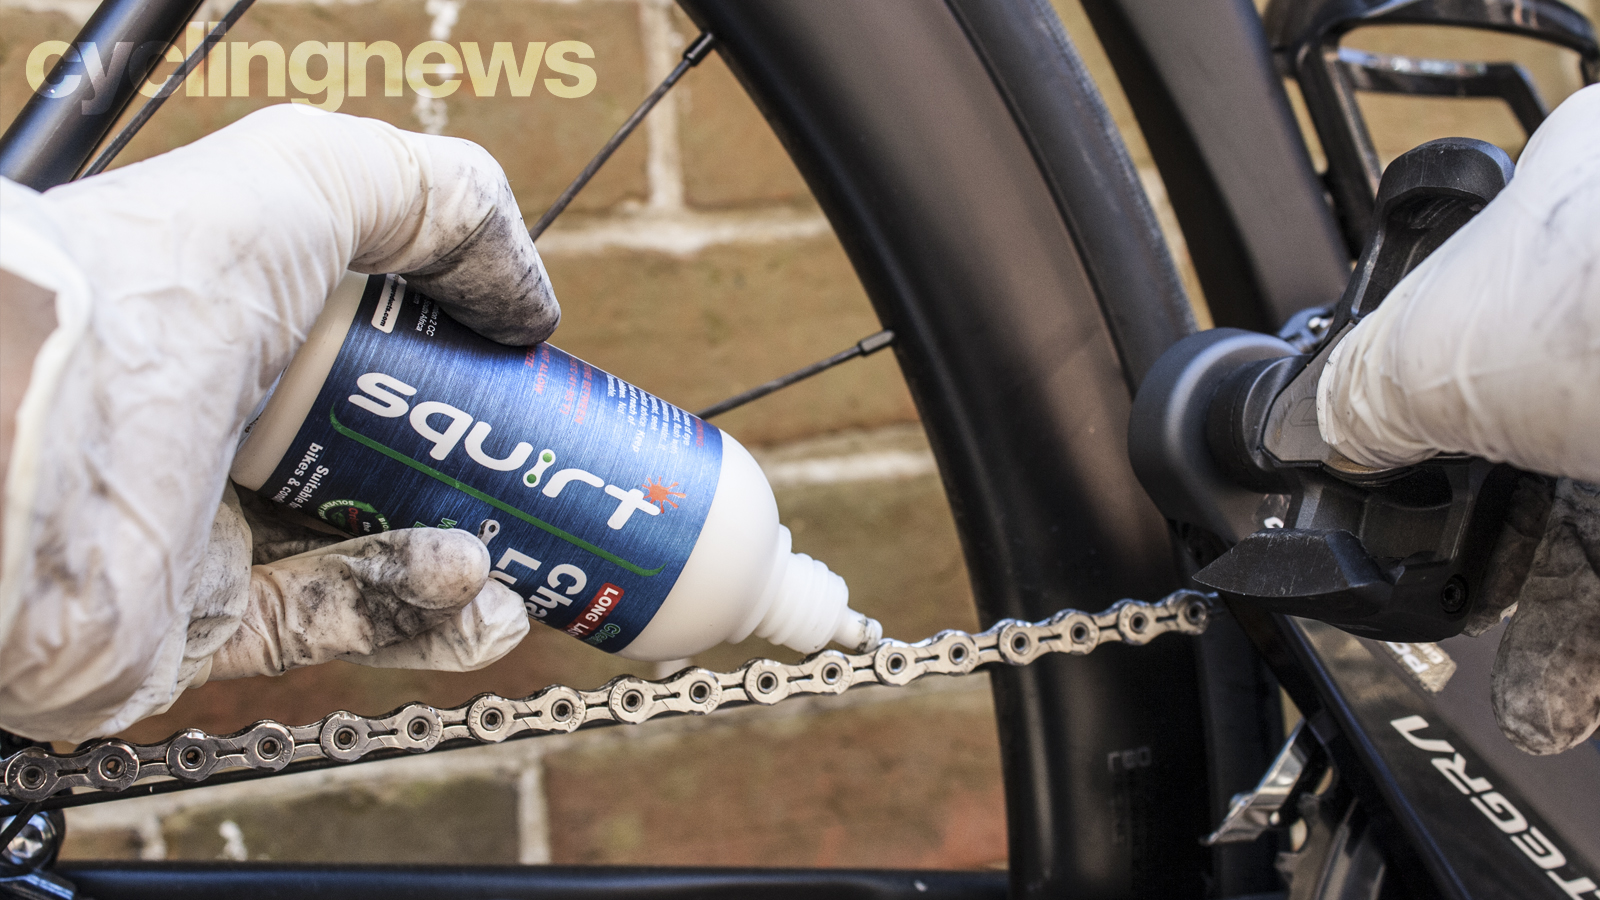
How to maintain a clean chain
For a simple spruce up between rides with a relatively clean chain use a clean, lint-free cloth with a little degreaser wrapped tightly around the chain to clear the excess grit. Then apply a chain lube to get the chain ready for action. Try to get a drop of chain lube on each roller, rather than dumping lube over the entire chain. It is most important that the lube gets into each link and roller rather than on the surface of the chain. Remember to wipe off any excess after it has worked its way in after a couple of hours too.
Independent testing has shown up to 5w differences between the fastest and slowest chain lubes, so make sure you do some research before committing to your purchase. In general, faster lubes are more expensive, so we recommend saving those for race day. Losing 5w on a weekday coffee ride is no big deal, so you could certainly get by with something cheaper.
If you absolutely don't have time to clean things up, a few coat of lubricant on a dry, dirty chain will certainly help proceedings (in the short term, at least).
During some of the cleaning processes outlined above, avoid leaving your chain soaking in solution for more than a few hours or days. The solutions can soon cause cracks and corrosion throughout the chain, which could either ruin the chain or lead to a catastrophic breakage later on.
Zach is a freelance writer, the head of ZNehr Coaching, and an elite-level rider in road, track, and e-racing. He writes about everything cycling-related, from buyer's guides to product reviews and feature articles to power analyses. After earning a Bachelor’s Degree in Exercise Science at Marian University-Indianapolis, Zach discovered a passion for writing that soon turned into a full-fledged career. In between articles, Zach spends his time working with endurance athletes of all abilities and ages at ZNehr Coaching. After entering the sport at age 17, Zach went on to have a wonderful road racing career that included winning the 2017 Collegiate National Time Trial Championships and a 9th place finish at the 2019 US Pro National Time Trial Championships. Nowadays, Zach spends most of his ride time indoors with NeXT eSport.