How to change an inner tube on your bike
The easy way to change your punctured inner tube and get riding again
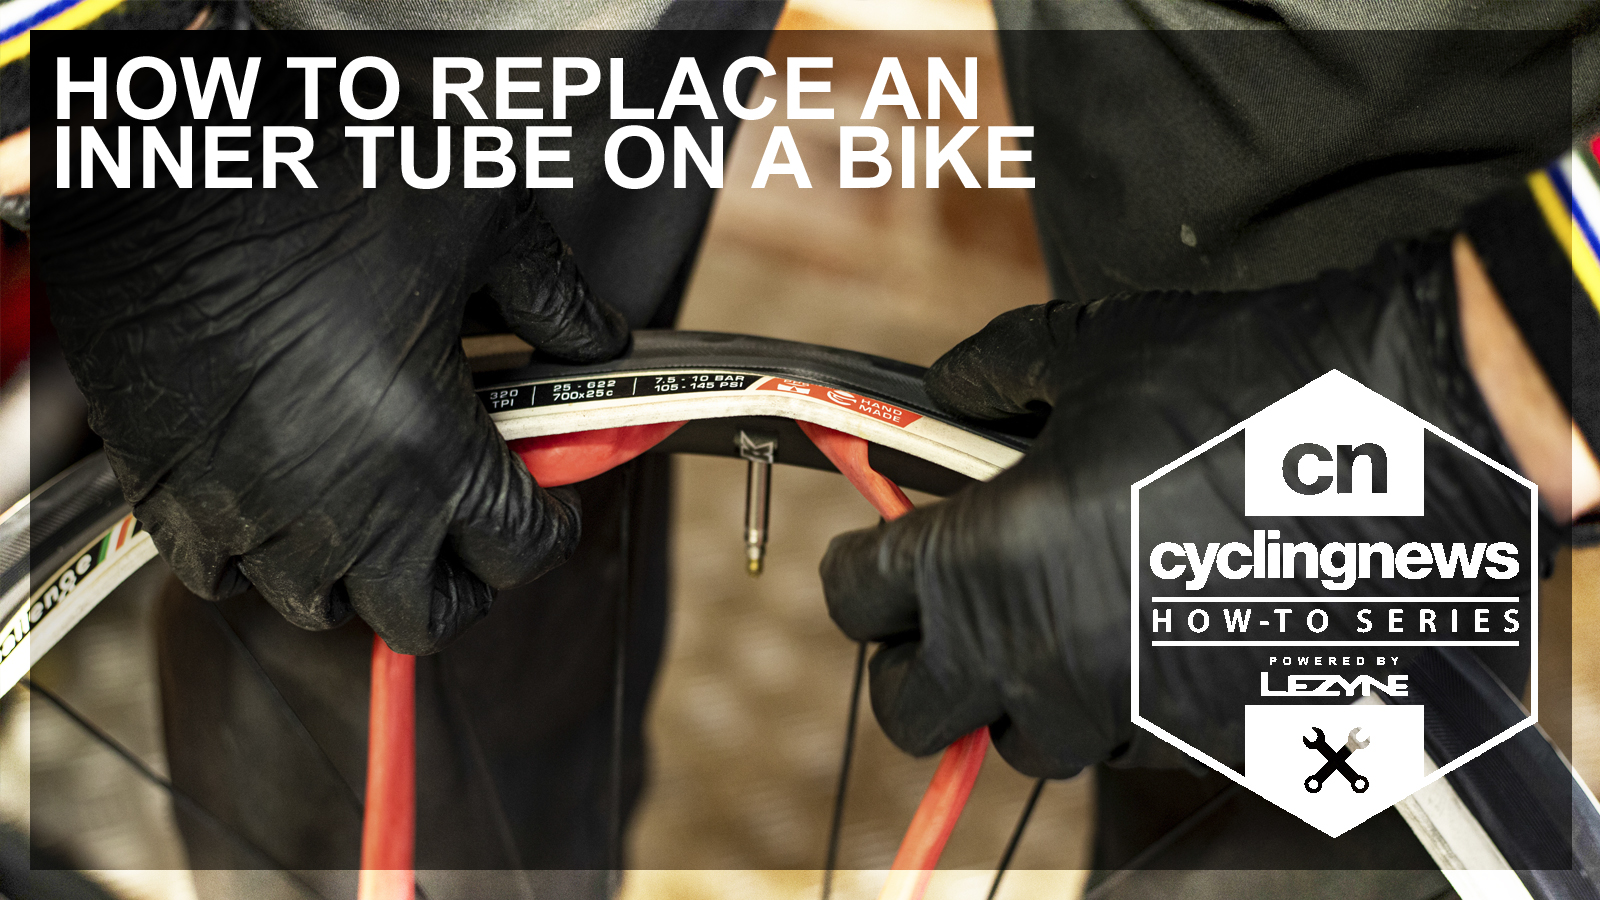
Removing an inner tube for repair or replacement can sometimes be a real fight but with a bit of patience and a few pro tips, you can make things a lot easier for yourself.
Our tech team are switching tyres and tubes on a weekly basis so here are their top tips to get the job done.
If you're looking for more helpful maintenance advice, Cyclingnews is bringing you a series of guides so that you can learn how to perform basic bike maintenance tasks yourself. Check out the other guides that are available:
- How to fit a bike wheel
- How to repair an inner tube on your bike
- How to change a bike tyre
- How to remove and fit bike pedals
- How to adjust disc brakes on a bike
- How to remove and fit a bike chain
- How to adjust bike gears
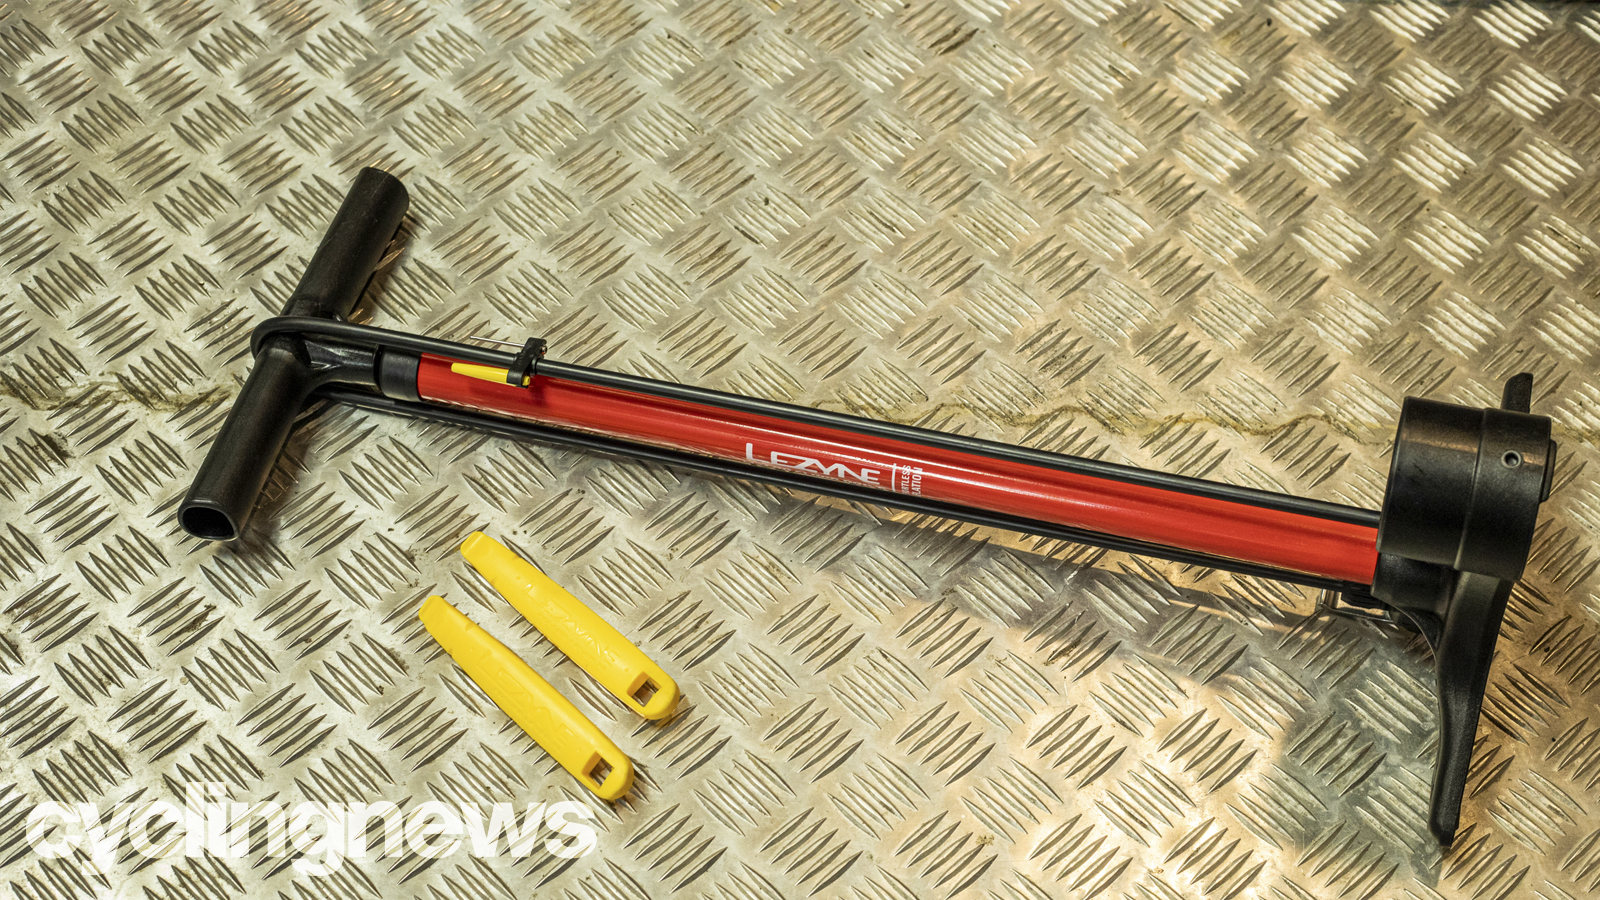
Tools needed
If you can get the tyre on and off without levers then that minimises the accidental pinch risk, but that’s a big ask with some tyre and rim combinations. Invest in quality levers, as cheap ones can bend or snap, and beware old-school metal levers particularly if you’re using carbon rims.
You also need a decent pump. A hand pump will be fine for lower pressures on a gravel bike, but if you’re heading upwards of 60psi then a proper workshop track pump makes things much easier. Obviously, you’ll need a fresh inner tube that’s the right size for your tyre and has the right valve type and valve length.
Removing the inner tube
1. Deflate the tyre
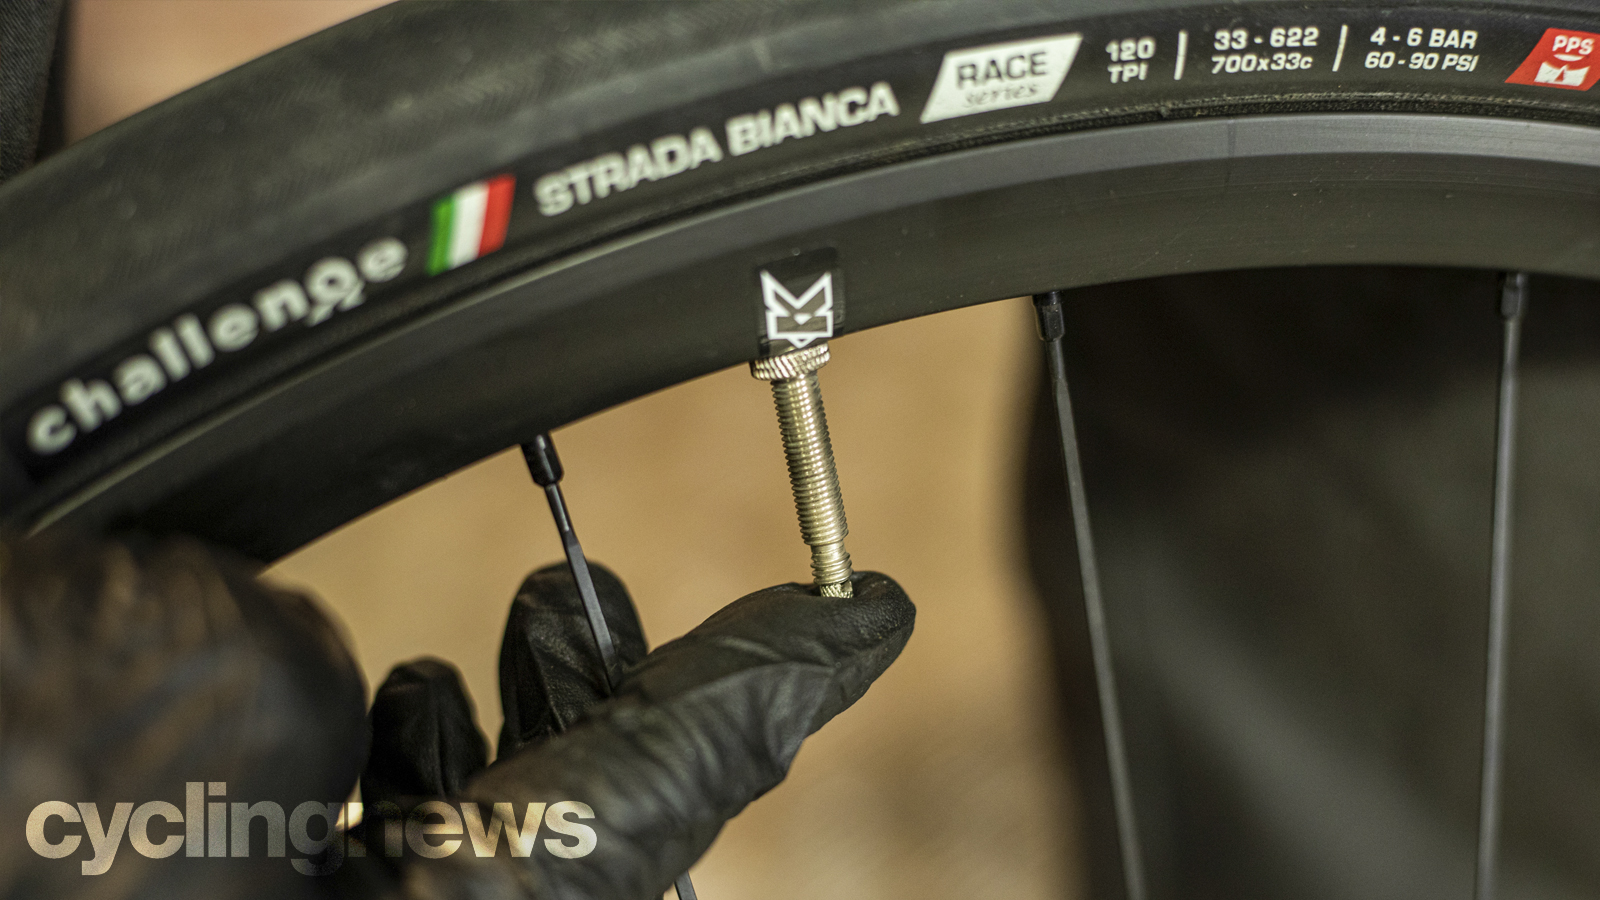
Firstly you need to remove the wheel from the bike. Now if the tyre isn’t already fully deflated, let the air out of the inner tube by loosening the small barrel at the top of the Presta valve slightly and then pressing it down. Now unscrew and remove the knurled collar at the base of the valve.
If you’re working on a kid's bike or mountain bike with the car-style Schrader valve, then depress the pin in the centre of the valve to let the air out.
Get The Leadout Newsletter
The latest race content, interviews, features, reviews and expert buying guides, direct to your inbox!
2. Unseat the tyre
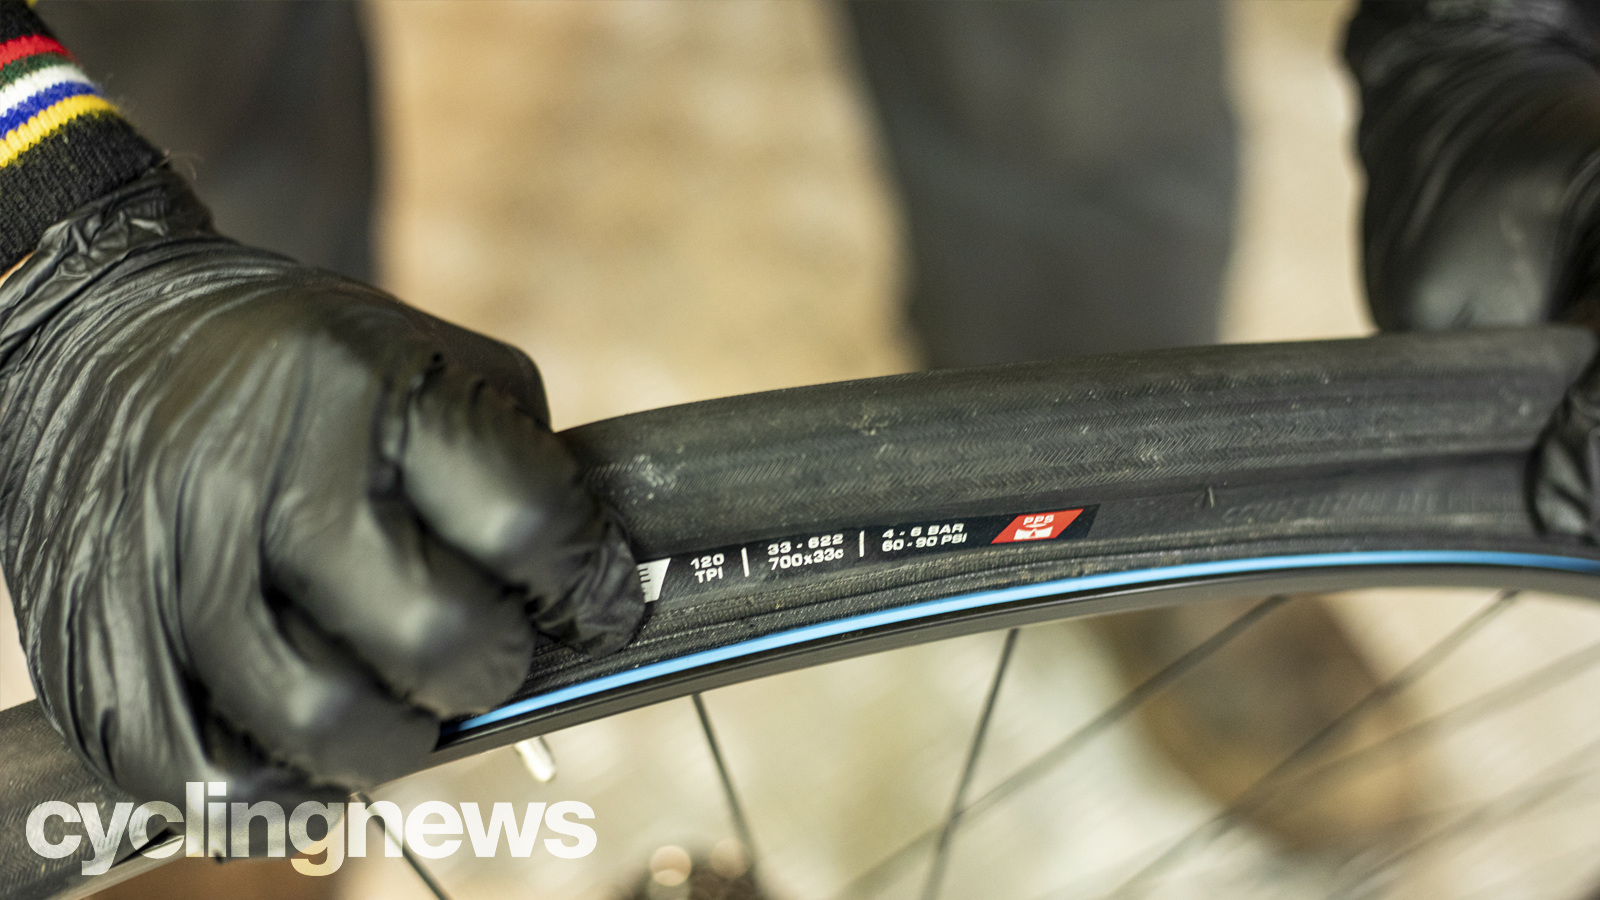
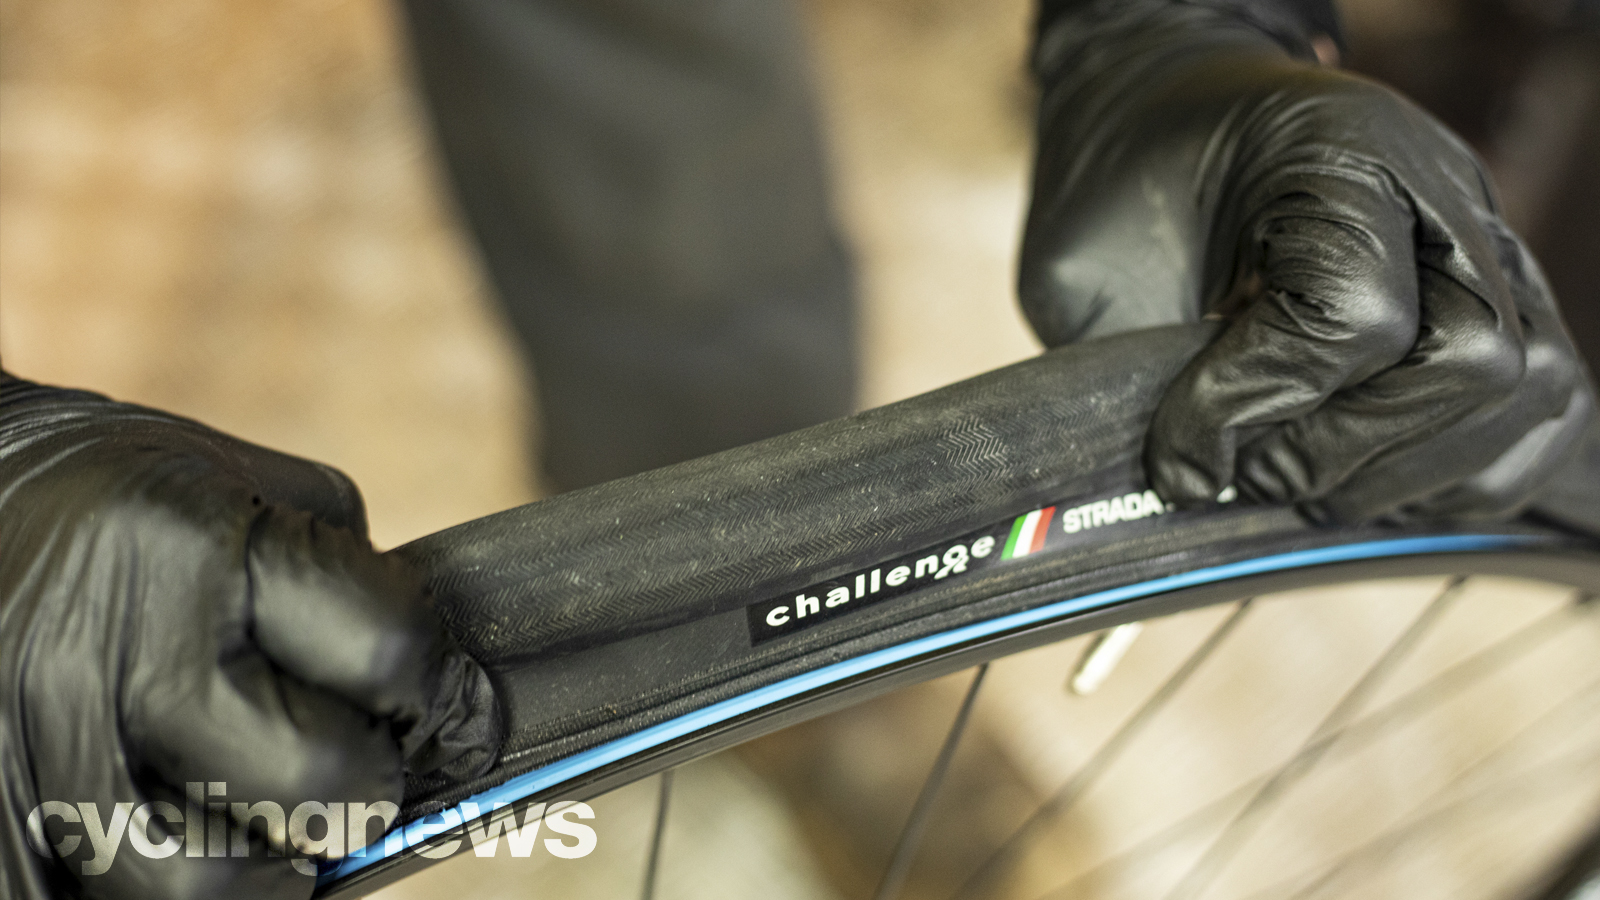
With the innertube deflated, squeeze the tyre inwards to push the bead into the centre of the rim. Do this all the way around the tyre on both sides so it feels baggy on the wheel.
3. Remove the tyre by hand
If the tyre is a loose fit, you can lift the whole wheel by the tyre and give it a shake to get all the slack to one place. Otherwise, you’ll have to collect that slack manually by pushing the tyre around the wheel in both directions simultaneously, aiming to make it as baggy as possible when your hands meet again at the bottom of the wheel.
If there’s plenty of slack or you’re just feeling strong, push the edge of the tyre off the rim with your thumbs. This isn’t just about flexing your skills and tendon toughness, it also removes any chance of trapping the inner tube between the rim and the tyre lever, and puncturing it. It’s worth persevering if you can.
4. Using tyre levers to remove the tyre
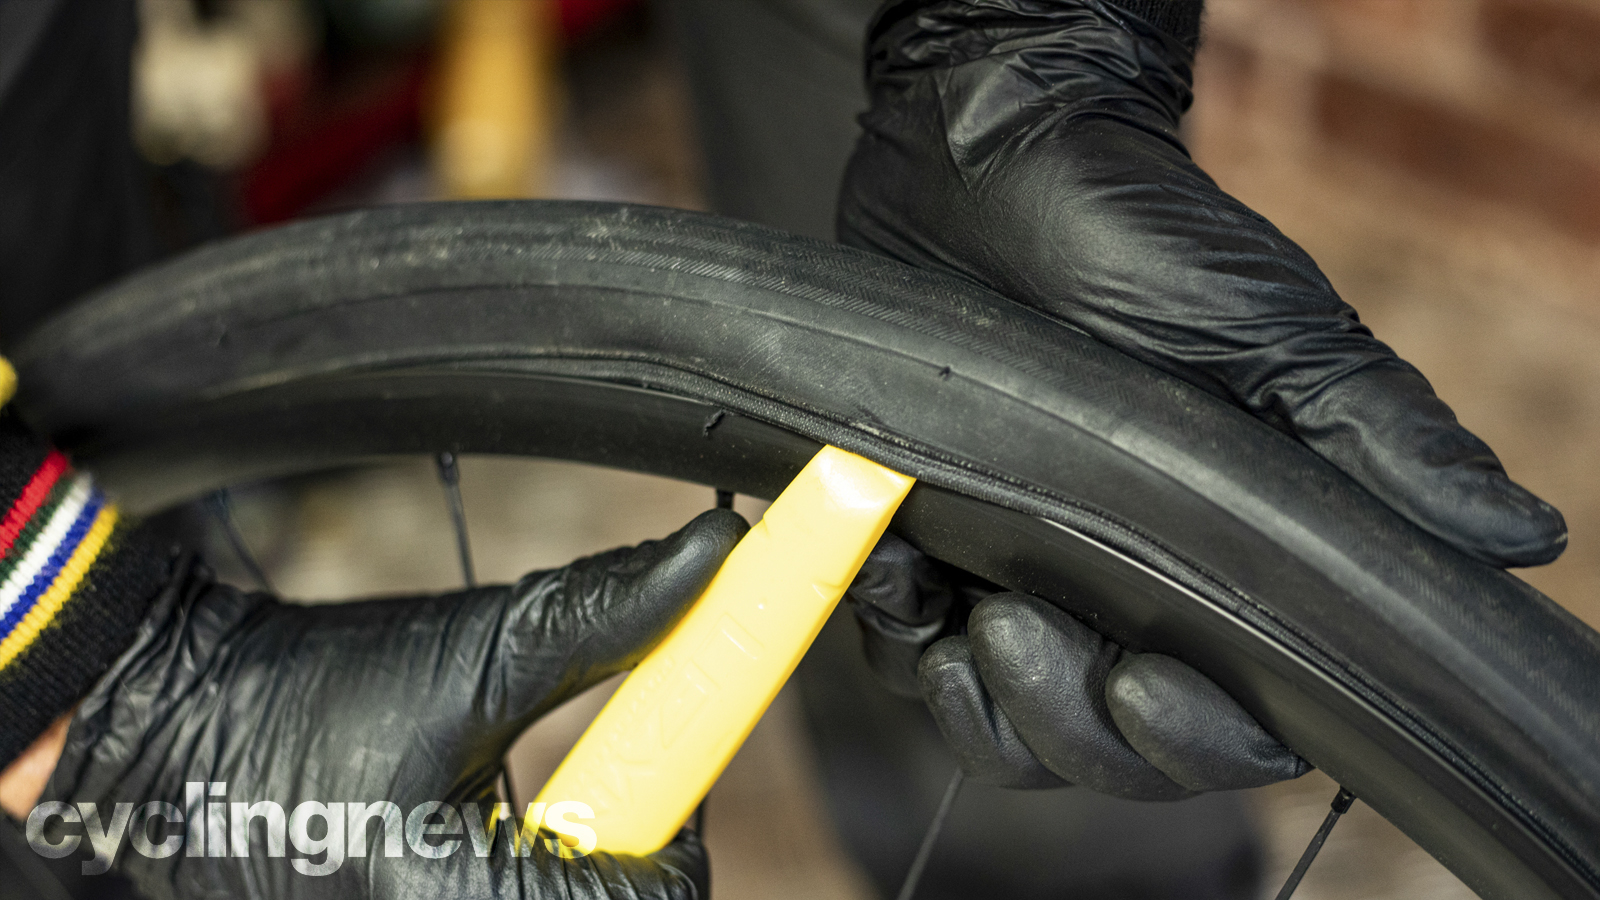
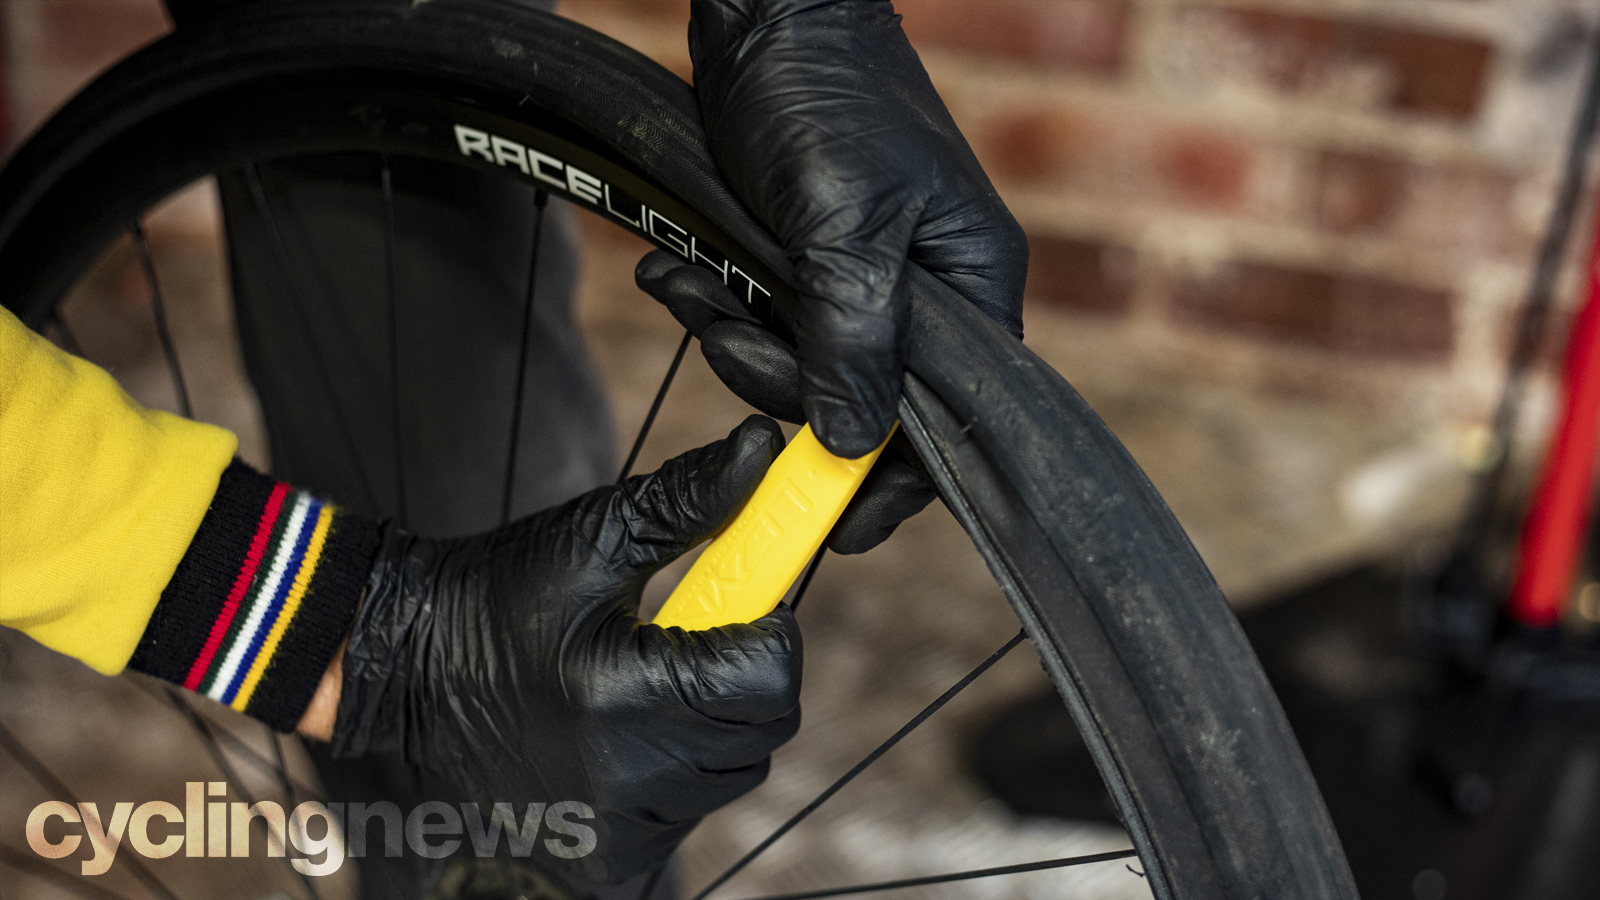
Don’t be ashamed if you need to use tyre levers though, just be careful. Sneak both levers under the bead about 2cm/1inch apart with the spoon side hooking under the bead of the tyre. Make sure you haven’t trapped the inner tube against the rim with the other side or you’ll create another puncture you need to fix.
Press one of the levers down to hoist the tyre edge over the rim, then press the second one down to pull a longer section of the tyre clear. Hook one of the tyre levers around the nearest spoke to keep the tyre from creeping back onto the rim.
If the tyre is really tight then you might need to use both levers simultaneously to pry the tyre over the rim. If you're using two levers to work away at a very tight tyre, be careful, as there's often a risk of things going flying. Watch yourself and keep the danger zone away from valuables.
5. Removing the inner tube
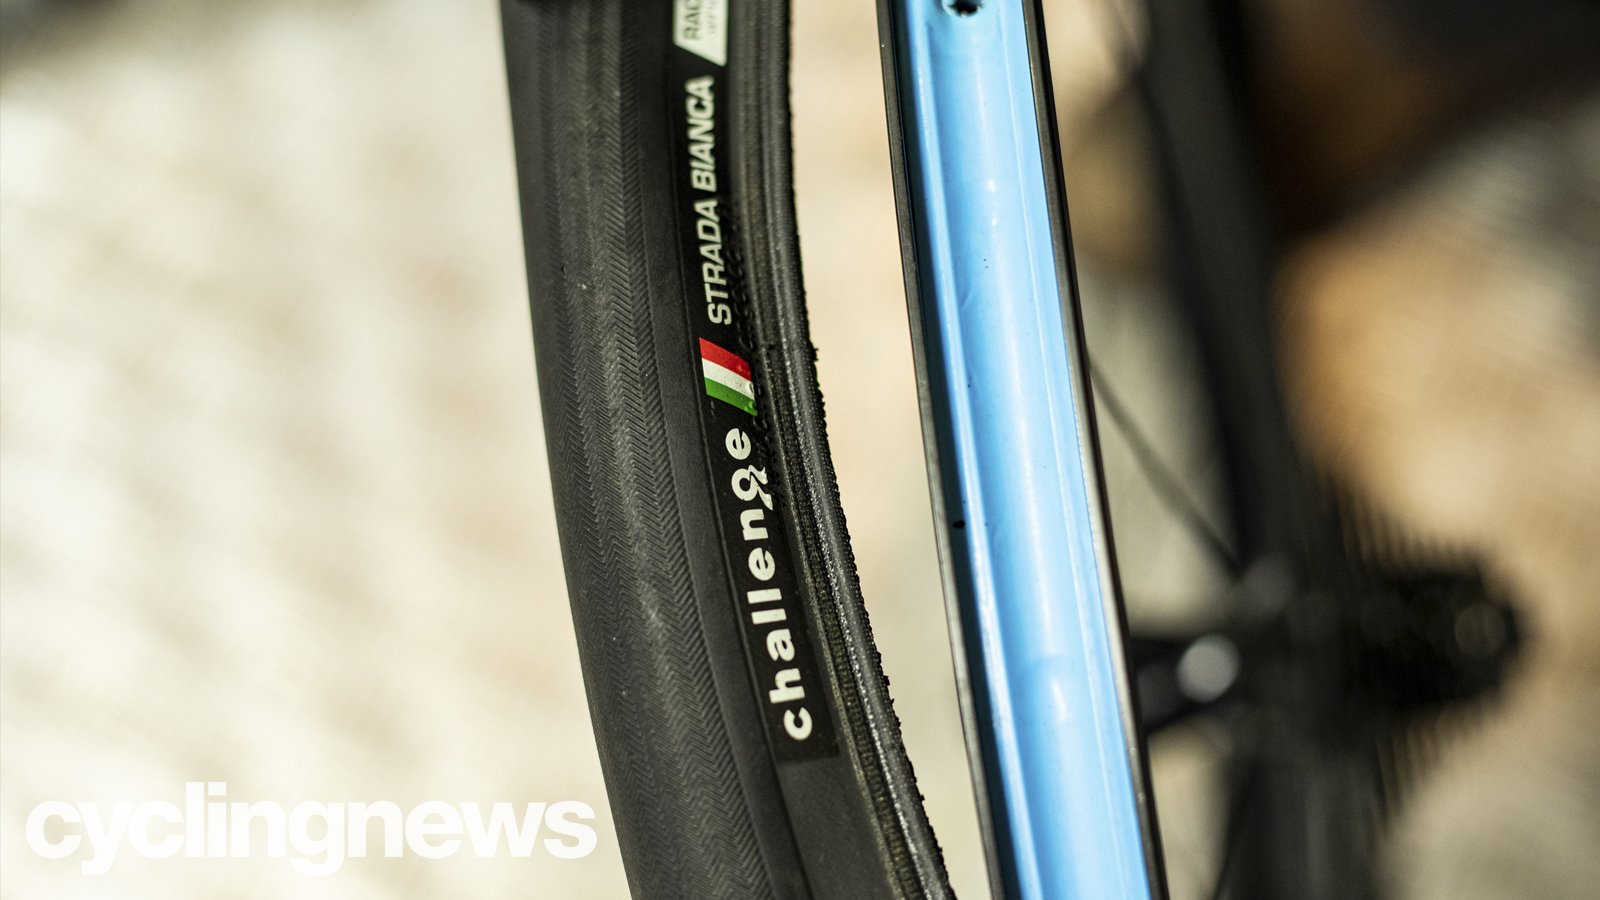
Now work around the whole tyre with the levers until it’s completely off the wheel all the way around. Leave the far side of the tyre in place and push the valve back through its hole before gently pulling the inner tube out.
6. Inspect the tyre
With the inner tube removed it’s a good time to check the tyre for any damage or splits in the tread. Check for thorns, nails etc. that might have penetrated through to the inside and remove them, otherwise they’ll puncture the fresh inner tube as soon as you put it in. Be careful if you’re running your finger around inside the tyre without looking first, as you don’t want to puncture yourself! Check the rim of the wheel for cracks, dents or sharp edges too.
- Best road bike tyres: fast-rolling, ultra-grippy tyres for training and racing
- Best tubeless road tyres: Our pick of the top tubeless road tyres
Fitting a fresh inner tube
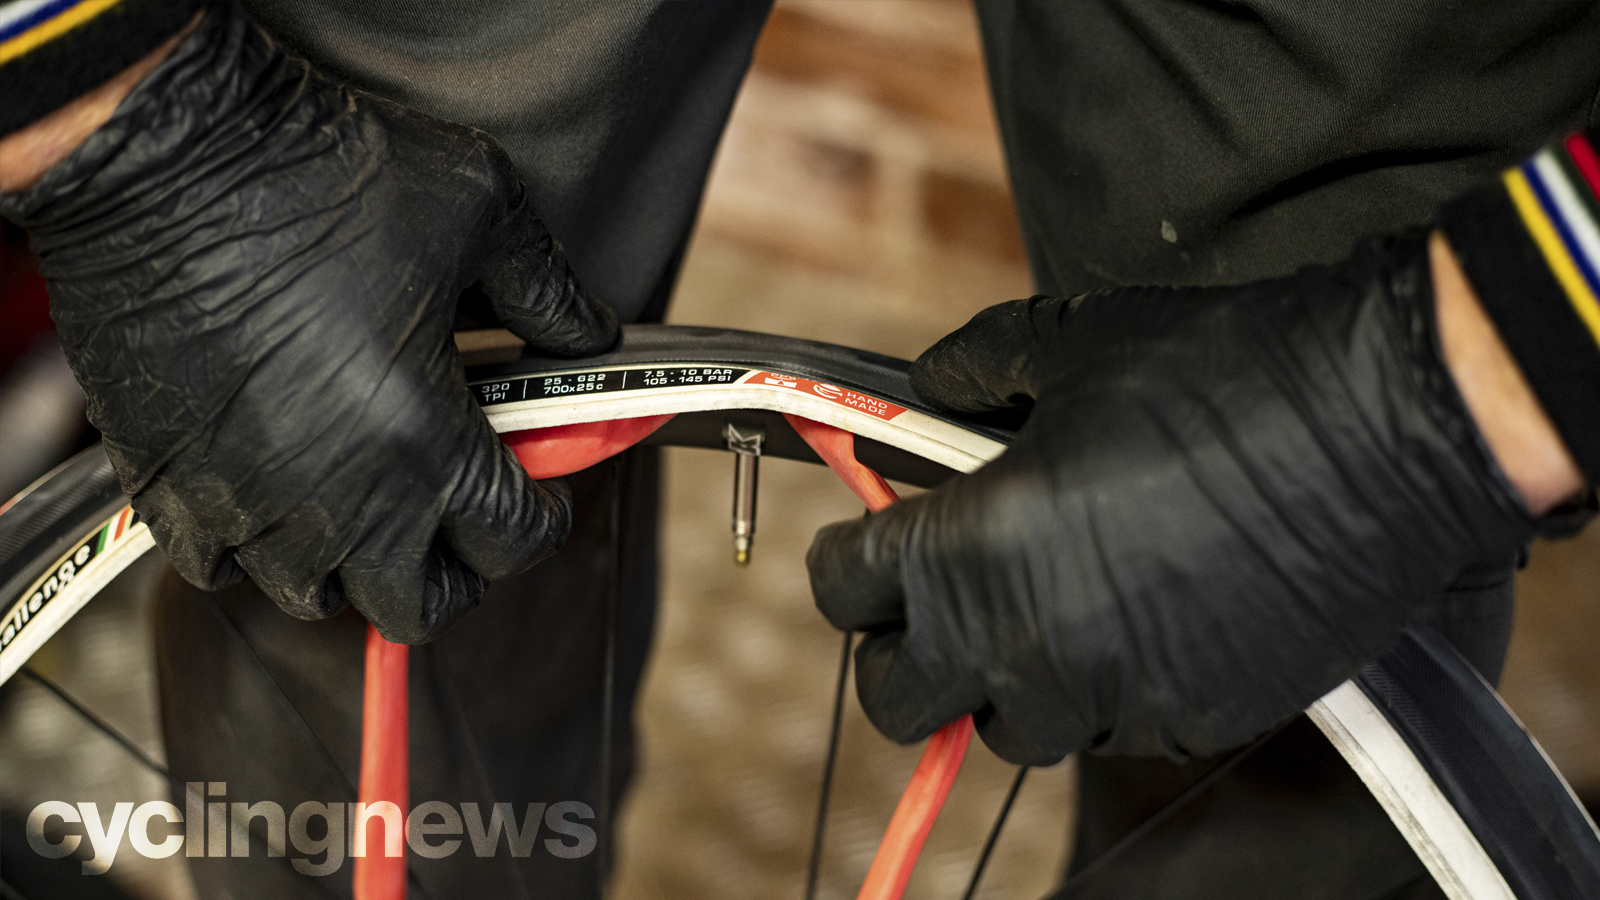
1. Position the tyre
If it isn’t already lined up, pull the tyre around so the name or logo matches up with the valve hole. It makes it much easier to find the valve in a hurry, gives you an easy reference point for finding punctures, and it looks better in pictures too.
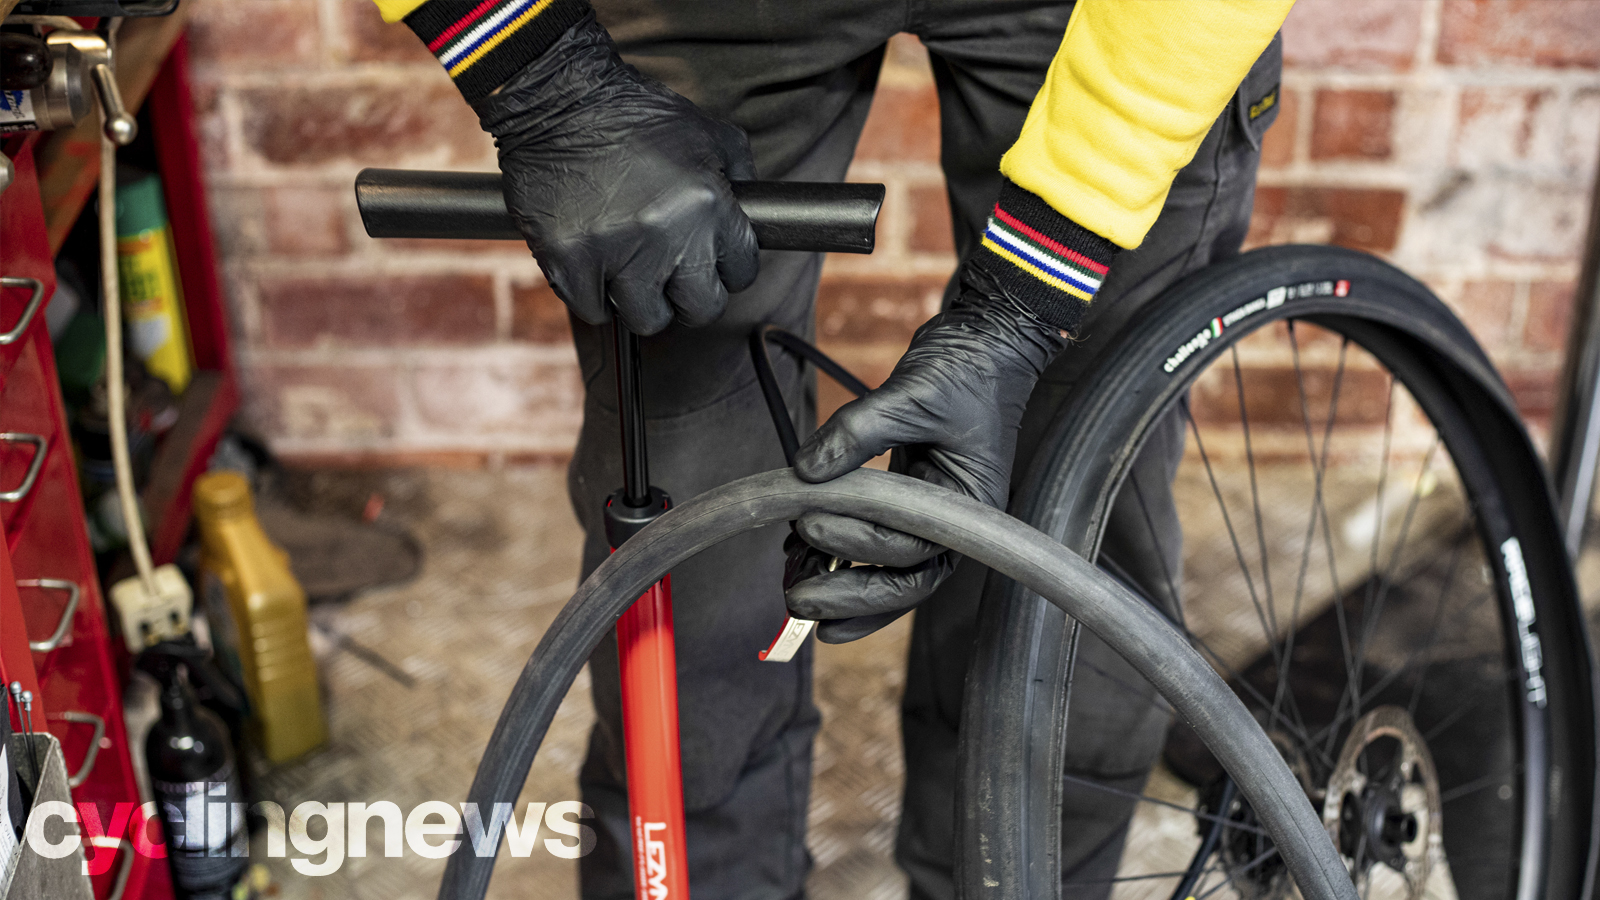
2. Fit the tube
To reduce the risk of pinching, inflate the inner tube enough for it to take some shape. Remove the threaded collar, keeping it handy for later, and then push the inner tube valve through the rim. Massage the inner tube into the belly of the tyre, so it doesn’t push out over the rim edge. Be mindful as you do this, and avoid twisting or pinching the inner tube.
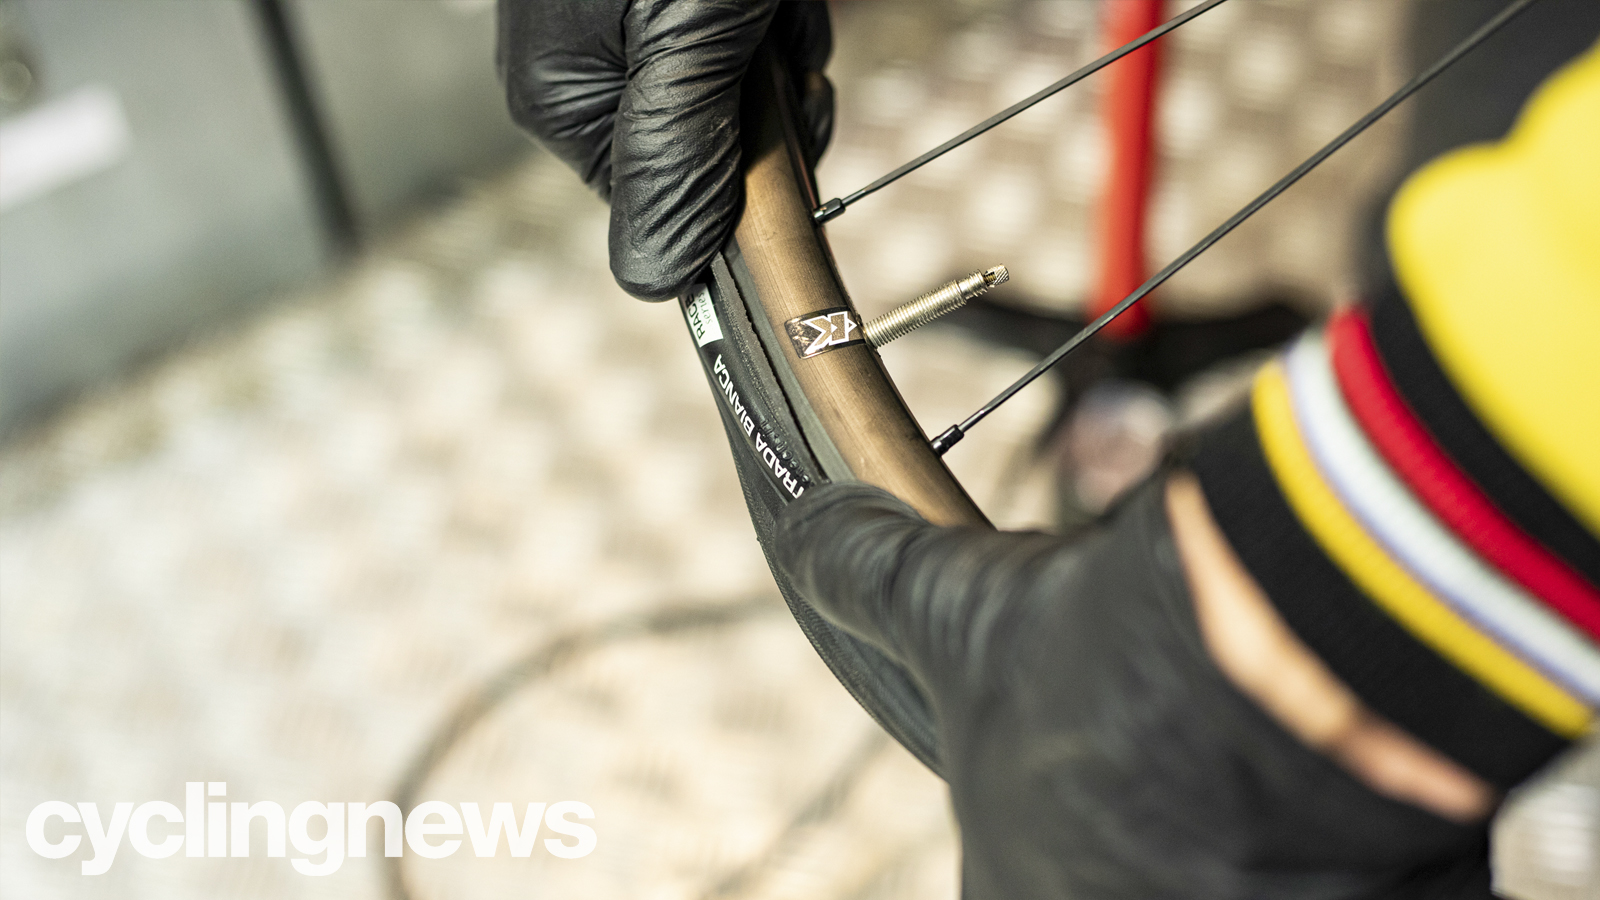
3. Fit the second side of the tyre
Starting opposite the valve use your thumbs to start persuading the tyre back onto the rim. If you're working with tight tyres, remember how you moved the slack of the tyre into one place before removal, and try to emulate that movement as you push the tyre back onto the rim. You want to be left with as much slack as possible for the last part of the process. Be super careful not to trap and puncture the inner tube between the bead and the rim.
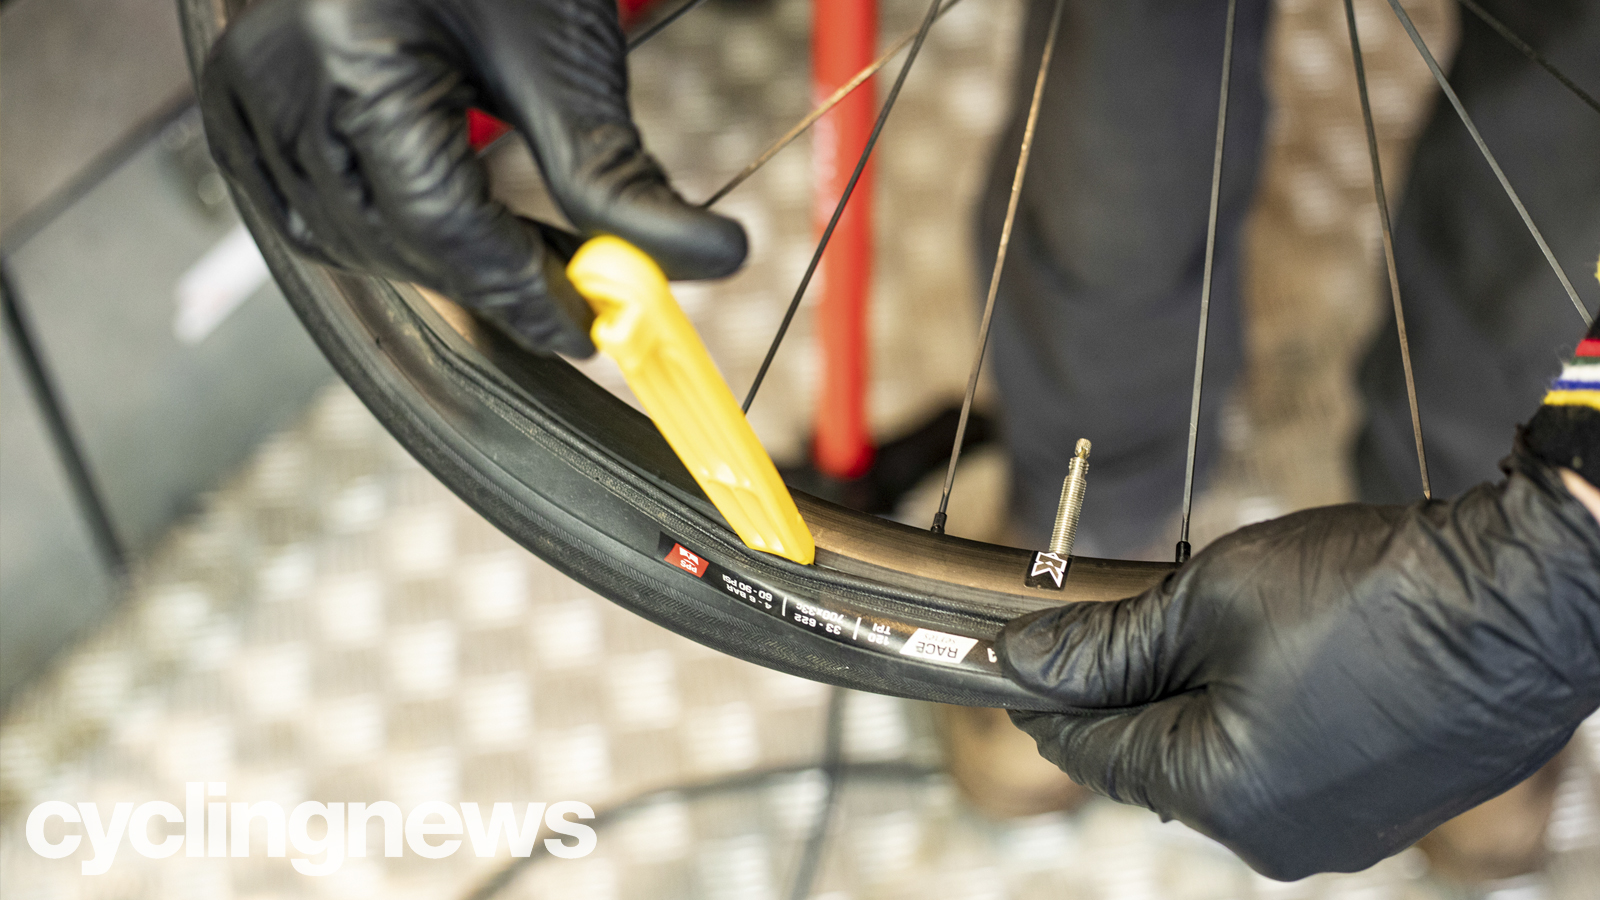
4. Fitting a tyre with tyre levers
Try to get the tyre on with your thumbs as far as white knuckle, tendon straining determination will take you. When you really can’t get it on any further by hand insert the levers carefully under the tyre edge. Position them about an inch/2.5cm from each unfitted end. Brace one lever against the tyre to stop it slipping back and then use the other lever to lift the tyre onto the rim. Alternate this action working inwards towards the valve.
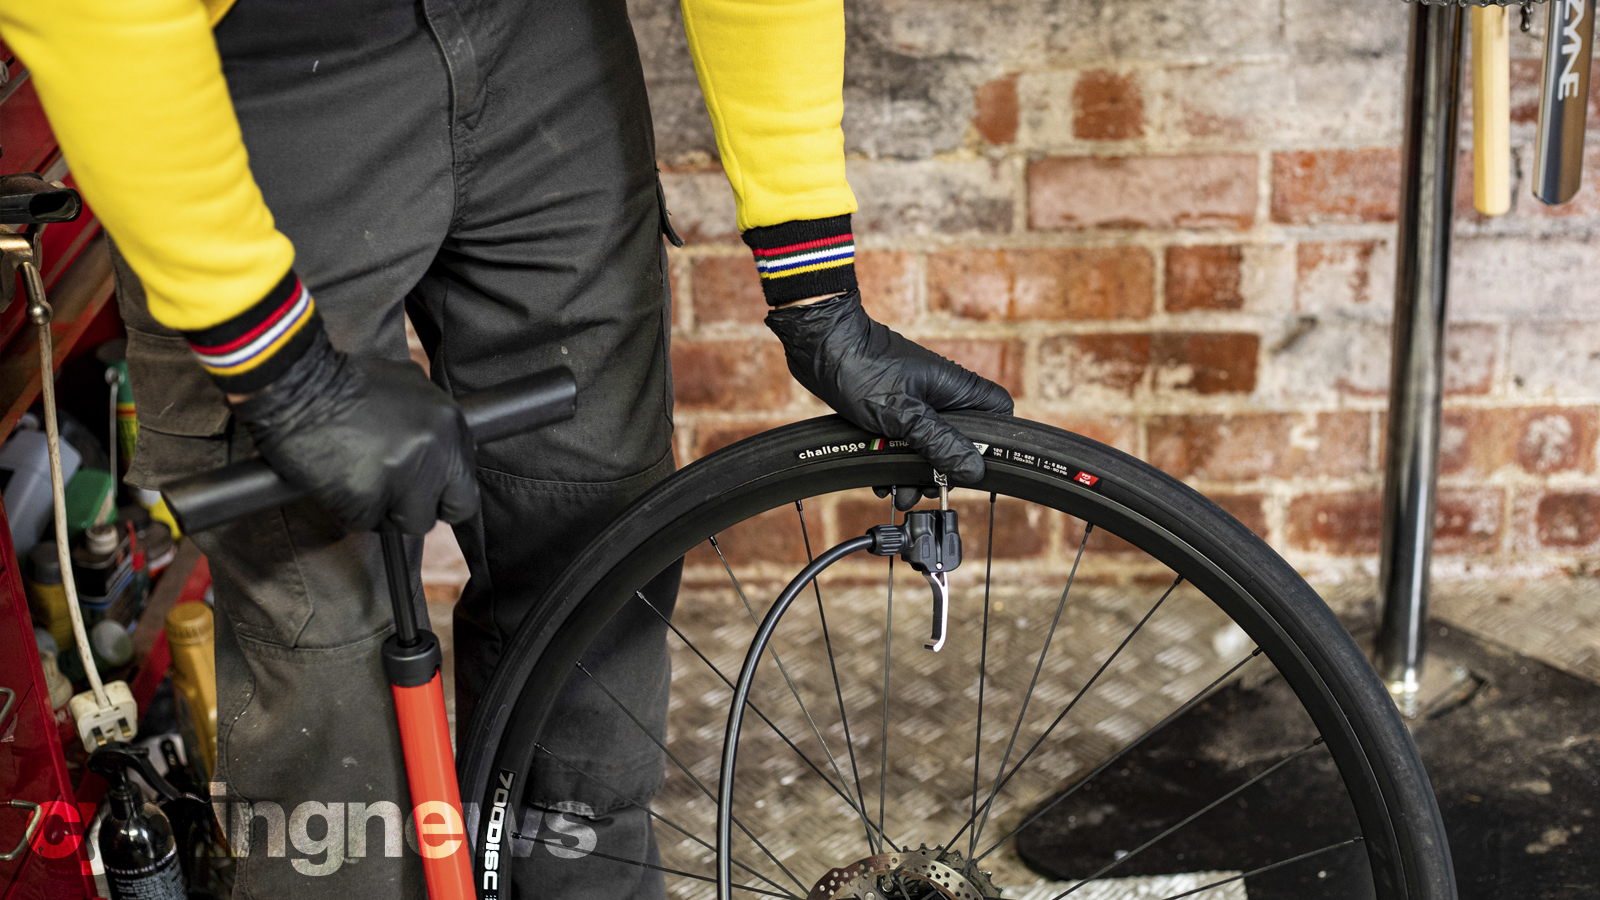
5. Carefully inflate the tyre
Once the tyre is on, double-check that there are no bits of inner tube poking out. Push the valve back into the tyre to check that it's not trapped and then thread the lock ring back onto the valve to secure it into the rim. Keep checking all the way round as you gradually inflate the inner tube, watching for any inner tube hernias or weird bulges and bumps in the tyre. Increase pressure until the tyre pops into place all around the wheel, using the line on the bottom edge as a guide to check it’s properly positioned all the way around.
6. Final checks
With the tyre up to the right pressure, remove the pump and spin the wheel to double check alignment both side to side and vertically. If there’s anything weird going on, deflate and massage the affected area to re-centre the tube and tyre before re-inflating.
Once you’re happy that everything is settled, you’re ready to ride. Make sure you check the tyre frequently on the first couple of rides, in case something sneaks out of place. Finally, always check both tyres for pressure, damage or debris after every ride.
- Best road bike wheels: Our pick of the best wheelset upgrades
- Road bike groupsets: a comprehensive guide
Individuals carrying out the instructions in this guide do so at their own risk and must exercise their independent judgement. There is a risk to safety if the operation described in the instructions is not carried out with the appropriate equipment, skill and diligence and therefore you may wish to consult a bike mechanic. Future Publishing Limited provides the information for this project in good faith and makes no representations as to its completeness or accuracy. To the fullest extent permitted by law, neither Future Publishing Limited, its supplier or any of their employees, agents or subcontractors shall have any liability in connection with the use of this information, provided that nothing shall exclude or limit the liability of any party for personal injury or death caused by negligence or for anything else which cannot be excluded or limited by law.