How to change a bike tyre
Knowing how to change a bike tyre will make repairs and upgrades simple
If you don't know how to change a bike tyre, the idea of swapping tyres on your bike can seem like a daunting task, but it’s simple if you know a few helpful tricks and don’t try and rush things.
The best road bike tyres can promise increased levels of grip, faster speeds and lighter weights, but until they're fitted, they won't offer any performance benefits at all, so let our experts talk you through the easiest way to get a tyre of any size off your bike wheel and then fit a fresh tyre back on.
If you are looking for more helpful maintenance advice, Cyclingnews is bringing you a series of guides so that you can learn how to perform basic bike maintenance tasks yourself. Check out the other guides that are available.
- How to fit a bike wheel
- How to repair an inner tube on your bike
- How to remove and fit bike pedals
- How to adjust disc brakes on a bike
- How to remove and fit a bike chain
- How to adjust bike gears
Tools needed
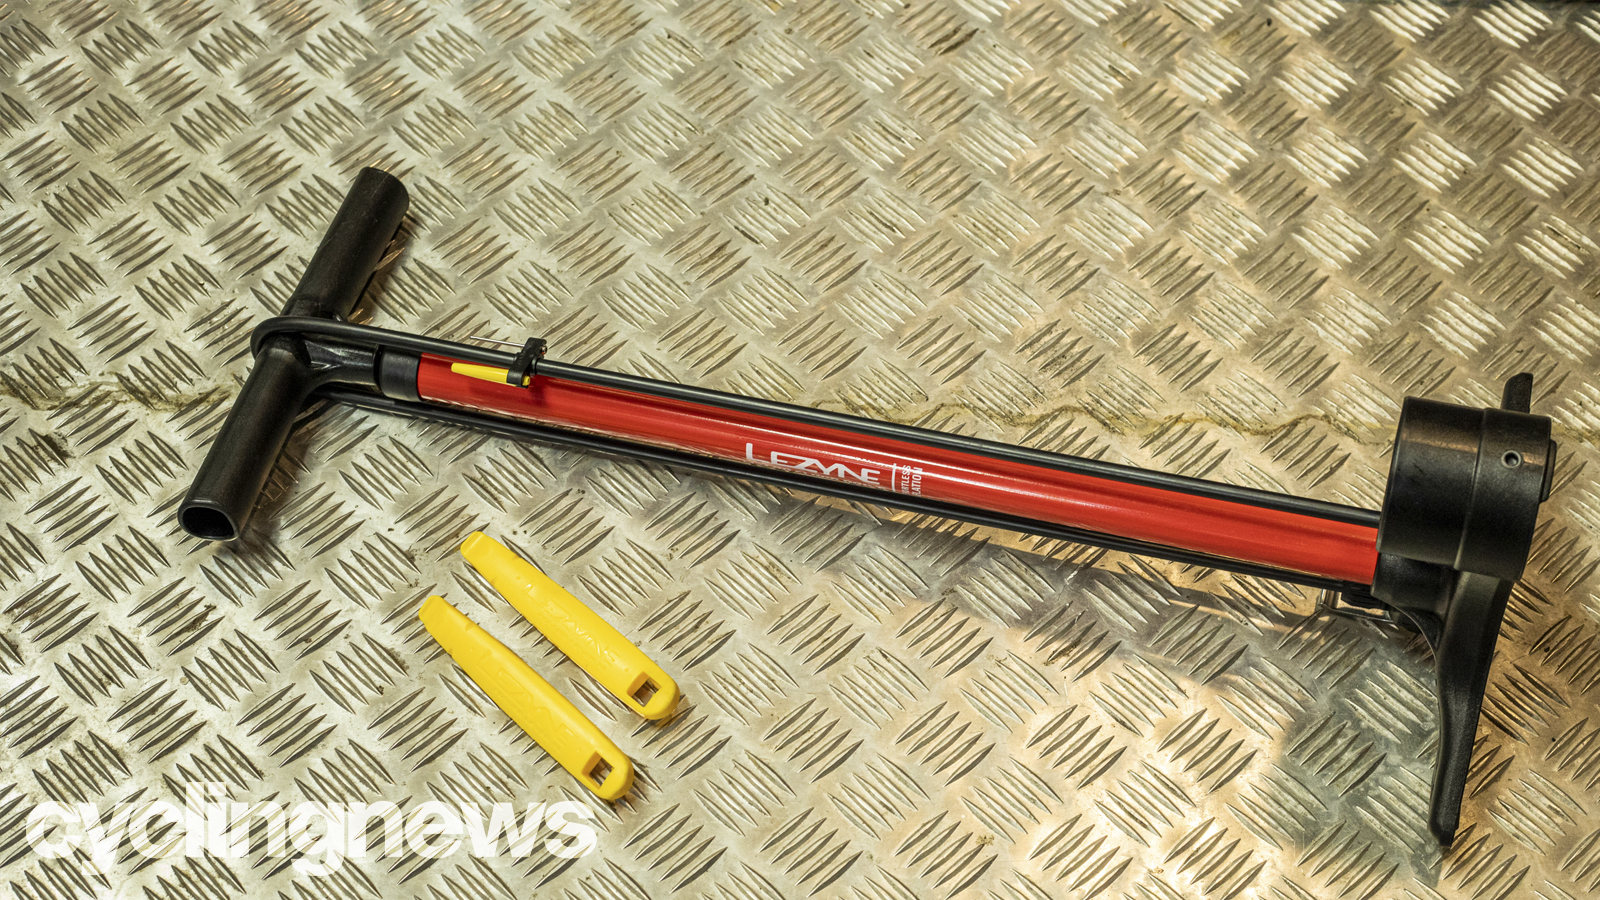
While the differences between levers may seem insignificant, a couple of good quality tyre levers will make a huge difference. Cheap ones can snap or bend when fitting removing or fitting stubborn tyres and metal ones could ruin your rims.
Check your pump has the correct valve head, many pumps can fit Presta and Schrader valve by flipping a component inside the valve head. A track pump will speed things up but a hand pump is fine.
Removing a tyre
1. Deflate the tyre
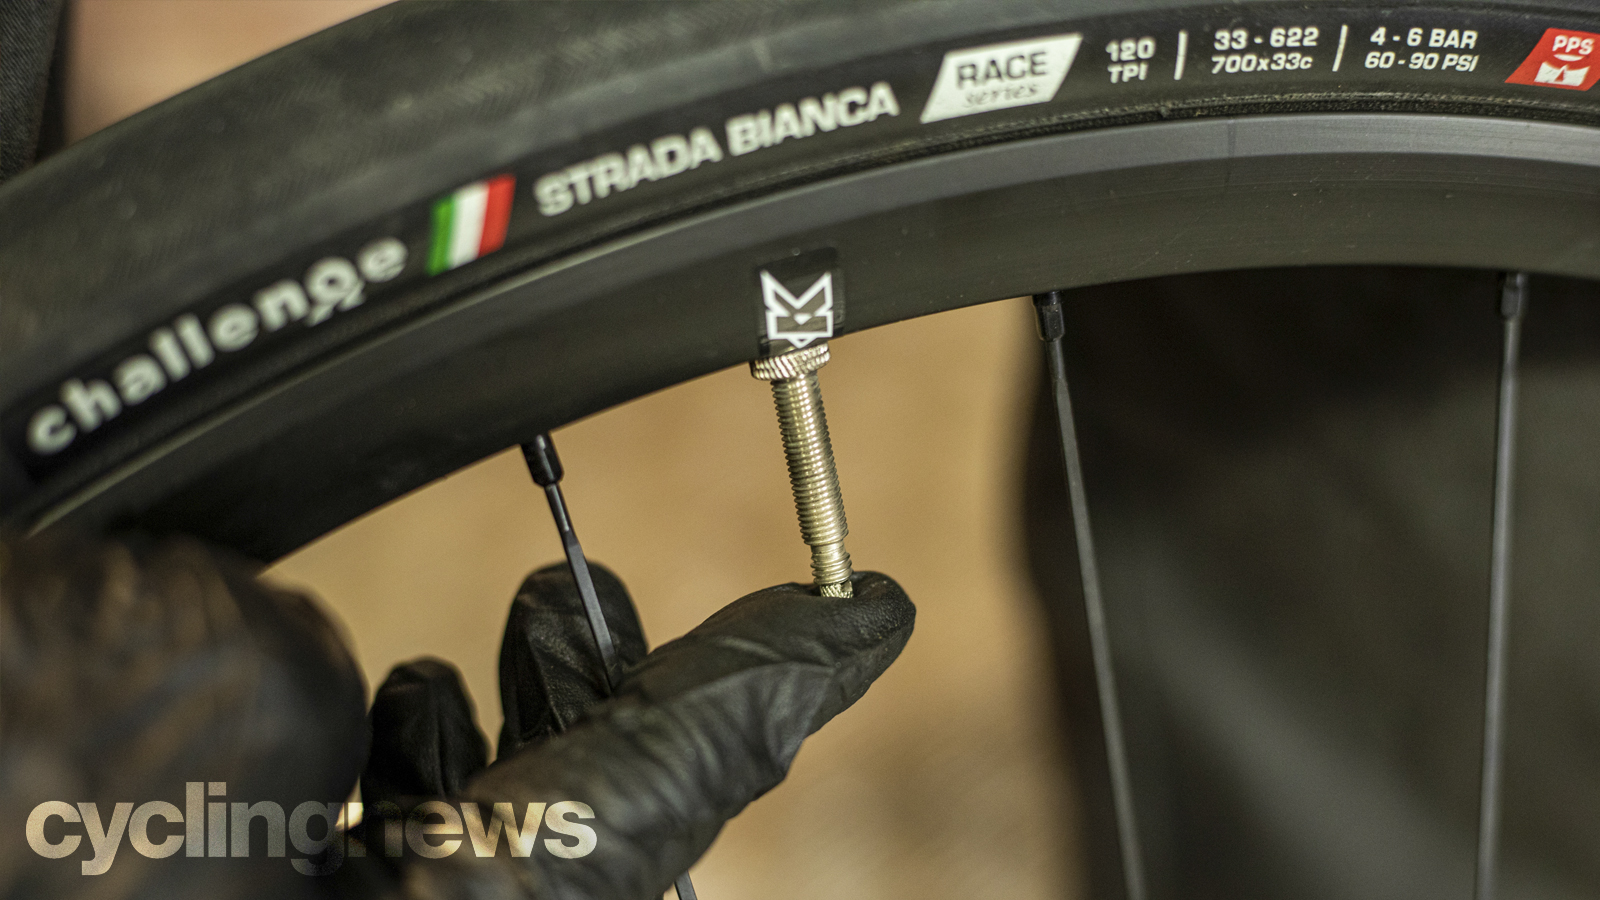
Remove the wheel from the bike and if the tyre isn’t already fully deflated let the air out of the inner tube. On Presta valves (the pointy ones) loosen the small barrel at the top of the valve slightly so you can press it down into the body of the valve to release the air. Now loosen and remove the valve collar that tightens it into the rim.
If you’re working on a kids bike or MTB with car type Schrader valves then depress the pin in the centre of the valve to let the air out.
Get The Leadout Newsletter
The latest race content, interviews, features, reviews and expert buying guides, direct to your inbox!
2. Unseat the tyre
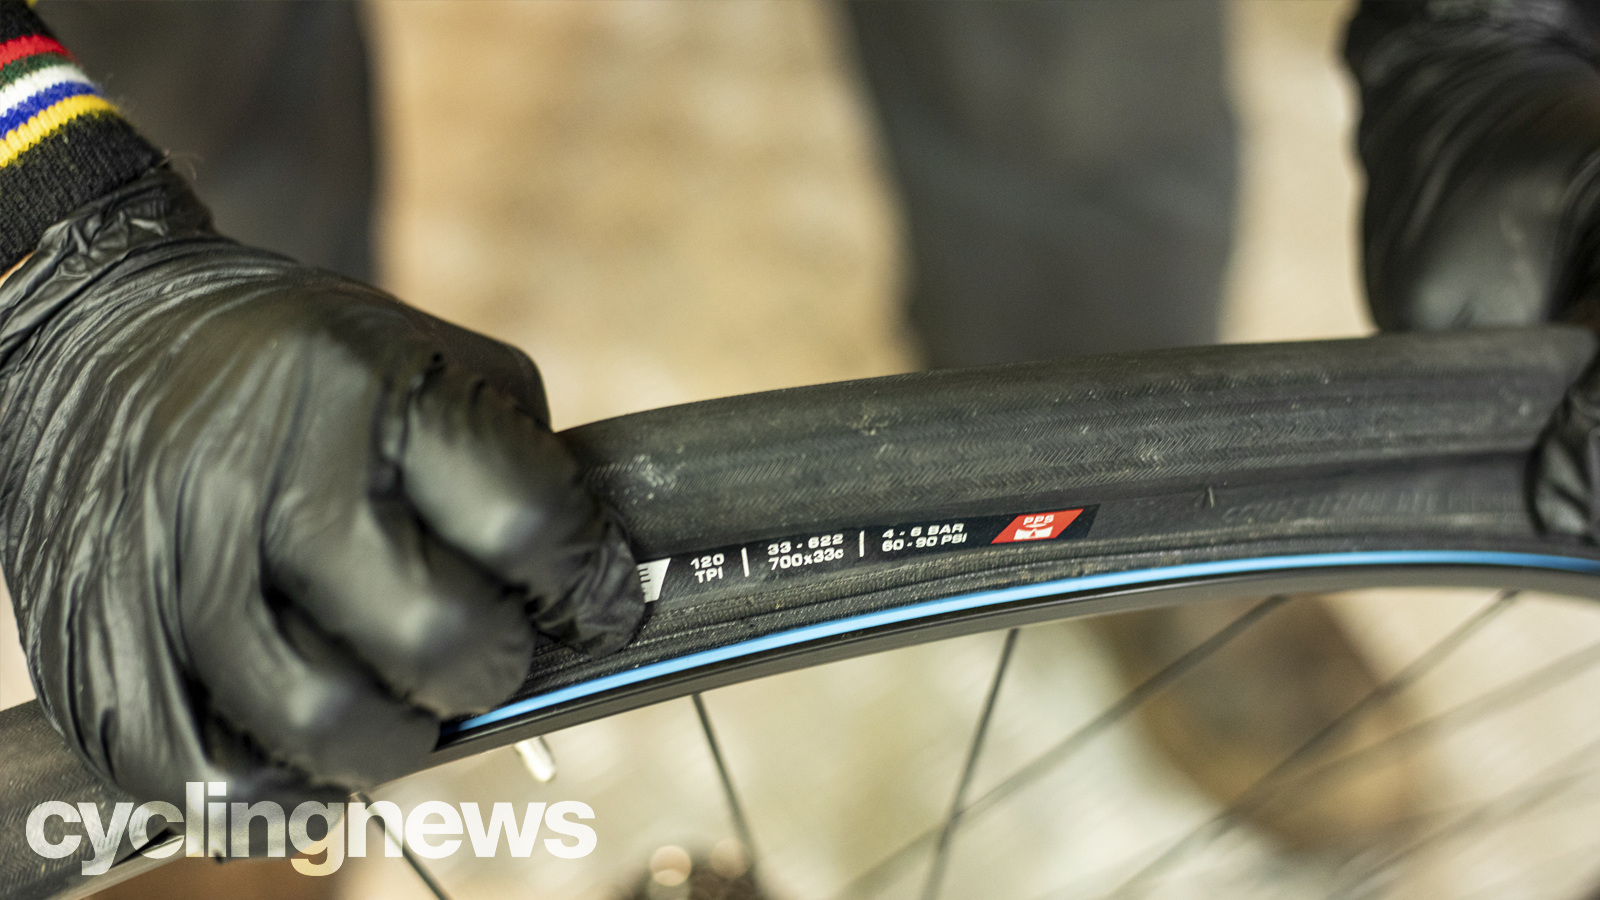
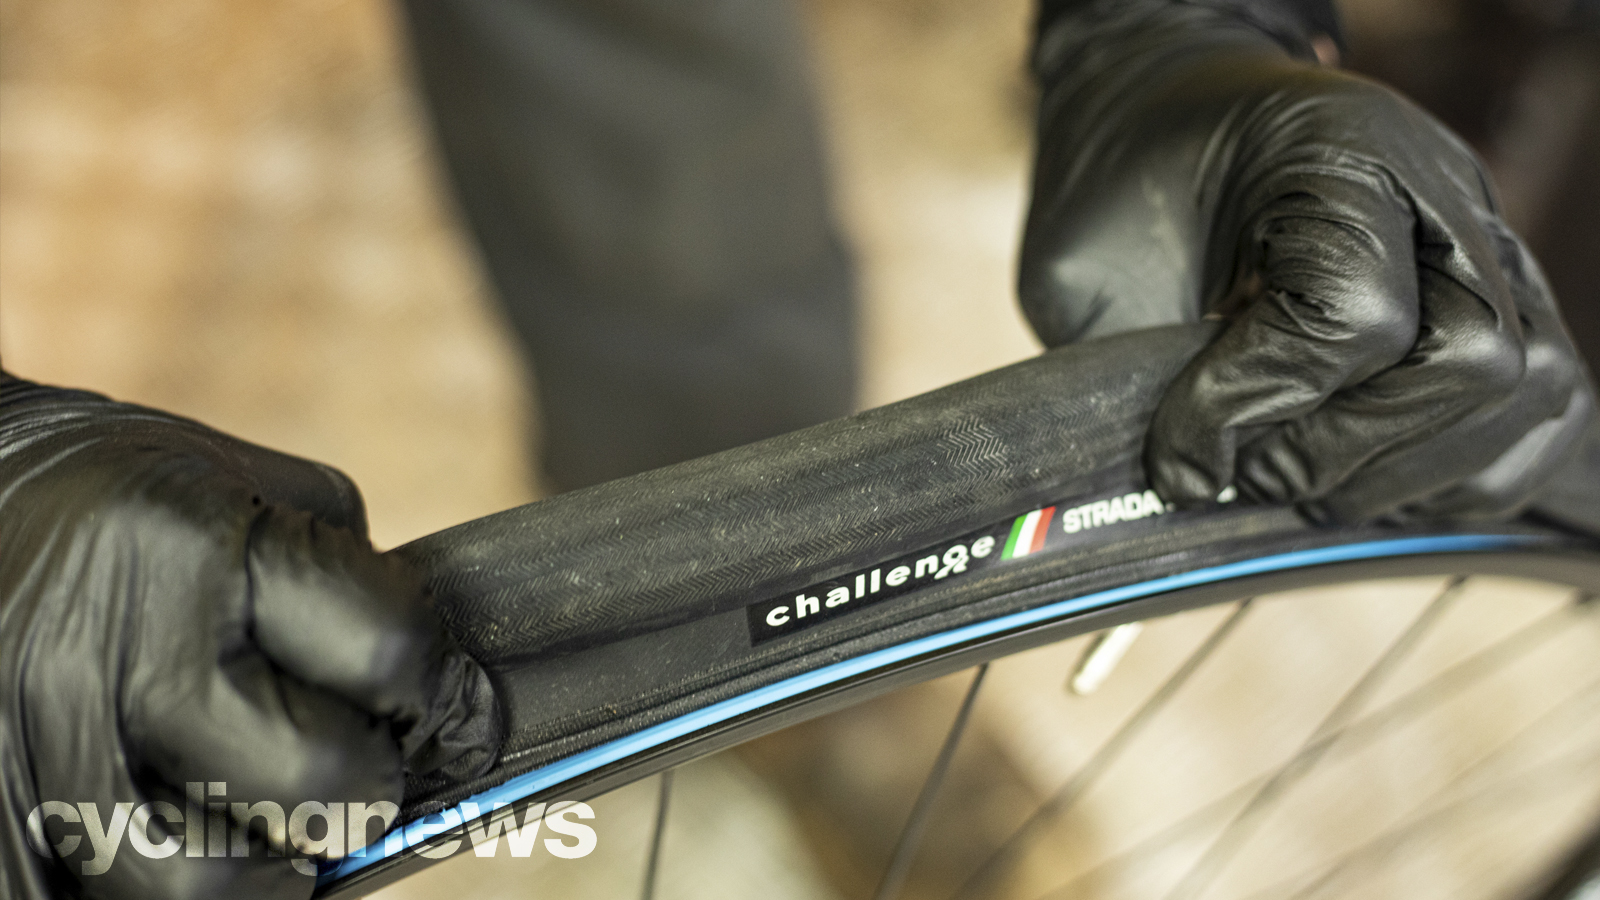
Once the inner tube is fully deflated, work round the whole tyre, squeezing it inwards so the base (edge) of the tyre drops into the centre of the rim. Do this on both sides so you’ve got some slack to work with.
3. Remove the tyre by hand
If the tyre is a loose fit you can lift up the wheel by the tyre and give it a shake to get all the slack to one place. Otherwise rotate the tyre so that the valve is at the top and start pushing the tyre down around the circumference of the rim in both directions. The idea is to squeeze an ever-increasing amount of tyre slack all the way around both sides so you get maximum slack to play with when your hands get to the bottom of the wheel.
Making sure you don’t lose your bit of slack, flip the wheel so the loose section is at the top. If you’re lucky you might have enough slack to just push the edge of the tyre off the rim with your thumbs. This removes any chance of you trapping the innertube between the rim and the tyre lever and puncturing it.
4. Using tyre levers to remove the tyre
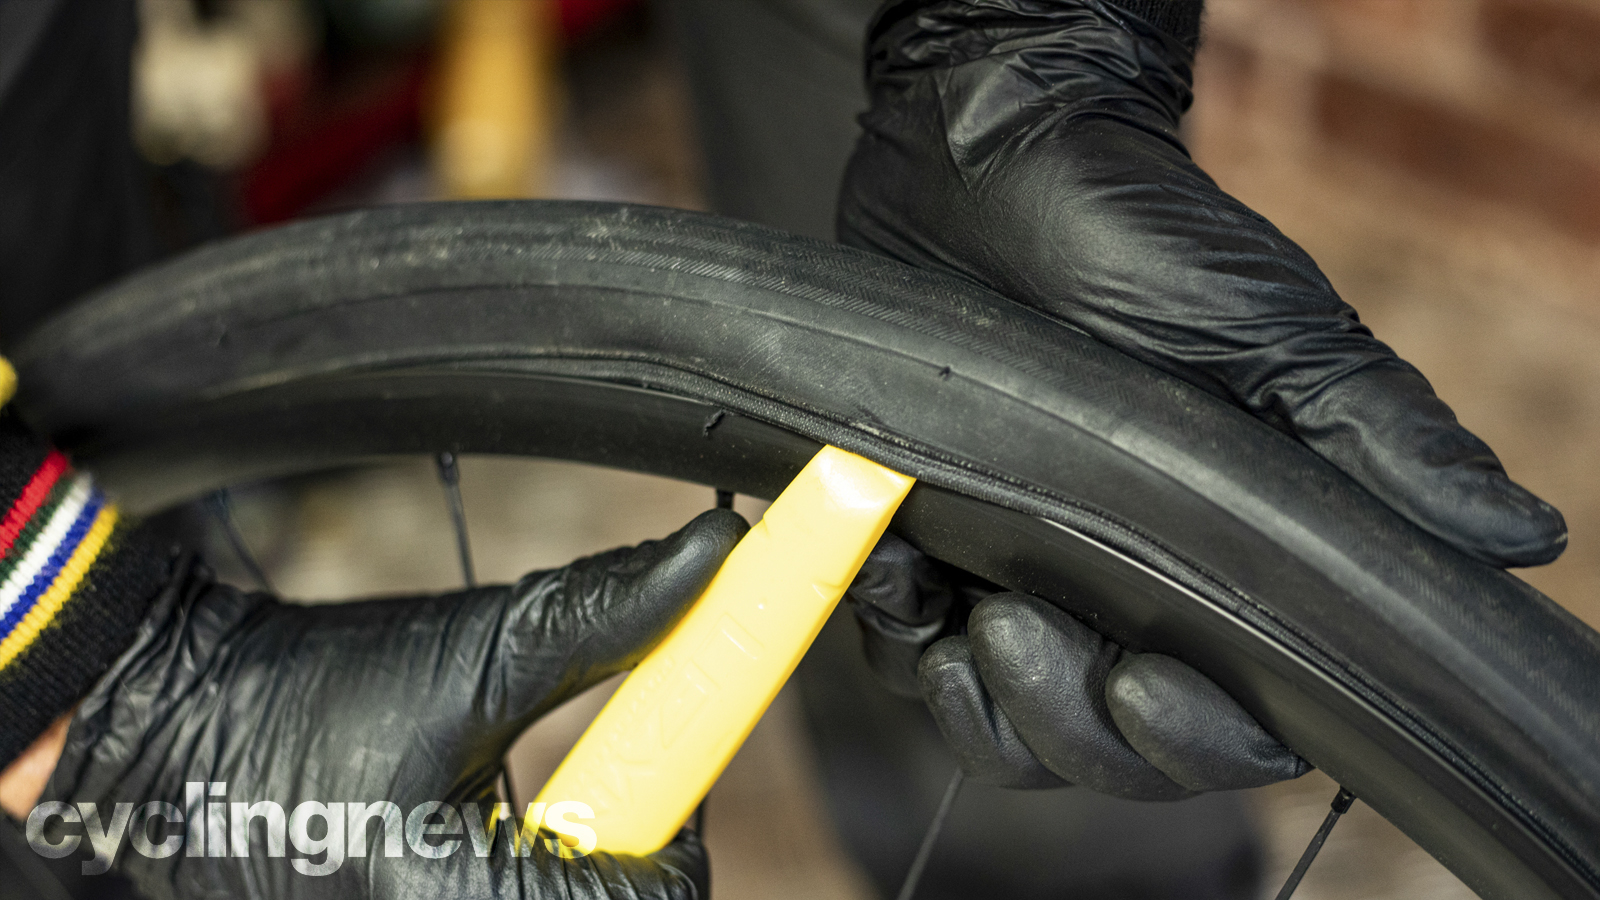
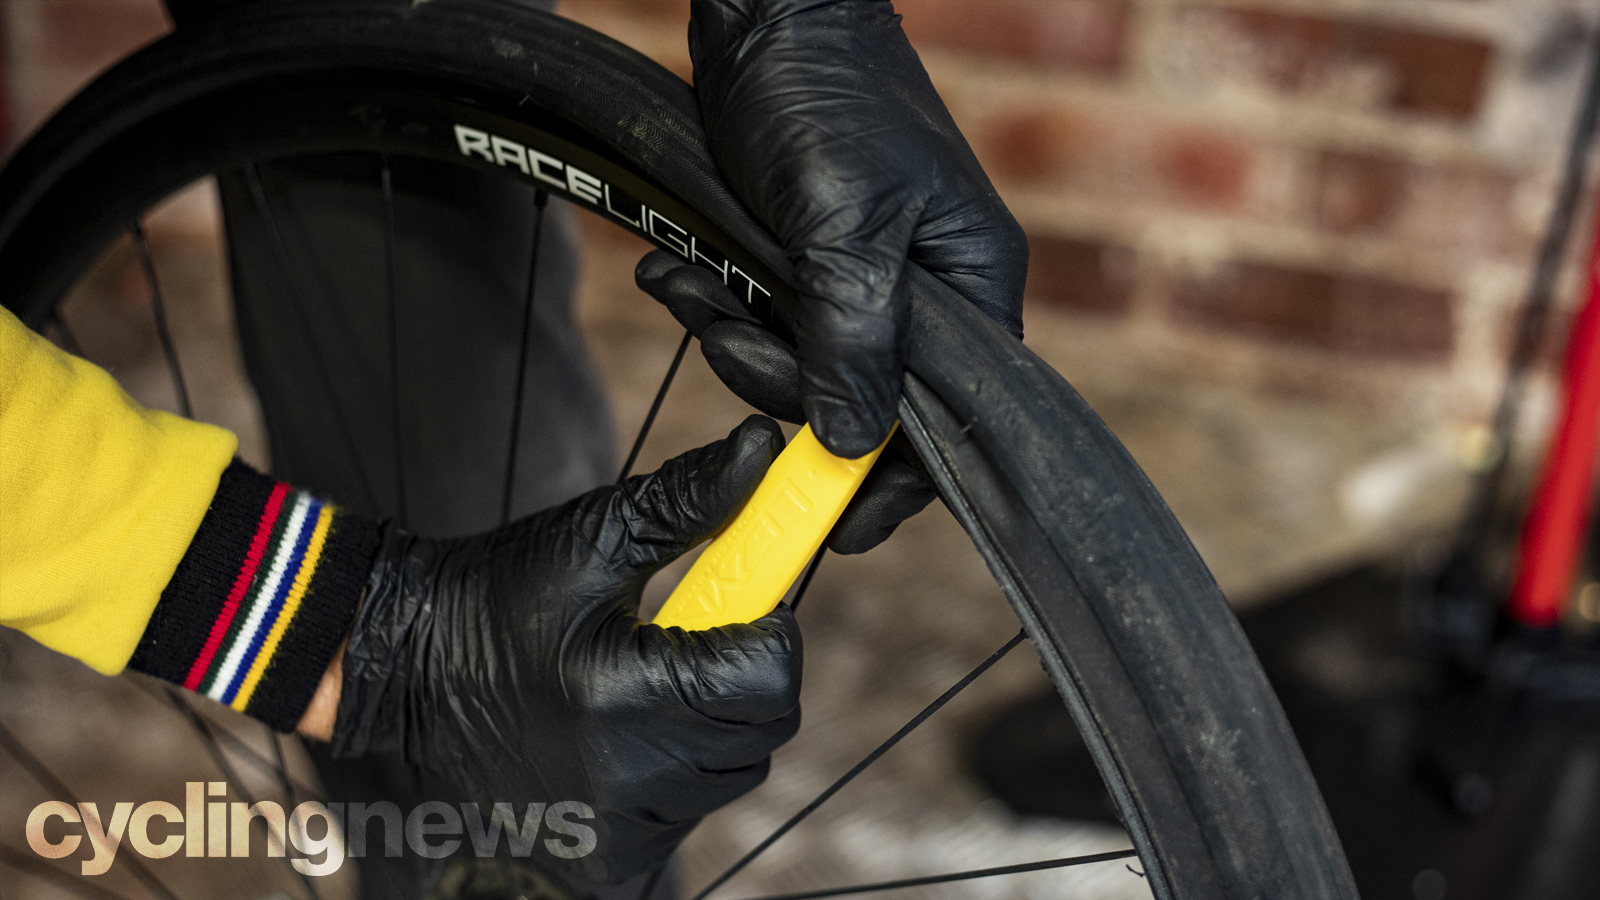
If the tyre is tight, you’ll need to use tyre levers. Insert the end of the first lever under the edge of the tyre so that the spoon end catches behind the tyre bead. Now press down on the lever to pull the tyre up and over the edge of the rim. Sometimes you can just slide the single lever all the way around the inside the tyre, peeling it off the rim as you go.
Other times you might need to use two levers. Lock the first lever in place by hooking it round one of the spokes of the wheel. Now insert the second lever under the edge about 2 inches (5cm) away from the first and lever the tyre over like you did with the first lever.
If the tyre is really tight then you might not be able to get the second lever under the edge with the first lever is hooked onto the spoke. If this is the case then pop the tyre edge back over the rim and then use both levers simultaneously to pry the tyre over the rim again. This obviously requires more wrangling with wheels between knees and both levers being pressed equally at the same time. It also makes it more likely that one or both levers might twang off as you lean on them, so go steady and stay away from any valuables.
6. Inspect the tyre
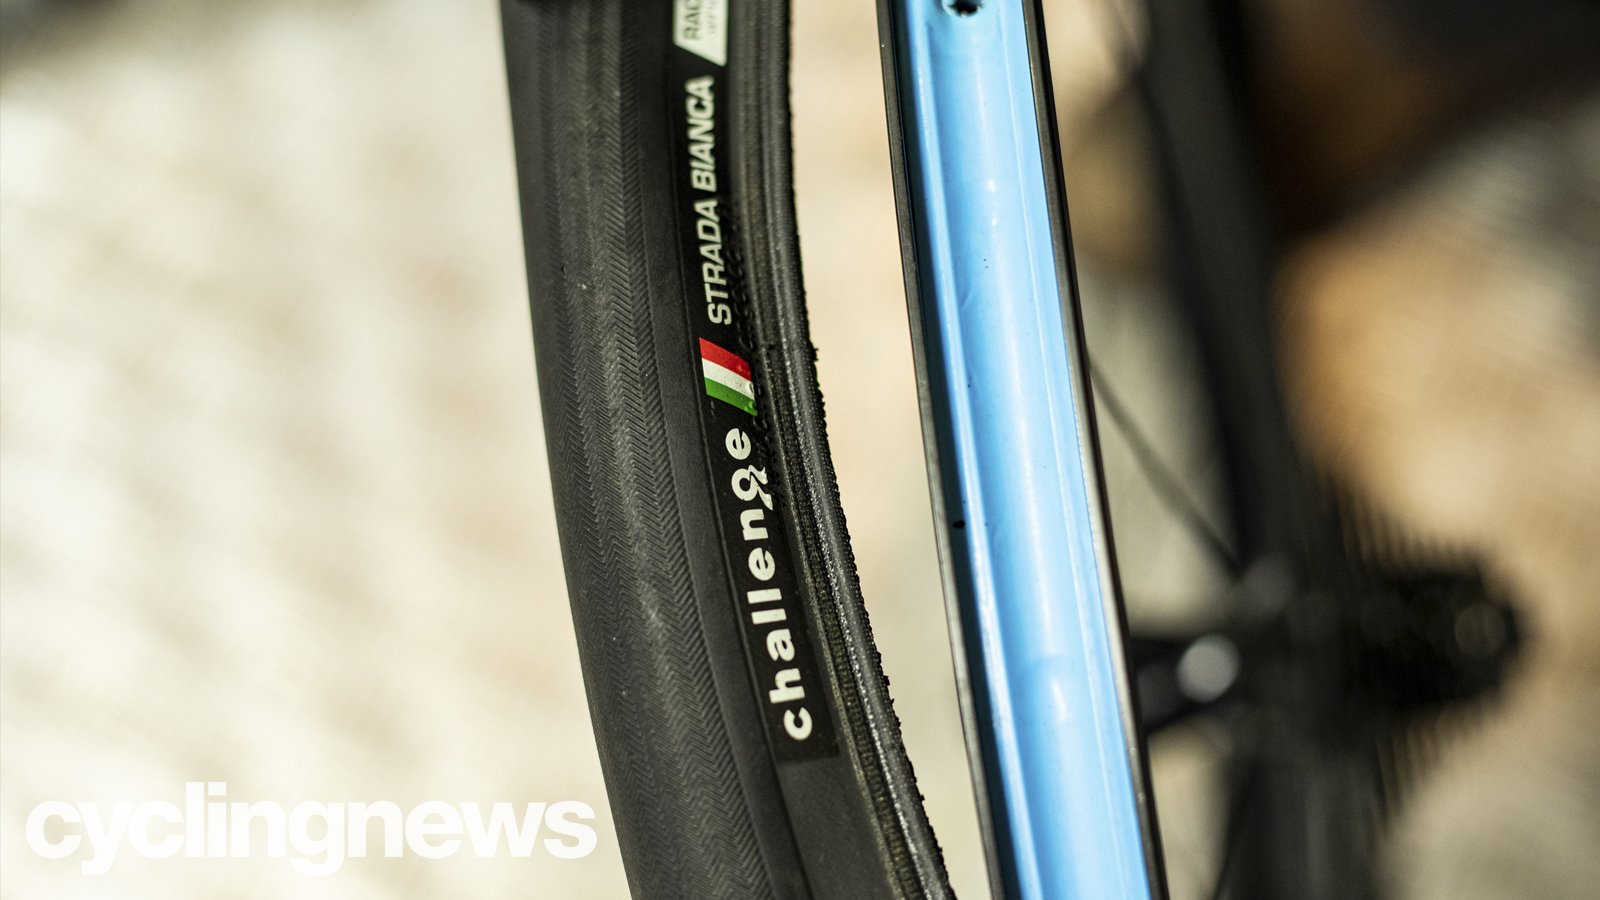
If you’re going to reuse the tyre, now is a good time to check it for any damage or splits in the tread or thorns etc. that are sticking through into the inside. Be careful though as you don’t want to puncture yourself in the process. Check the rim of the wheel for cracks, dents or sharp edges too.
- Best road bike tyres: fast-rolling, ultra-grippy tyres for training and racing
- Best tubeless road tyres: Our pick of the top tubeless road tyres
Fitting a tyre
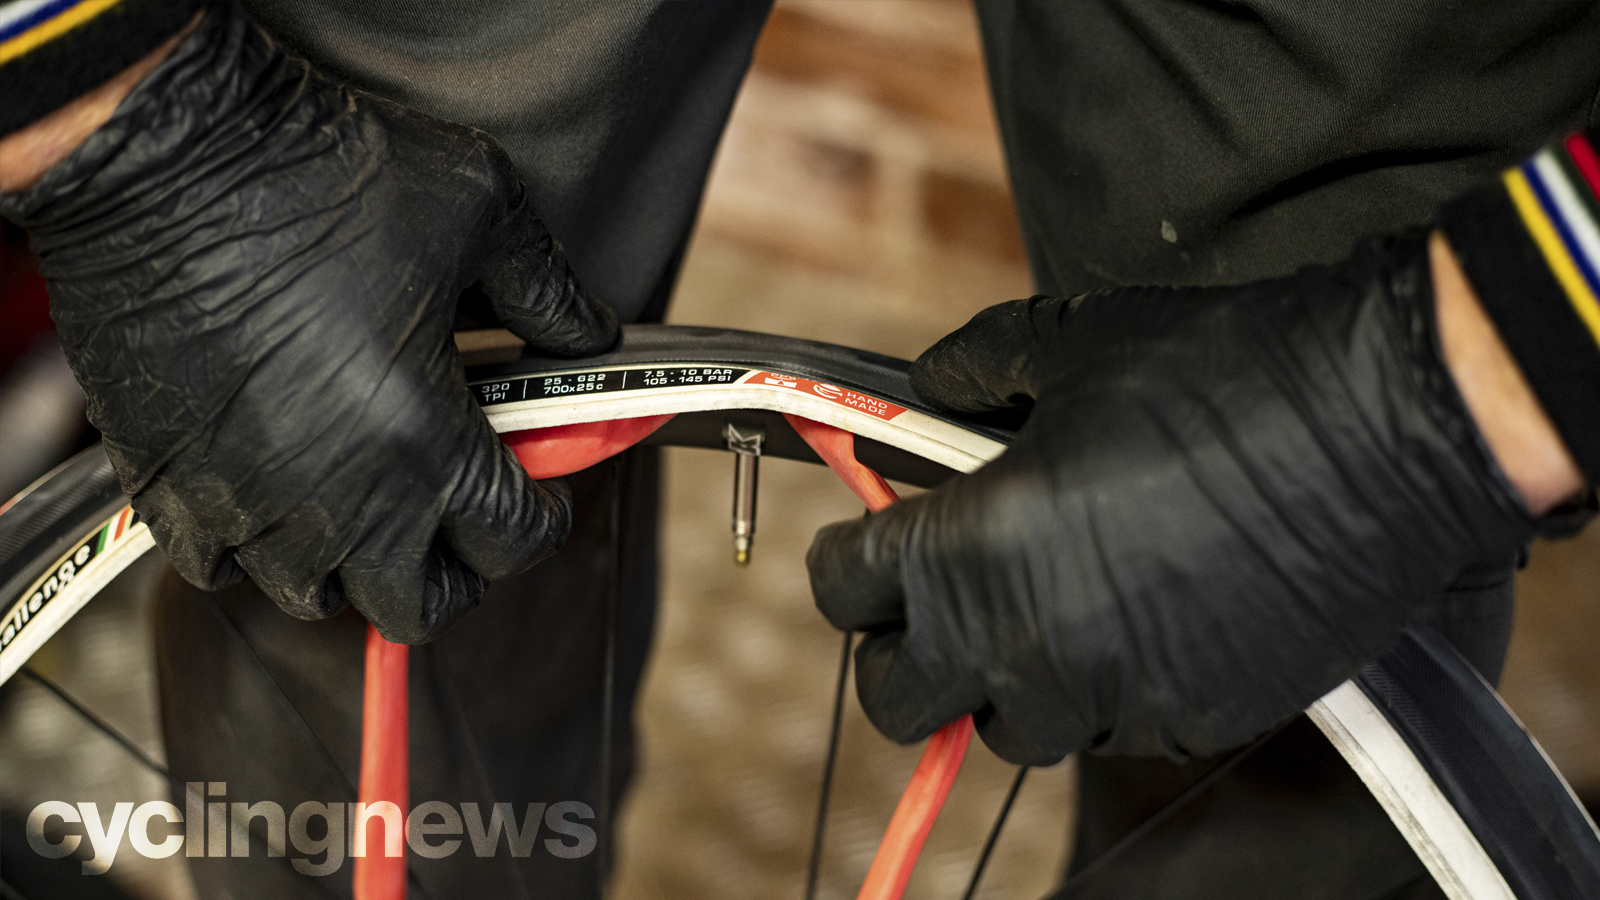
1. Check your inner tube size
First, check that you have the right size inner tube for your tyre. The tyre diameter range will be printed on the side of the tube. While the tube will expand to fill a bigger tyre than recommended it will be stretched dangerously thin. Too large a tube will also be hard to squeeze into the tyre which will make it hard to fit and it will ride ‘heavy’ too.
Check that the valve is long enough to stick far enough through the rim too. Allow extra as using a 60mm valve in a 50mm deep rim will only leave you a maximum of 10mm poking through. That’s way too short to get a good seal with a press-fit pump head.
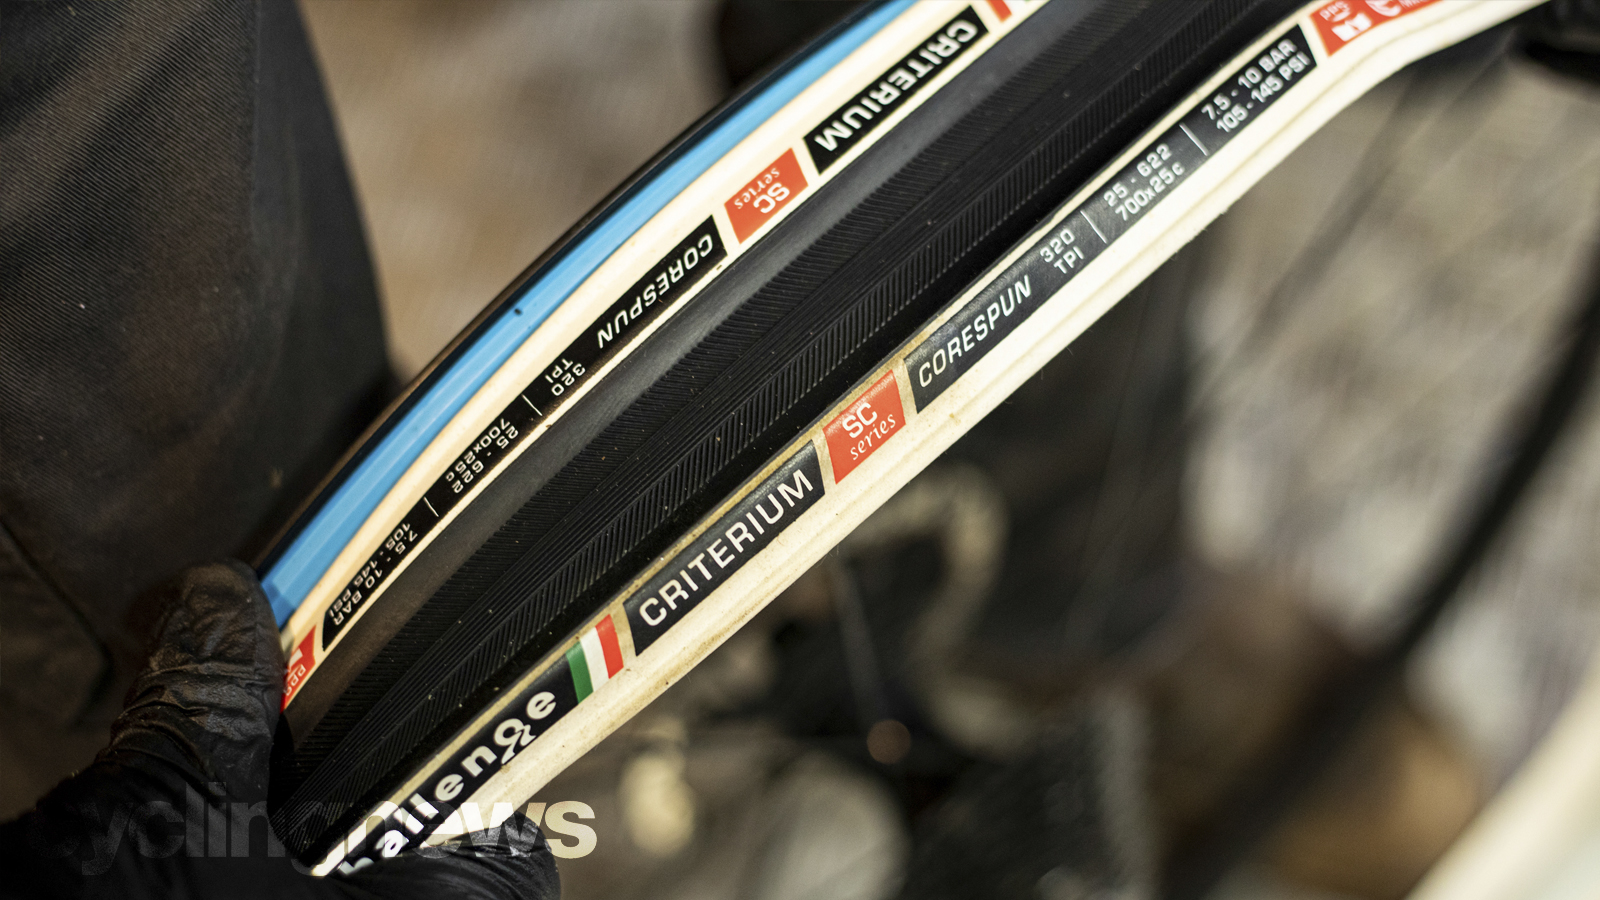
2. Fit the tyre
Mount one side of the tyre onto the rim. We always line up either the tyre name or the branding with the valve hole. That makes it much easier to find the valve if you need to inflate the tyre in a hurry. It also gives you a reference point between the inner tube and tyre if you’re trying to find a puncture hole.
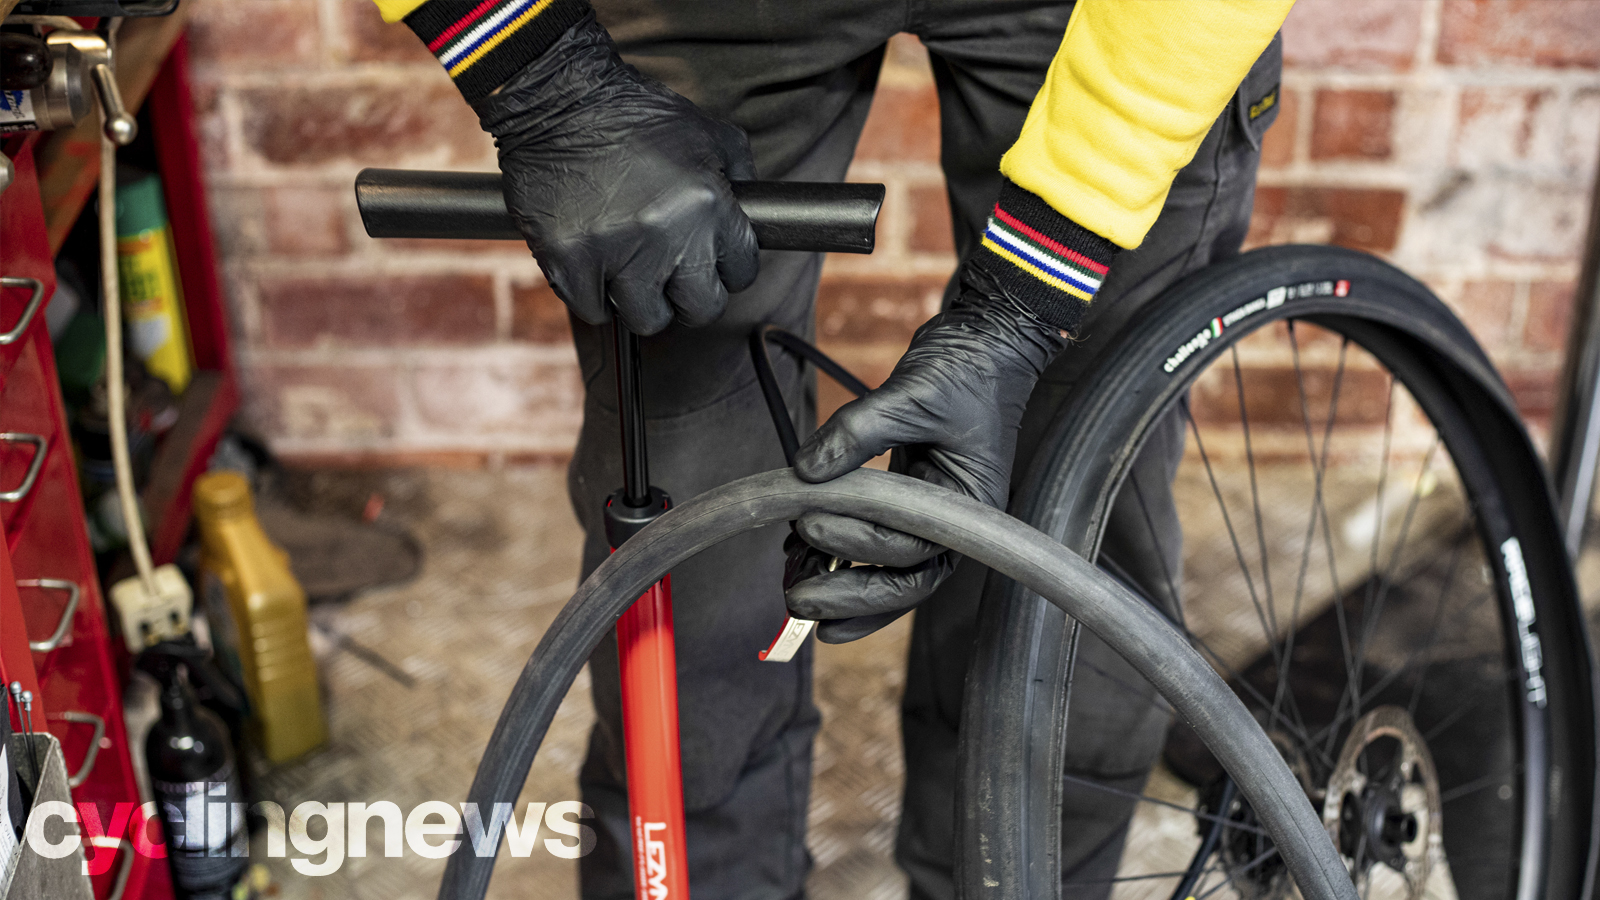
3. Fit the tube
Now inflate the inner tube very slightly so it takes a bit of shape rather than being totally flat. This makes it less likely to get trapped between the tyre and the rim. Push the inner tube valve through the rim. Remember to remove the threaded collar first but don’t put it back on just yet. Push the inner tube as far as you can up into the tyre so that it doesn’t bulge out over the rim. If there’s a bit too much air in, let some out.
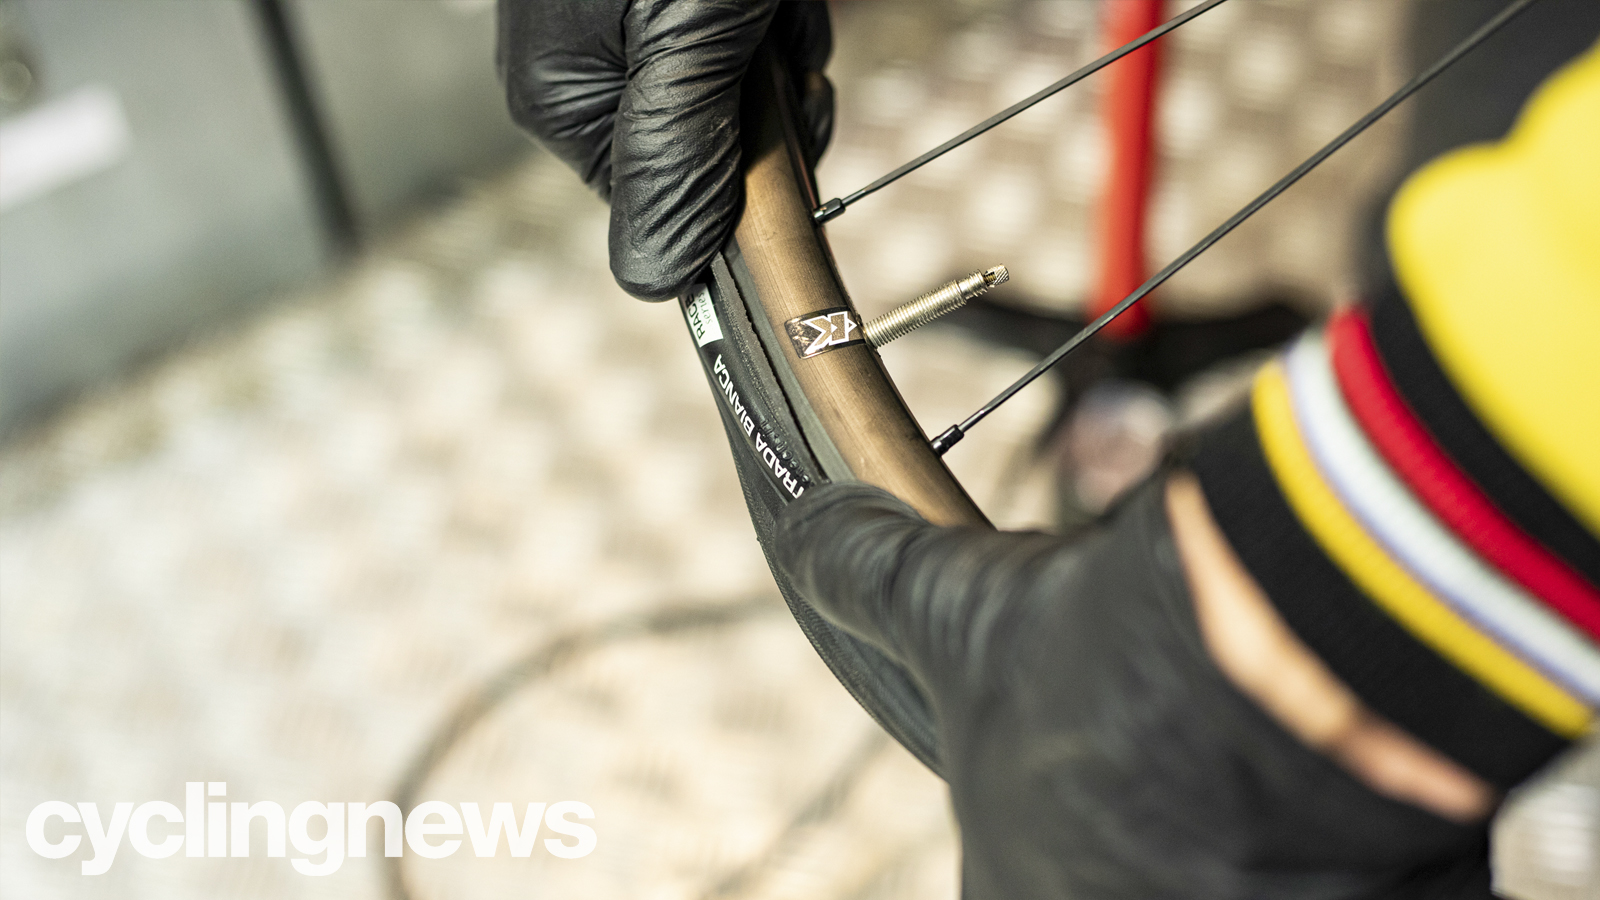
4. Fit the second side of the tyre
Now start to refit the second edge of the tyre. Use your thumbs to start with being very careful not to trap the inner tube under the tyre or against the rim. Try and squeeze the tyre around the circumference of the rim as you fit it to create slack in the same way as you did when removing it as well. That will make getting the last bit on much easier.
Get as far as you can with your thumbs as that obviously removes any chance of trapping the inner tube between tyre lever and rim. Some tyres can be fitted fully by hand but some tyres or tyre/rim combinations can be very tight.
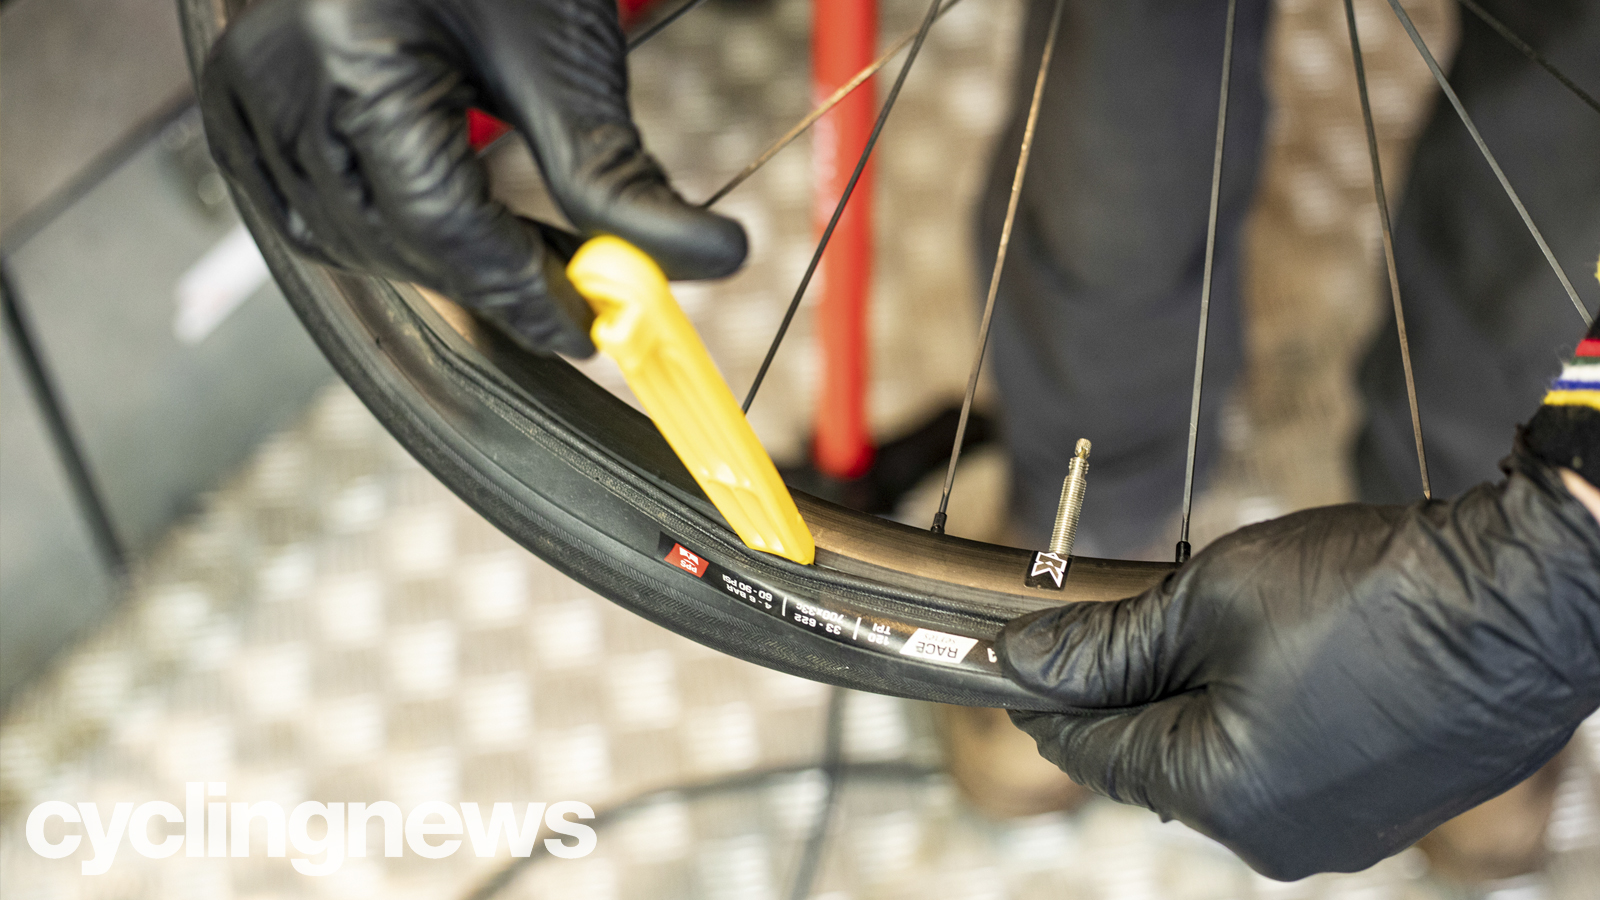
5. Fitting a tyre with tyre levers
When you get to the ‘no further’ point though take your levers and insert them under the tyre edge at each end of the unfitted section. Push the inner tube further up into the tyre as you do it to get it out of the way and then hook the spoon side of the lever over the rim.
Carefully lever the tyre onto the rim, using each lever in sequence and moving towards the centre of the unfitted section. The tighter it gets the more likely you are to trap the inner tube so make sure it never gets trapped as you re-insert the levers each time. Take your time too as it’s easier and less likely to end in tears if you just work the tyre back on a little bit at a time.
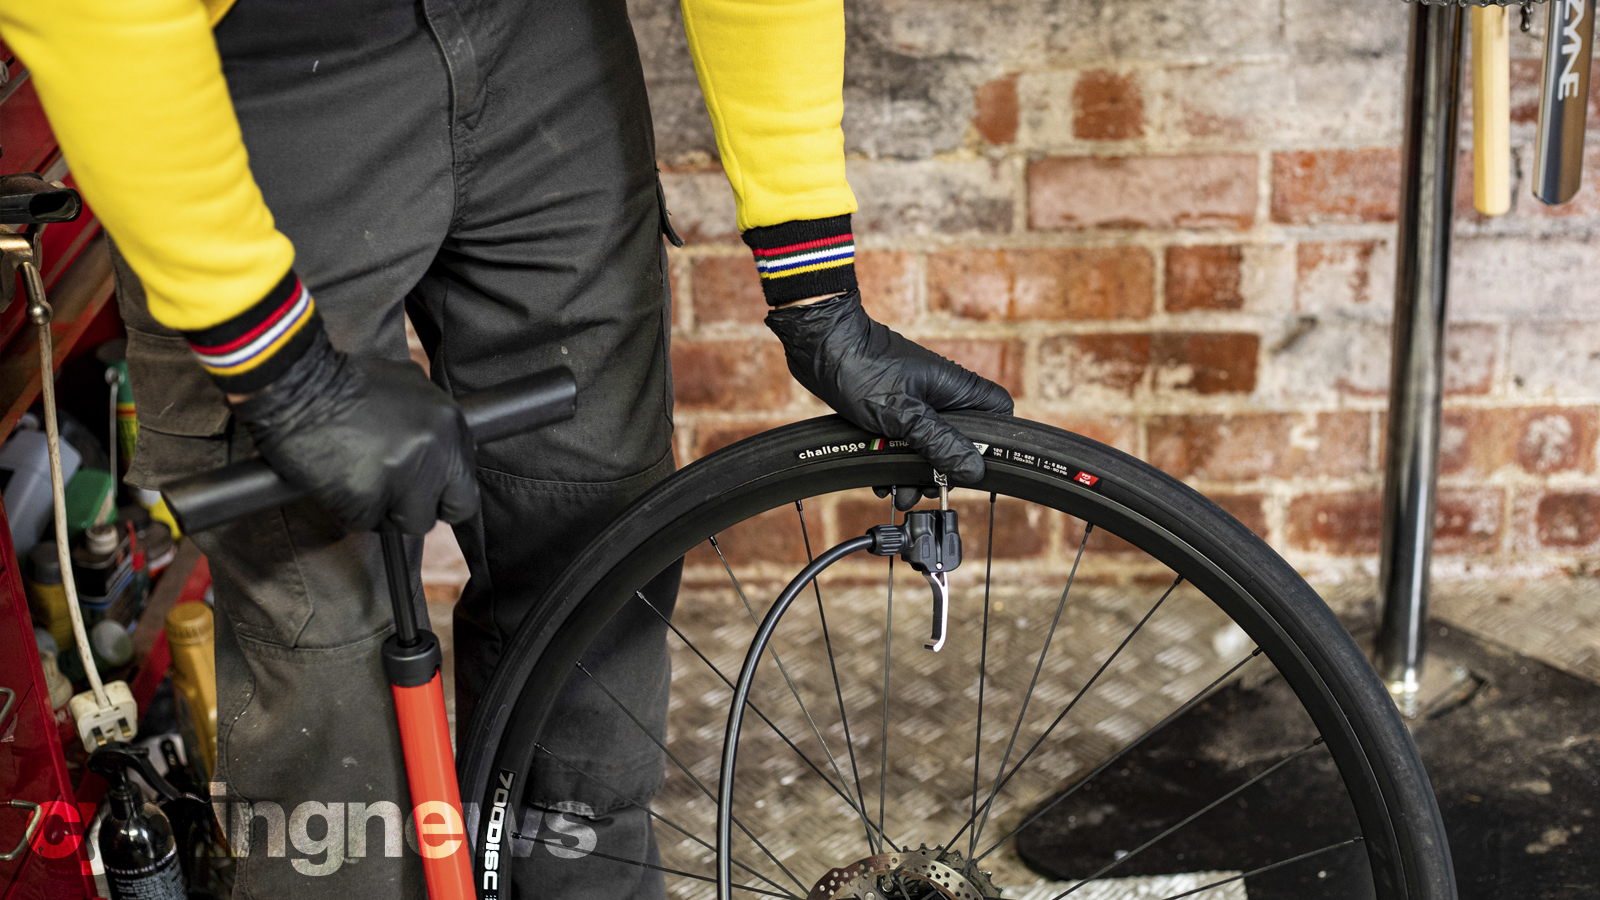
6. Carefully inflate the tyre
With the tyre fully on, check all the way around both sides looking for any places where the tube might be trapped or the tyre is not seated properly. Otherwise, you’re risking a very big bang and starting the process all over again when you start pumping. If it’s all good then attach the pump and start gently inflating, continuing to check for any bulges or unequal tyre lift that might point to a trapped tube. As you inflate the tyre might also snap or bang into place on the rim which sounds really scary - particularly on carbon wheels - but is just part of the process.
Once the tyre is fully inflated, remove the pump and secure the valve in the rim with the lock ring. Make sure you close the tip of Presta valves too. Now spin the wheel to check the tyre is seated symmetrically with no wobbles or hops and no inner tube bulging out. All good? Congratulations you are now ready to fit your wheel back in and go ride.
- Best road bike wheels: Our pick of the best wheelset upgrades
- Road bike groupsets: a comprehensive guide
Individuals carrying out the instructions in this guide do so at their own risk and must exercise their independent judgement. There is a risk to safety if the operation described in the instructions is not carried out with the appropriate equipment, skill and diligence and therefore you may wish to consult a bike mechanic. Future Publishing Limited provides the information for this project in good faith and makes no representations as to its completeness or accuracy. To the fullest extent permitted by law, neither Future Publishing Limited, its supplier or any of their employees, agents or subcontractors shall have any liability in connection with the use of this information, provided that nothing shall exclude or limit the liability of any party for personal injury or death caused by negligence or for anything else which cannot be excluded or limited by law.