How to adjust bike gears
Gears need occasional adjustment to keep them running quietly and shifting sweetly. Here’s how to sort your shifting quickly and easily every time
There is a multitude of reasons as to why gears might start shifting poorly, so unless you are a dedicated single speed rider, being able to adjust your road bike groupset so it is once again shifting smoothly and accurately is a beneficial skill to have.
Fixing your own gears can seem like a dark art but it isn't something that you need to be scared of. The trick to successful gear adjustment is correct diagnoses of the issue and a methodical approach to adjustment. Keep reading as we take you through the steps needed to get your bike shifting perfectly again.
If you are looking for more helpful maintenance advice, Cyclingnews is bringing you a series of guides so that you can learn how to perform basic bike maintenance tasks yourself. Check out the other guides that are available.
- How to fit a bike wheel
- How to change a bike tyre
- How to repair an inner tube on your bike
- How to remove and fit bike pedals
- How to adjust disc brakes on a bike
- How to remove and fit a bike chain
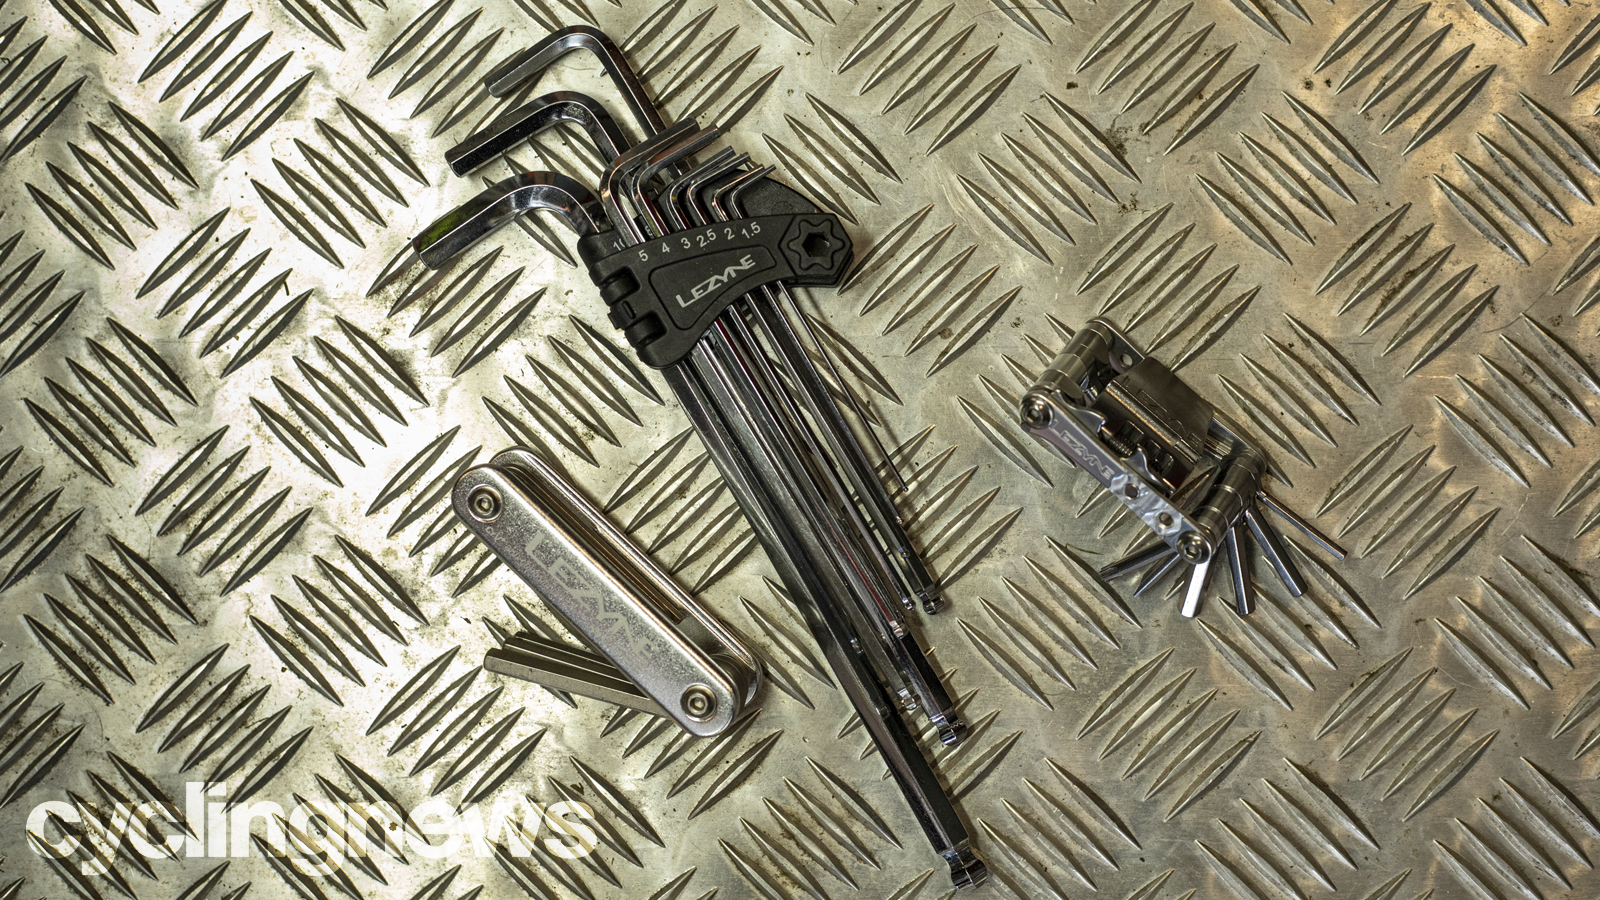
Tools needed
The tools you will need will very much depend on the drivetrain that you have on your bike. For most groupset manufactures you will need either a 3m, 4mm or 5mm Allen keys/hex wrenches. Although it's not as common you may need a T25 Torx wrench. If you are using a SRAM groupset then a SRAM gear gap guide will make setup simpler.
- Road bike groupsets: a comprehensive guide
- Best chains for mountain bike, gravel and road
Setting the limits
The worst problem with shifting is when the chain falls off the top or bottom end of the cassette of gears at the back or off the chainrings at the front. This happens when the limiter screws aren’t set up properly or the gear hanger at the rear has been damaged in a crash or when it’s being transported. These issues are sorted the same way whether your gears are cable shift or electric.

1. Check the gear hanger is straight
First, check that the gear hanger is straight. The hanger is the alloy tab that bolts onto the frame at the rear wheel and holds the rear derailleur in place. Looking from the back of the bike it should be vertically in line with the frame dropout (the section that holds the wheel). If it’s hard to tell then check that the jockey cage (the section of the rear derailleur with the two pulley wheels) is vertically aligned.
If it’s been bent inwards by a crash or accidental impact then you can try straightening it very carefully. Remove the rear derailleur and use an adjustable spanner to gently bend it outwards. If it’s very bent or cracked though you’ll need to order a replacement.
The latest race content, interviews, features, reviews and expert buying guides, direct to your inbox!
2. Check the limit screws
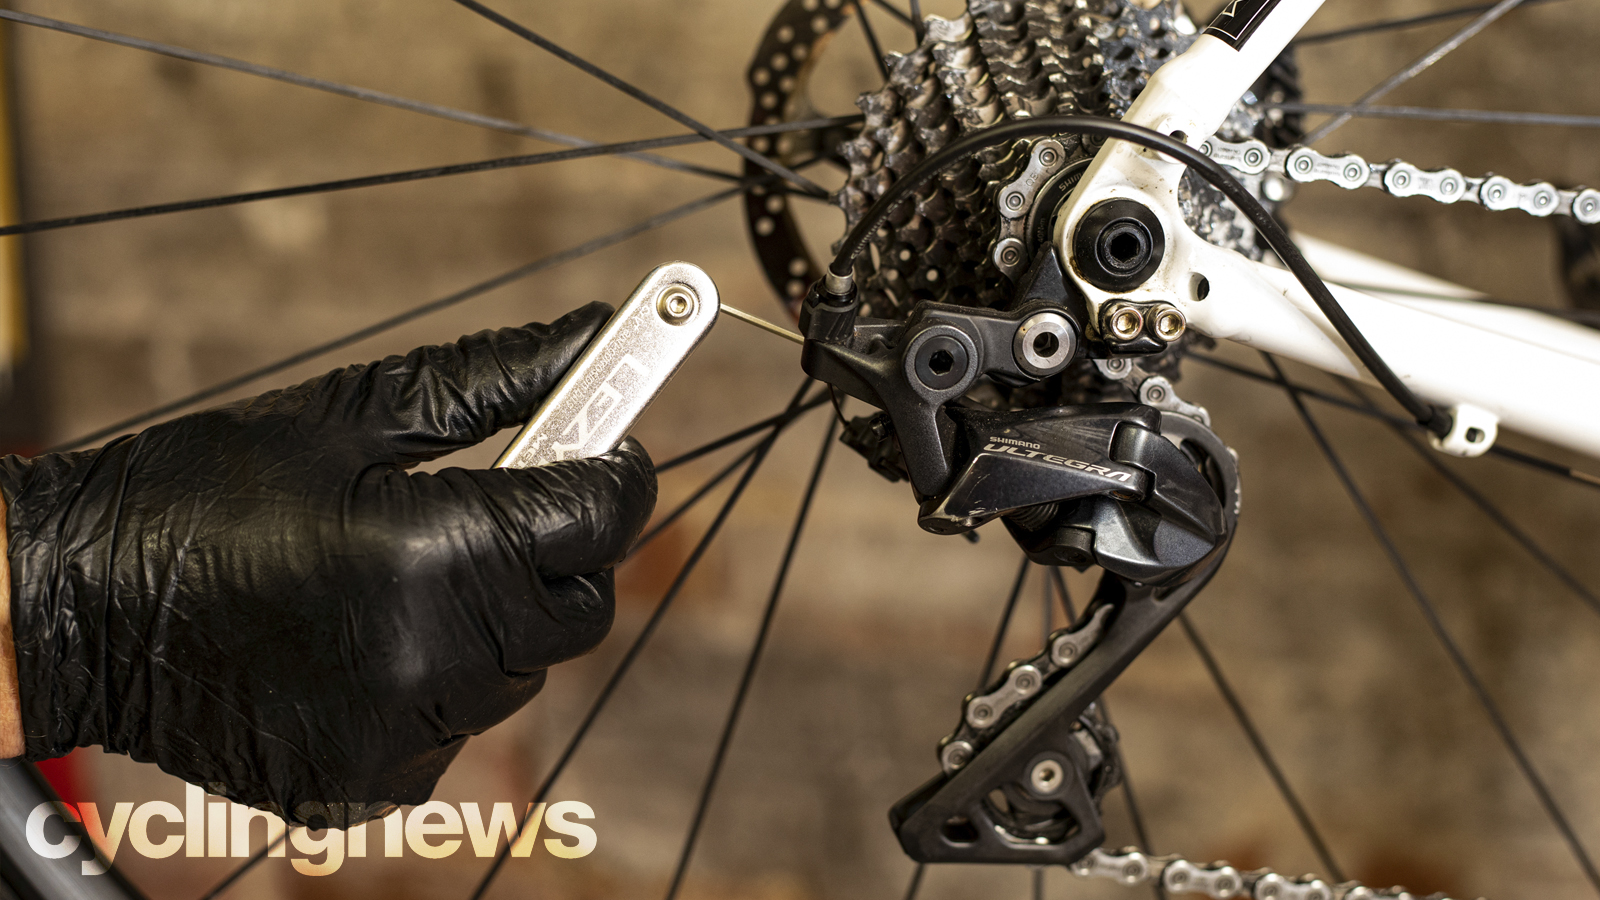
Once the rear hanger is straight then you need to check the limit screws are correctly set up. These are two small screws at the back of the derailleur, one above the other. On some mechs they are helpfully marked with an H (High) or L (Low). Otherwise, you’ll need to consult the manual or just work it out by watching which screw does or doesn’t move the mech back as you turn it.
3. Set the high limit
Shift carefully into the smallest cog, being careful not to drop the chain off the outside edge. Now move the H screw until it contacts the tab on the derailleur body that stops it from moving any further outwards.
4. Set the low limit
Now shift the chain carefully across into the largest cog to check that it doesn’t fall off the far side or let the rear mech go into the spokes. If this does happen, wind in the L screw until it hits the stop tab and then limits the derailleur so that it’s vertically in line with the largest sprocket on the cassette.
Top Tip
With SRAM 1x, the best place to set the Low limit is just past the largest sprocket. What this does is allows a dummy shift, essentially keeping you in that gear rather than dumping the chain back down a gear. Be careful not to set it too wide though, otherwise the derailleur will foul on the spokes.
5. Adjust the front derailleur limits
If you’re having problems with your front shifting you need to do the same process with the front derailleur. First, check that the plates are in the right place. The lower edge of the outer plate should be about 2mm above the tallest point of the teeth on the largest chainring. It should also be parallel when looking from above.
Now use the stop screws the same way you did at the back. You’re aiming for a point where you can still get all the gears at the back without the chain rubbing on the front mech. Make sure it doesn’t push the chain off the chainrings at the inside limit though and make sure it doesn’t catch on the crank arms when it’s at the outside limit. This process can take a while but be patient and you’ll get there eventually.
- Shimano road groupsets explained
- SRAM road groupsets: range, details, pricing and specifications
- Campagnolo groupsets explained
Shifting
Now it’s time to sort your actual shifting. This can get noisy or slow as parts start to wear. One of the most common reasons for poor shifting is cable stretch. As new cables bed in through riding, the slick-shifting on your new or recently serviced bike will become inaccurate. Luckily this is an easy issue to resolve yourself.
1. Low cable tension correction
Shift carefully into the smallest cog and the derailleur should be hanging vertically underneath it.
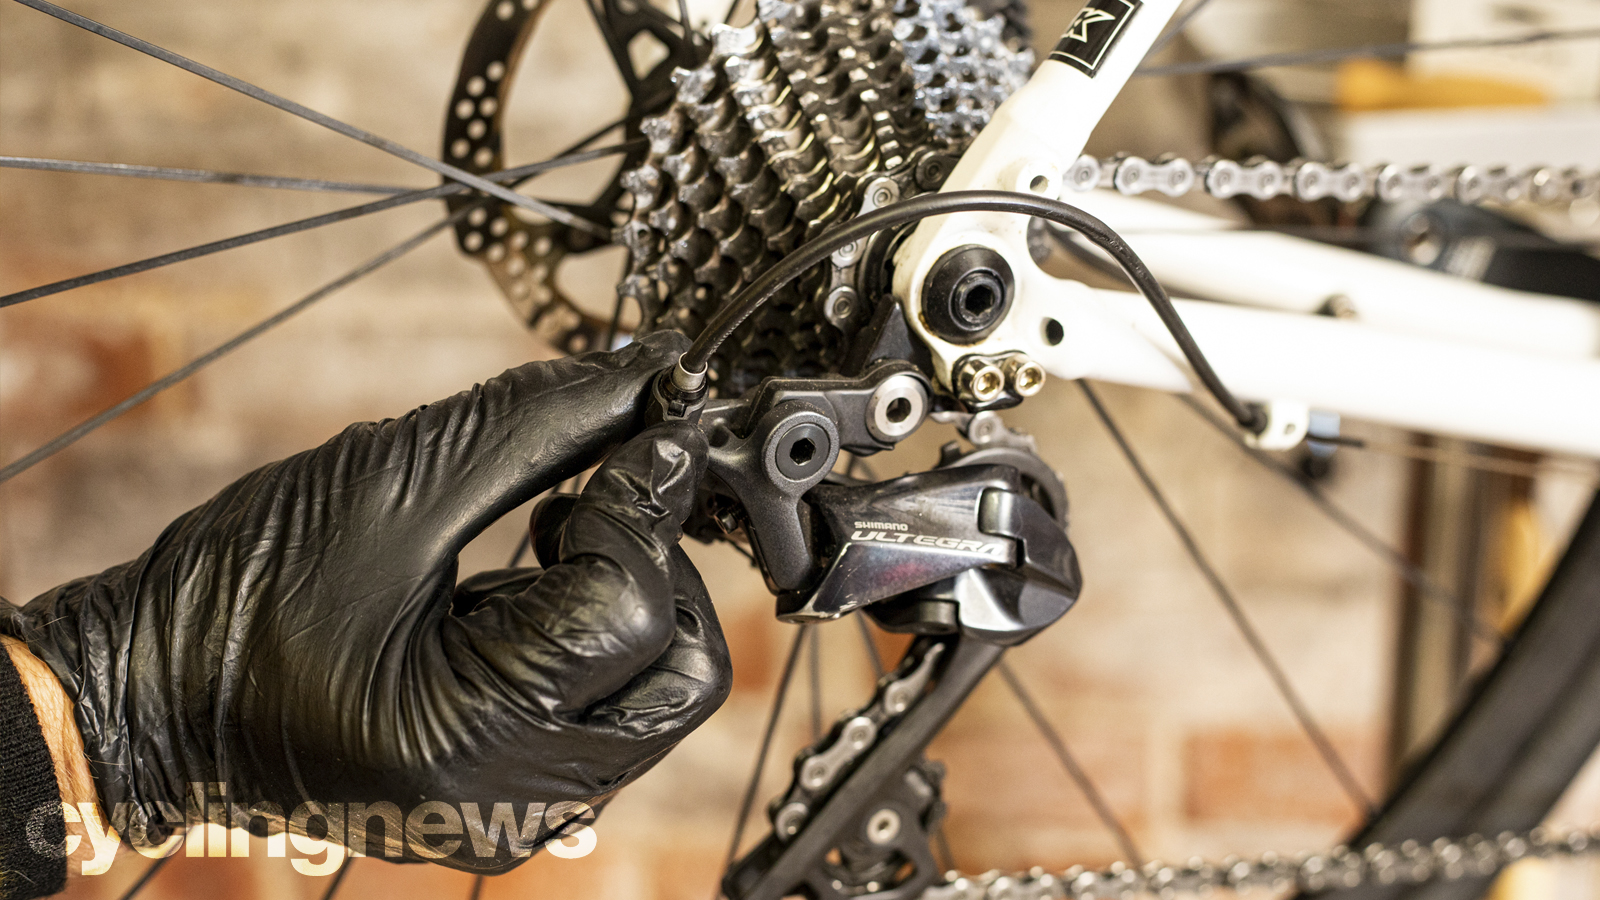
Now shift up one gear while turning the cranks to rotate the chain. The chain should hop up into the next gear cleanly. If it’s slow or clattery then turn the barrel adjuster (situated where the cable enters the rear mech) anti-clockwise to increase the cable tension so the chain upshifts easier.
2. High cable tension correction
If the cable tension is too high then the chain will already rub on the next largest sprocket. In that case, loosen off the barrel adjuster slightly by turning it clockwise. Only make very small 1/4 turn adjustments each time though as modern gear systems have very close tolerances.
3. Fine tune the shifting across the cassette
Once the shifting works well at the bottom end then move up through the block checking each shift in each direction. If it doesn’t change up when you shift then increase the tension, if it shifts too far then decrease. It can take a while, so be prepared to take regular breaks rather than losing your temper but it’s very satisfying when you get it right so keep adjusting until you find the sweet spot.
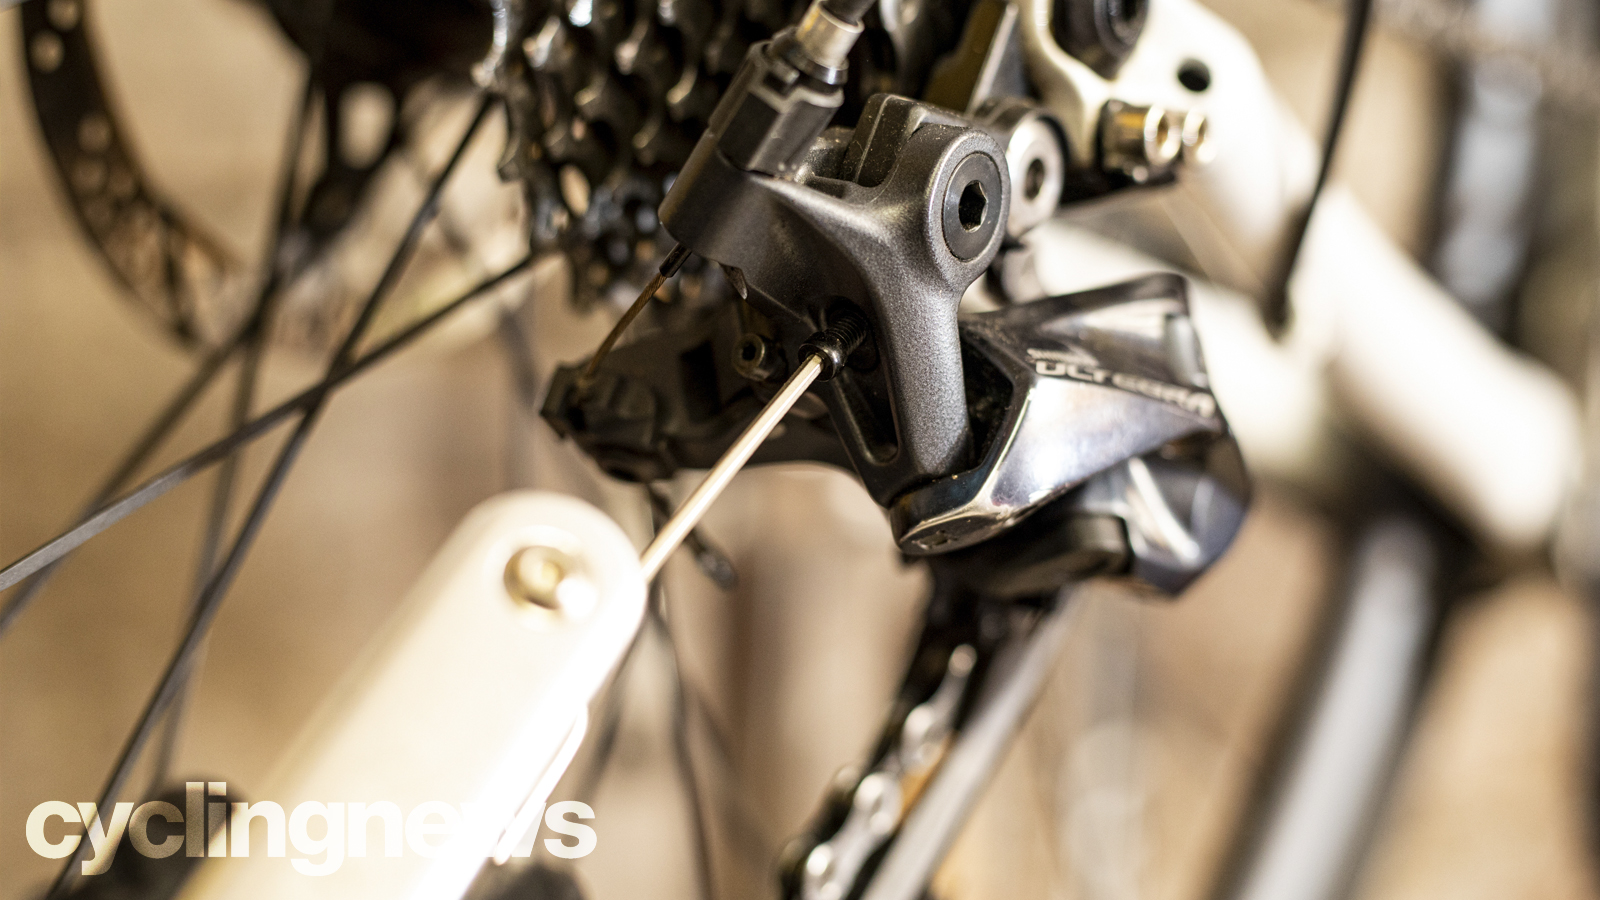
4. B screw adjustment
If you’re using a wide range cassette with a huge top-end cog then you need to make sure the rear mech has enough clearance underneath it to move the chain across. Too much gap though and the shifting can be slow and sluggish.
SRAM helpfully have a plastic guide you can slide in to help you position the rear mech just right. Otherwise, just move the ‘B screw’ that presses against the gear hanger to control the rotational angle of the whole rear mech which also controls the gap between the mech and the cogs.
5. Final check
Once everything is working well. Check the cables are all clamped securely, run through the gears one last time and then you’re good to go riding.
Adjusting electric gears
The process of synchronising your shifting is essentially the same with electric gears as it is with cable gears. You just have to put the shifters into adjust mode (consult the instructions as each shifting system differs) and then use the up and down function to nudge the gears into the correct position.
Sticking cables
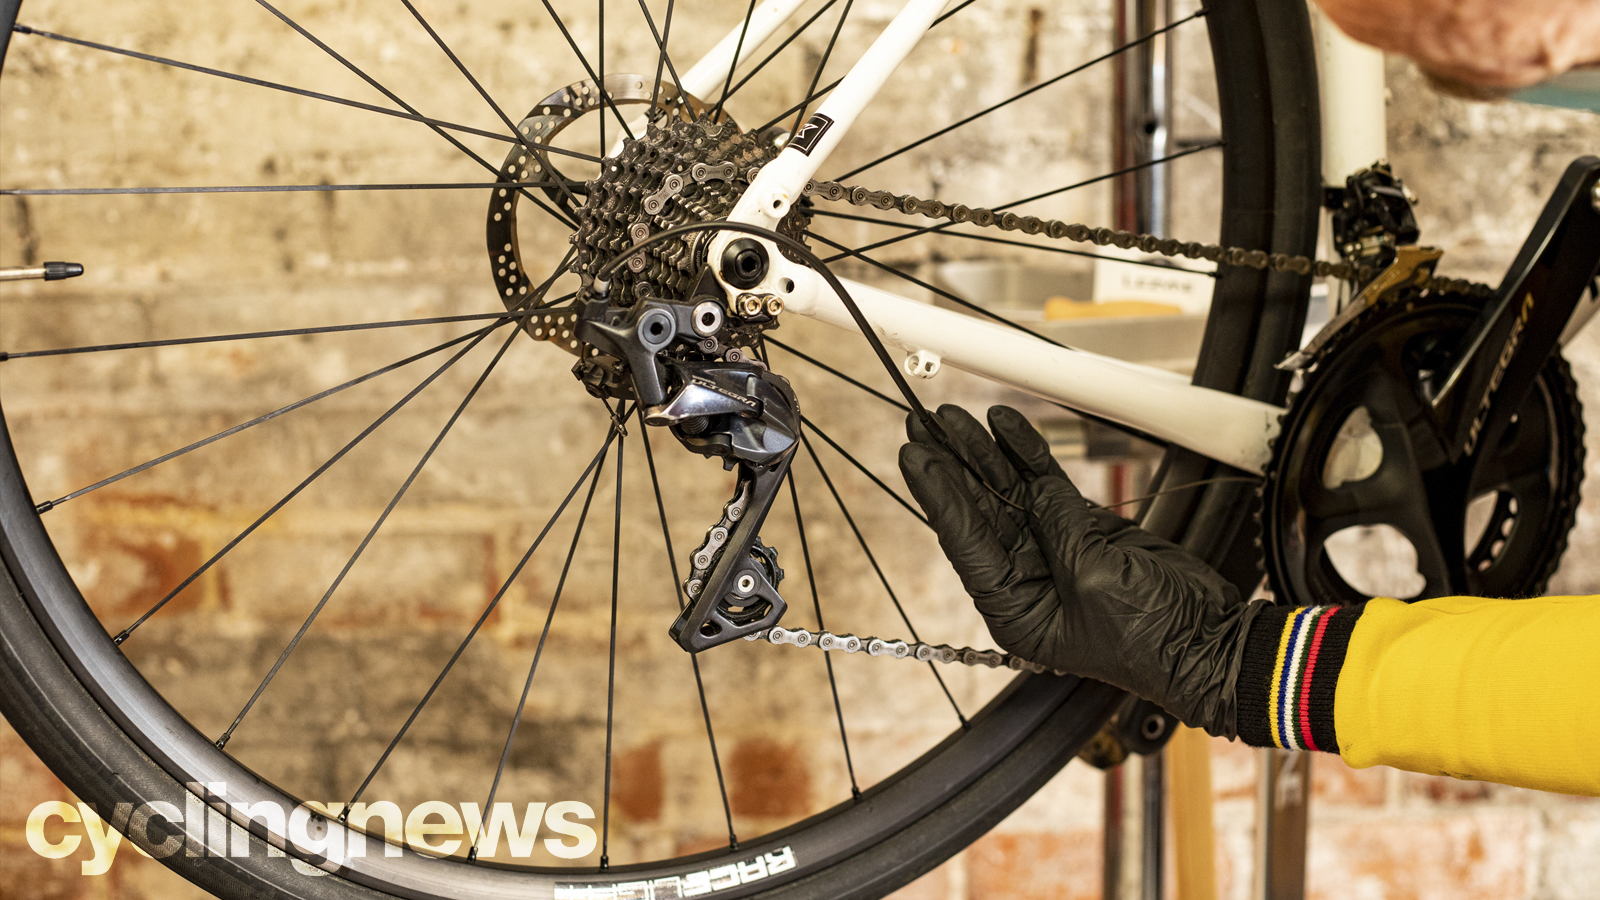
If your cable shifters are feeling really heavy to push or they’re not releasing properly to let you drop down the gears then your cables need at least cleaning and lubricating if not totally replacing. If you have a partial outer cable run you can unslot sections to clean and lube the hidden bits but if you have internal gears or full outer cable runs there’s not much you can do apart from changing the inner cable and flushing the outer through with a light lube.
Skipping gears
If your gears are skipping under load then it’s probably not that the gears are out of adjustment but that they’re too worn to engage properly. The chain is generally the first component to need replacing (use a chain checking gauge regularly to keep an eye on it), but if that’s become too worn then it will have worn the teeth of the cassette and chainrings to the point where they’ll need replacing too.
- Shimano gravel groupsets: the great GRX roundup
- New 13-speed Campagnolo Ekar gravel groupset - full review and specs
Individuals carrying out the instructions in this guide do so at their own risk and must exercise their independent judgement. There is a risk to safety if the operation described in the instructions is not carried out with the appropriate equipment, skill and diligence and therefore you may wish to consult a bike mechanic. Future Publishing Limited provides the information for this project in good faith and makes no representations as to its completeness or accuracy. To the fullest extent permitted by law, neither Future Publishing Limited, its supplier or any of their employees, agents or subcontractors shall have any liability in connection with the use of this information, provided that nothing shall exclude or limit the liability of any party for personal injury or death caused by negligence or for anything else which cannot be excluded or limited by law.
