How does a rear derailleur work?
A complete guide to what’s going on at the rear end of your bike
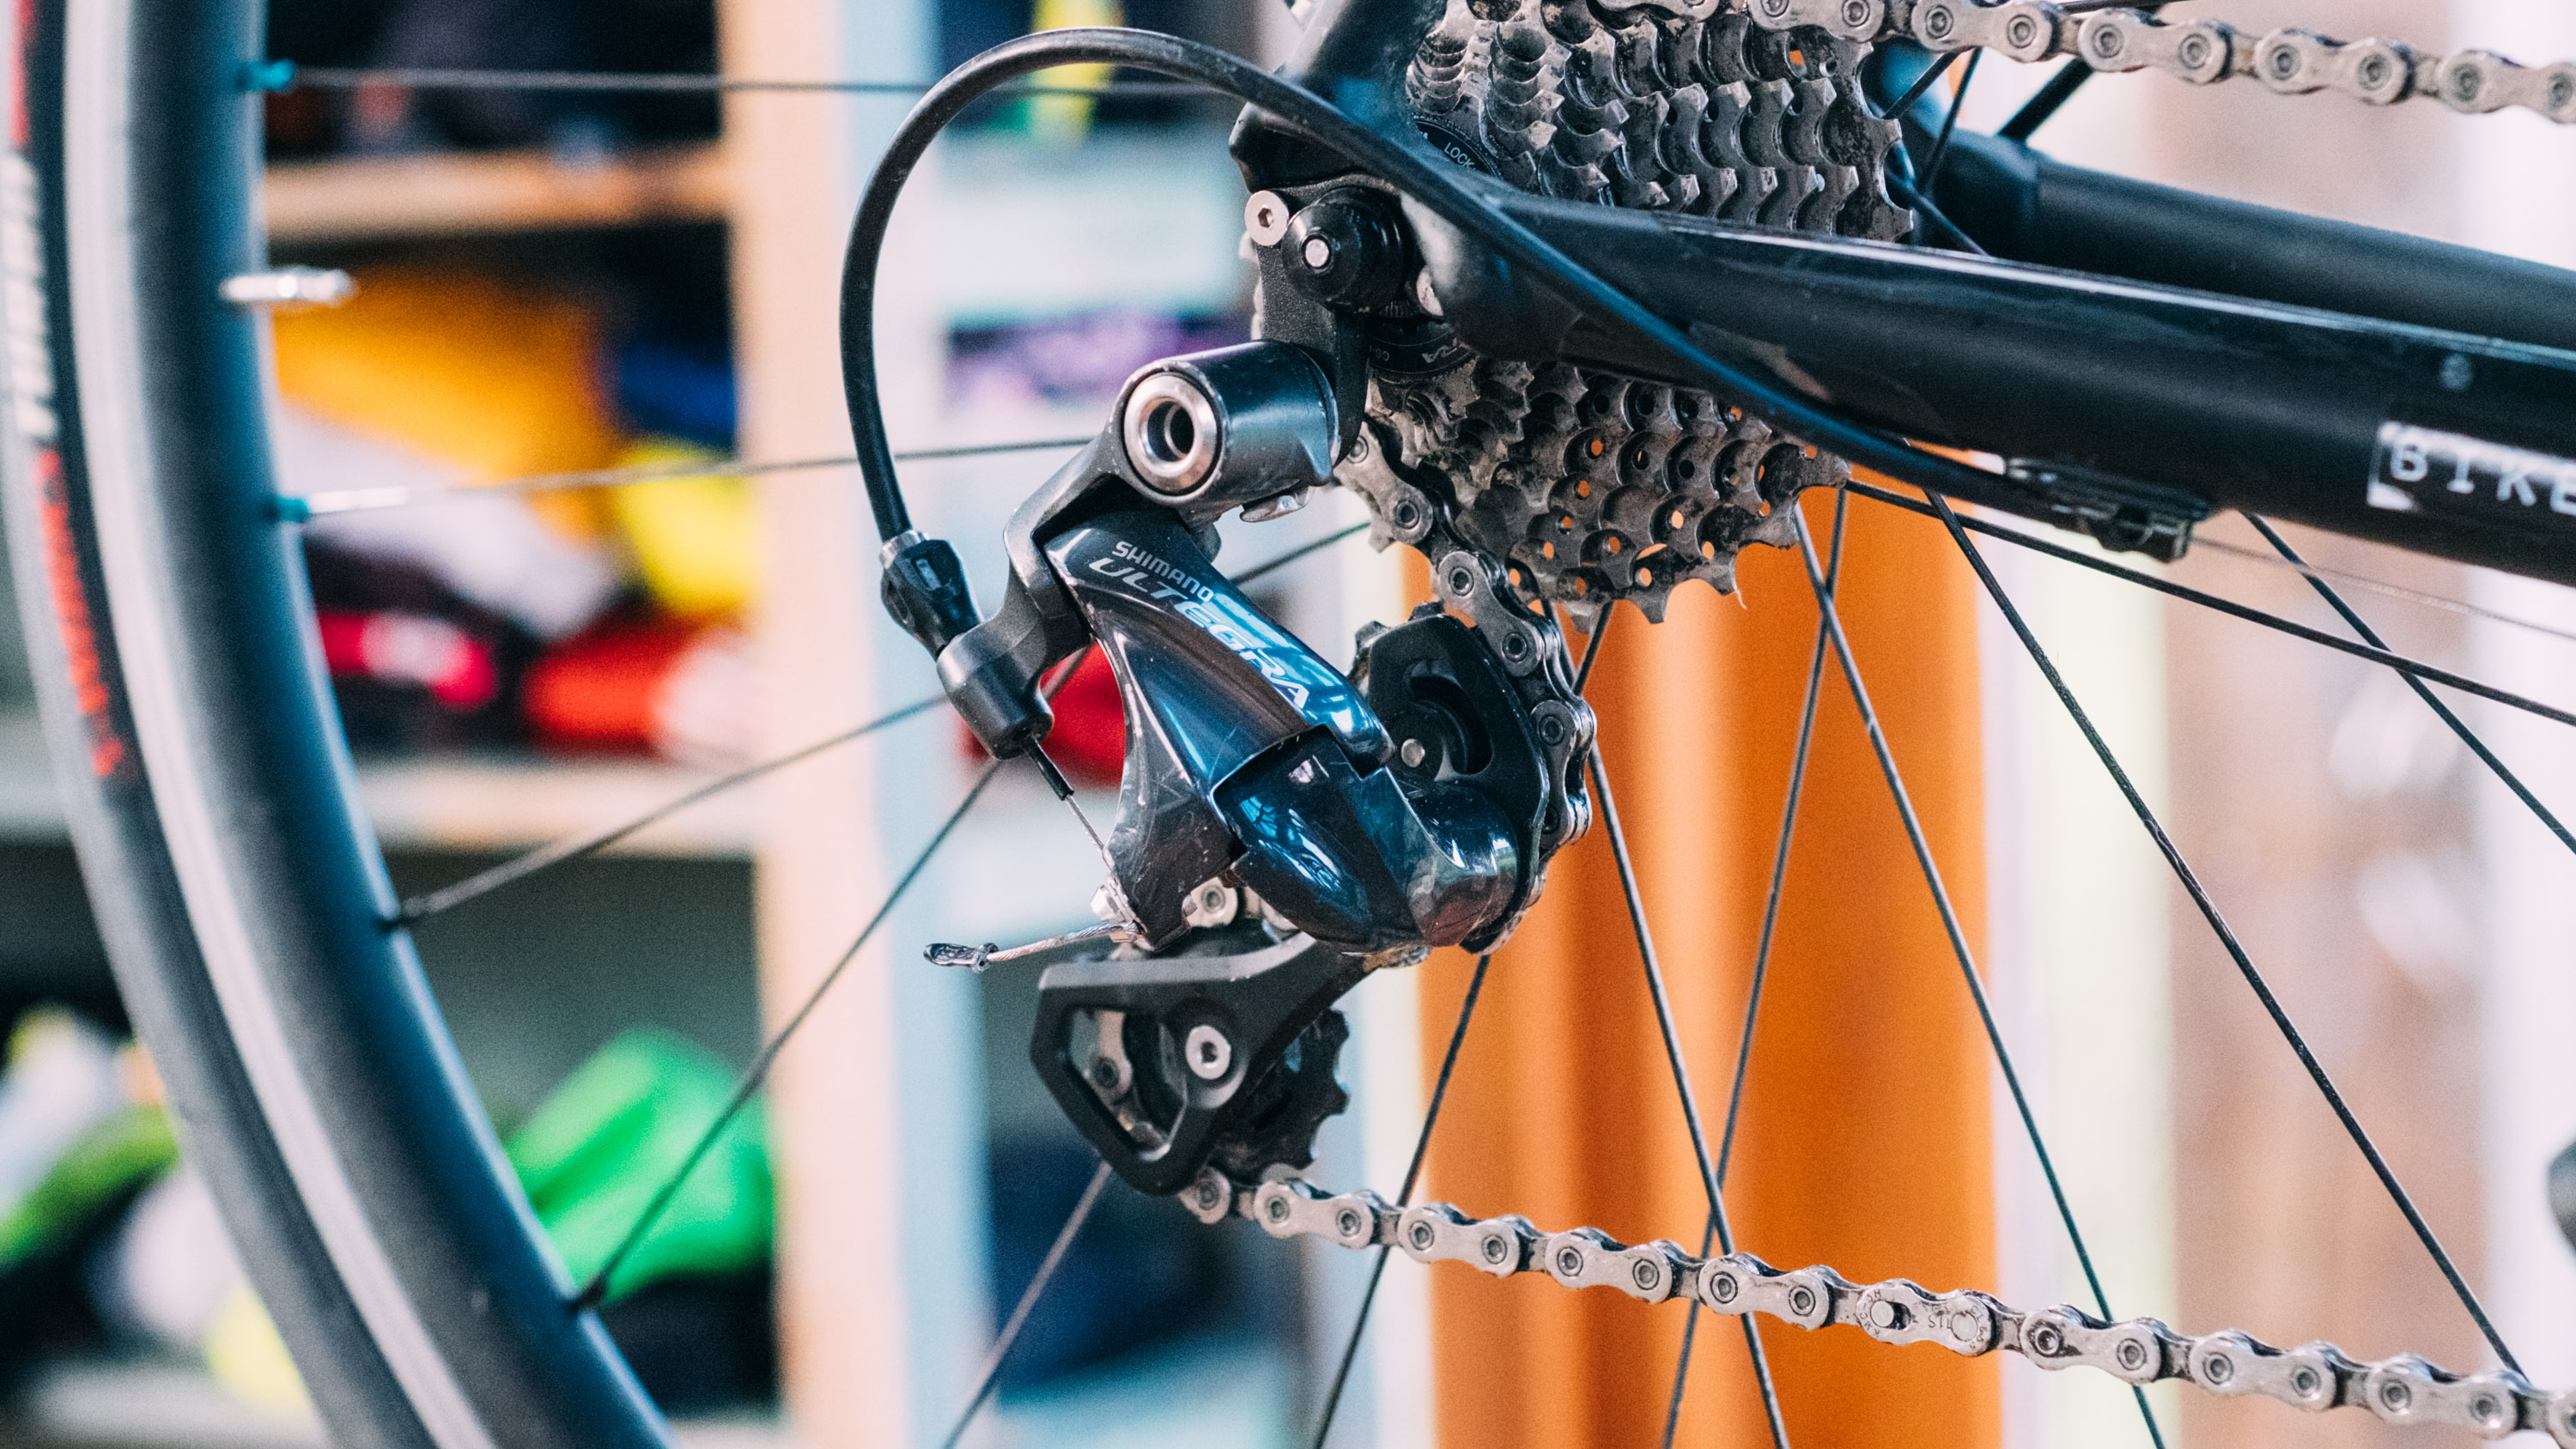
One of the reasons bicycle maintenance can be so rewarding is that usually if you stare at a component long enough you can work out how it works. The rear derailleur is no different in this regard, but in order to demystify how it works, we need to break it down into its constituent parts.
Unless you’re running your bikes singlespeed or fixed, you’ll have had at least some involvement with your rear derailleur. A slightly lumpen contraption that transfers the precise movement of your shifter cables or, more recently, the flow of electrons, into the lateral movement of your chain, all the while keeping optimum tension thanks to a swingarm and two pulley wheels.
But how does a rear derailleur actually work? Scroll down and we’ll take you through things, step by step, and by the end, you’ll not only know how it works but also how to get the best performance out of yours.
The parallelogram
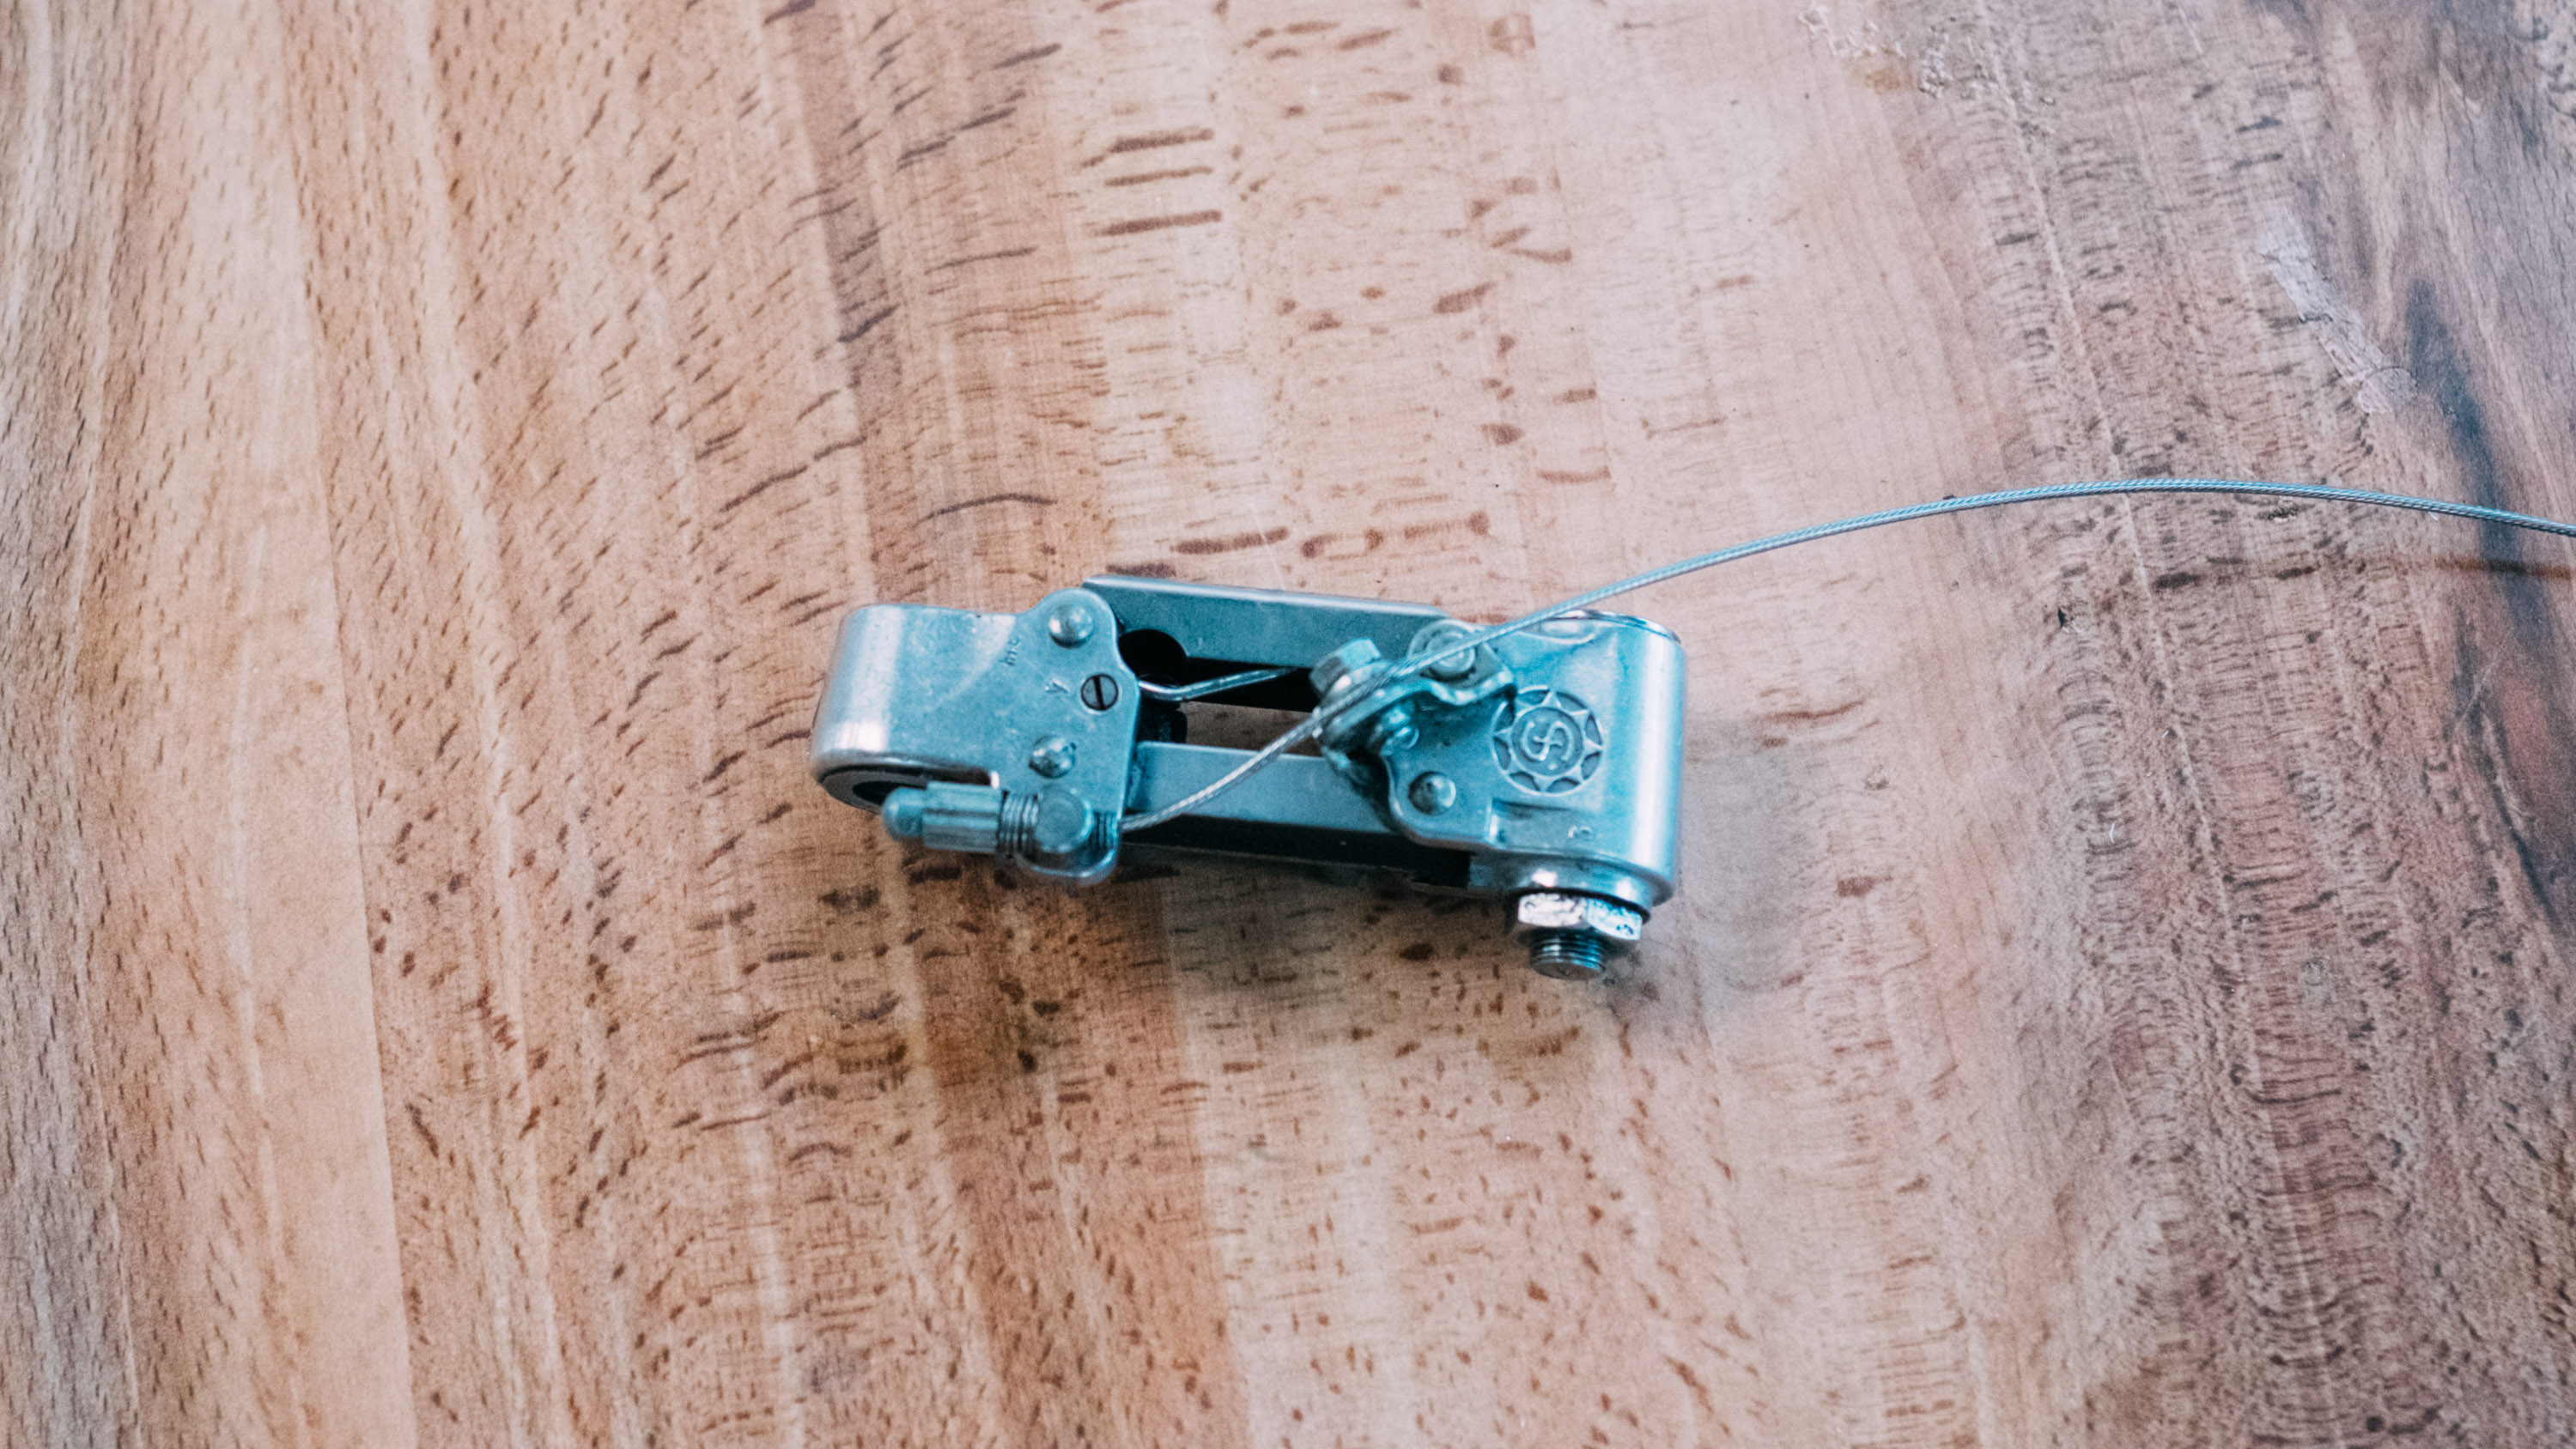
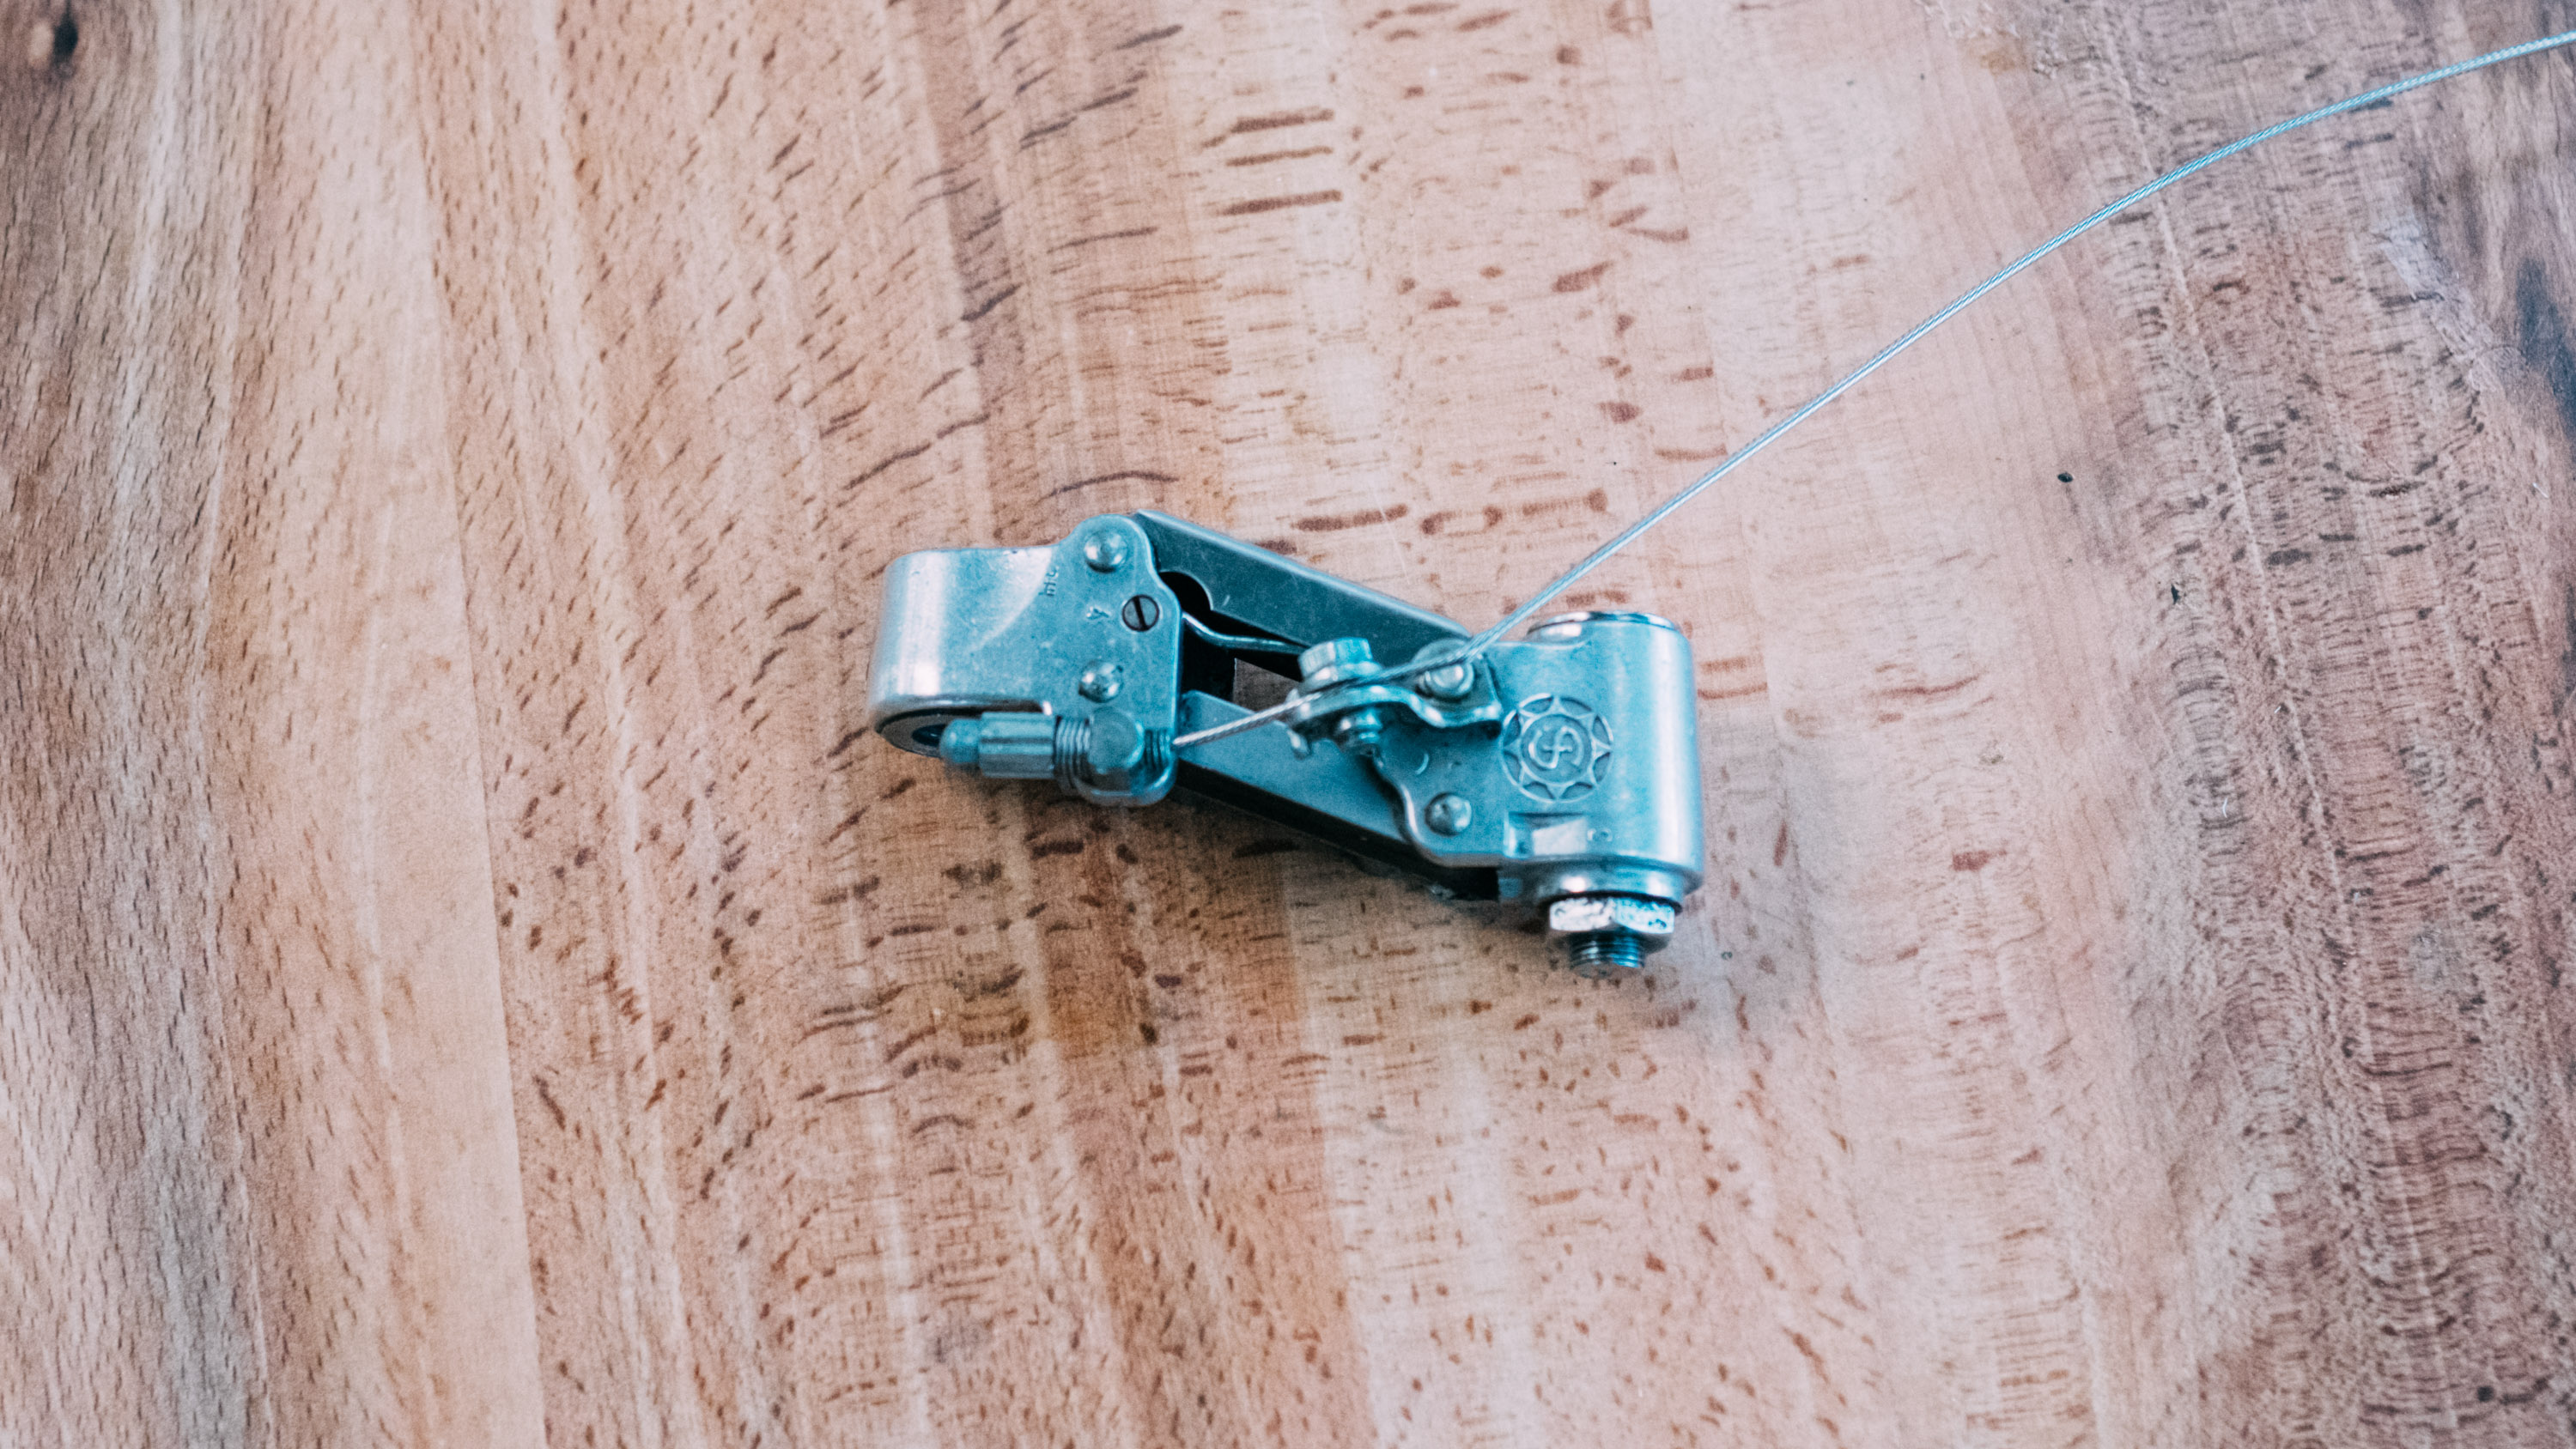
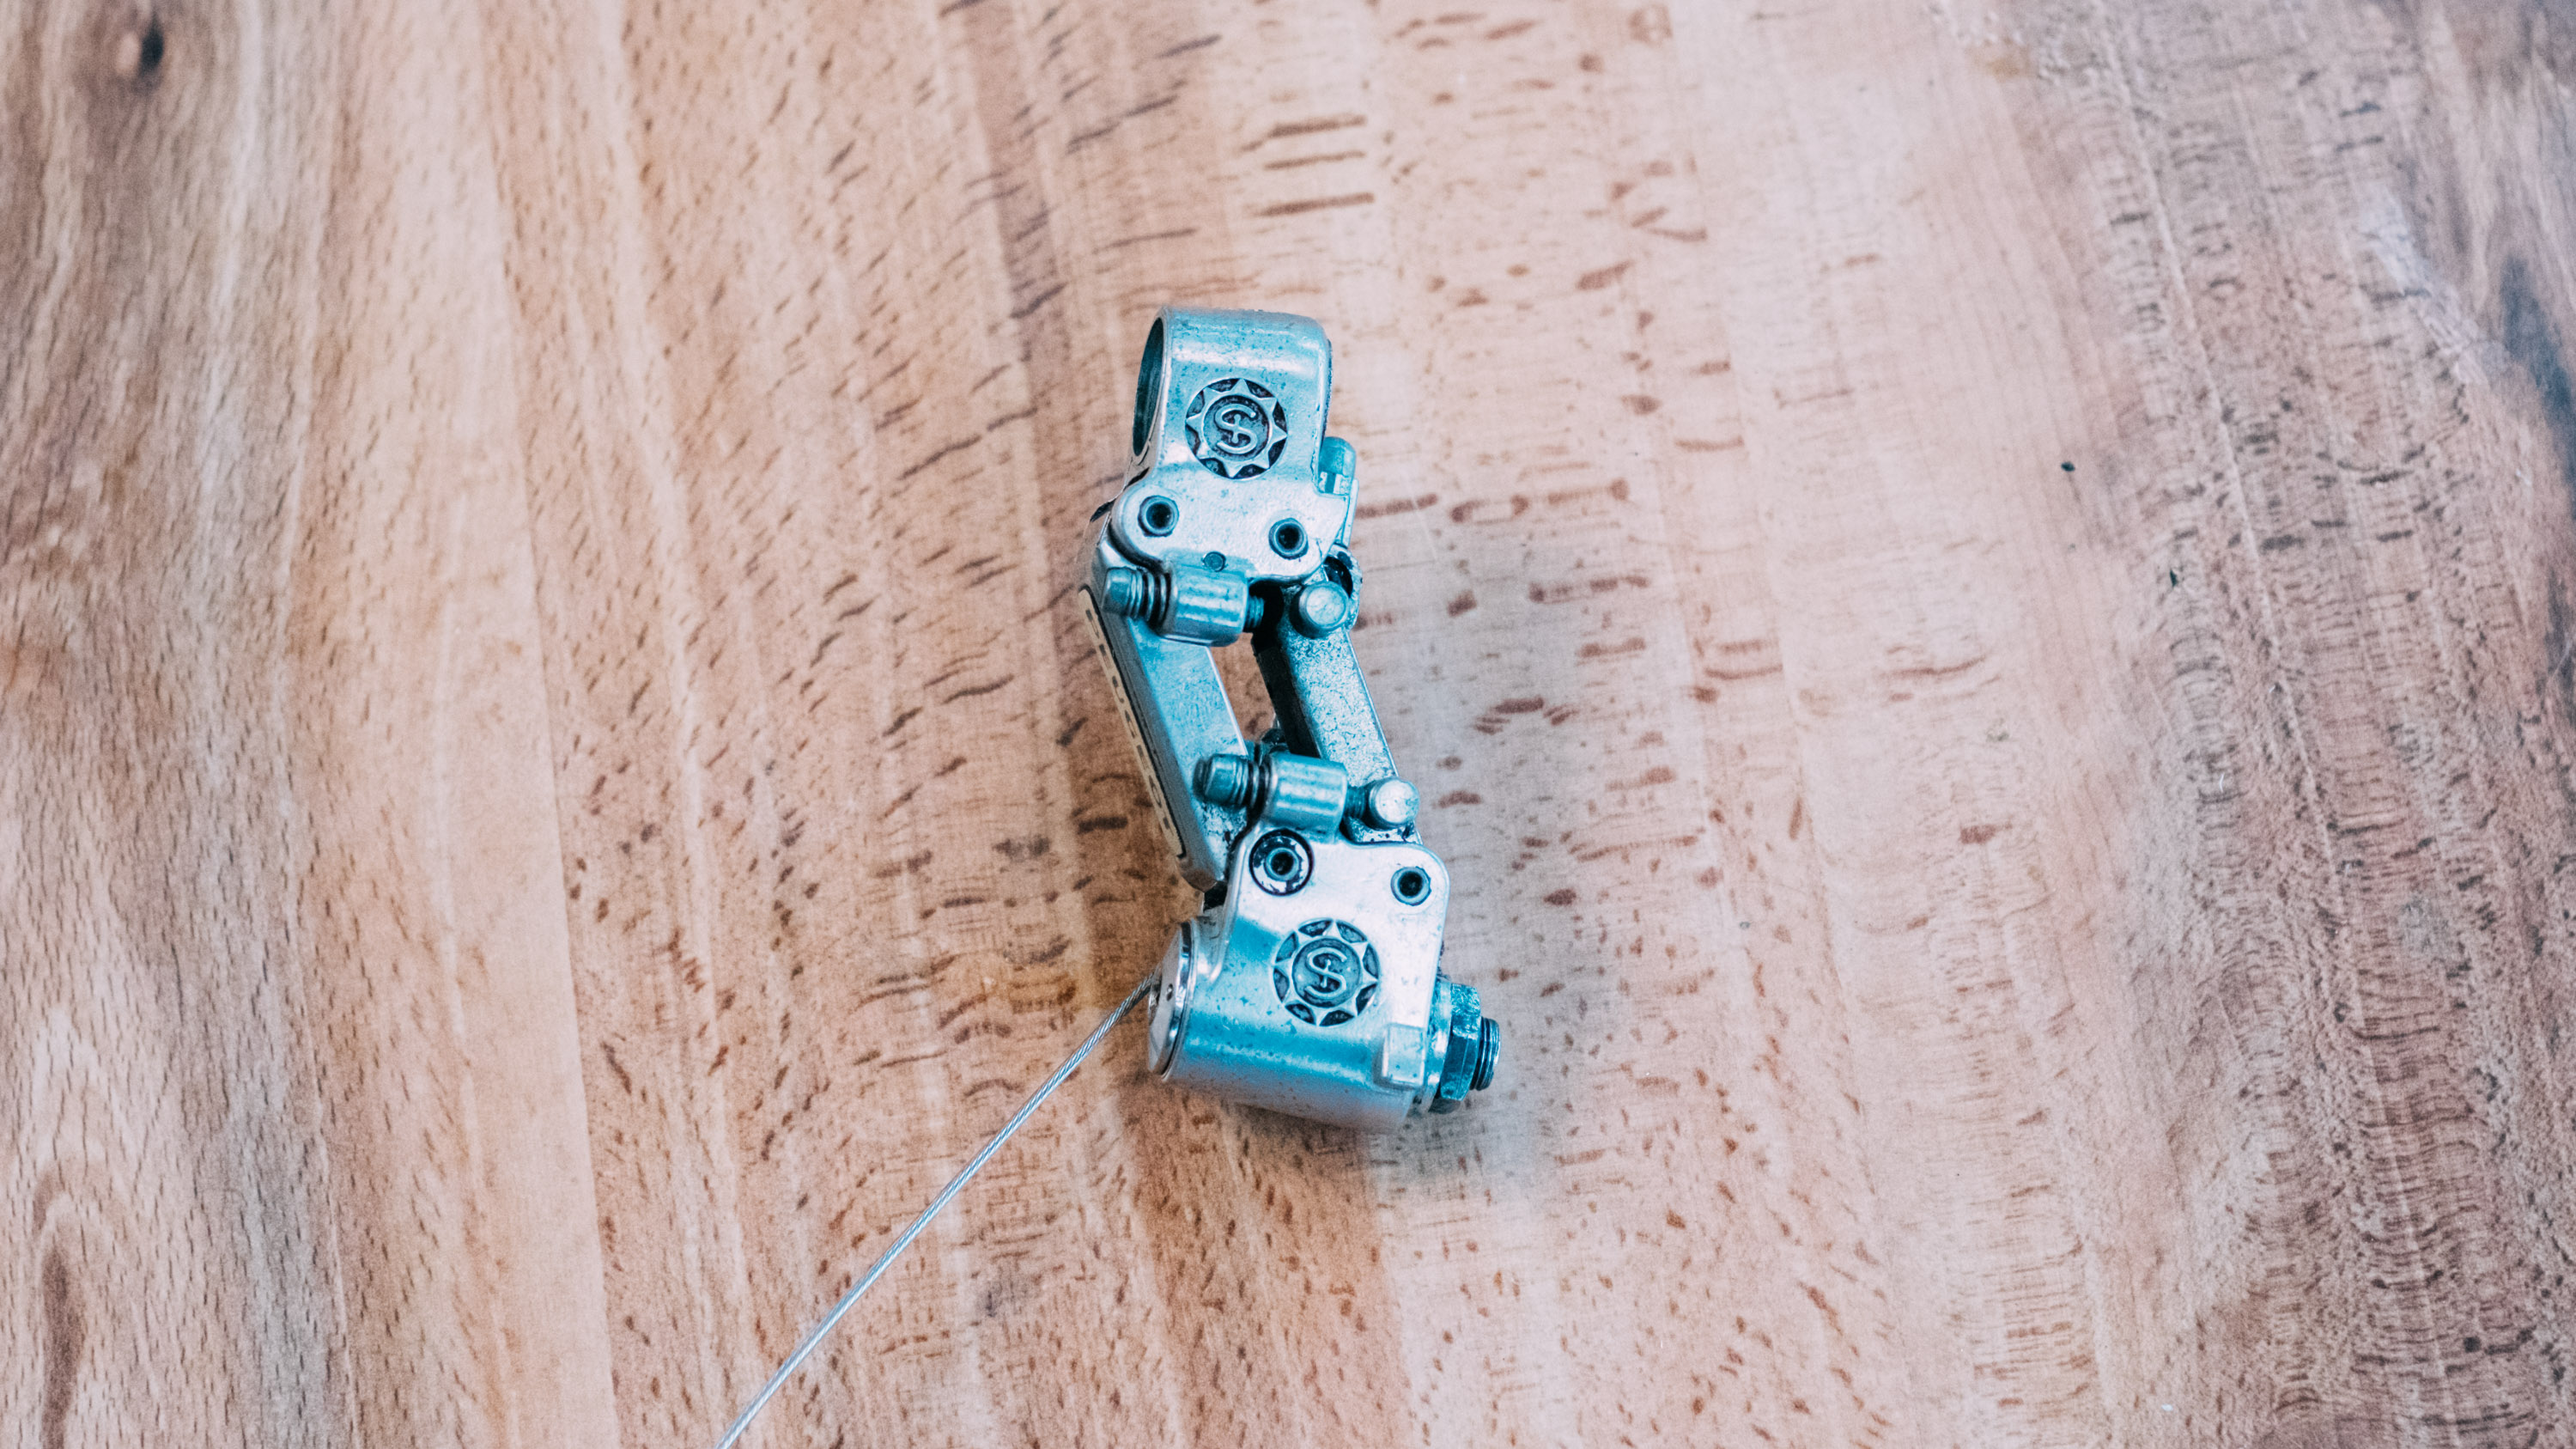
The main body of all modern rear derailleurs consists of a parallelogram, hinged at each vertex to allow articulation, and sprung in such a way that it opposes the tension in your cable and, should the cable come loose or snap, the parallelogram would return to one extreme of its movement range.
While the best road bike groupsets - as well as the upper tiers of Shimano gravel groupsets - use electronic motors to move the parallelogram, if you're using a mechanical groupset, your cable will exit its housing at one vertex and be clamped on an opposing one. This means that as you pull your cable in at the shifter the distance between cable housing and clamp reduces and the parallelogram shifts inwards towards the largest cogs on your cassette. Some older systems experimented with moving the opposite way, but it failed to catch on. The maximum range of movement of this parallelogram is, in the most part, what determines how many sprockets it can shift over. A vintage six-speed derailleur simply won't have the range to cover 12 or 13 cogs, as found on modern cassettes.
On modern electronic groupsets, this is all achieved through a motor, or with hydraulic fluid in the case of the Rotor UNO groupset.
It’s even been done with tanks of compressed air for a brief time. However the movement is achieved though, there is a simple parallelogram at the heart of every derailleur from the last handful of decades. As the bodies become more complex and the internals more concealed we’ve found it useful to illustrate things sometimes using older parts, but rest assured the concept remains the same throughout.
Get The Leadout Newsletter
The latest race content, interviews, features, reviews and expert buying guides, direct to your inbox!
The derailleur cage and jockey wheels
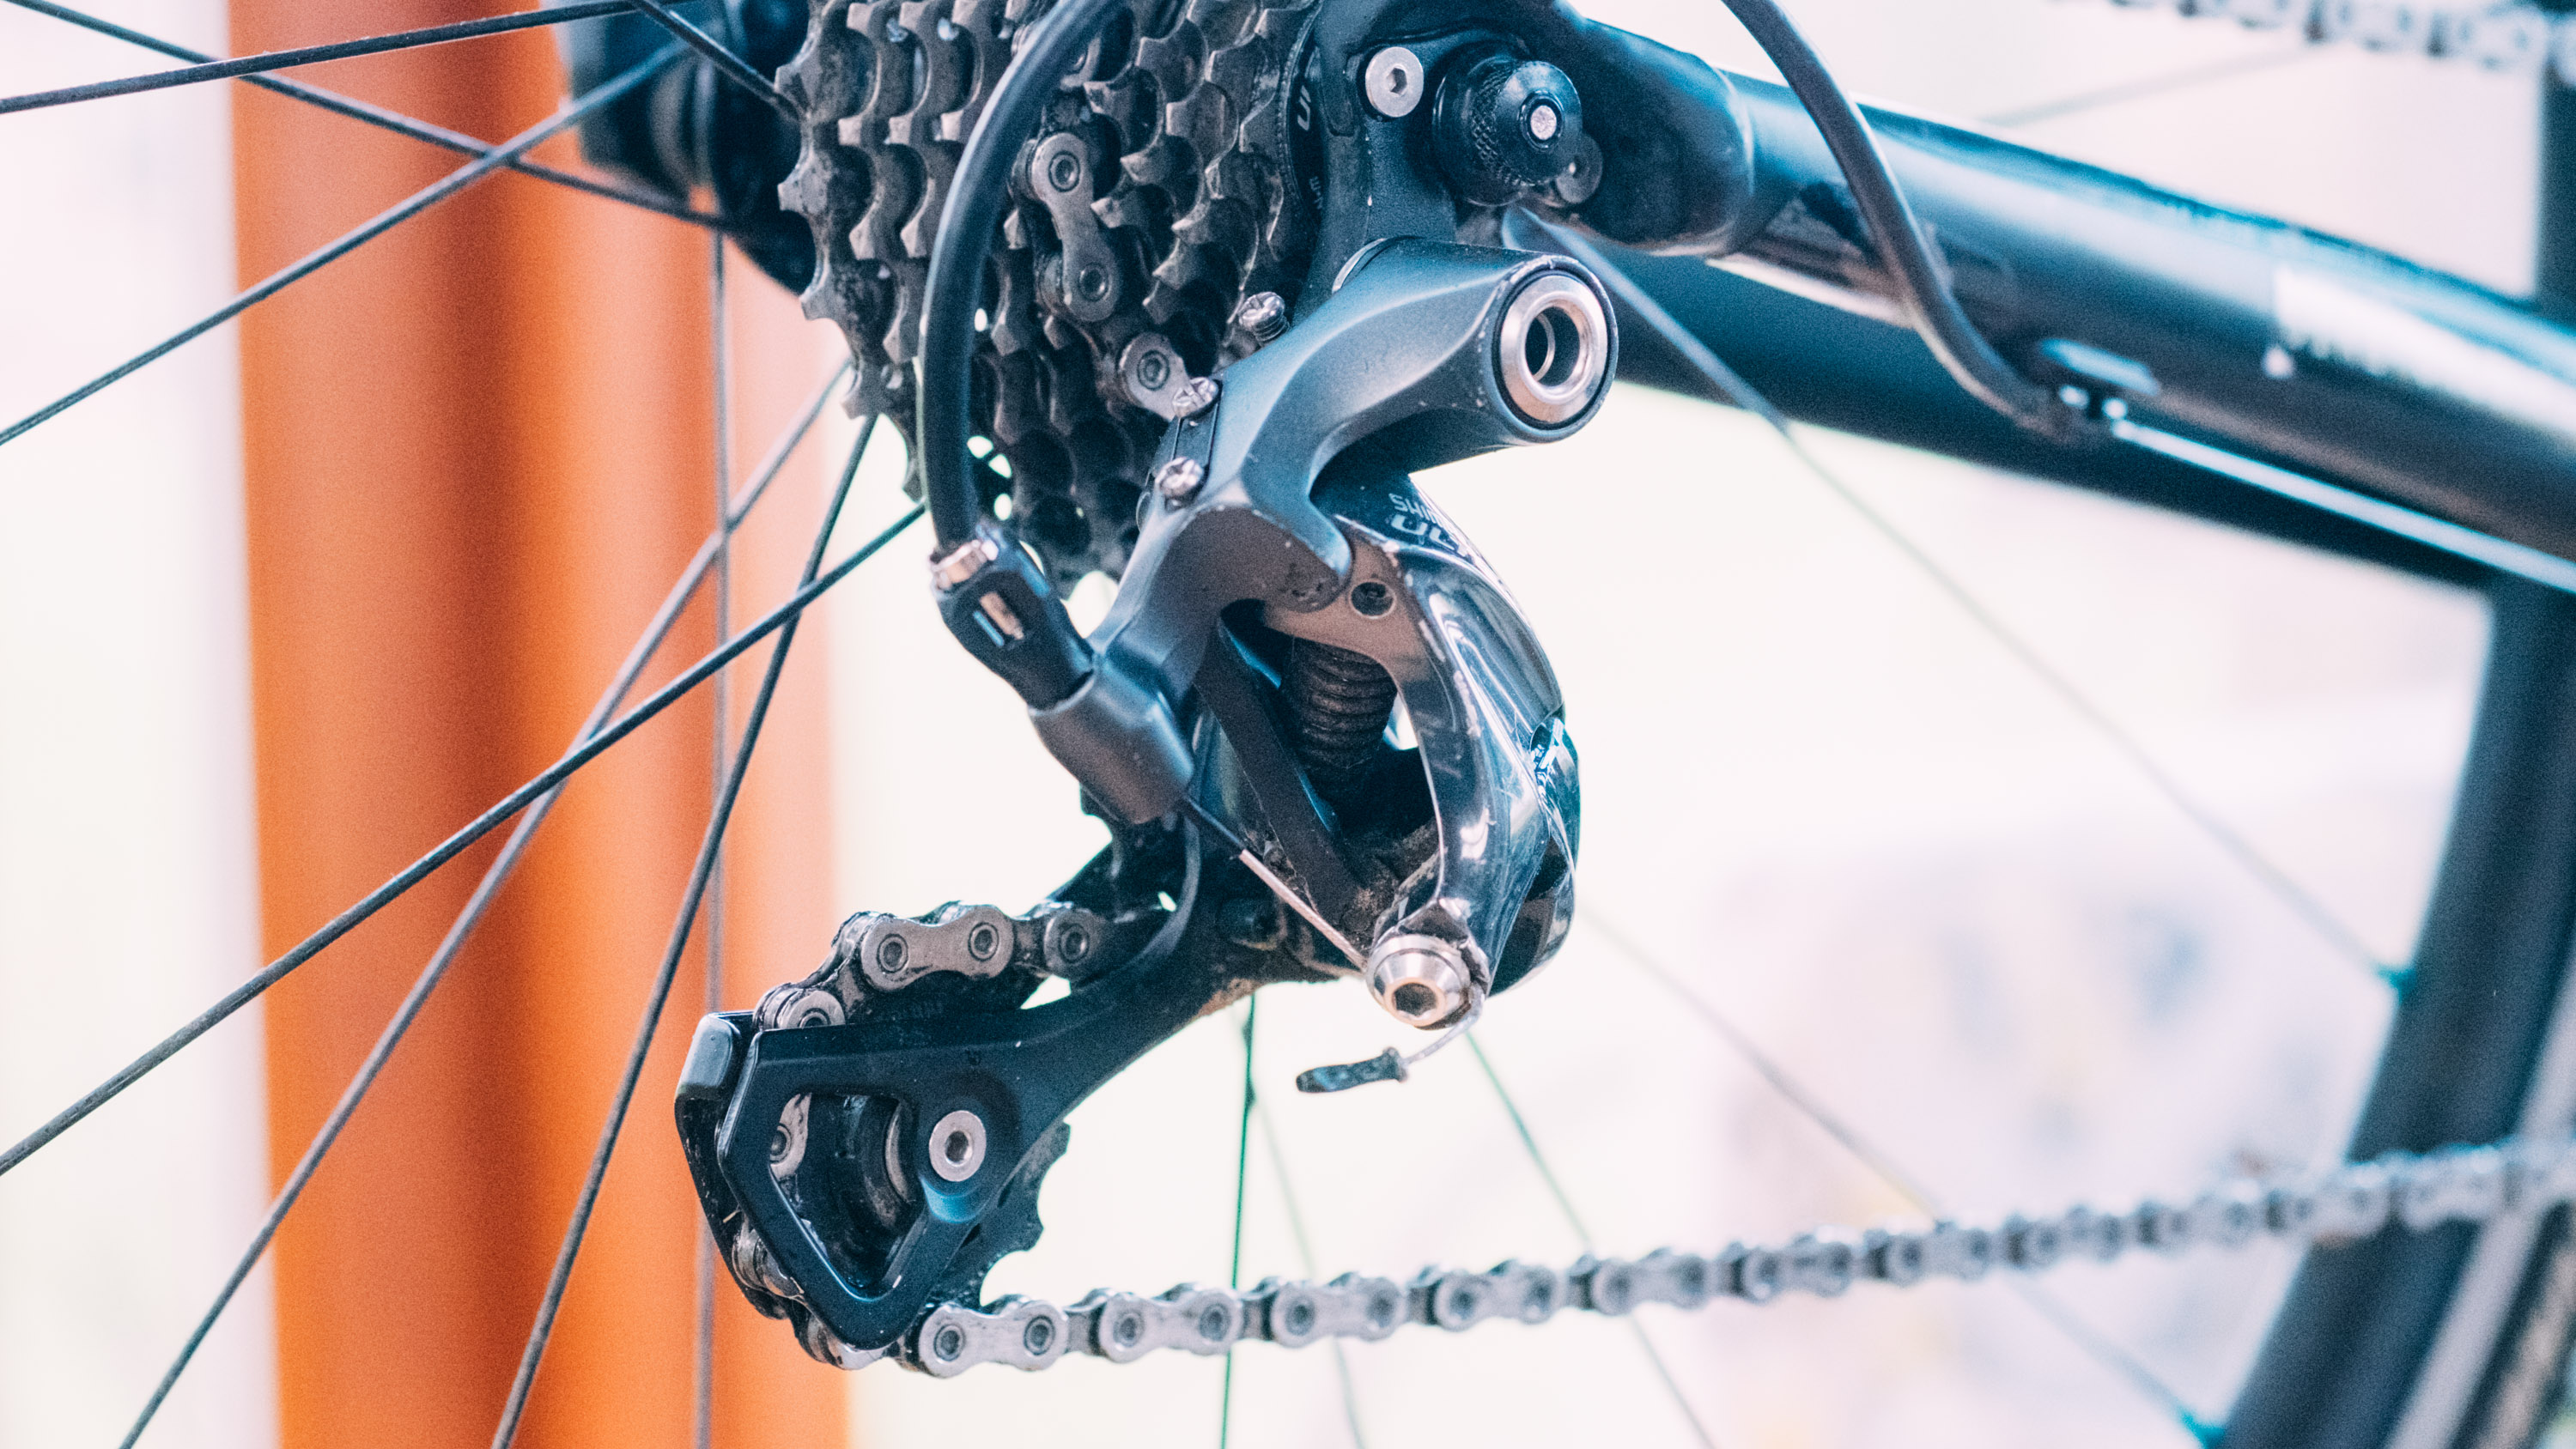
The top end of the parallelogram remains affixed firmly to your rear dropouts. The bottom end has bolted to it two plates, between which two small cogs are mounted. This simple system makes up the rear swingarm and jockey wheel assembly, or ‘derailleur cage’ in shorthand.
The derailleur cage, provided your rear mech hanger isn’t bent, keeps the jockey wheels and chain running exactly parallel to the cogs of your rear cassette. As the parallelogram moves inwards or outwards the chain is guided by the upper jockey wheel onto a different cassette sprocket.
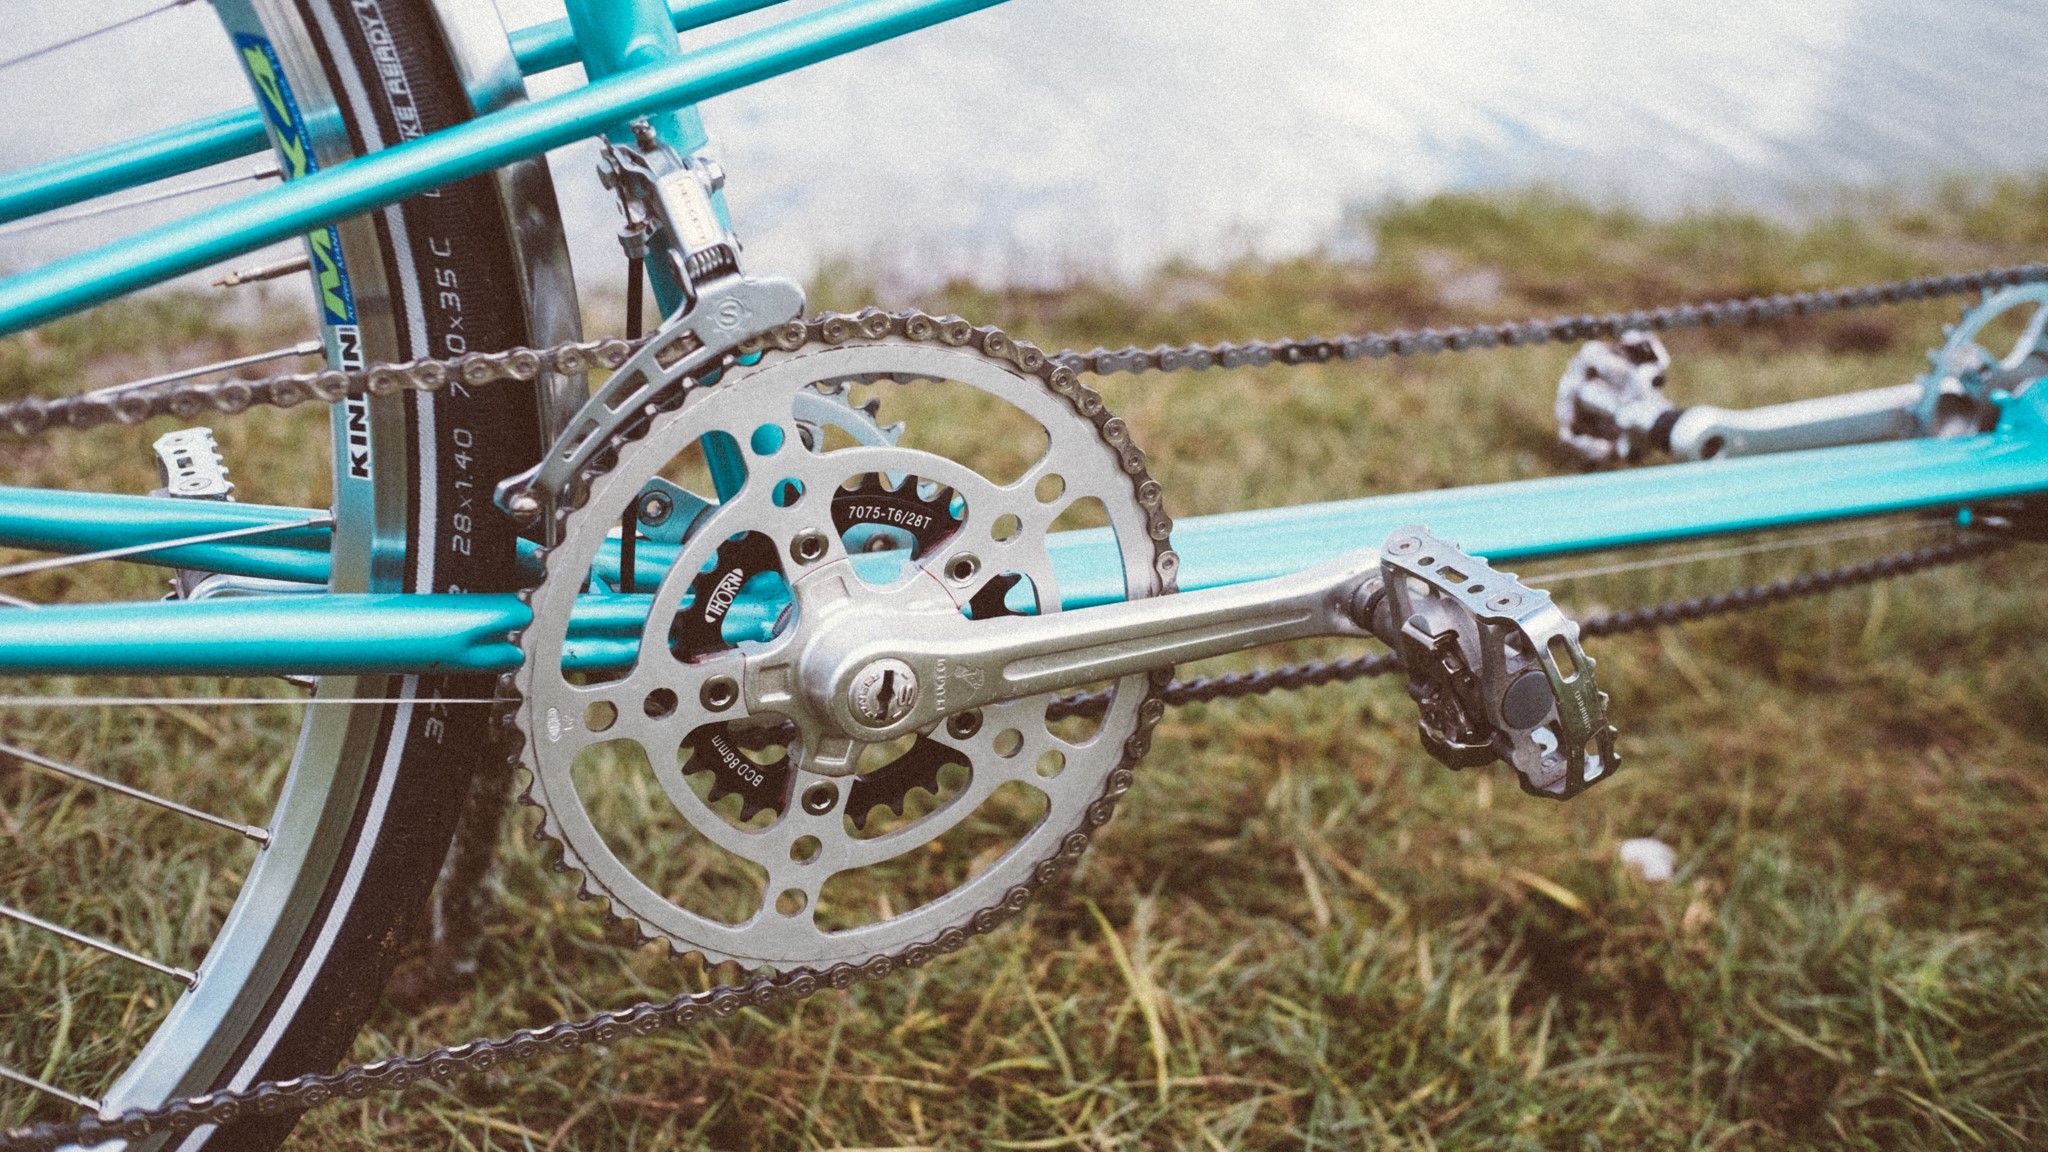
The derailleur cage itself is sprung towards the rear of the bike, keeping tension in your chain at all times. The length of the cage determines the amount of spare chain in your drivetrain and, in turn, the largest cog it can shift to. If you look at a road derailleur against one designed for gravel for example you'll likely see the gravel derailleur has a larger cage to accommodate a wider gear range.
Tooth capacity and largest cogs
Fortunately for consumers, derailleurs all come with a quoted maximum sprocket size for a rear cassette. If you wish to install a larger cassette where the largest sprocket exceeds this, you will either need a new derailleur, or you’ll need to install a new larger derailleur cage to accommodate.
The total drivetrain capacity is also an often quoted value, and this takes into account the cogs on your chainset too. You could have an extremely closely spaced rear cassette, but if you’re running wildly different front chainring sizes, the derailleur may not be able to handle things.
The equation is as follows:
(Teeth on biggest chainring - teeth on smallest chainring) + (teeth on biggest cog - teeth on smallest cog)
Essentially this value provides a numerical guide to the total gear range that is possible with your chosen derailleur. Bear in mind this equation takes the absolute extreme scenarios, so if you’re careful and don’t sit in Big Chainring - Big Rear Cog it is possible to exceed this value, though manufacturers would rather you didn't. This writer ran his tandem with a gargantuan difference between the front chainrings with no issues for a long time, provided he never hit the limits of cross chaining.
Clutch derailleurs
In a 2x system (where there are two front chainrings) the front derailleur usually does an admirable job of keeping the chain on the front chainrings. However, with the advent of 1x systems (a single chainring up front) there isn’t anything physically keeping the chain in the right place, and particularly over rough ground this becomes an issue. Narrow-wide chainrings (where the teeth alternate in thickness to better-house the chain that sits on it) certainly help, but a clutch derailleur is really what’s necessary.
A derailleur clutch, in whatever form it takes (as it varies by system) limits the fore and aft movement of the derailleur cage itself. By stopping the cage from being able to swing forwards and add slack to the chain, it keeps the system under greater tension at all times and vastly reduces the possibility of chain drops.
Initially a feature of mountain and gravel groupsets the clutch has crossed the genre barrier and is now a feature of some high end road groupsets too, creating a quieter and more reliable drivetrain.
The limit screws
Now that we’ve covered how the derailleur moves and how it keeps the chain on we need to cover the limit screws that stop the derailleur getting overly familiar with your spokes, or dumping your chain between your smallest cog and the dropouts.
Your derailleur will be equipped with two small screws, a high limit and a low limit screw. These provide a physical block that stops the derailleur from moving further than it should. The low limit screw corresponds to the lowest gear, or largest cog, and blocks the derailleur from pushing too far inwards and hitting your spokes. The high limit screw acts at the other end of the range.
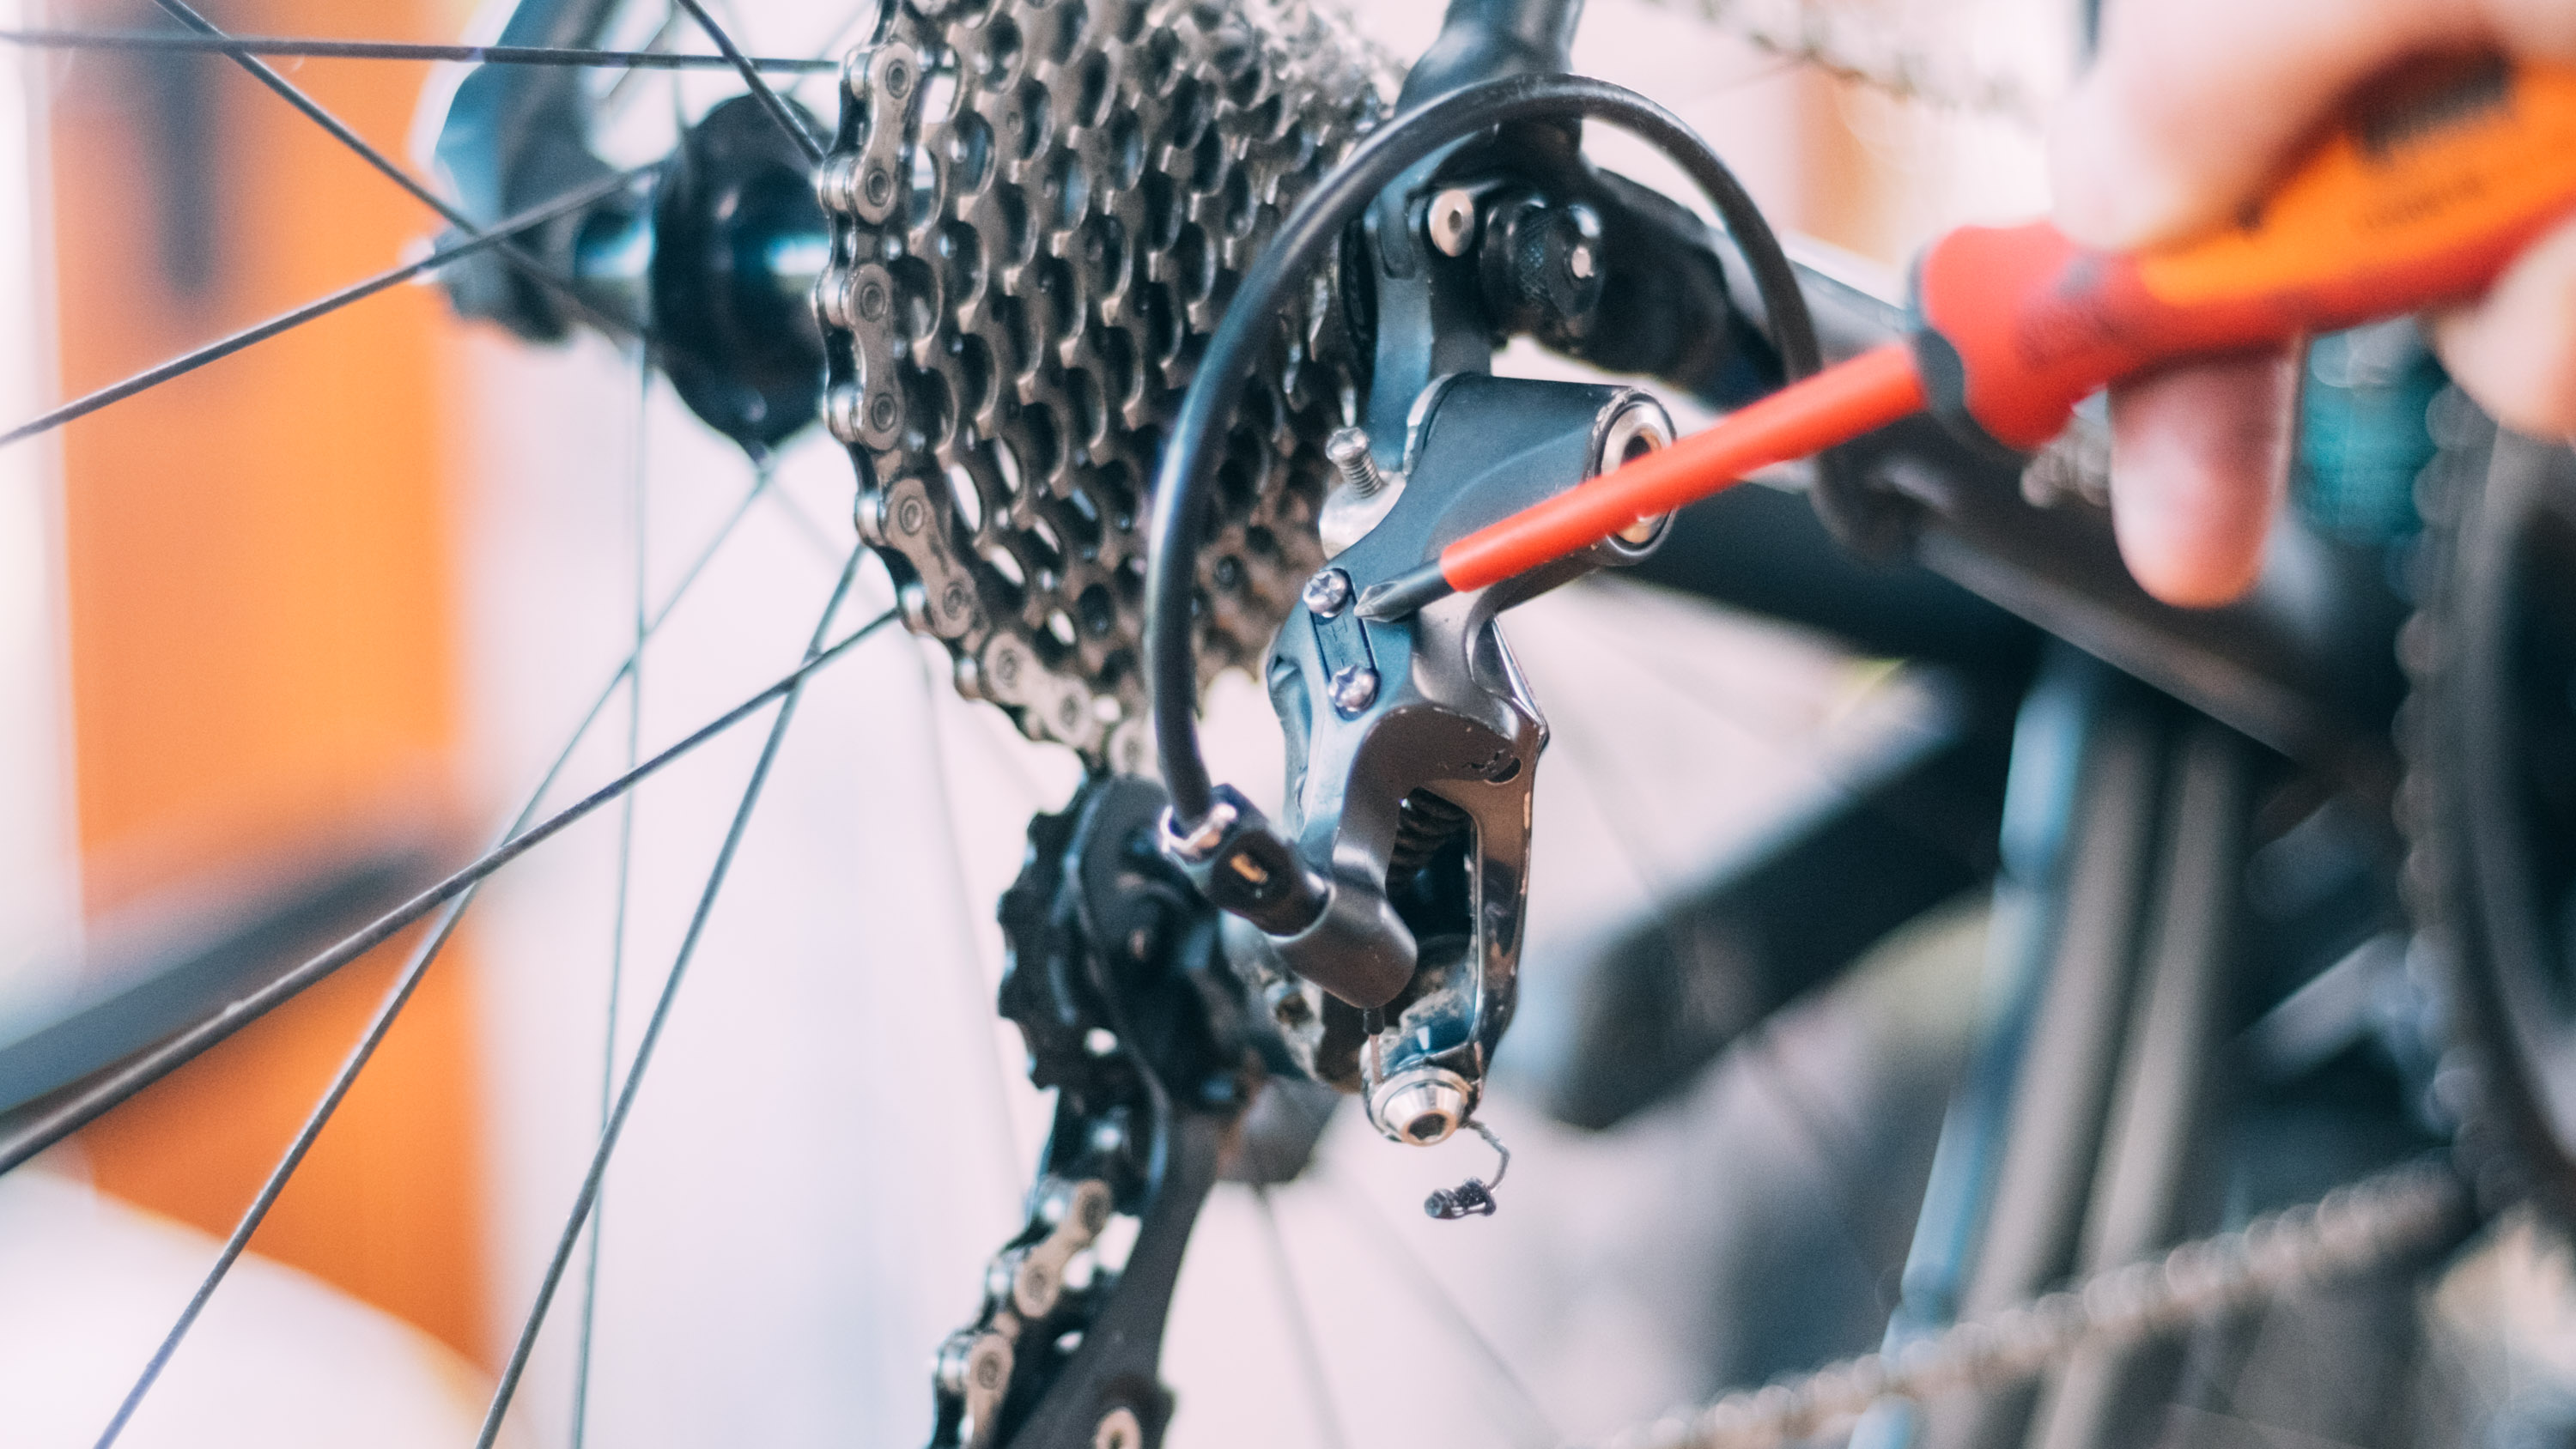
Screwing these either in or out will increase or decrease the range of movement of the derailleur, and more importantly keep you from having any mechanical mishaps. These should be set so that at the extremes of the derailleur's range, the chain sits directly beneath the smallest and largest cogs correspondingly.
The barrel adjuster
The chain is in the right place, the derailleur isn't going to break your spokes, and your chain isn't going to make an unscheduled bid for freedom. Why then is my derailleur still shifting so poorly? Nine times out of ten it comes down to incorrect cable tension.
If you’re blessed with an electronic system this isn’t quite so relevant, but for us Luddites with our steel cables, it’s vital. Cables, both brake and gear, are a system of both cable and housing. One without the other would be useless. The housing and associated cable stops give something for the cable a route to travel, something to push against, and keep tension in the system.
Unless you’re running friction shifters still, which require a deft hand but very little tension adjustment, your shifters are designed to pull a set length of cable through at a very specific tension. If the tension is too high or too low they will effectively pull the wrong length of cable through which will translate into too much or too little movement at the rear derailleur, resulting in sloppy shifting.
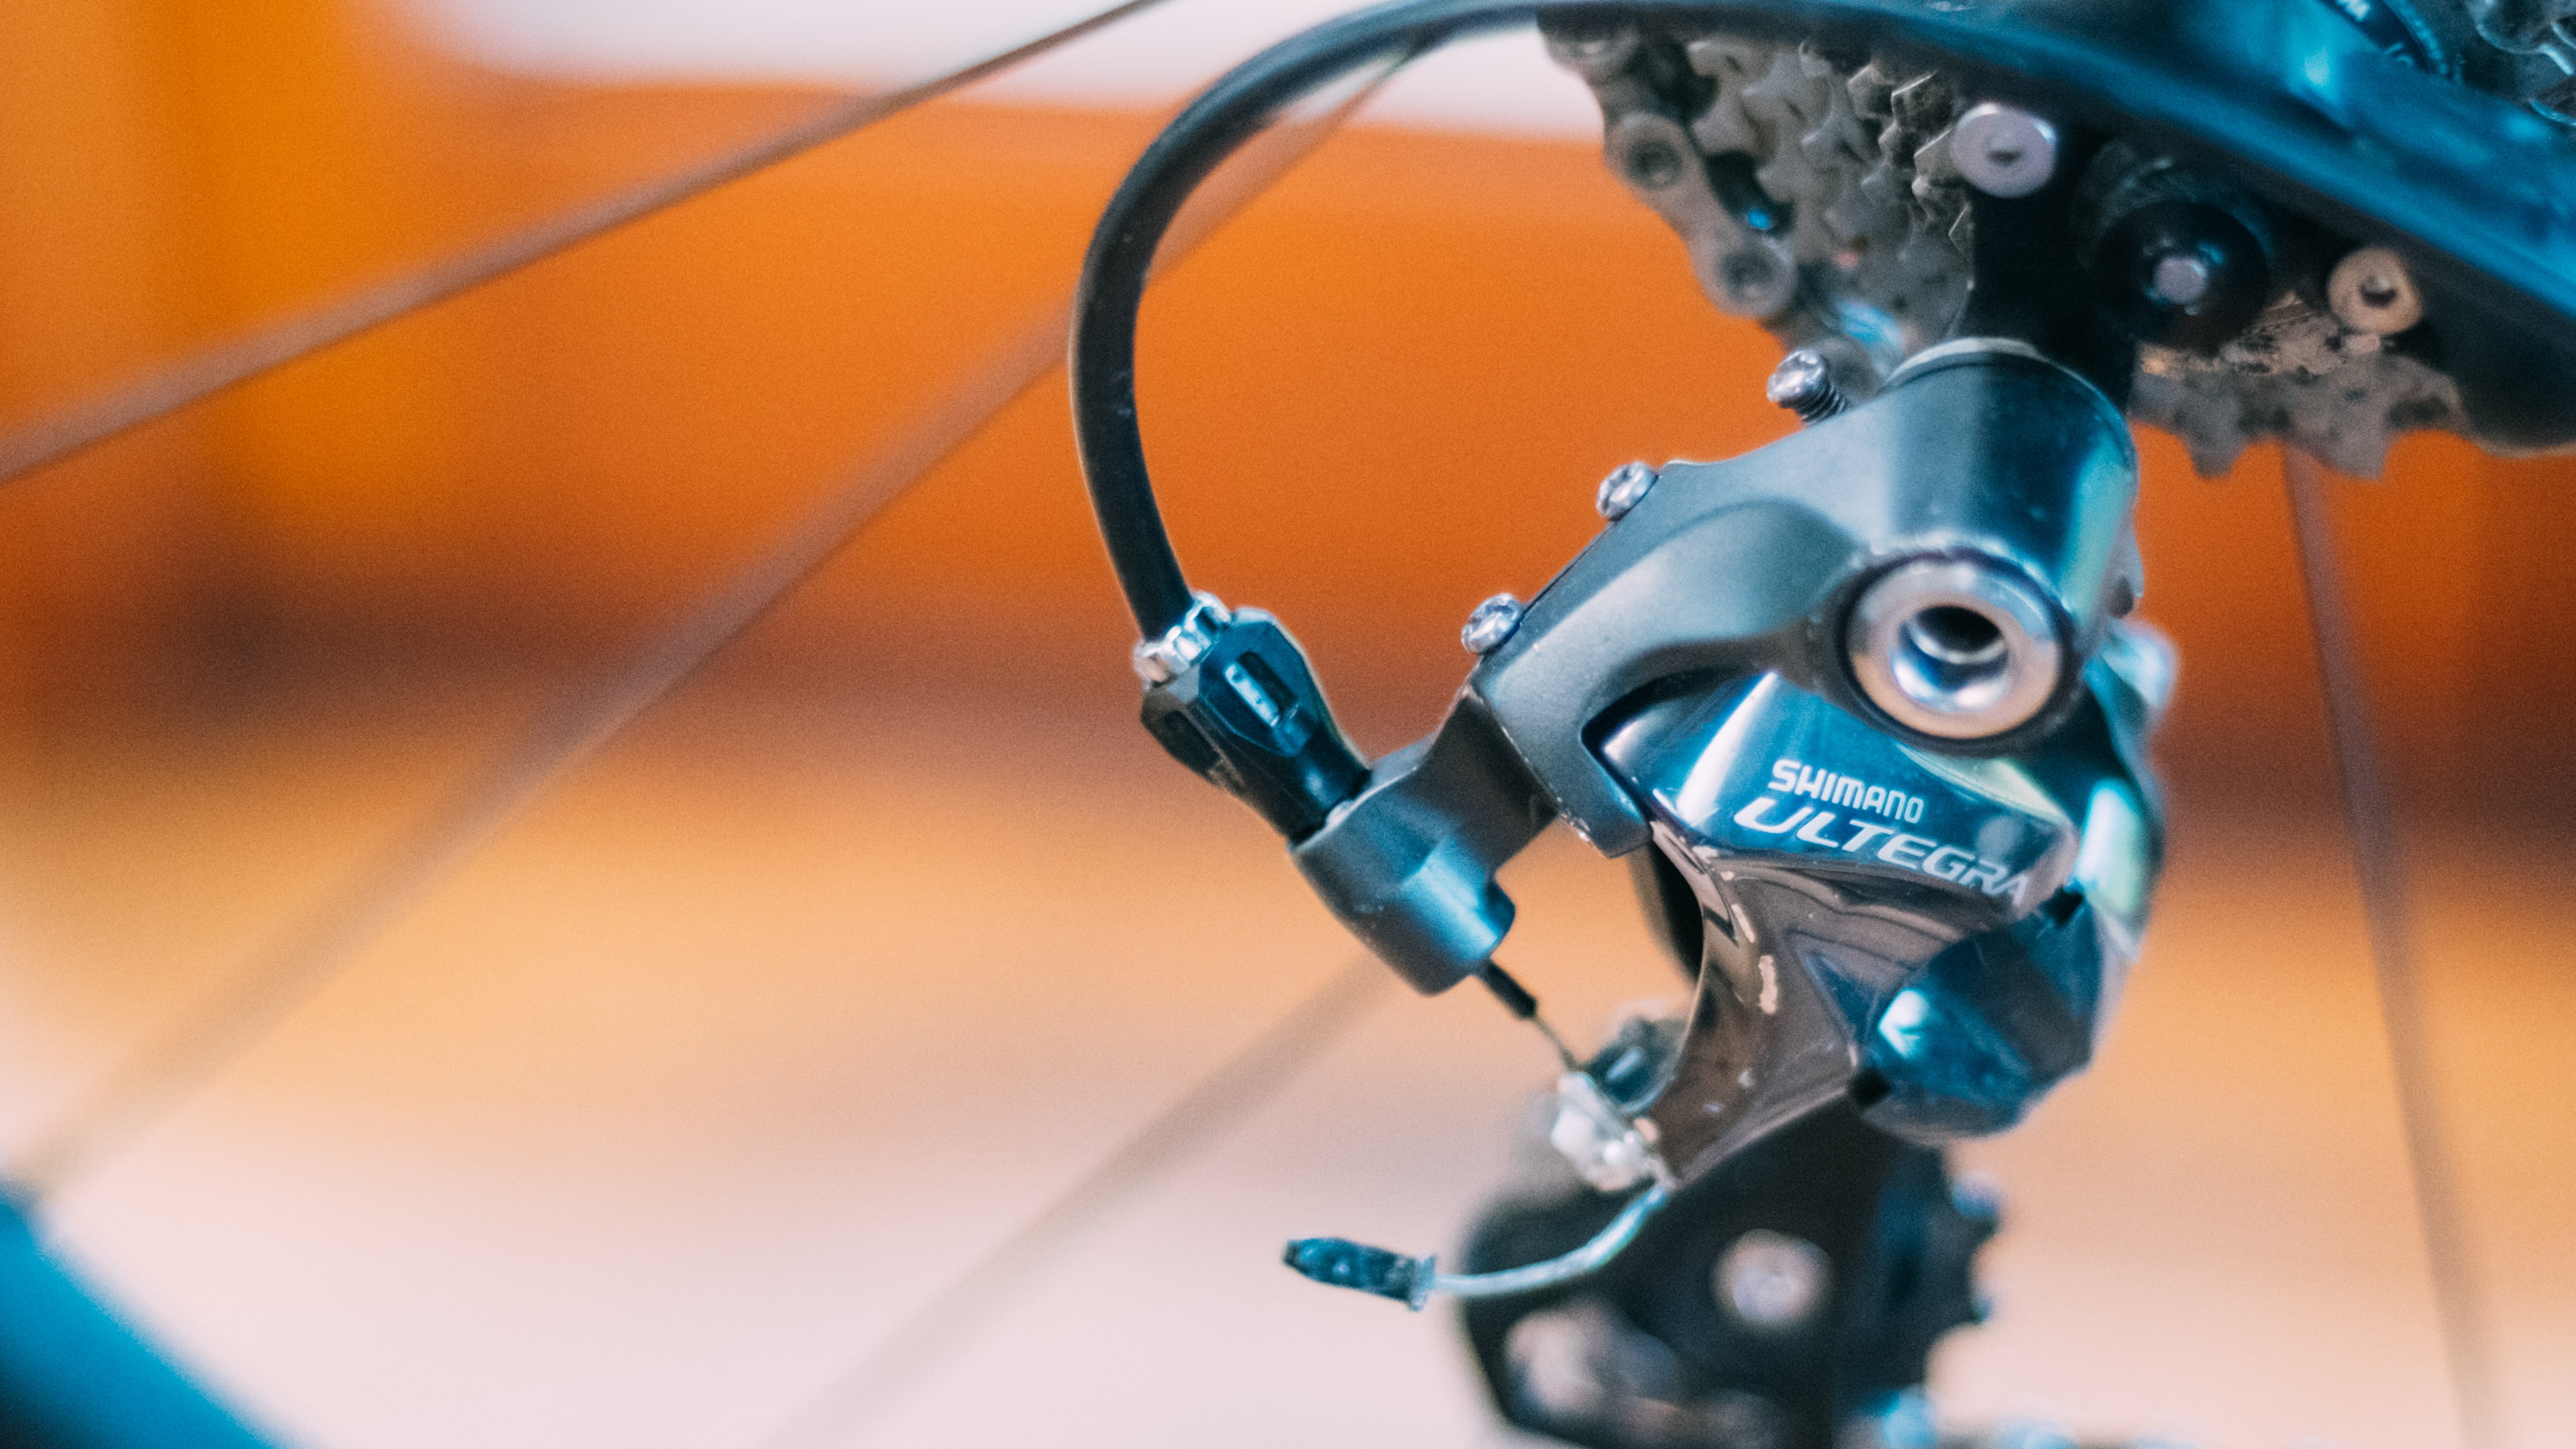
Turning the barrel adjuster anticlockwise extends it out and away from the derailleur body, effectively lengthening the total cable housing - or the total distance between your shifter and your derailleur - and thus increasing the tension in the system. If your derailleur easily shifts up into the larger cogs but won’t drop down when it should it has too much tension; turn clockwise. If it struggles to shift up into larger cogs it’s too slack; turn anticlockwise.
It’s a delicate adjustment, and a quarter turn can be the difference between perfect and frustratingly close, so take it slow. It's also worth noting that new cables will stretch at the beginning of their life as they bed in, so expect to do some fine-tuning after a couple of rides.
The B screw
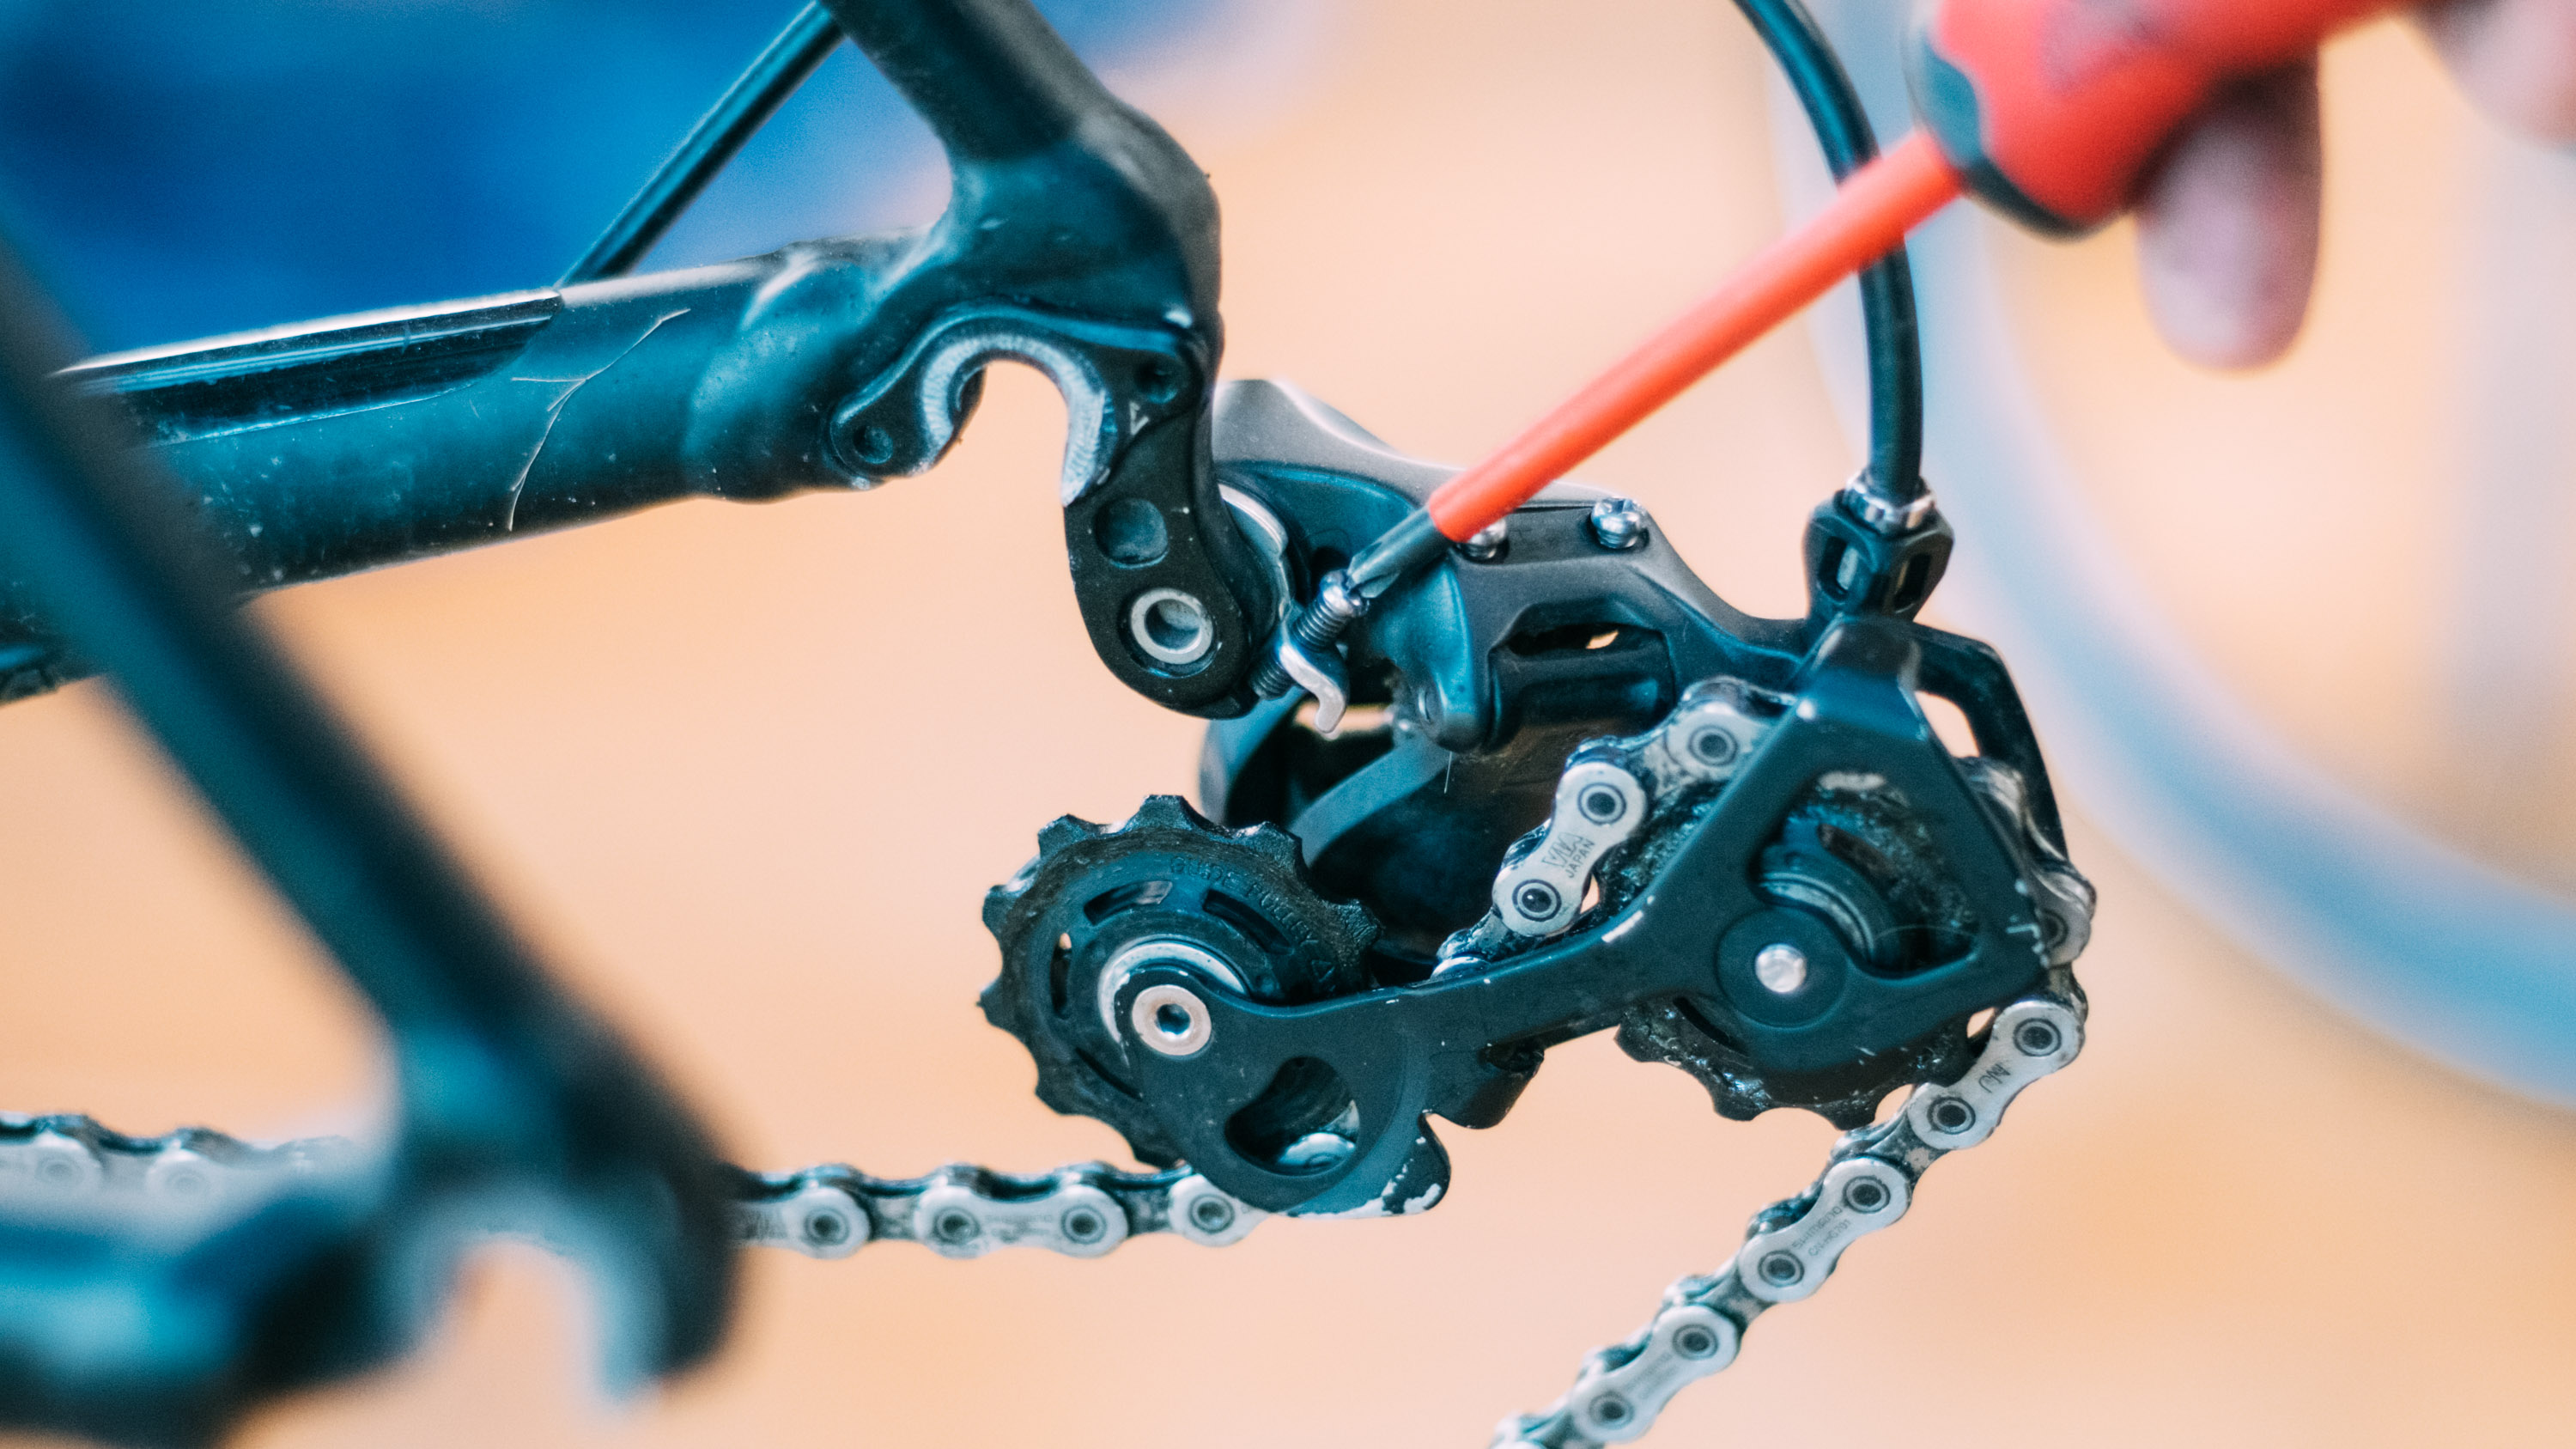
This is perhaps the most neglected piece of adjustment on any bike, and while not as vital as the limit screws or barrel adjuster it still has a part to play in crisp shifting. The B screw acts to rotate the entire derailleur either clockwise or anticlockwise, and by doing so the upper jockey wheel will move either closer or further away from the cassette.
Too far away and the shifting will be sloppy and the chain can deflect between two sprockets. Too close and the jockey wheels will touch the cassette, resulting in a noisy muddle. At the Goldilocks zone, where the jockey wheels sit a fraction away, the shifting will be at its optimum.
If you want to take a deep dive into how to adjust your gears to get them race-ready or just iron out any gremlins then head to our comprehensive guide on how to adjust bike gears.

Will joined the Cyclingnews team as a reviews writer in 2022, having previously written for Cyclist, BikeRadar and Advntr. He’s tried his hand at most cycling disciplines, from the standard mix of road, gravel, and mountain bike, to the more unusual like bike polo and tracklocross. He’s made his own bike frames, covered tech news from the biggest races on the planet, and published countless premium galleries thanks to his excellent photographic eye. Also, given he doesn’t ever ride indoors he’s become a real expert on foul-weather riding gear. His collection of bikes is a real smorgasbord, with everything from vintage-style steel tourers through to superlight flat bar hill climb machines.