Five beginner mistakes for indoor cycling
How to avoid the mistakes of a first-time indoor cyclist
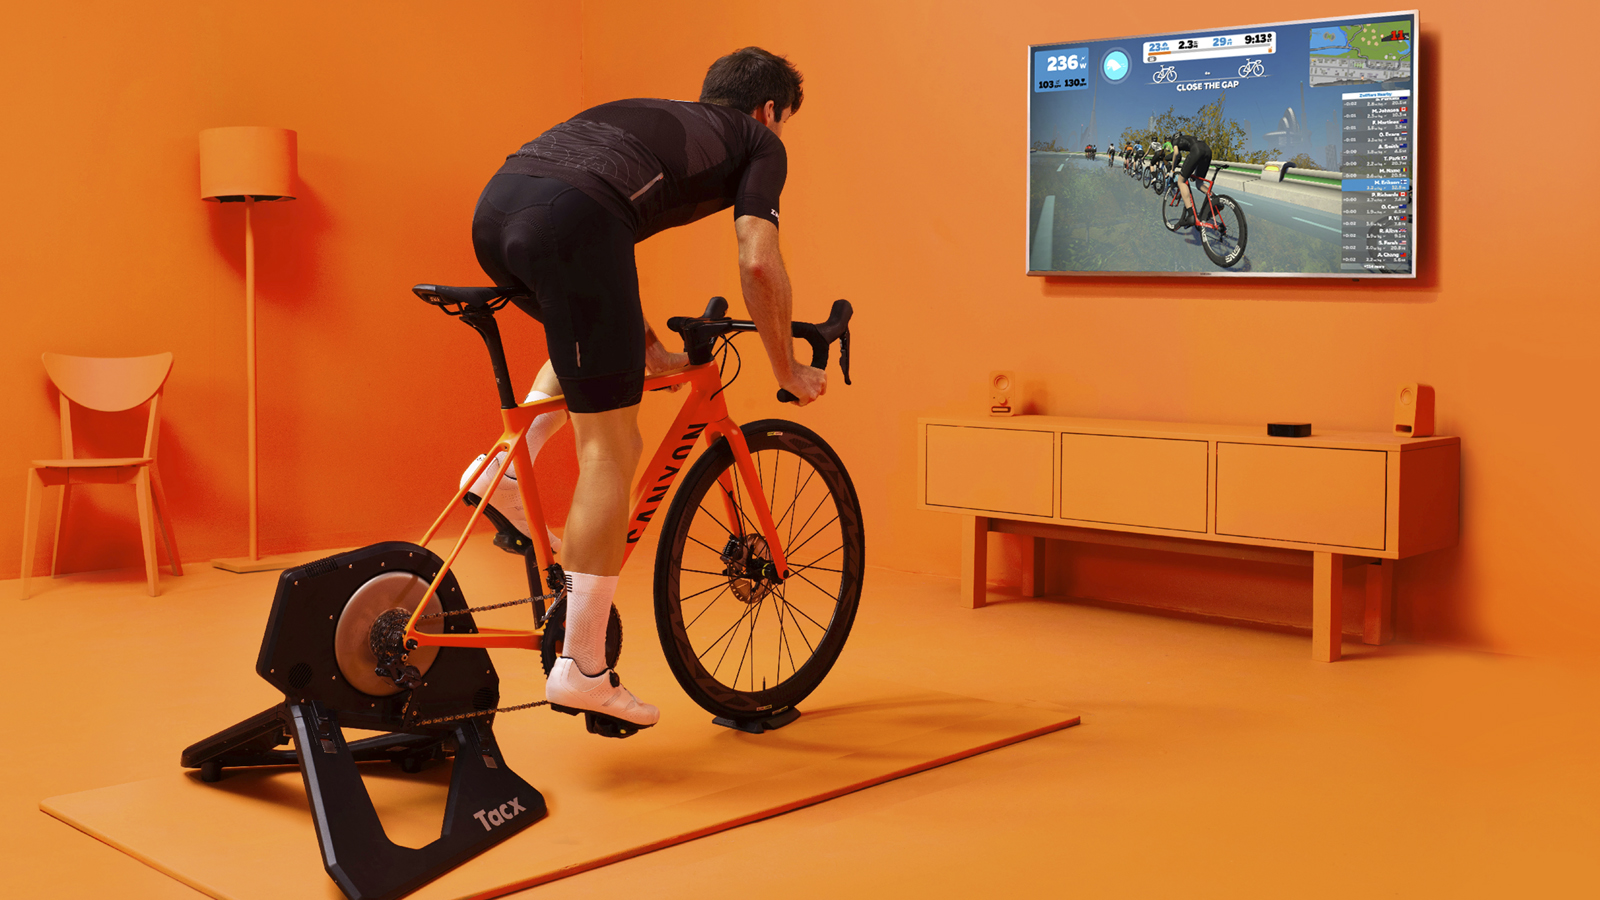
Indoor cycling is both a blessing and a curse. The practice that was once was a monotonous bore has quickly turned into one of the fastest-growing and most entertaining forms of cycling. Training apps have popped up on all platforms from Mac and PC, to iOS and Android, and you can try most of them for free in just a few clicks.
However, the setup process is not always intuitive, especially for those of us who struggle with technology. But once you’re all connected, riding is simple: kit up, click into the pedals, and start riding. No need for winter kit, lights, inflated tyres, or even daylight. You can spin on the indoor trainer 24/7, rain or shine.
Indoor training feels very different to riding outside, both physically and mentally. It can be tough to get into the groove, and the saddle can feel quite uncomfortable after just a few minutes on the trainer. But with a few simple adjustments, you can enjoy your time on the indoor trainer as much as outside.
Here are five common indoor cycling mistakes and how to avoid them.
Bad wireless connection
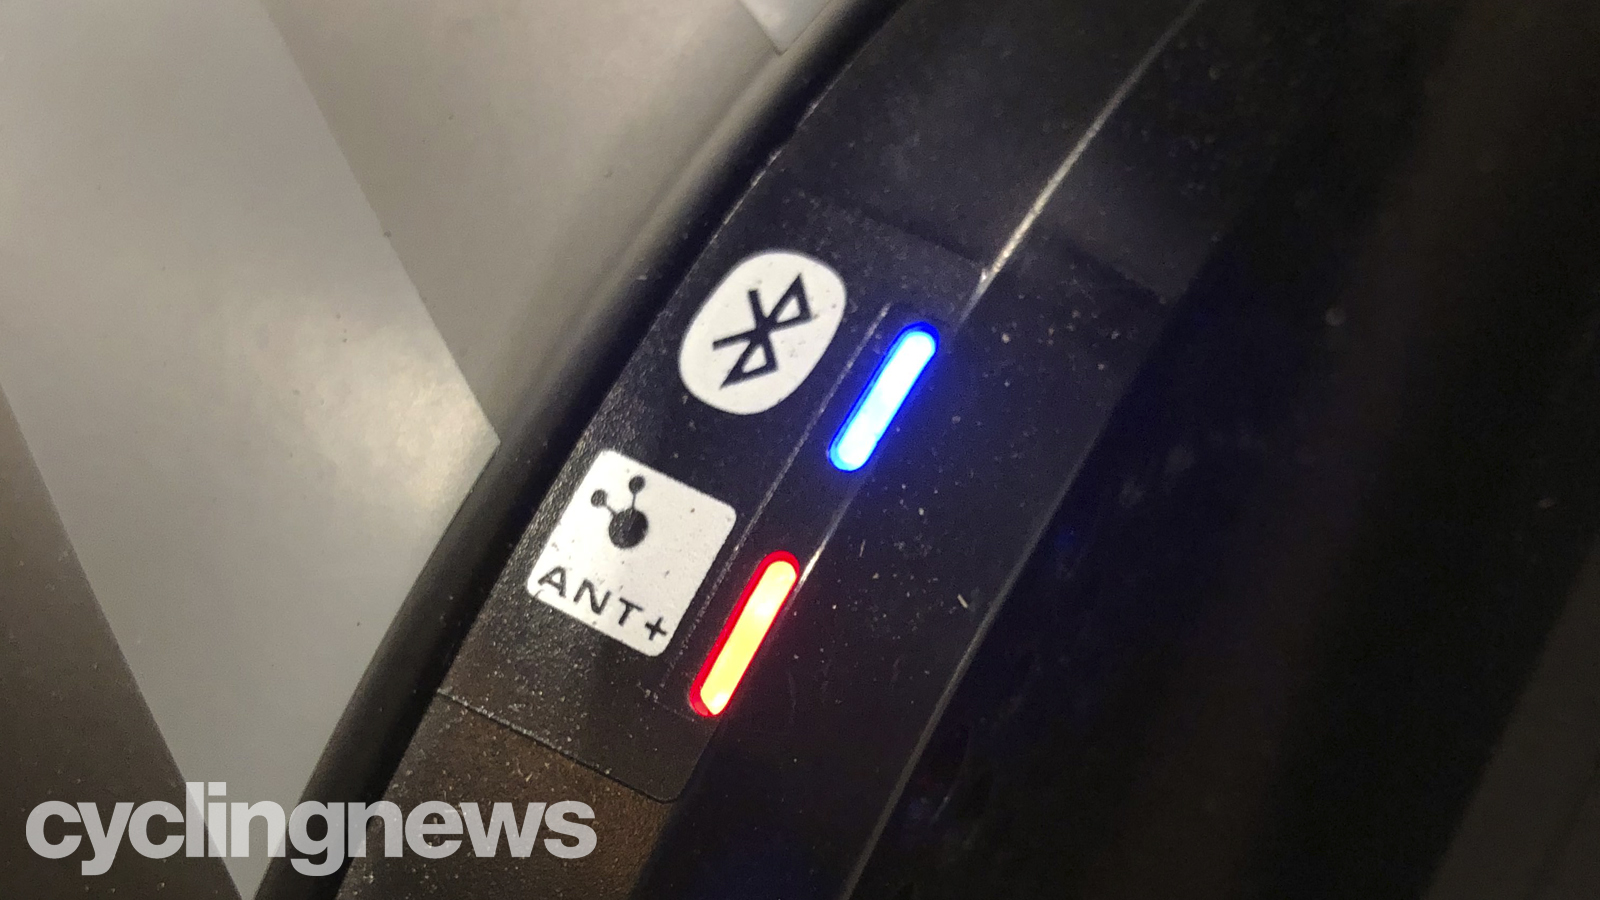
The basis of indoor cycling nowadays is your connection to the virtual world. Whether it is Zwift, RGT, TrainerRoad, or Peloton, you never have to be alone on a stationary bike. However, connecting to the virtual world can be one of the most frustrating aspects of indoor cycling.
It is easy to get lost in the sea of tech terms associated with indoor training: Bluetooth BLE, ANT+, Smart, cadence sensor, power meter, watts, rpm, etc. But for beginners, there are only a few key things you need to know.
First, you need to know what kind of trainer you have and what its capabilities are. If you have a basic, non-smart trainer, then you won’t be able to connect to a virtual training app via the trainer itself – you will need an additional sensor such as a speed sensor or power meter. If you have a smart trainer, then you will be able to connect to all the biggest virtual cycling apps through Bluetooth or ANT+, in the vast majority of cases.
Get The Leadout Newsletter
The latest race content, interviews, features, reviews and expert buying guides, direct to your inbox!
Second, you’ll need to open up the training app and pair your wireless devices. Most apps have a tutorial or step-by-step instruction guide to help you through this process, and the connection is usually automatic. However, the process isn’t always seamless.
If you’re struggling to pair your devices, ensure that everything is plugged in and turned on. With devices such as a laptop or smartphone, make sure that Bluetooth is enabled as well. Follow the trainer’s user guide for simple setup instructions, and if you’re still having trouble, head to the manufacturer's website or forums for the answer. Chances are, there is someone out there – probably hundreds of people – who has had the same problem as you.

Incorrectly setting and adjusting the resistance
Smart trainers are great, but can also be very confusing. They are self-adjusting when it comes to resistance and gradient, but you cannot adjust the resistance manually. Instead, you can adjust the “trainer difficulty,” which is the percentage of resistance that the trainer uses based on the gradient.
For example, on 100% trainer difficulty, riding up an 8% grade on a smart trainer feels like riding up an 8% gradient. Turn that trainer difficulty down to 50%, and the same gradient will feel like 4%. If you take the trainer difficulty all the way down to 0%, it will feel like you’re riding on a flat road.
Many beginners will run out of gears and get stuck on a steep gradient, having to grind it out at 40rpm until they reach the top. Whatever indoor cycling app you’re using, find the trainer difficulty setting in the app or on your smartphone. From there, you can adjust the gradient so that it is tough or lenient, and avoid getting bogged down on a 12% grade.
When it comes to wheel-on trainers – smart or not – the biggest beginner mistake is not setting up the resistance consistently. Every time you set up your bike on a wheel-on trainer, you’ll have to tighten the drum onto the rear tyre in order to provide the resistance. You don’t have to tighten it to the same exact position every time, but it should be close. In addition, check to make sure that your tyre is pumped up to a consistent pressure such as 90psi, as significant differences in pressure can cause tyre slippage.
Squeezing the handlebars tightly
Perhaps I’m stating the obvious here, but riding a stationary bike is not like riding a bike outside. On a stationary bike, there is no need to steer, balance, or shift your bodyweight in any way at all. The bike is almost fixed to the floor, with just its rear wheel spinning. Even on a moving trainer rocker plate, the base is stable enough that it’s almost impossible to fall off without trying.
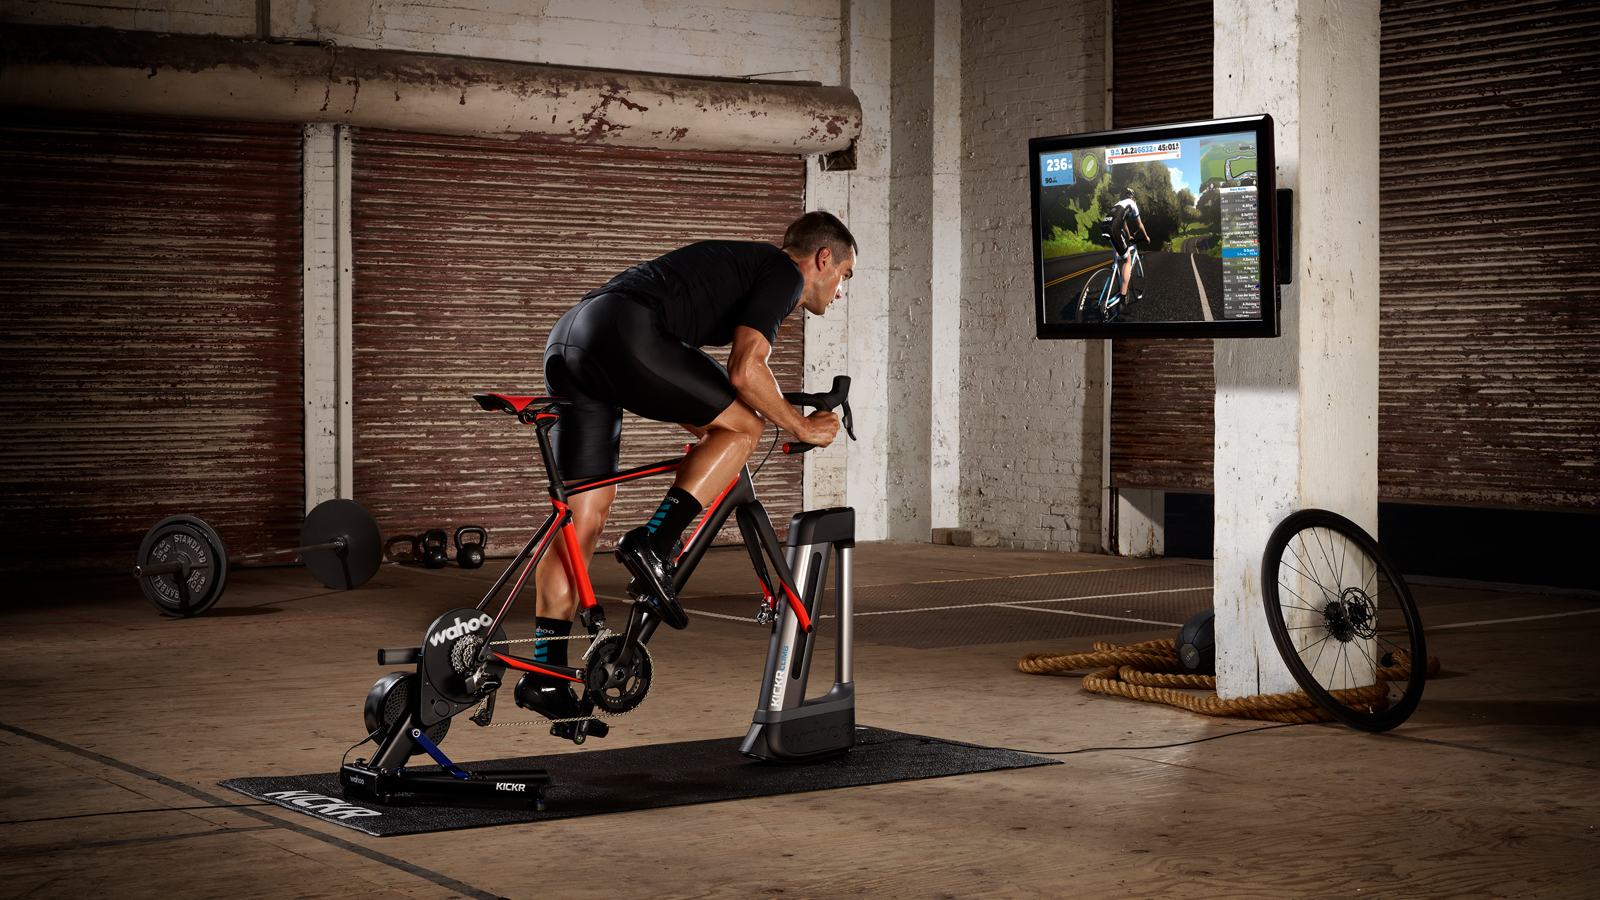
Still, I’ve seen many beginners squeezing the handlebars, squeezing their core, and scrunching their neck and shoulders while riding on a trainer. These tactics may help improve your balance or bike handling on the road (to a point), but they’re only a painful nuisance on the trainer.
Relax… take a deep breath, and relax your fingers, your hands, and your arms. Use your arms only to stabilise your upper body, and focus on pedalling without swaying from left to right. Riding on a trainer should be an enjoyable experience and one that helps you get the most out of your workout. If you are finishing your indoor rides with a sore neck, arms, or back, then you are trying too hard to hold a stiff cycling position.
Improper riding position
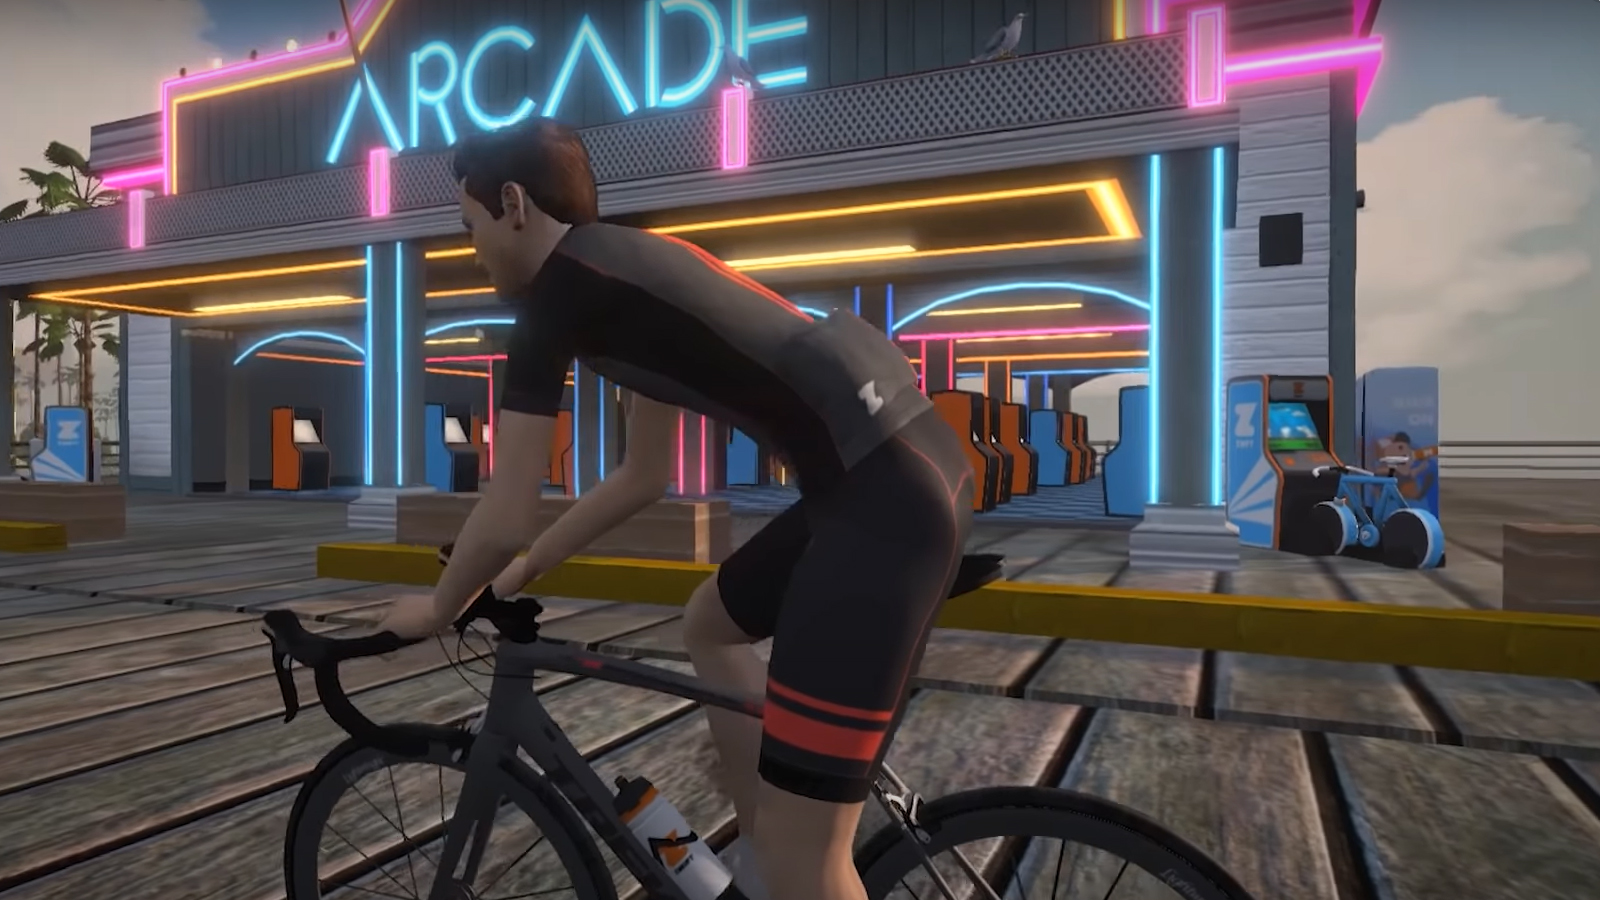
Speaking of cycling position, your position on the trainer should be similar – if not identical – to your outdoor riding position. On the open road, there is a need to get low and aero due to high wind resistance. Especially in a headwind, you want to lower your head, tuck in your elbows, and narrow your body to help cut through the air.
But on a trainer, there is no wind (air blown from a fan doesn’t count), and so there is no need to ‘get aero.’ Instead, we can ride as high or as upright as we want, and get out of the saddle too.
The best riding position on a trainer is the one that is the most powerful and sustainable for your body. For most people, that means proper saddle height, moderate reach, and a stable back. The biggest mistake that beginners make is not having the right position or bike fit on their indoor trainer.
Some riders ride the same bike on the trainer as they do outdoors, but for others, it’s different. For the latter group especially, matching your riding position to the indoor trainer is crucial. This will ensure the best overall weight distribution between your arms, core, and legs, so that you don’t put any extra strain on your lower back. An especially long reach will put more pressure on your arms and shoulders, which could lead to cramps or even chronic injury.
If you’re unsure about your cycling position, check with a professional bike fitter who can get you set up with a proper cycling position. Despite the lack of wind resistance and balance needed on the trainer, holding a strong and stable position is equally important to both increasing power output and reducing the chances of injury.
Overheating
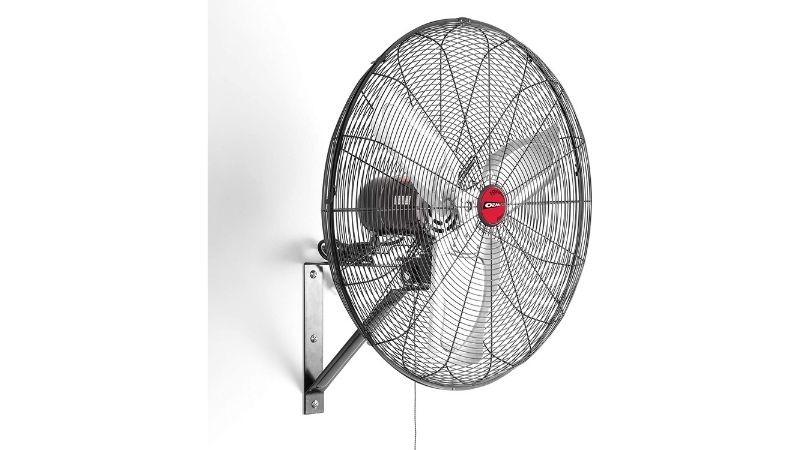
One of the worst parts about traveling with a trainer is the likelihood that you will ride somewhere without a fan. Experienced indoor riders will have (literally) cool pain cave setups complete with multiple fans that are sometimes industrial-sized.
That’s because the wind resistance mentioned above is one of the most crucial aspects of body cooling when cycling outside. Even without wind, cyclists are often moving through the air at 20-30km/h, if not more, which provides a natural cooling effect across their entire body. On the contrary, there is a complete lack of wind resistance on the indoor trainer.
Ride for long on an indoor trainer, and you’ll soon find a pool of sweat forming under your bike. Our bodies heat up quickly, even during moderate intensity exercise, and so it is easy to overheat on the indoor trainer. The best way to combat this is with a fan (or two or three). We recommend pointing the fan – if you only have one – at your core, and at your legs and face if you have more than one.
Depending on where you have your indoor trainer set up, you can also lower the temperature in the room by turning off the heater, turning on the A/C, or opening the window to allow cold air in. While most living spaces are kept around 20-21 degrees C, I’ve found that 12-17 C seems to be the ideal pain cave temperature which won’t have you shivering at the start of your ride or dripping sweat either.
Zach is a freelance writer, the head of ZNehr Coaching, and an elite-level rider in road, track, and e-racing. He writes about everything cycling-related, from buyer's guides to product reviews and feature articles to power analyses. After earning a Bachelor’s Degree in Exercise Science at Marian University-Indianapolis, Zach discovered a passion for writing that soon turned into a full-fledged career. In between articles, Zach spends his time working with endurance athletes of all abilities and ages at ZNehr Coaching. After entering the sport at age 17, Zach went on to have a wonderful road racing career that included winning the 2017 Collegiate National Time Trial Championships and a 9th place finish at the 2019 US Pro National Time Trial Championships. Nowadays, Zach spends most of his ride time indoors with NeXT eSport.