Cheap bike cleaning - Products and hacks to save you money
Quick and dirty bike cleaning on a budget

The latest race content, interviews, features, reviews and expert buying guides, direct to your inbox!
You are now subscribed
Your newsletter sign-up was successful
No matter how much of a routine you make it, cleaning your bike is a chore. It's time-consuming, mucky, and in the winter it's cold and wet and all you want to do is get inside and warm up.
The more often you do it, too, the more you have to spend on cleaning products. Let us help you save some money and time too with the following tips and tricks to get things sparkly clean on a budget.
Does your bike actually need cleaning?
This is a controversial opinion, but much of your bike doesn’t really need to be clean to work properly. Your frame and most other static components won’t suffer if caked in crud. Of course, if your bike gets wet and mucky, it’s always best to clean it straight away. However, if you leave it until things have dried, washing can actually force muck into areas you don’t want. Instead, ignore aesthetics and focus on thoroughly stripping and cleaning critical areas like the drivetrain. Doing this as often as you can is better than giving your whole machine a daily spray with a hose.
If you've never washed your bike before (no shame, there's a first time for everything) be sure to have a read of our guide on how to clean your bike so you don't accidently do any damage.
Bike specific products are expensive
Many bicycle-specific products vary little from generic alternatives. White spirit from any hardware shop will do a great job of degreasing components like cassettes and chains, while Isopropyl alcohol can be used to clean your disc brake rotors.
WD40 is also great for breaking down unwanted grease and oil, and washing up liquid will do for general cleaning. If you must have branded products, you’ll often find lower prices and larger serving sizes if you look for those aimed at the automotive market. This is equally true of brushes, cloths, and sponges used for cleaning.

Help your cleaning products go further
It’s not true that the salts in washing-up liquid will damage your bike. This means there’s no reason not to use it for general cleaning.
The latest race content, interviews, features, reviews and expert buying guides, direct to your inbox!
At the same time, dedicated cleaners like Muc-Off do make life easier. If you decide to invest in some, using it properly will help it go further.
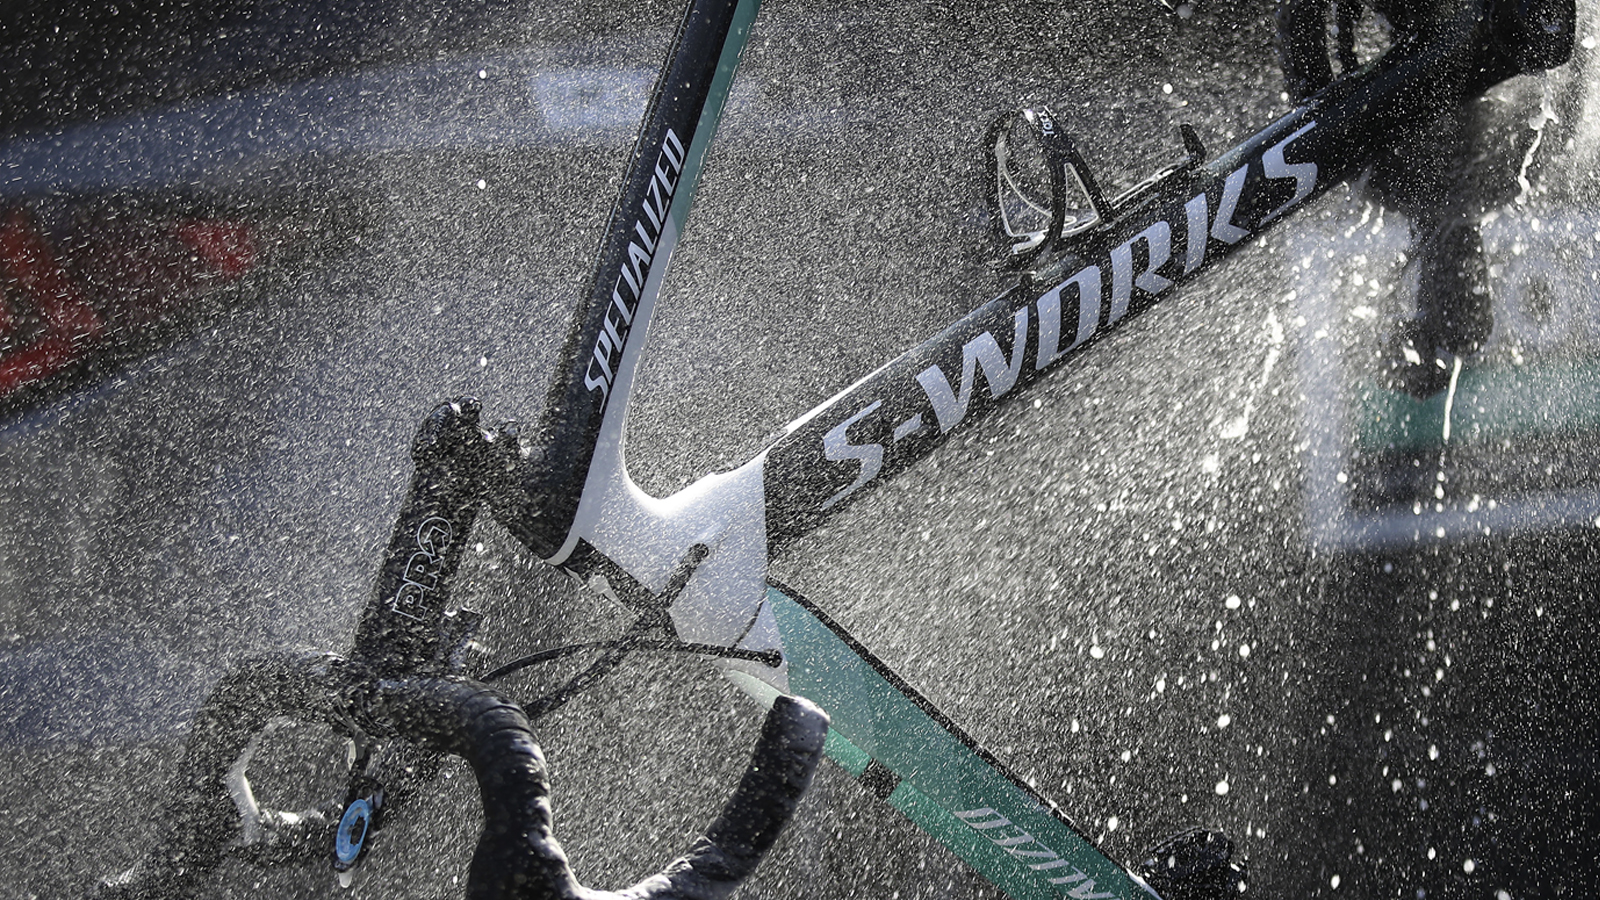
Start any cleaning by removing loose dirt from the bike. Now wet the whole bike with plain water. Let this soak in for a minute or two. Next, spray your bike with cleaner and leave it to sit for a further couple of minutes. This will give the cleaner the maximum chance to break down any grime and allow you to use less. Get in with a soft brush and scrub everything. Rinse off and enjoy your shining bicycle.
Invest in a chain cleaner
Cleaning your chain is one of the most essential elements of any maintenance routine. Annoyingly, it’s quite tricky to achieve with the chain still attached to your bike. One option is to remove it, but this is a mucky faff.
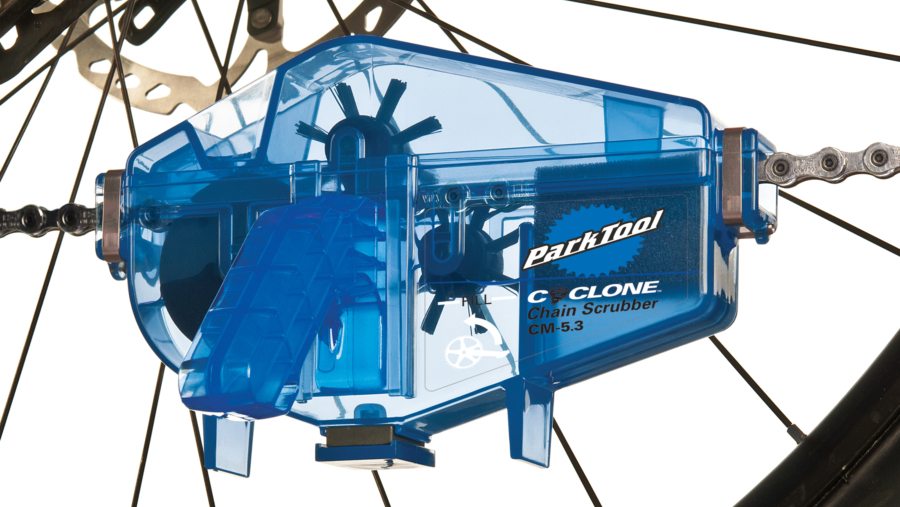
A more straightforward solution is to get a dedicated chain cleaning machine. An excellent investment, these simple devices clip over your chain and feature roller brushes and a reservoir for degreaser. Efficiently dousing and scrubbing your chain, they make a messy job less painful and ensure you’re likely to stay on top of maintenance. Simply fit it in place, backpedal your bike to drive the device, and let it strip your chain of harmful grime.
If you want to go full on you can go wild with ultrasonic cleaning, but that's an expensive avenue to go down. Find out more in our guide on how to clean your bike chain.
Alternatively, learn workshop-style chain cleaning
Don’t want to invest in a chain cleaner? If your chain has a quick link, try this method:
First, drink two litres of something from a plastic container (milk, OJ, definitely not degreaser!).
Next, remove your chain from your bike using a pair of chainlink pliers. Drop the chain into the empty milk container and chase it with a good slug of degreaser.
Pop the lid back on and shake vigorously every few minutes for at least ten minutes.
Drain out the filthy degreaser. Replace with washing up liquid and warm water.
Shake several times and leave to sit for a few minutes. Rinse your chain and dry it with a cloth. Refit, relube, and congratulate yourself on a job well done.
Raid the pound shop
Your local pound shop probably has all the brushes and cleaners you need to get your bike sparking.
Hit the kitchen and home sections for various brushes, from small ones for intricate bits to large soft numbers for all-over cleaning. At the same time, grab some sponges and chamois cloths. In the craft section, pipe-cleaners can be great for cleaning between the teeth on your cassette, while paint brushes are good for other details.
Next, locate a big bucket to keep them all in. Finish off by searching out some rubber gloves and hand cleaner for tidying yourself up afterwards.

Visit the middle aisle at Aldi/Lidl
This may be lost on our North American readers, but for those in Europe the middle aisle of Aldi and Lidle are often awash with cheap bike cleaning gear.
Frequently including cycling products in its flash sales, I’ve picked up everything from branded cleaning kits and a surprisingly solid bicycle work stand to Merino socks and baselayers.
More general hardware regularly features too, with pressure washers also making frequent appearances. Also regularly featuring car care products, many of these can also be repurposed for your bike. Another great European-flavoured solution is popping into Decathlon. Its own-brand cleaning range is universally excellent and extremely cheap.
Get a cheap stand
If you don’t want to invest in one of the best bike repair stands, a wheel mount alternative is still a good investment. Ideal when cleaning your bike, they make many mechanical jobs easier too.
Crucially, even though they don’t lift your bike off the ground, they allow you to backpedal the cranks, which is crucial when cleaning your drivetrain. They also have the benefit of taking up minimal space and being quick to set up.
At £20, the Gear Up Grandstand single bike floor stand is a good bet.

Fit some mudguards
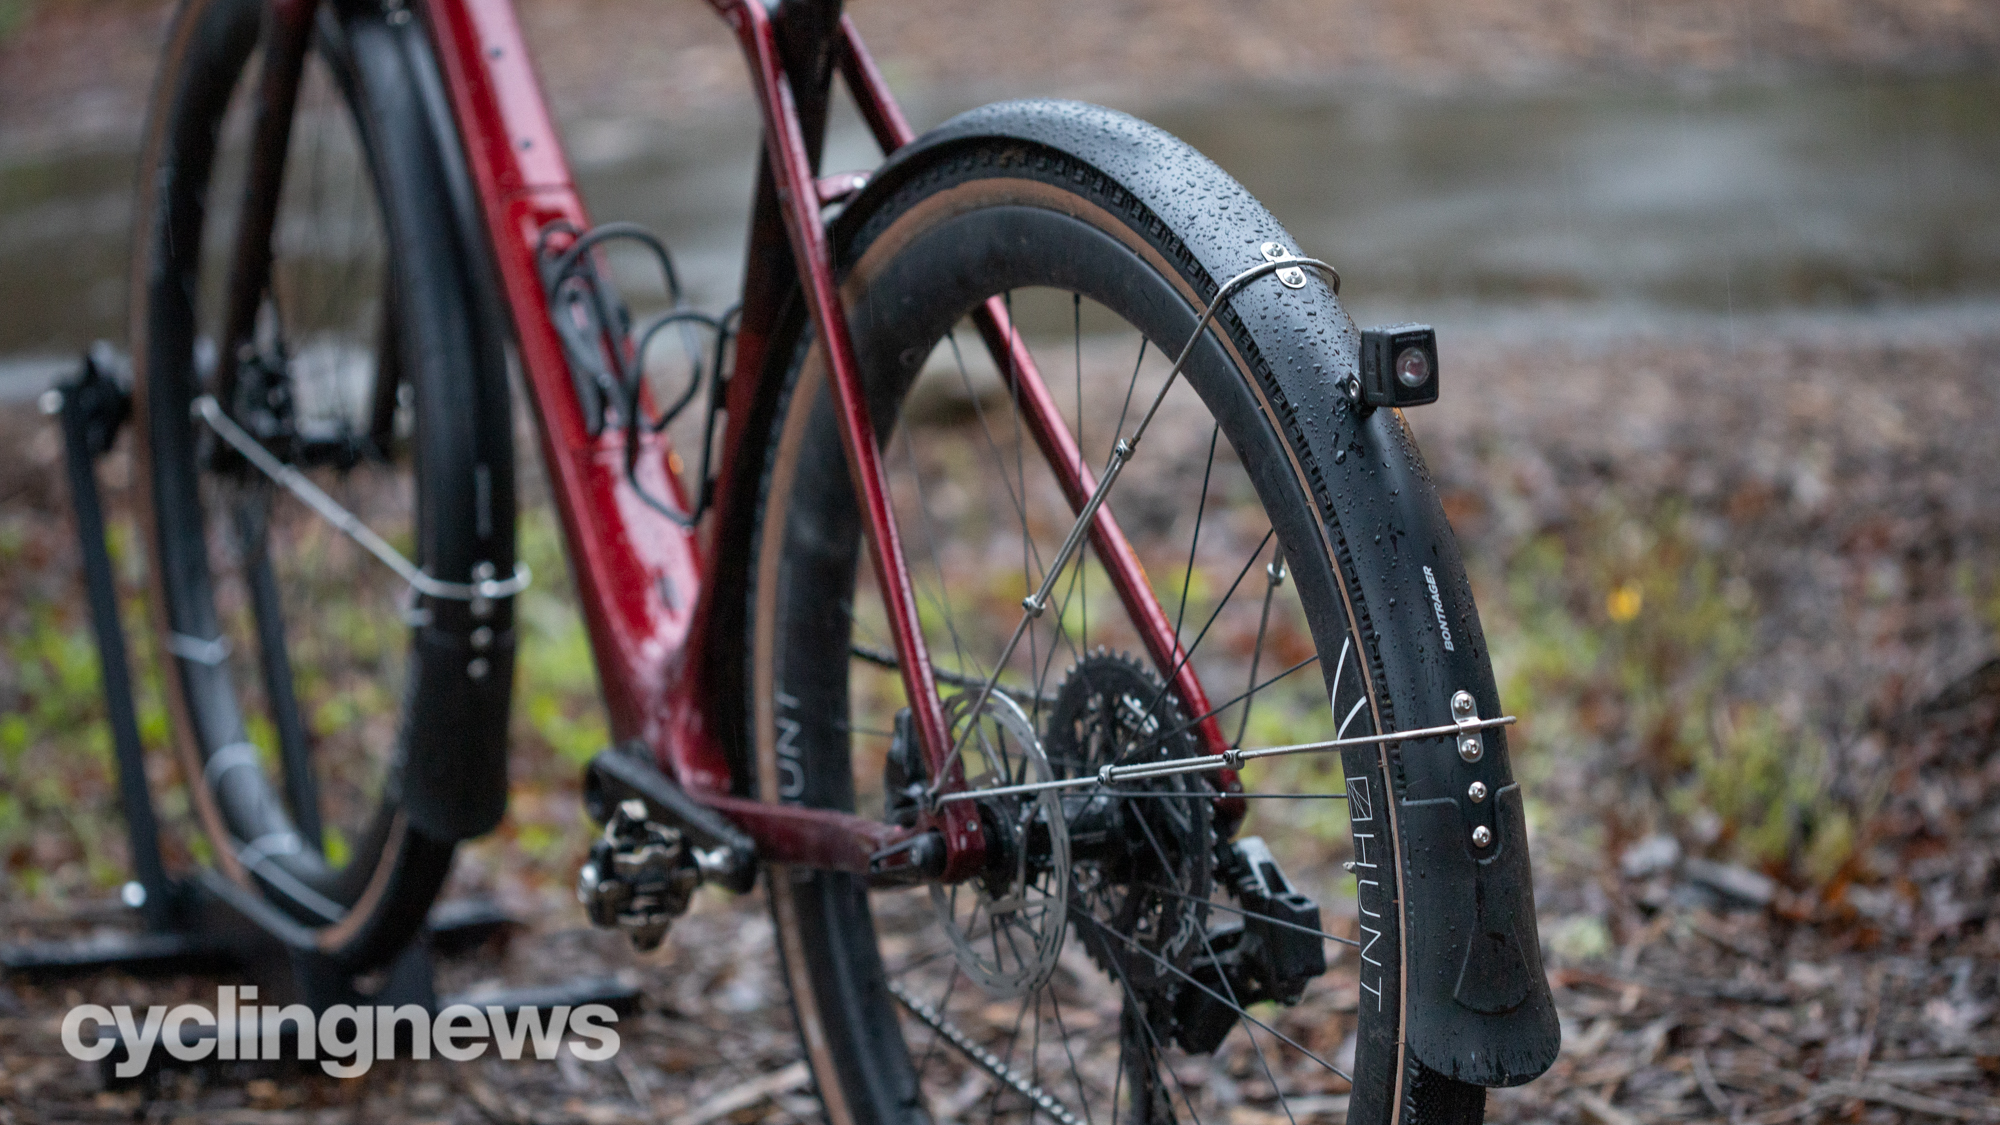
Mudguards won’t just stop you and your clothes from getting dirty; they’ll stop your bike from getting covered in muck too.
This not only means you won’t need to clean it as regularly, but all its components will last longer as they won’t be exposed to road-salt laced filth.
For this job, the only style worth considering are full-length models. Occasionally regarded as uncool, you’ll be booted off most winter club runs if you fail to turn up with a decent set fitted. Do yourself, your bike, and any other people you might ride next to a favour and fit some.
Make your own chain keeper
A chain keeper slots into your rear dropout and keeps your chain in place, even when the wheel is removed. Ideal when cleaning your bike, you can buy them for around £10-20, or you can make your own.
If you’ve got bolt-through dropouts, all you need to do is find a spool that you can slide over the axle once you’ve removed the wheel.
Lots of different types of spools will do, like those that come in the centre of PTFE tape, fishing wire, solder, or thread. Just make sure the hole in the middle is at least 12mm wide. If you’ve got a quick release, you’ll need something extra to hold it in place. Try improvising by using an old axle or a long M6 bolt and wingnut to hold the spool in place.
