Best bikepacking bags - Handlebar, frame, saddle and top tube bags to carry your gear
The best bikepacking bags to carry you through a multi-day trip whether it’s around the corner or across the continent
The latest race content, interviews, features, reviews and expert buying guides, direct to your inbox!
You are now subscribed
Your newsletter sign-up was successful
When it comes to the best bikepacking bags, we are truly in a golden age. Early innovators went out in the world and did things on a bike other people didn't think was possible. They led the way and they inspired people. Those early innovators used what they had to and did whatever it took to ride their bikes in the way they wanted to., but as time went on, they looked for better and better tools.
One of the first tools that started to change was the bike itself. At one time, multi-day cycling tended to mean panniers and a touring bike, with bikes packed heavily and moving slowly, sticking mostly to paved routes. As roads have gotten busier and gravel bikes have gotten better, there’s been a shift to the best gravel bikes for multi-day adventures by bike.
The shift in bikes necessitated a shift in packing strategy to go with it. Taking a page from the ultra-light backpacking segment, bikepackers have gone as light and small as possible. In the early days that meant custom bags sewn for those blazing new trails. These days, the pieces you need to get out on your bike exist and you don't need to know how to sew.
We’ve tested dozens of bikepacking bags for ease of use, durability, compatibility, size and more, and we've put together a list, organised by company, of some of the best bikepacking bags available to help you through whatever adventures you’ve got planned.
Best bikepacking bags available today
You can trust Cyclingnews
Restrap Carry Everything
Specifications
Reasons to buy
Reasons to avoid
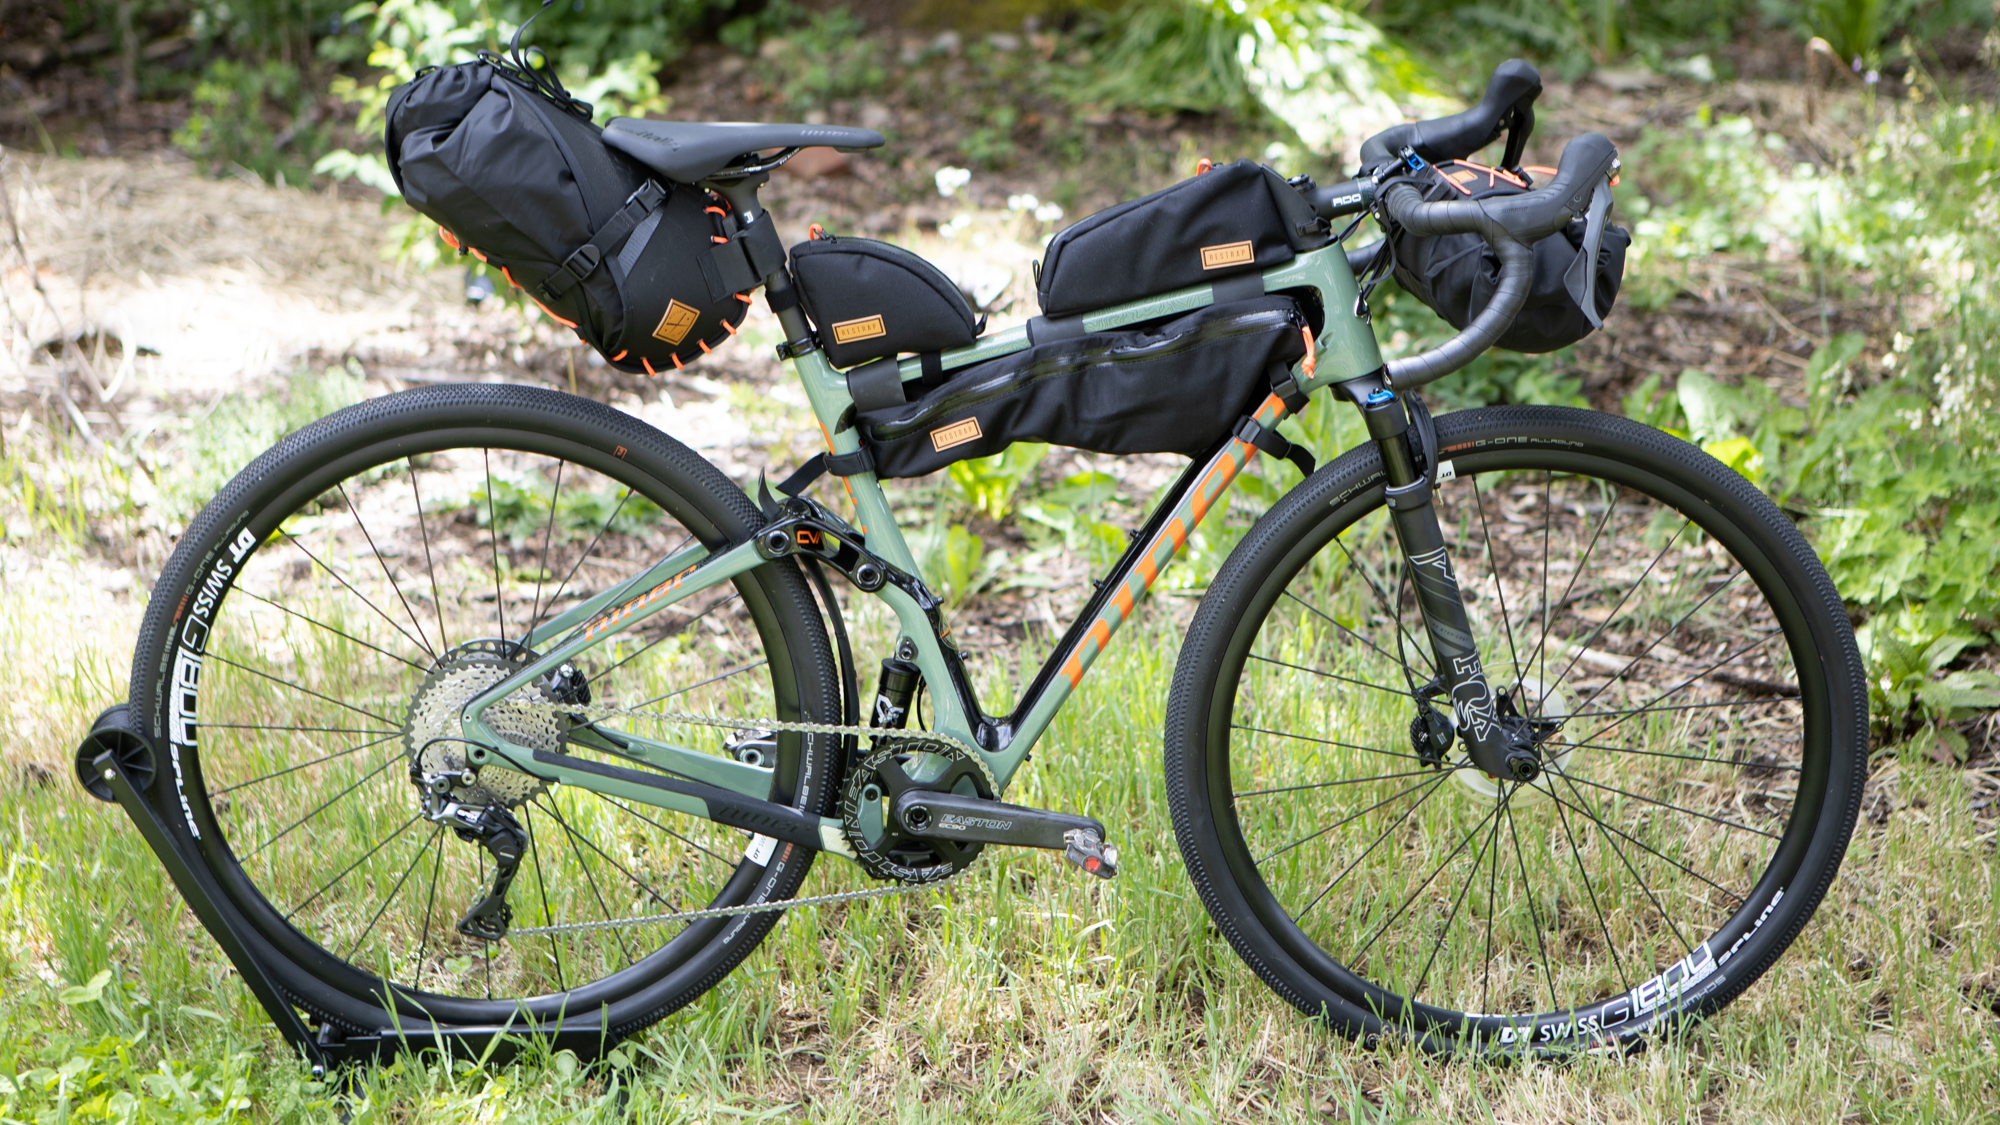
What started out as a one-man operation from a bedroom in Yorkshire, has since expanded into a brand which offers some of the best bikepacking bags available. There are options that cover everything from a daily urban commute all the way up to a multi-day race then they break the offerings up into collections based on the intended use. There is Adventure Race, Expedition, City, and the all-around Carry Everything line that we spent time with.
We started with the Bar Bag in size small because at 14 litres, it's already voluminous. There are foam spacers to keep proper spacing with the handlebar and a holster system that holds a dry bag inside. For the frame bag, the standard Restrap option uses rubberised strapping to help it stay put and they are waterproof. There are three sizes to help fit your frame and your needs and the medium and large feature an extra pocket for better organisation. There's a cable slot so you can feed a charging cable inside as well.
At the back of the bike the 14-litre, down to as small as 8-litres, saddlebag is another holster design. The outer piece attaches to the seatpost and through the seat rails for a secure connection to the bike. Unique to Restrap there's a foam spacer to help with spacing behind the seatpost and there's a magnetic buckle that secures the drybag into the holster.
For accessories, Restrap has more options than most. The rear top tube bag is a really smart way to utilise space that a lot of systems leave empty. Then for the front top tube bag, there are plenty of options but one of them is a bolt on option that is rarer than you might expect given all the choices for gravel bikes with mounting points in that spot.
Apidura Racing Series
Specifications
Reasons to buy
Reasons to avoid
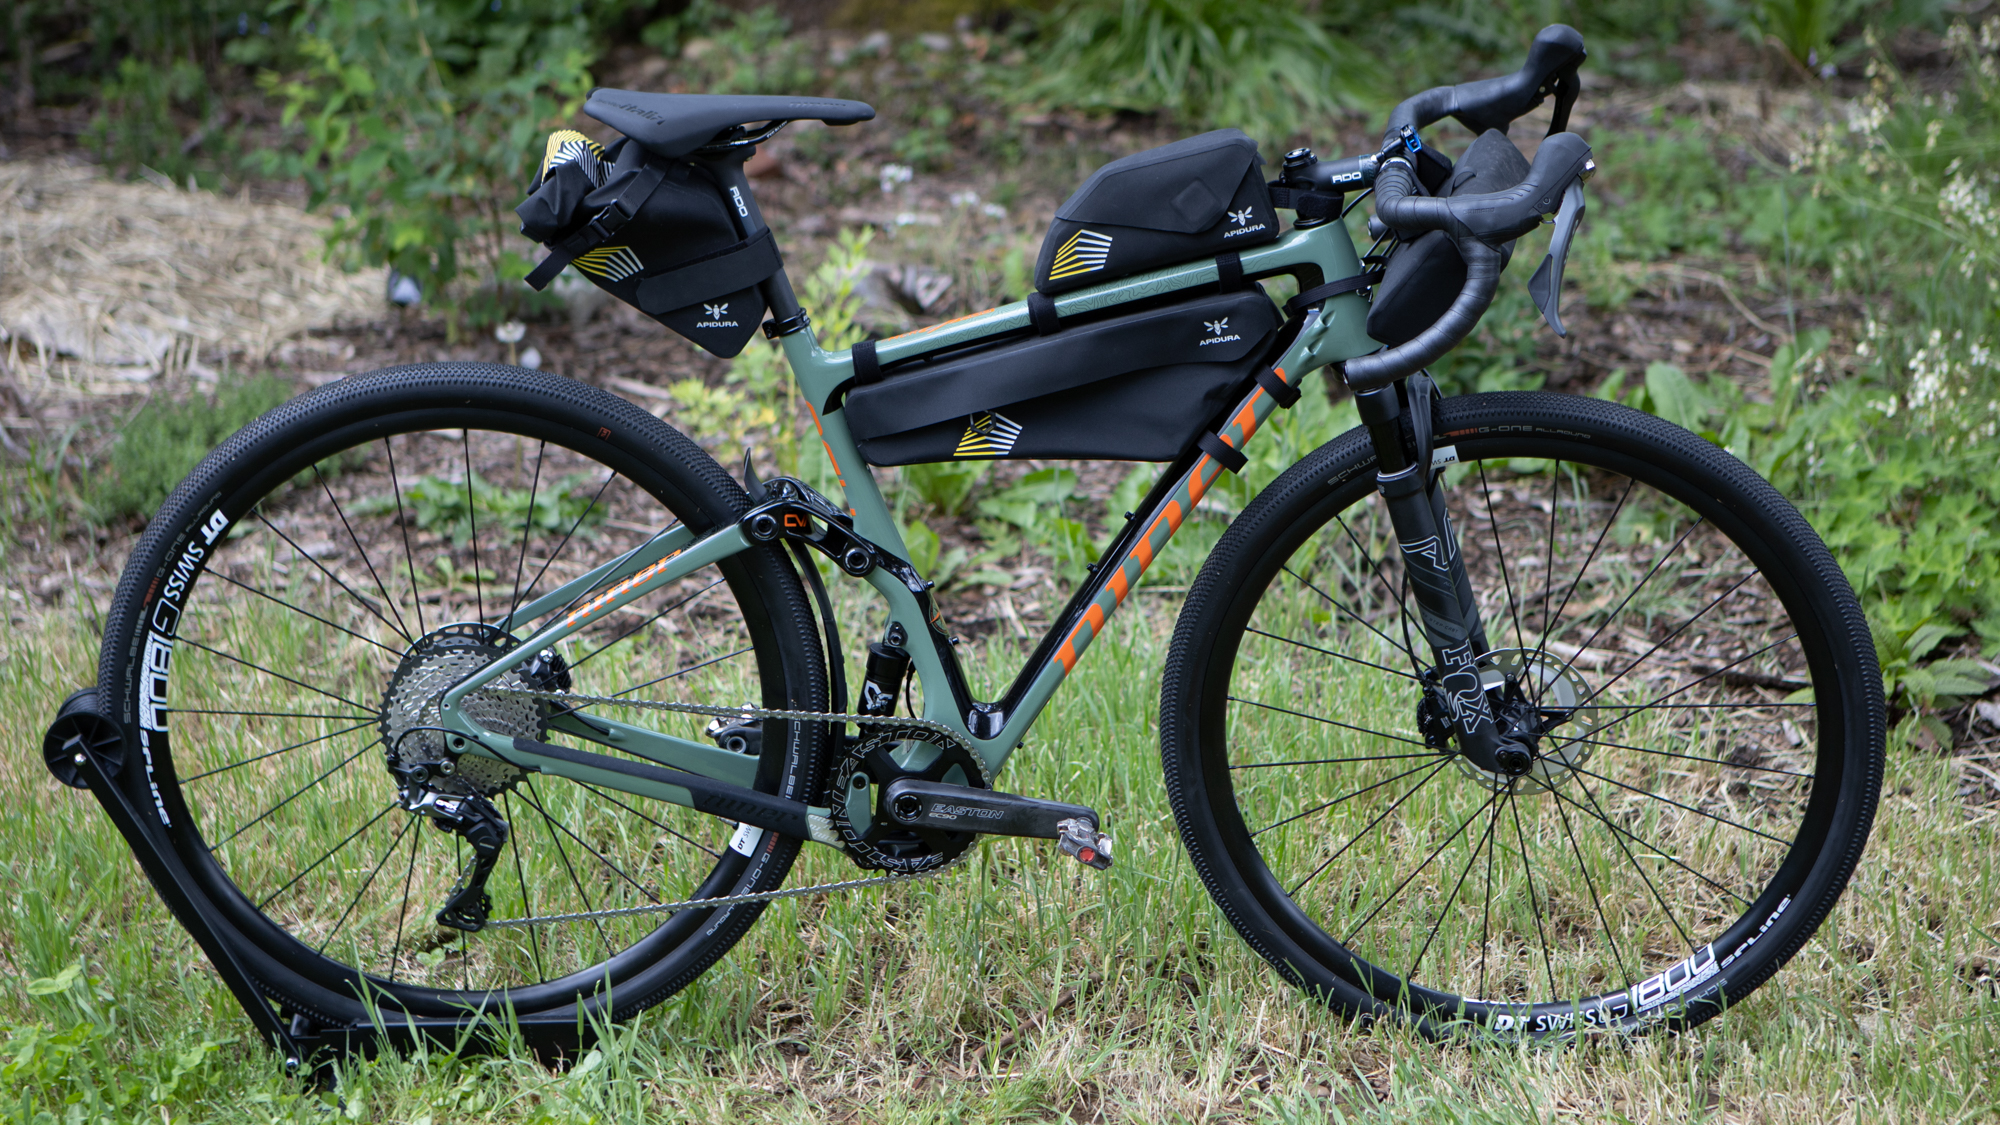
Apidura breaks its bag range into different options to meet different requirements of bikepackers. The Backcountry series is for off-road adventures and offers a more rugged finish for better durability. For ultra-distance and audaxers, the Race series and Expedition range use many of the same features but the race series is the most focused and streamlined. The race series is where we've had the most experience and with that in mind, that's what we are sharing on this list. It also makes sense because that's what Apidura has a reputation for. Keep in mind though, there's not a lot of room in any of these pieces.
Apidura has been a significant player in the rise of bikepacking, from sponsoring events like the Transcontinental Race to supporting some of the biggest names in endurance riding like Sofiane Sehili and Jenny Graham who make huge demands of their equipment. They are also often the partner company when a brand with less experience wants to offer a larger range.
All of the choices in the racing series use a totally waterproof material that's developed specifically for Apidura. They also all feature reflective details to help you stay seen when riding through the night. At the front of the bike is a 2.5-litre bar bag that's a lot closer to something you'd expect to see in a city collection than a bikepacking collection. The idea is to keep it easy to access and out of the way. It hinges away from the bike, so you can reach it while riding, and the closure is a simple spot of velcro.
The 4L frame bag is, again, small and focused. The angle makes it so it's possible to still use water bottles on smaller frames and the connection to the bike is a collection of five straps. The straps along the top tube have two locations for the front and back so you can fit a top tube bag also. There's a zipper on either side that's both waterproof and hidden under a flap. There's no additional organisation inside the bags but each one leads to a different compartment.
For the saddlebag, there are five-litre or seven-litre options, but neither is that big. The five-litre has proven, in our experience, to be the perfect size to carry enough gloves to handle seven hours of riding in heavy rain. It's the same waterproof material as all the other pieces, so no need for a separate dry bag, and it rolls closed just like a dry bag. Once closed, the rear face has reflective details and there's mounting points for a light.
For top tube bags, Apidura offers both a long and short option as well as a strap-on or bolt-on. The smaller one-litre option uses a magnetic closure that's a joy when you have been riding for so long you can't think straight. It won't accidentally open but it's easy to pull open and it keeps things dry. There's a port for cables and it holds its shape even when empty.
Topeak Loader
Specifications
Reasons to buy
Reasons to avoid
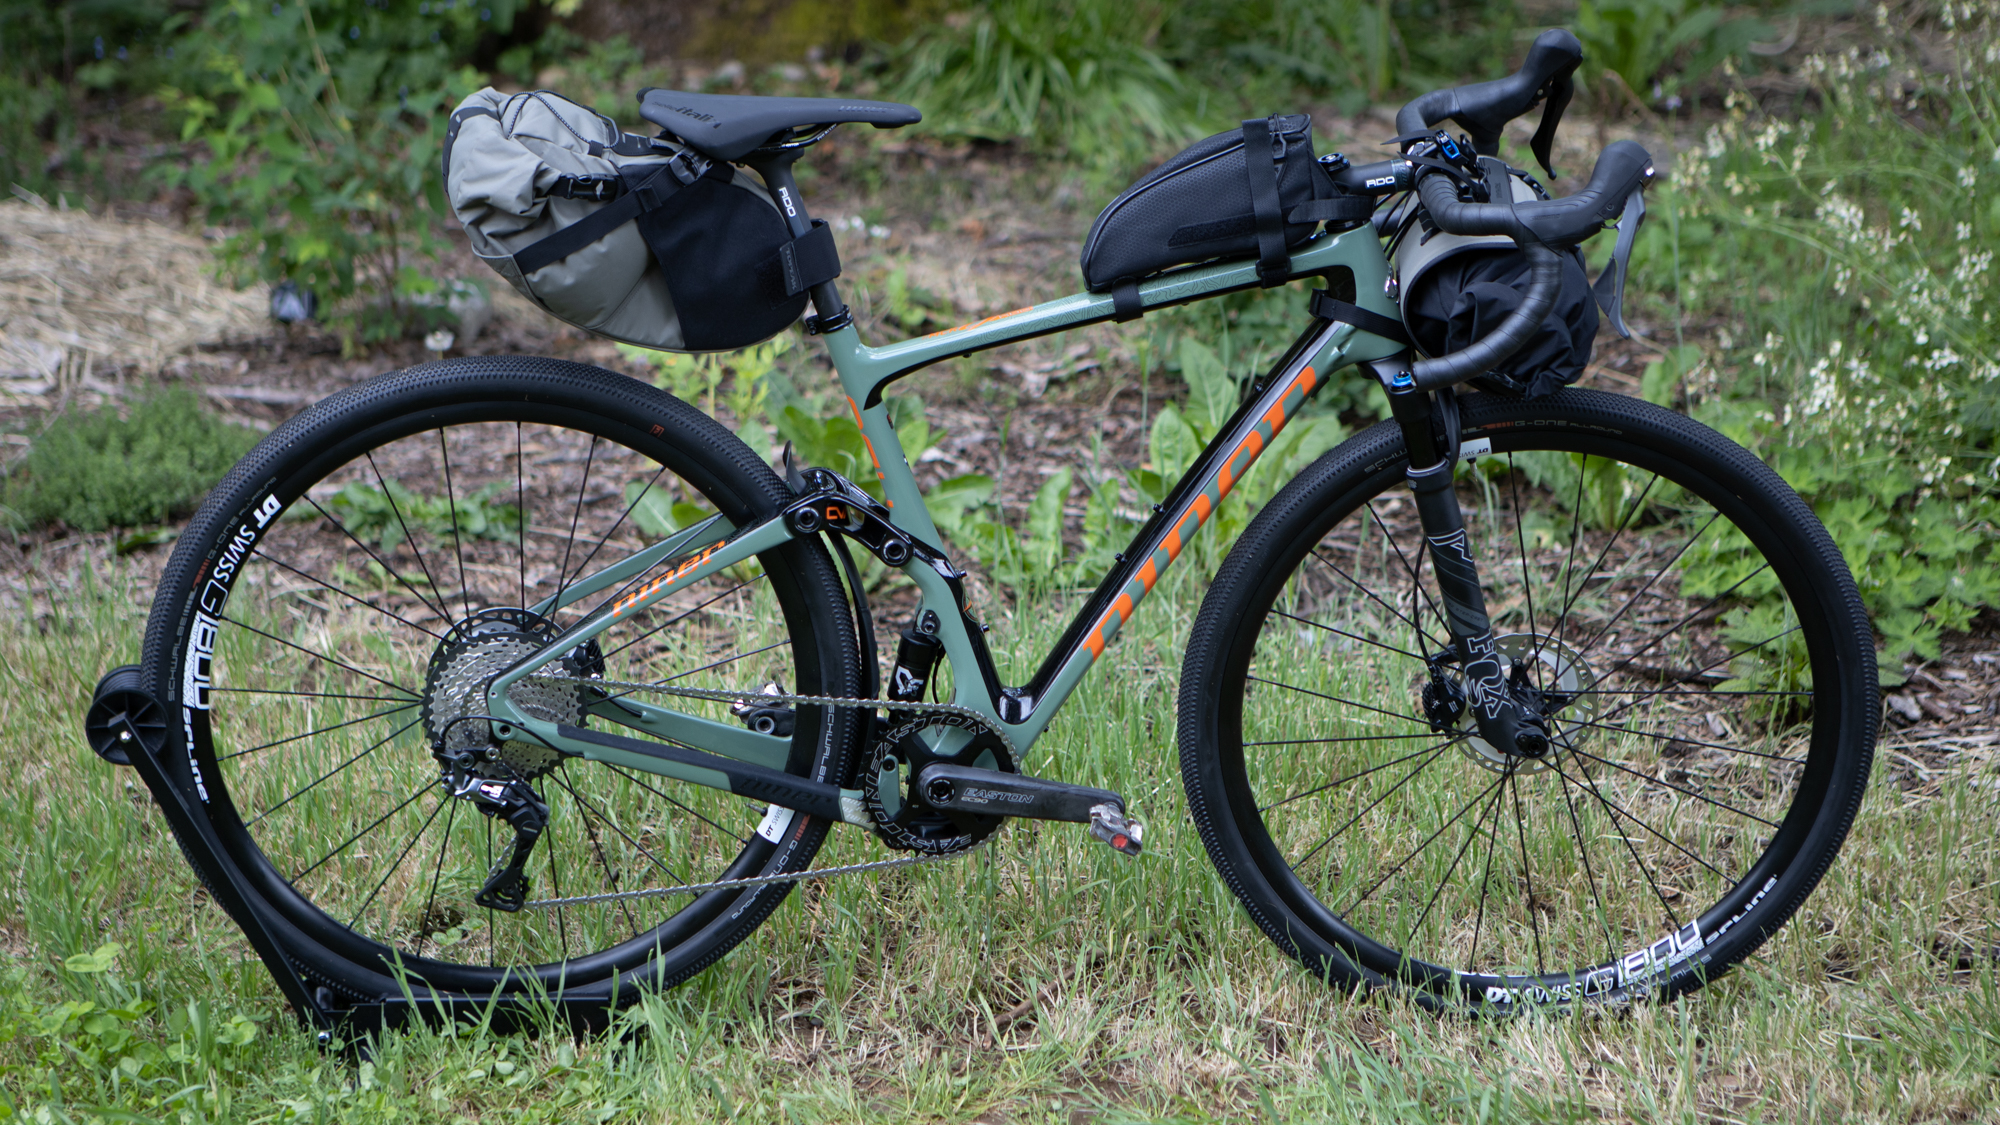
Topeak is better known for its tool ranges but it also has a range of bikepacking products. What it offers is an excellent entry point into bikepacking. It's not super specialised or expensive and it's easy to purchase from a variety of places.
For the frame bag, Topeak has gone with the harness system just like a lot of brands but they actually have something unique. While most of the time spacers are blocks of foam, Topeak uses rubberised stacking pieces. The system is a little more fiddly to figure out initially but with three provided for each side, you can decide how much space you need.
For the Midloader frame bag, there are different options to fit your frame size but none of them feature the type of shape-holding angles you find on the Apidura solution. You'll want to size conservatively if you are also using water bottles. The connection to the top tube is three velcro straps that are very soft and protective. At the front and rear there's a strap with a buckle. They do a great job keeping everything from moving but you'll want to take care that the buckle doesn't scratch your frame. You'll also want to keep in mind that while a light sprinkle won't soak in, this is not a waterproof bag.
Topeak's Toploader top tube bag has a lot of adjustability and organisation options. The bottom has five different places you can move the two straps between so you can find something that will work with whatever frame bag might be below it. On the inside there's thick padding and a moveable divider. It's a lot like the inside of a camera bag but it's not waterproof. If you need to keep the contents dry, you'll want to pull out the rain cover hidden in the side.
The last piece we spent time with is the 15 litre Backloader. Like the Frontloader this is a holster system. What's unique about it is that the design works either with an included dry bag, or without. If you know for sure it's going to be dry you could leave the dry bag at home and fill up the internal storage as well as use the straps on top. If it looks like it might rain then Topeak includes a dry bag with an air release you can pack full and stuff inside. It means a little more complexity to the system but it gives you choice in how you use it.
Brooks Scape
Specifications
Reasons to buy
Reasons to avoid
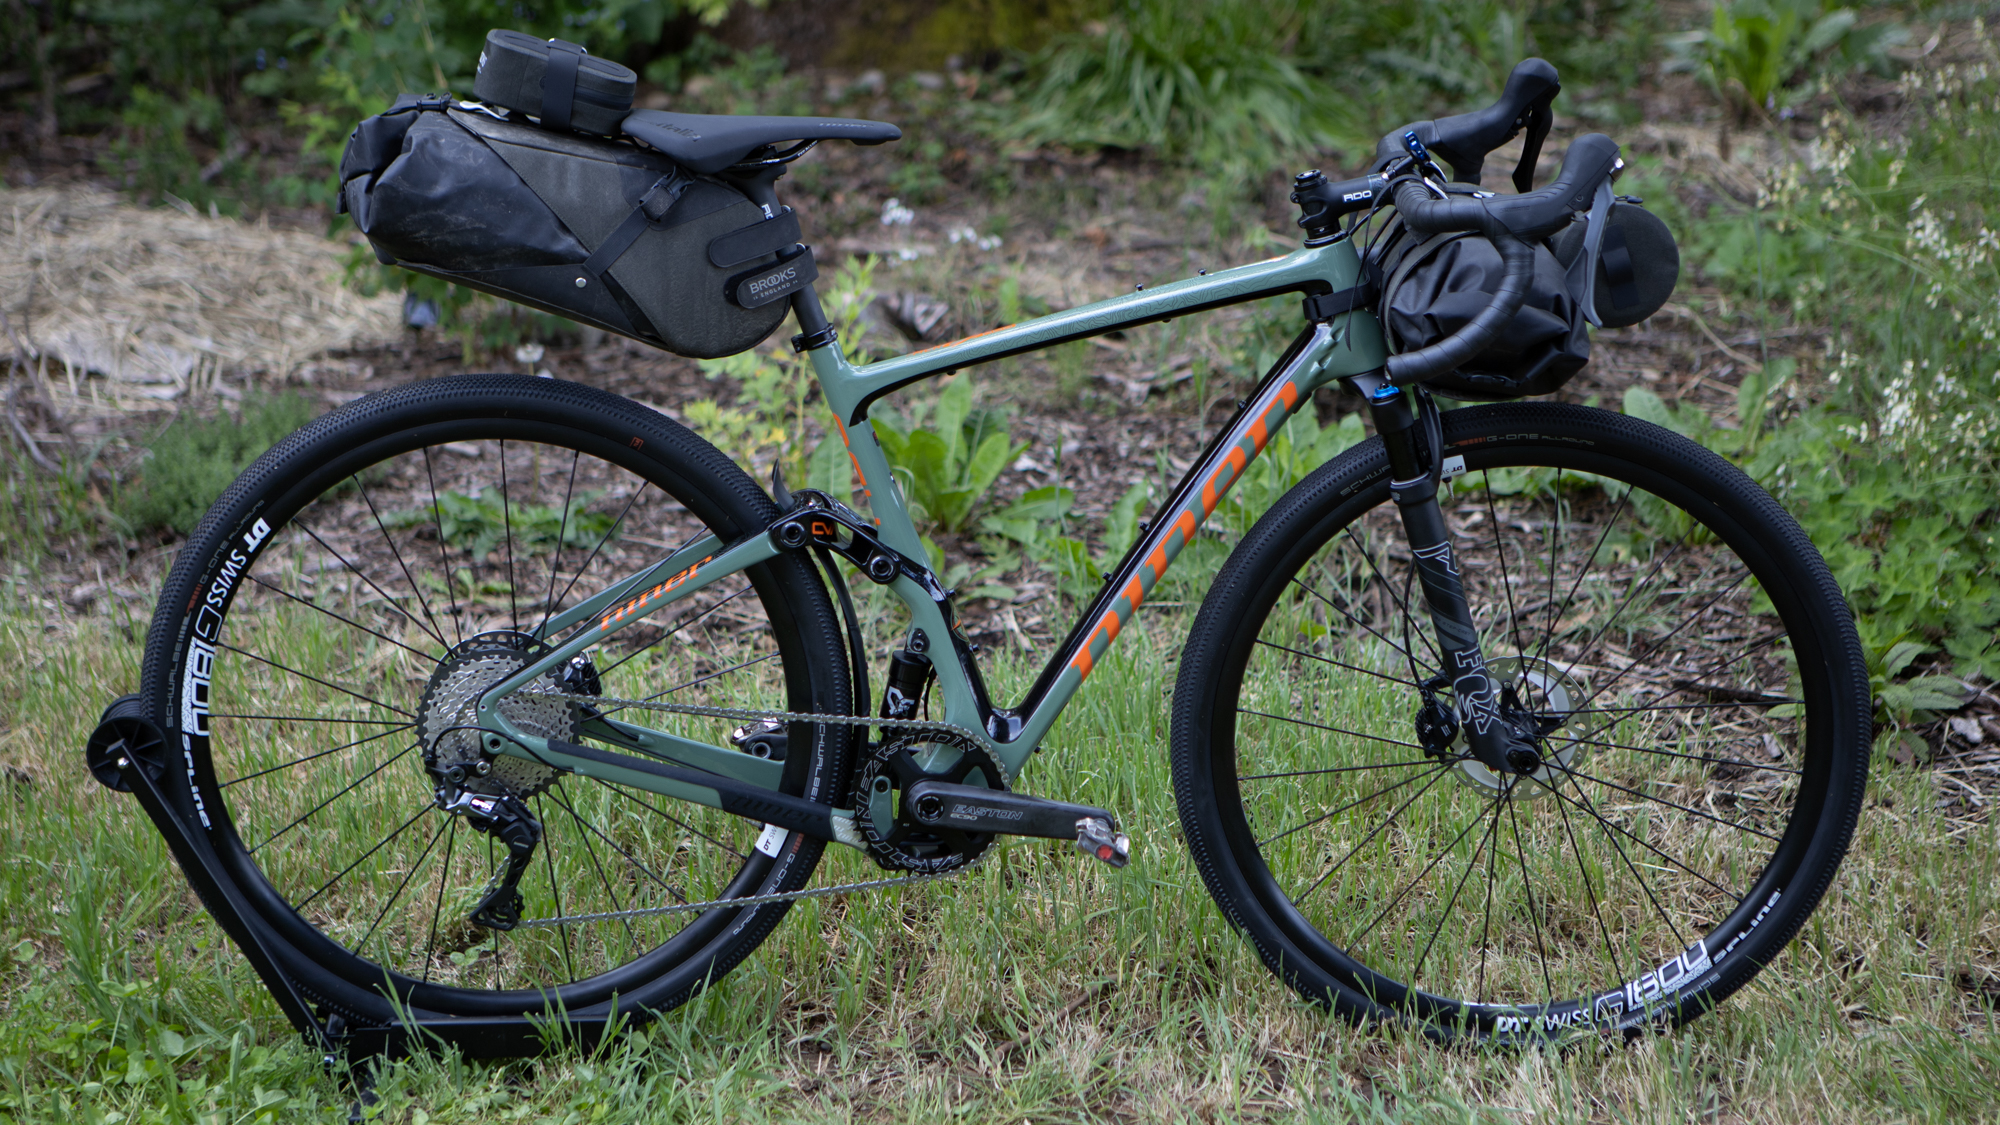
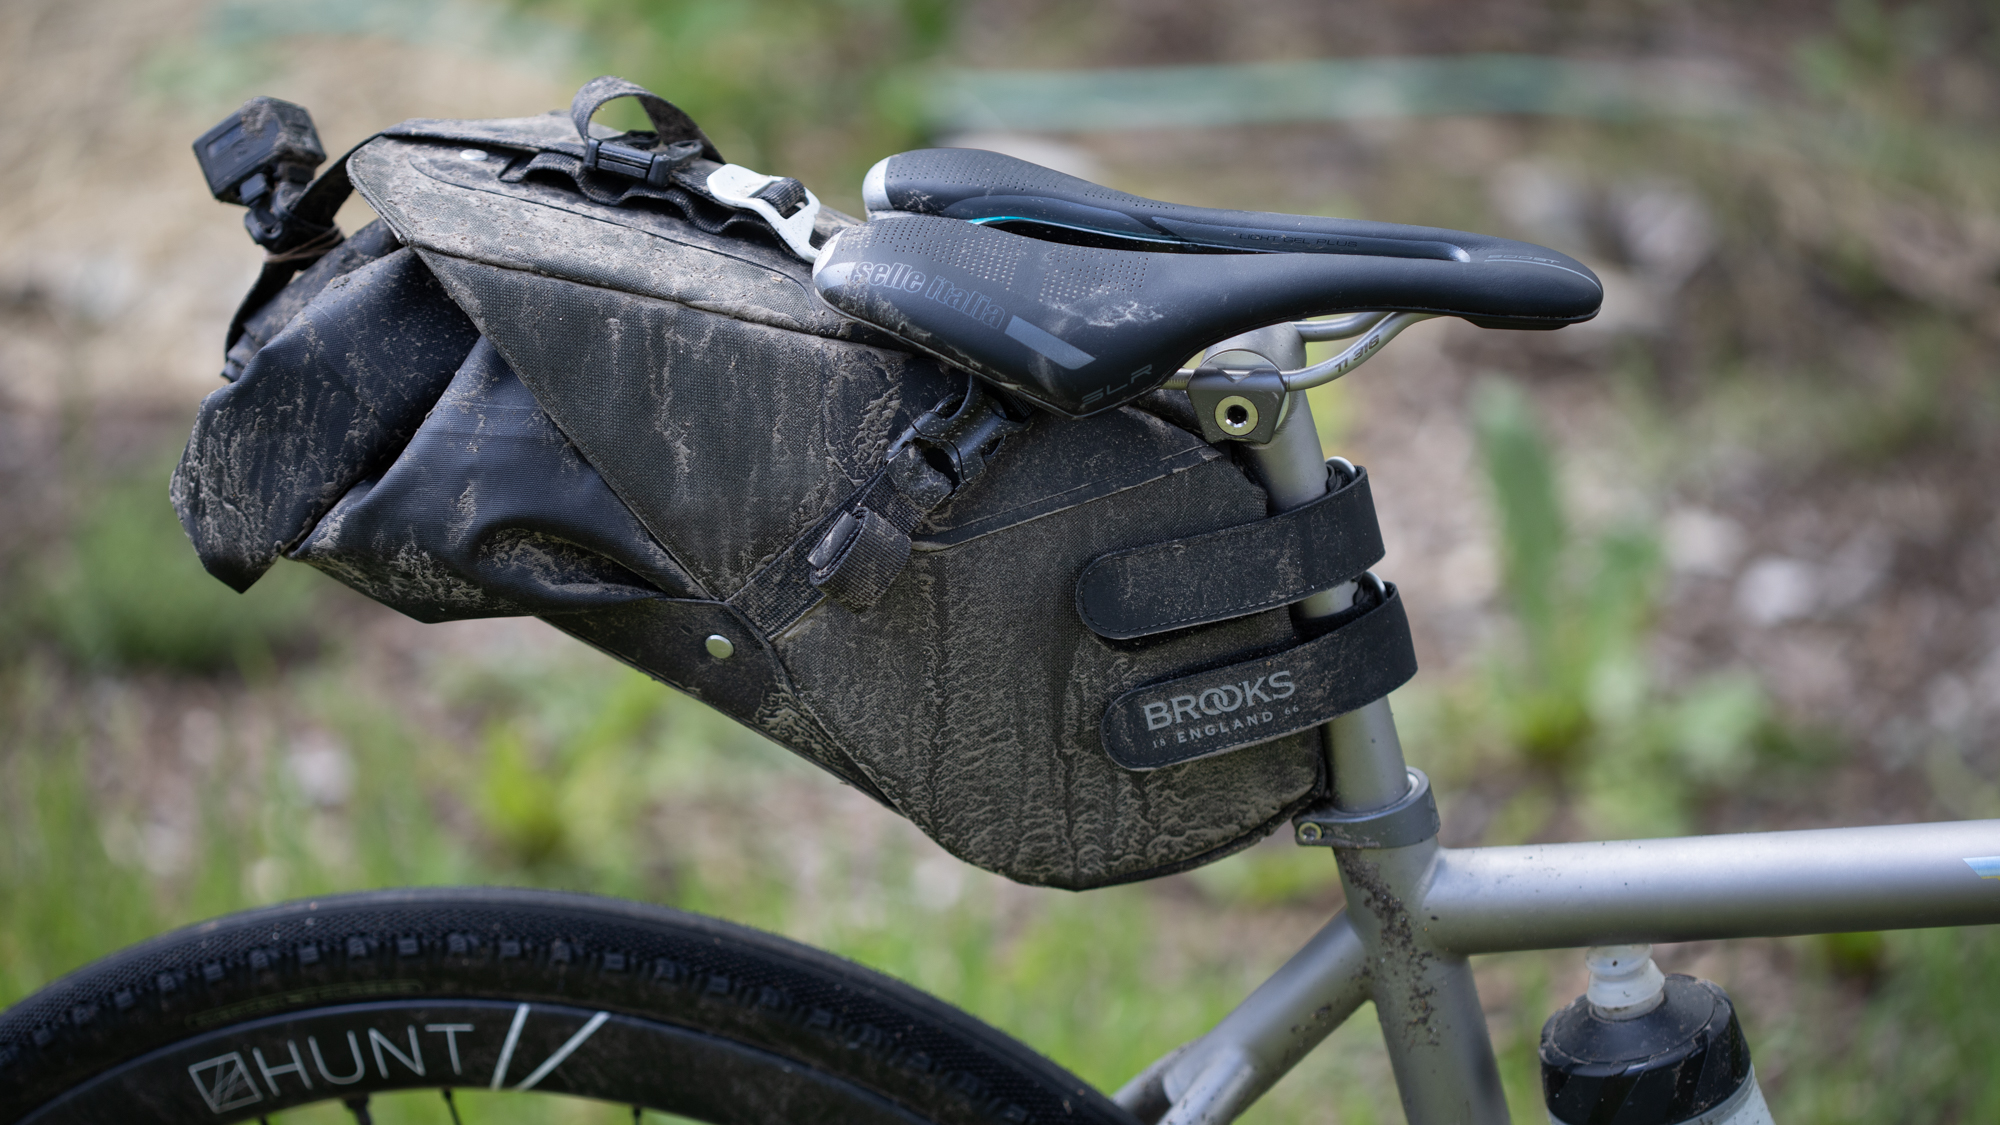
If you've had any experience with the classic leather saddles Brooks built its reputation from, it'll be no surprise that the Scape lineup is similarly high in quality. These bikepacking options are incredibly well made and high-performance. They've served us well getting through long, rainy, miles and with that experience we put together a different selection than some of the other brands.
At the front, the Scape Handlebar Roll is yet another holster and dry bag solution. The dry bag from Brooks isn't just a bag though. Instead, there are two compartments that are accessible depending on which side you open it. It works really well for a dry side and a wet side. Closing the bag into the system is a great introduction to the beautiful clasp and loop system that makes it fast when you are on the road or trail.
Instead of then suggesting a frame bag, we've decided to take advantage of the modularity that Brooks offers and suggest the Handlebar Pouch instead. Frame bags can be a challenge to fit with water bottles and while the Scape option is excellent, you can get the same 3L as the smaller frame bag but it will attach to the front of the Handlebar Roll. It's still waterproof and if you want to use it on its own, that works also.
Then, instead of the Brooks top tube bag option, which isn't available in a bolt-on choice, grab the Scape Saddle Pocket Bag. At 0.7L you only sacrifice 0.2L but you can strap the Pocket Bag in multiple locations on the other bags. There's even room for a couple if you want more than one option for small pieces. Just like everything else, it's waterproof.
At the back, Brooks only offers one size of the Scape Seat Bag. It's a holster system that straps around the seatpost with velcro and then connects under the saddle rails. It won't move around and if you pack carefully there's enough room for overnight gear. The dry bag rolls up and has an air vent so it's easy to pack. Once packed the buckle and loop system is once again a joy to use. There's a spot to mount a light in the back as well.
Ortlieb QR System
Specifications
Reasons to buy
Reasons to avoid
It's difficult to know if this system should get accolades for being fast to remove or just being different. There are three pieces to highlight here and they are all completely unique in different ways.
The Ortlieb Handlebar Pack QR uses a mounting system that is maybe not faster than a traditional handle roll system but it definitely will not rotate or come loose. Instead of velcro wrapping around the handlebar, there's a pair of cords that snake over, and under, the bars and stem from opposite directions. Tighten them up and they lock in place so they'll never come loose while riding. It also has the advantage of not being a dry bag and holster system but still being completely waterproof.
The frame bag we included is not actually part of the QR system but it is also completely unique. Rather than being a zippered fast-access storage location Ortlieb uses a roll-top closure and keeps the whole bag completely waterproof as well as vertically narrow. First, the bag gets attached to the top tube with velcro straps like normal. Then the top gets rolled down and tucked alongside the top tube. When it's time to open it up, there is a rubber strap that connects to a catch. Opening and closing the bag doesn't remove it from the frame. It's still not going to fit every frame but if it does, there's a little more chance of it existing alongside your bottles.
The last piece we had a chance to spend time with is the Ortlieb Seat-Pack QR. This one is actually a bit closer to a quick release system. There's a collar that attaches to the seatpost and acts as a stop to the base of the bag. Once that's installed, the connection to the seat rails also uses hard plastic and requires a bit of upward pressure to release. Let go of the pieces and they lock the back to the seat rails with gravity. There's an extra bit of velcro to steady the bag against the seatpost and everything is set. When it's time to release it, just push up on the seat rail connections and remove the velcro. There's no separate dry bag so the self-contained bag stays together once removed. The whole system is ideal for unloading your bike for exploration once you've set up camp.
Blackburn Outpost Elite
Specifications
Reasons to buy
Reasons to avoid
Blackburn Designs is a company that makes rugged products usable on both mountain bikes and drop-bar bikes. If you've got a dropper post and suspension with a desire to head for the truly rugged locations, this series of products is what you want to look at.
Upfront, the Handlebar Roll and dry bag combo start out with a basic silhouette that's not so different from stuff like the Brooks Scape series bag. If you ride on rough enough trails though you'll notice that the straps on that bag will loosen over time. To combat this, Blackburn uses a hard mount system that allows you to dial in the angle and won't move or come loose. It takes longer to set this up but once it's on the bike you can just remove the dry bag the same way other holster systems work.
For the next piece, Blackburn offers a hydration bladder compatible full frame bag. It's totally waterproof and available in four sizes to fit whatever frame you've got. The zippers lack flaps over them but they are waterproof without the hassle and there's a small zippered compartment on the non-drive side as well as two zippers to the main compartment on the drive side. The main compartment is only one large space but there's a removable false shelf to help divide it.
At the rear of the bike is another piece designed for rugged trips. The Outpost Elite Seatpack and dry bag is a lot like the front bag. It mimics the look and style of other holster solutions but it's got extra mounting features that allow it to work with a dropper post. Instead of attaching at the seatpost for stability, there's a rigid metal wing system that keeps the bag stable with only an attachment to the saddle rails. If you aren't using a dropper post you can still use a strap on the post for stability but there's no need. The 6.95-litre bag also does a good job of staying up and out of the way of the rear wheel because of the way the straps for the holster attach farther towards the rear of the bike.
Bontrager Adventure line
Specifications
Reasons to buy
Reasons to avoid
The Bontrager Adventure Bags do have an eye on working with the latest model of the Trek Checkpoint but they work beyond that bike. They actually have some features that might make them perfect for anyone with a smaller frame.
At the front, the Adventure Handlebar Bag is on the smaller side at nine-litres and uses a roll-top closure but only on one side. If you need to fit a bit more there is some space to strap items like a jacket to the front. The real trick of it though is a zippered front pocket designed for a hydration bladder. It's not included, so you can use what works, but it's designed around the 1.5L Osprey Hydraulics LT Hydration Pack Lumbar Reservoir. In general, putting a bunch of weight in the bar bag isn't ideal but for those with a small frame, this might make things a whole lot easier.
At the centre of the bike, the Bontrager Adventure Boss Frame Bag is also unique. This is the piece that has a size designed around the latest Trek Checkpoint gravel bike. If you have that bike, then there are mounting points that will make sure it doesn't move. Even if you've got another bike though, the six different sizes mean there should be a size that works even for small frames.
The last piece in the Adventure Bag lineup is the Bontrager Adventure Saddle Bag. Like the rest of the bags in this collection, it's not fully waterproof. It does have a roll-top closure though and like all bags with a roll-top, that makes it hard to get into quickly. To ease that pain, Bontrager put zippers on the sides. We wish more brands took this approach.
What you need to know about choosing the best bikepacking bags
What types of bags are there?
We covered a range of different bags and different packing strategies but in general, bikepacking bags fall into three categories. These three are your starting point in most situations then there's some accessories you can as needed.
Handlebar bags range from a couple of litres for a few essentials to enough space to swallow a tent. They come in the form of either a single piece bag that straps directly to the handlebars or a harness that will cradle a drybag.
Frame bags attach within the frame triangle using velcro or webbing straps. Half-frame bags take up the upper section of the frame either stretching all the way from the headtube to the seatpost or stopping part way along the top tube. With these bags you still need to carry water bottles but smaller frames will struggle. Side entry bottle cages will help but you might also want to just switch to a full frame bag. With a full frame bag you'll need to carry water in a bladder but you'll have the full space of the frame triangle to work out a packing that works best for you.
Saddle packs are similar to handlebar bags in that they come in one piece or holster styles. Anchoring points use the saddle rails and seatpost to secure and stabilise the bag against sway and drooping. They pack down, and stay dry, with roll top closures. The bags are a great place to store the bulk of your gear as there's very little downside to carrying luggage in this spot.
What bike limitations do I need to consider?
One of the big appeals to bikepacking bags is the fact they can be easily attached to any bike without the need for special mounting hardware. However, you'll need to consider the dimensions of your bike. Not all bags will work with all bikes and this is especially true for smaller riders where clearances are more compact.
Frame bags often come in different sizes and should give measurements to gauge the size you need. For handlebar bags, the clearance between the handlebar and front wheel and space between drop bars is the limiting factors. Saddle packs are more compatible across bike sizes although small frames such as 50cm and below may struggle with rear-wheel clearance. If you run a dropper post on your gravel bike, you will need to choose a seat pack designed specifically to work with dropper posts so that you don’t damage the posts stanchion.
Do I need frame protection?
When you load down a bag and subject it to the dirt and grime of a bikepacking trip, things rub. It could be just a small scratch, or two. If that's the case it's probably not that big of a deal and it will come down to your level of comfort with scratches. Some people will see those as reminders of the best adventures while others will feel it in their soul every time they look at their once perfect bike. Wherever you fall in that range of experiences things will work out. Sometimes it's worse though.
In some instances, the rubbing of a frame bag could mean expensive repairs. It can be startling how fast a misplaced strap can damage a frame. If your bike is aluminium, or titanium, you can end up with an impressively polished spot but if your frame is carbon things could be worse. It's possible to rub right through the frame wall of a carbon bike. With a steel frame you won't rub through the wall but rust can be an issue.
Instead of worrying about it, apply frame protection. The best time to do this is when the bike is brand new. You need it clean and it's unlikely a bikepacking bike will ever be as clean as it is new. Grab a role of helicopter tape and apply liberally. Think well beyond just where the straps fall.
What’s the best packing strategy?
A loaded-up bike is heavy and it handles differently. There's nothing you can do to fundamentally change that but there are important strategies for mitigating the effect. At the heart of it the idea is to keep weight low and central.
The three primary storage bags in a bikepacking setup are the frame pack, the handlebar pack, and the seatpost pack. The handlebar bag is a long thin bag that does well with bulky, but lightweight items. If you are using a drop bar bike the space between the handlebar drops is narrow so that will dictate shorter items.
The seatpost pack is another location where you want lightweight but bulky items. If you have longer items that won't fit between the bars then this is the place to put them. just remember that the farther something gets from the seatpost the more it will sway and move. Try to keep the weight as close in as possible.
For heavy items you want them in your frame bag. It's the most centrally located and the lowest to the ground but there isn't much space. Your legs and the frame create a boundary in every direction so this is your place for compact and heavy. Depending on your bike's setup, you might also consider a downtube mounted bag for heavy items.
What about food and water?
Water in particular can be tricky to find a good spot for. It's heavy, it's bulky, and there is a temptation to try and tuck it away. You might think it's easy to stop and pull it out for a drink but avoid the temptation.
It is true that it's easy to stop and locate food and water but that's not how people sometimes work. Riding is hard and once you get into the rhythm you might surprise yourself by your reluctance to stop. This is especially true when riding with other people or in a race situation. As time goes on you feel worse and worse and it then becomes hard to recover after the eventual stop.
Instead, avoid the whole situation and make it easy. Make sure you have food and water available while riding. Eat and drink before you feel hungry or thirsty and do it often. Keep your energy up instead of trying to recover from a dip. Keep this strategy in mind while packing and do what you need to make things easier than you think necessary.
How did we test the best bikepacking bags?
Testing for the best bikepacking bags begins with the unboxing. We immediately try to figure out the bags, the straps and various mounting brackets to get a sense of how intuitive they are to use. Then we check the instructions and see what - if anything - we missed.
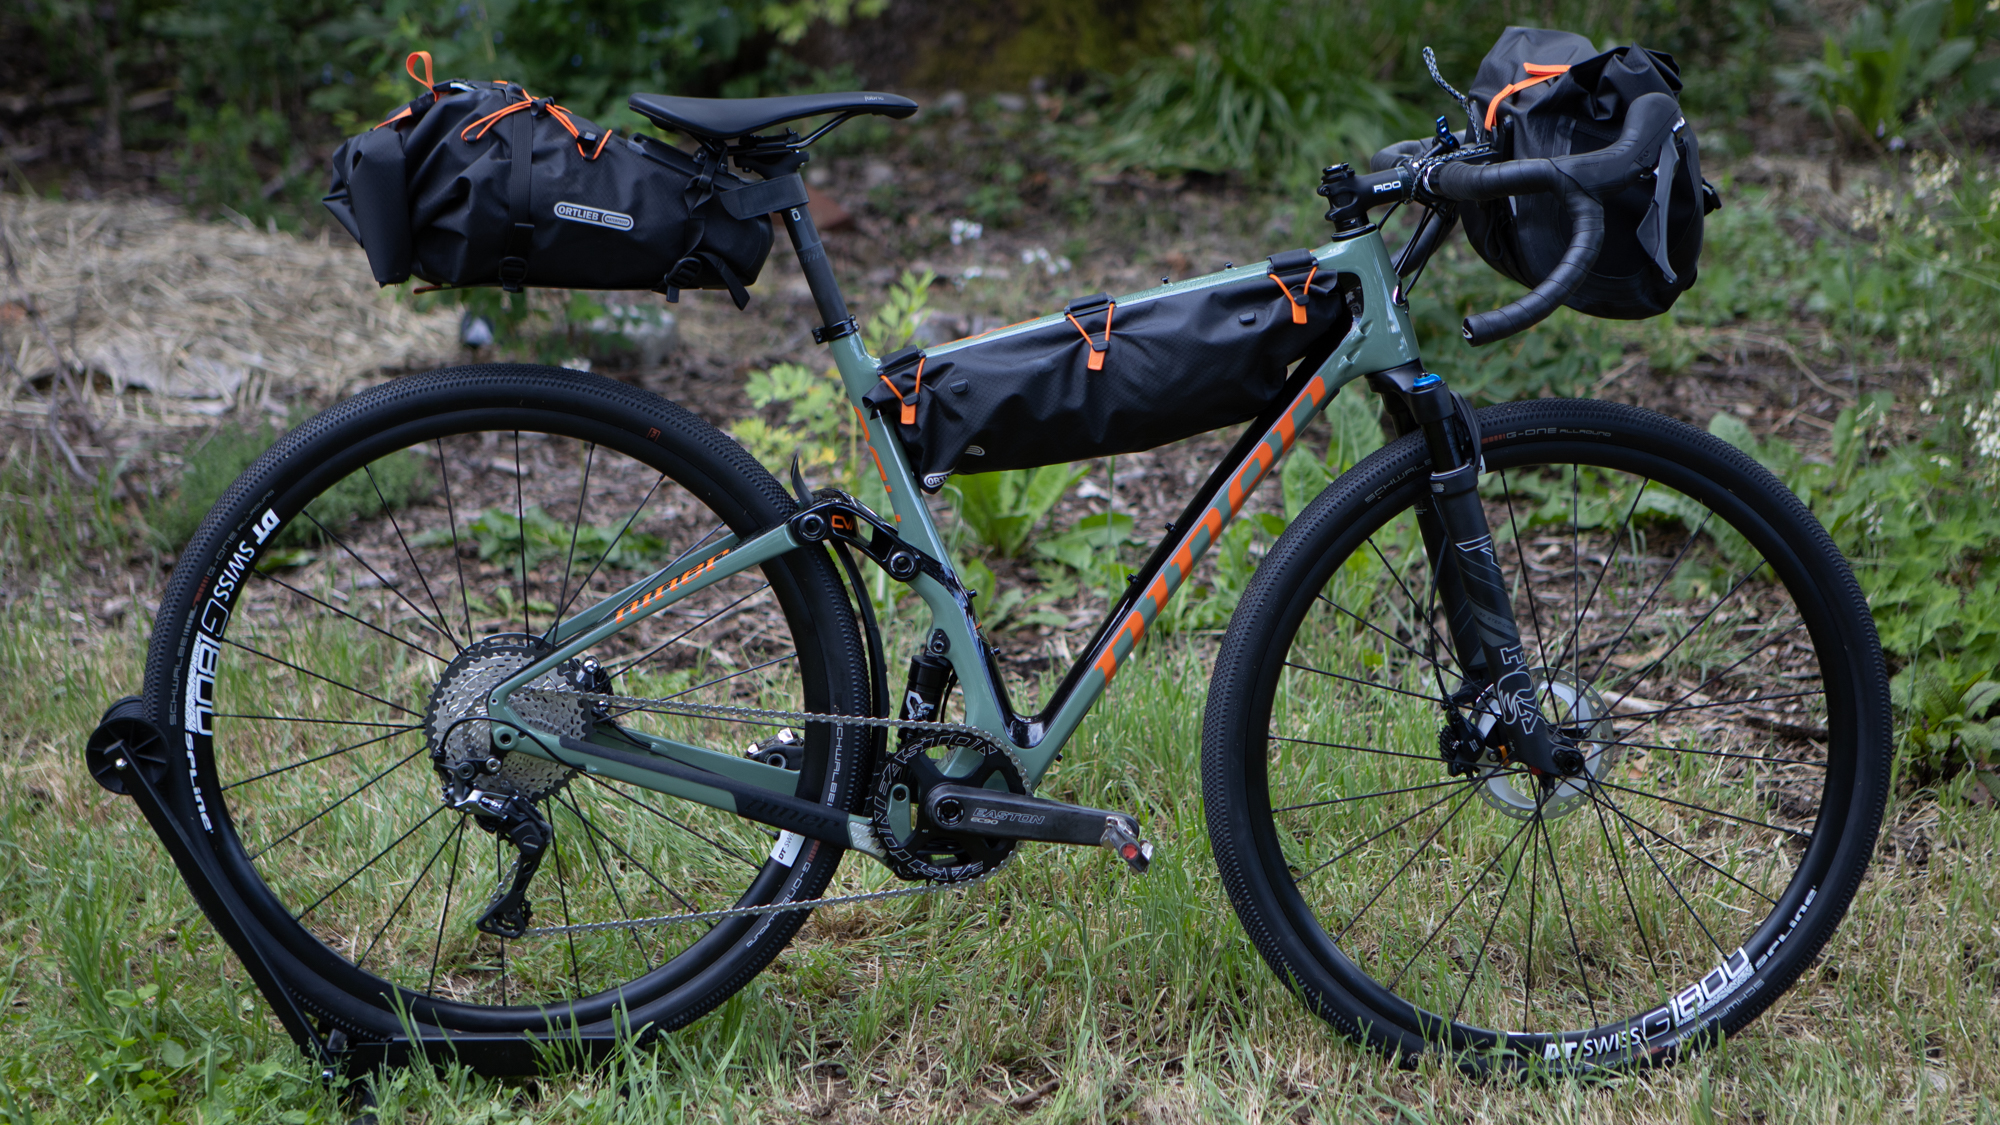
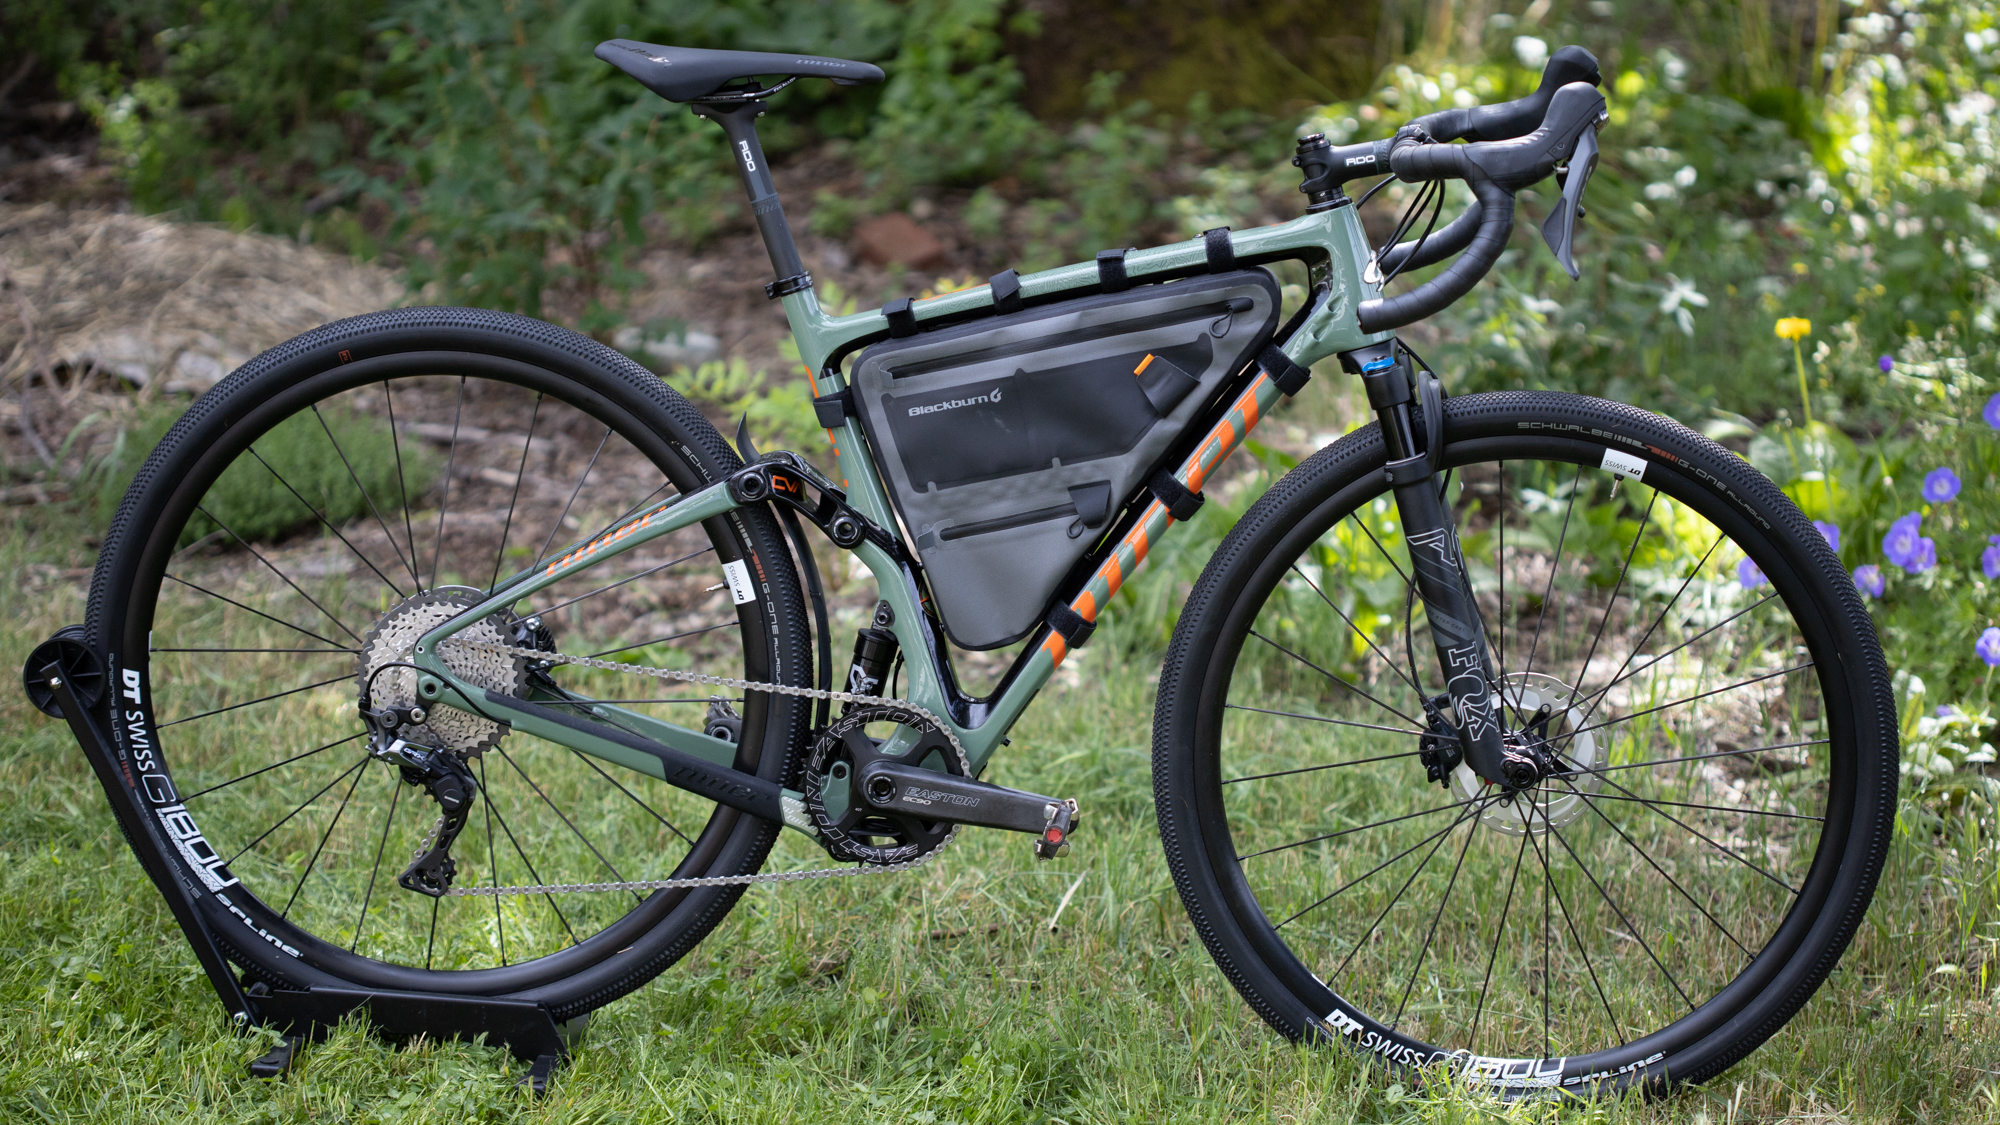
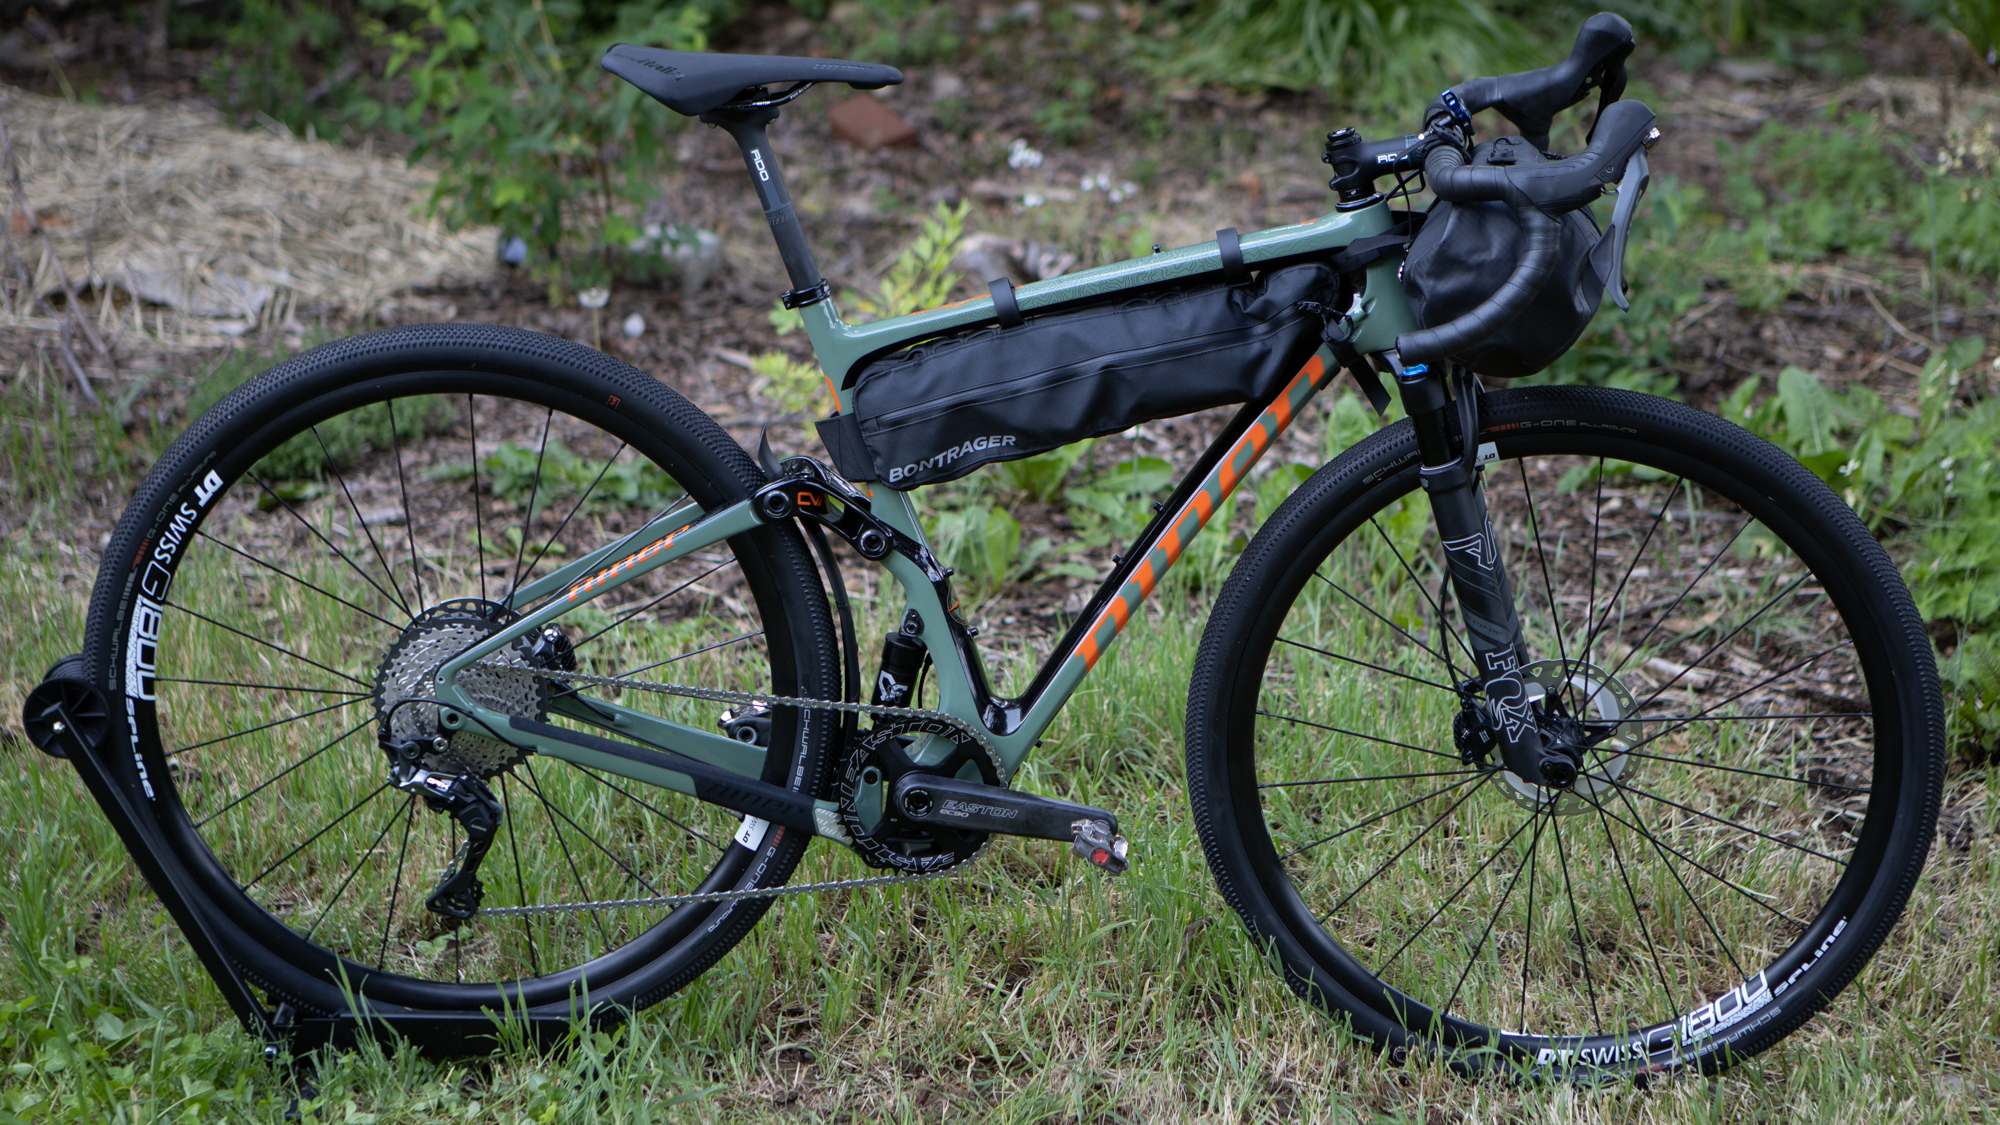
Next up, we fit the bags to our bike - in this case, the Niner MCR full-suspension gravel bike - to get even more of an idea of how easy they are to use.
Then we do a trial run of packing up a selection of bikepacking gear. We use the same kit list for each bag, and this allows us to compare the available space within, and how the capacity compares to the capacity claimed by the brand.
The final test is the real-world use, and we tested these bags by taking them on a mix of the most epic adventures we could think of. We also tested bags doing things a little less epic. Sometimes you need a set of bags to take you across a continent and sometimes you need a bag to take you on a mellow weekend. We did the hard work of adventuring on our bikes and we are proud to bring you the best options we found.
The latest race content, interviews, features, reviews and expert buying guides, direct to your inbox!
Josh hails from the Pacific Northwest of the United States but would prefer riding through the desert than the rain. He will happily talk for hours about the minutiae of cycling tech but also has an understanding that most people just want things to work. He is a road cyclist at heart and doesn't care much if those roads are paved, dirt, or digital. Although he rarely races, if you ask him to ride from sunrise to sunset the answer will be yes.
Height: 5'9"
Weight: 140 lb.
Rides: Salsa Warbird, Cannondale CAAD9, Enve Melee, Look 795 Blade RS, Priority Continuum Onyx
